Hostinger Ecommerce settings are organized into eight pages covering your store’s identity, payments, shipping, checkout behavior, taxes, invoices, and transactional emails. Configure your business details and currency in Store settings, connect payment providers in Payments, set shipping zones in Shipping, adjust the checkout experience in Checkout, define tax rules in Taxes, customize invoice content in Invoices, and set up sender details and preview automatic emails in Emails and Email previews.
To access settings, go to Store Manager then head to Settings.
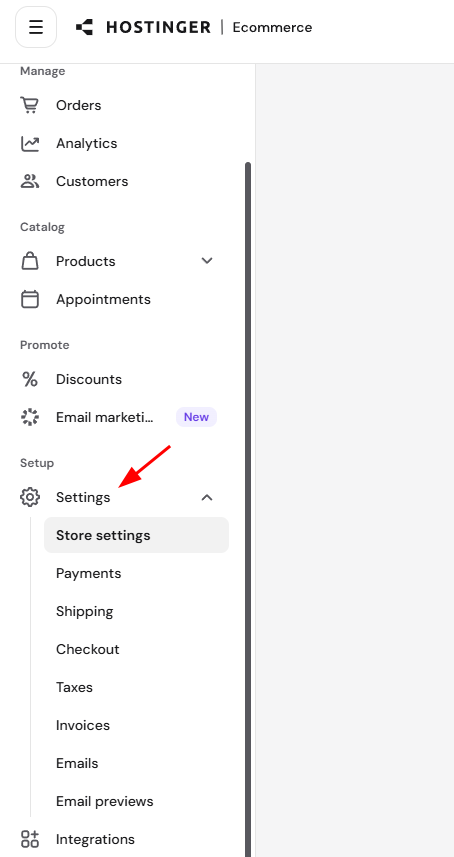
Store settings
Business identity – click Upload logo to add a logo (JPG, PNG, SVG, or WEBP, up to 2 MB), used in customer emails and invoices, or try the AI Logo Generator. Set a Business name, shown in checkout, customer emails, and Hostinger dashboard. Legal or company name is optional; if you don’t have a registered business, your business name is used instead.
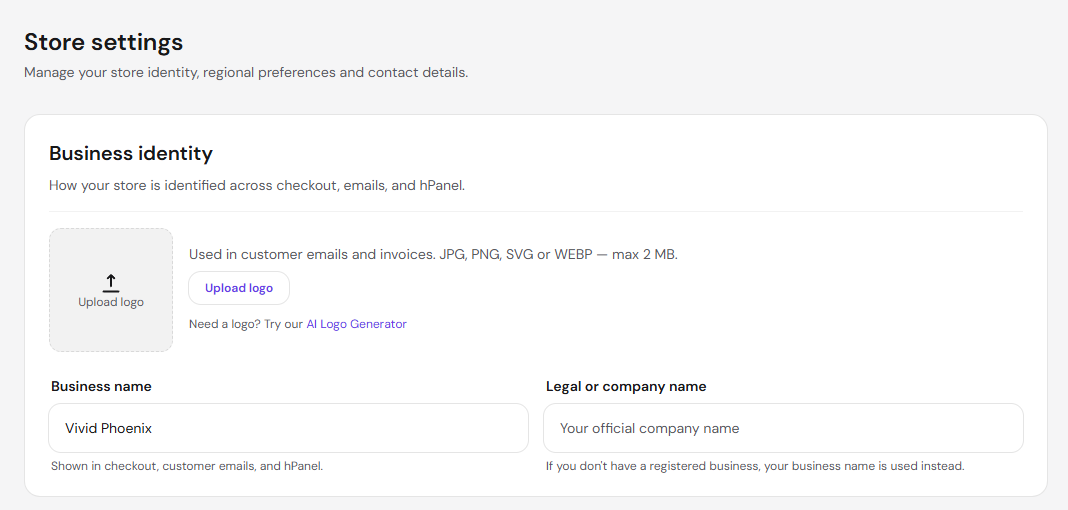
Regional settings – choose your store’s Currency and Measurement System (needed for shipping). Store currency can’t be changed after connecting an online payment method. Set your Store language here as well.
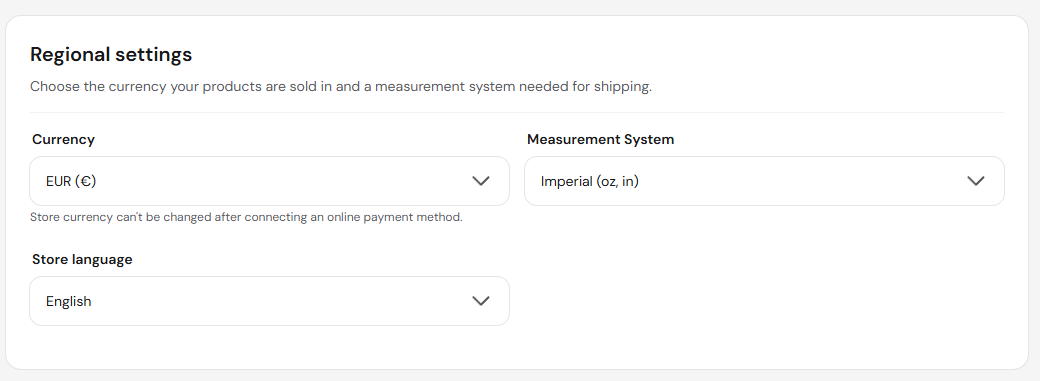
Contacts & address – used in emails and invoices. Enter your shipping origin address if you don’t have a registered business address. Fields include Email (required), Phone number, Street address, City, State, Zip/Postal code, and Country.
Payments
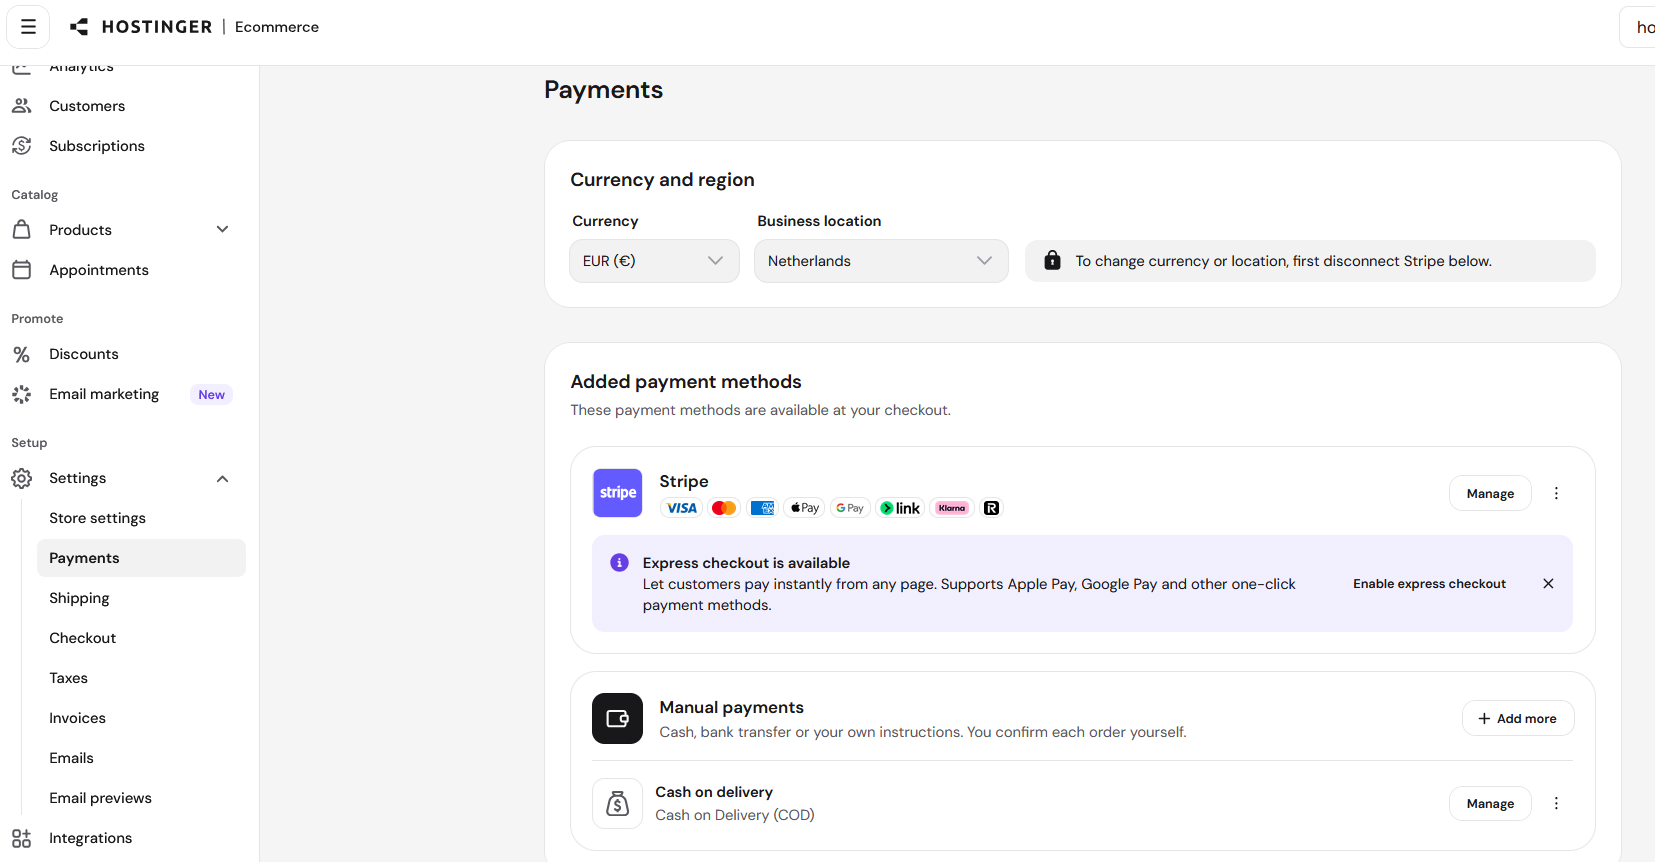
Currency and region – shows your store’s currency and business location. To change either, first disconnect your connected payment provider.
Added payment methods – lists the payment methods available at your checkout, such as a card processor with its supported cards and wallets, an Enable express checkout option for one-click payments, Manual payments (cash, bank transfer, or your own instructions, confirmed manually per order), and Cash on delivery.
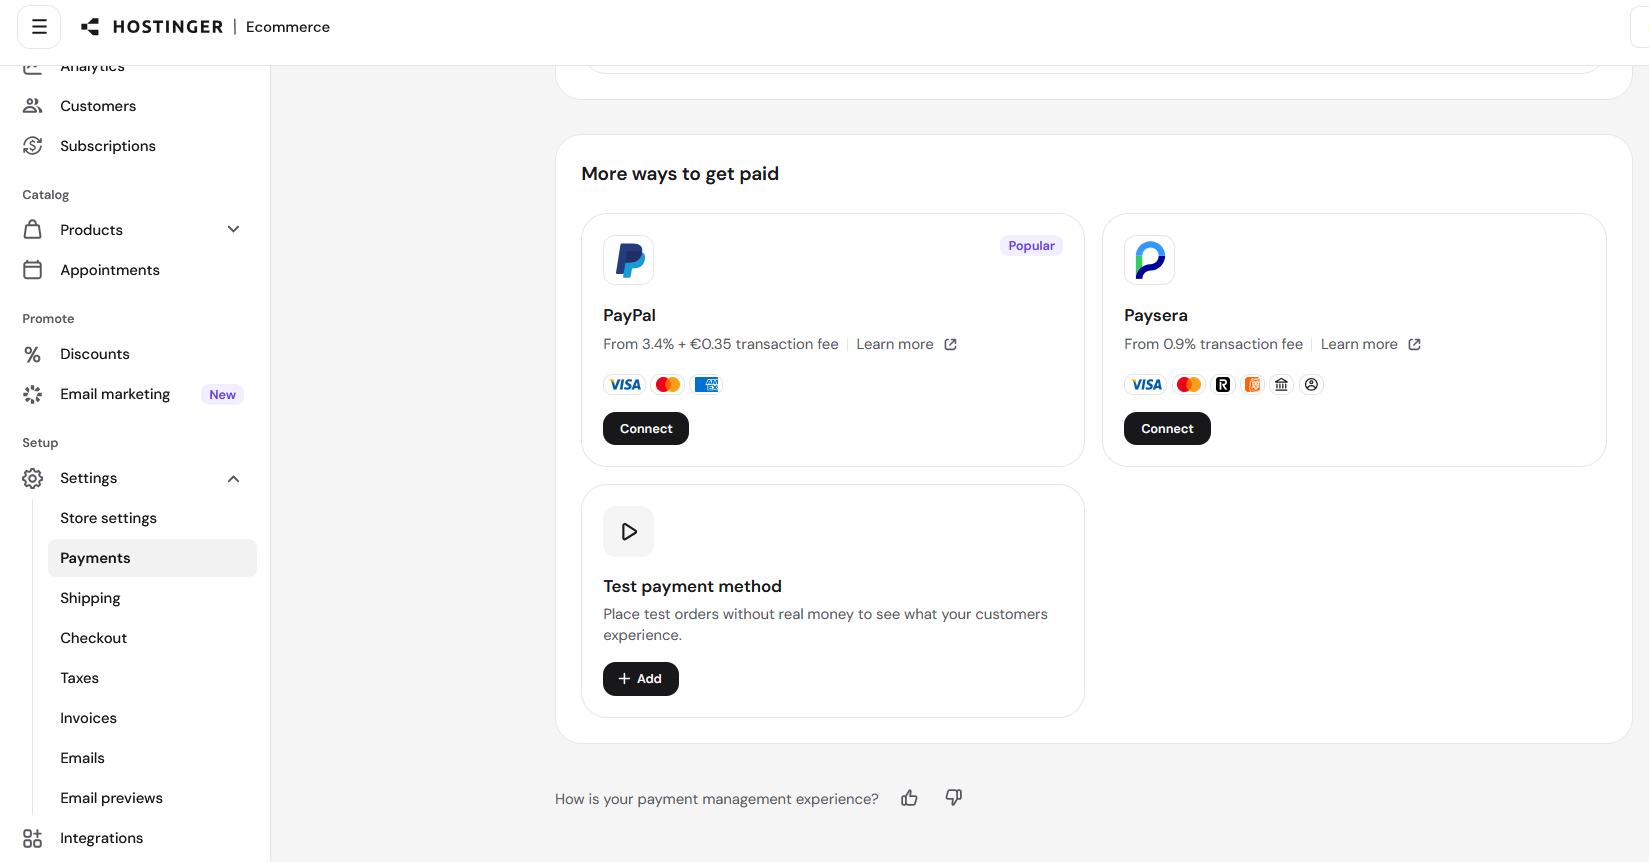
More ways to get paid – connect additional payment providers, each shown with its own transaction fee in the interface, or click Add under Test payment method to place test orders without real money and preview the customer experience.
Shipping
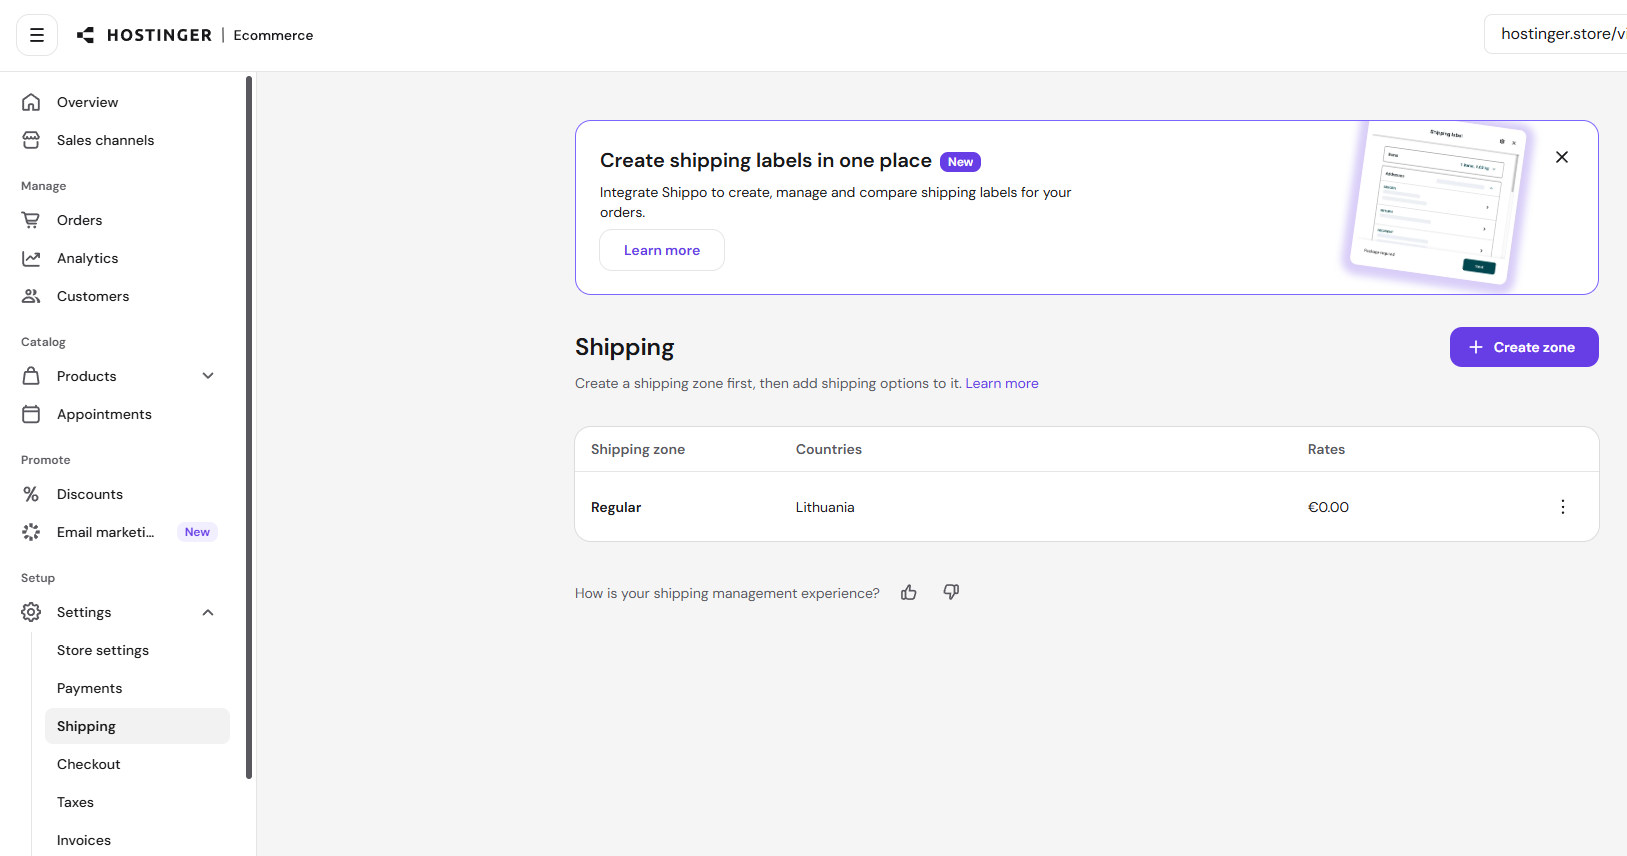
Click Create zone to create a shipping zone, then add shipping options (rates) to it. The shipping table lists each Shipping zone, its Countries, and its Rates.
NOTE
- A promotional banner on this page may suggest integrating Shippo to create, manage, and compare shipping labels for your orders; see Hostinger Ecommerce: how to navigate the Store Manager for the full Integrations section.
Checkout
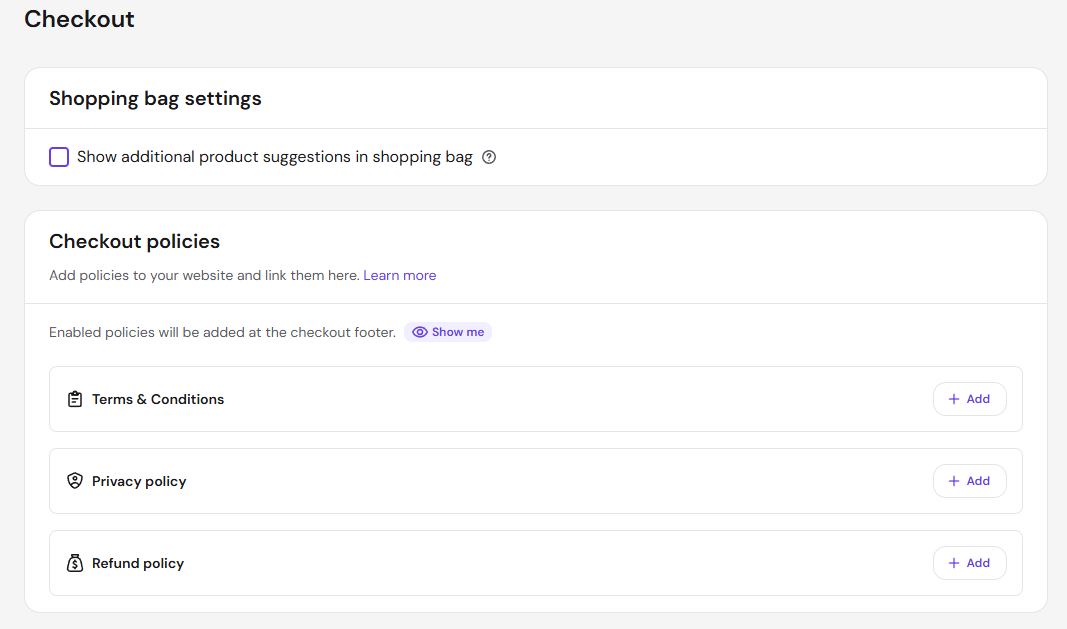
Shopping bag settings – toggle Show additional product suggestions in shopping bag.
Checkout policies – add a Terms & Conditions, Privacy policy, and Refund policy to your website and link them here. Enabled policies are added at the checkout footer.
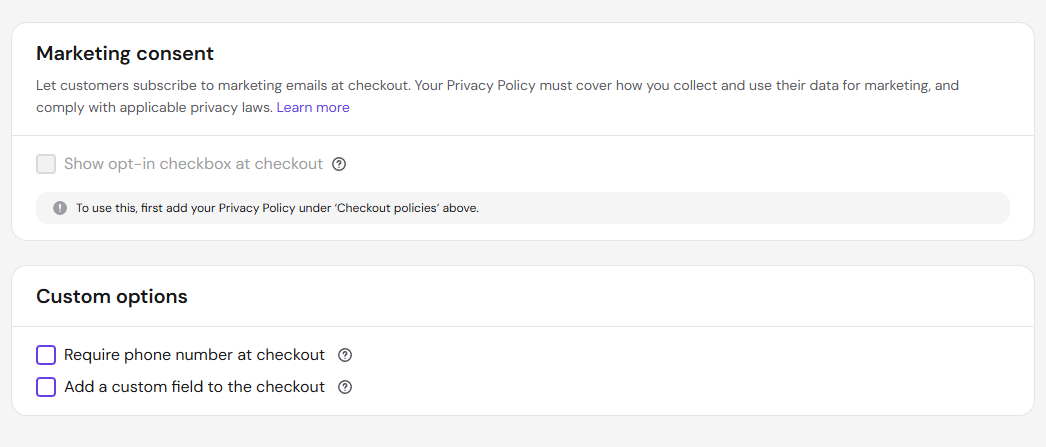
Marketing consent – toggle Show opt-in checkbox at checkout to let customers subscribe to marketing emails at checkout. This requires adding your Privacy Policy under Checkout policies first, since your Privacy Policy must cover how you collect and use customer data for marketing and comply with applicable privacy laws.
Custom options – toggle Require phone number at checkout, or Add a custom field to the checkout.
Taxes
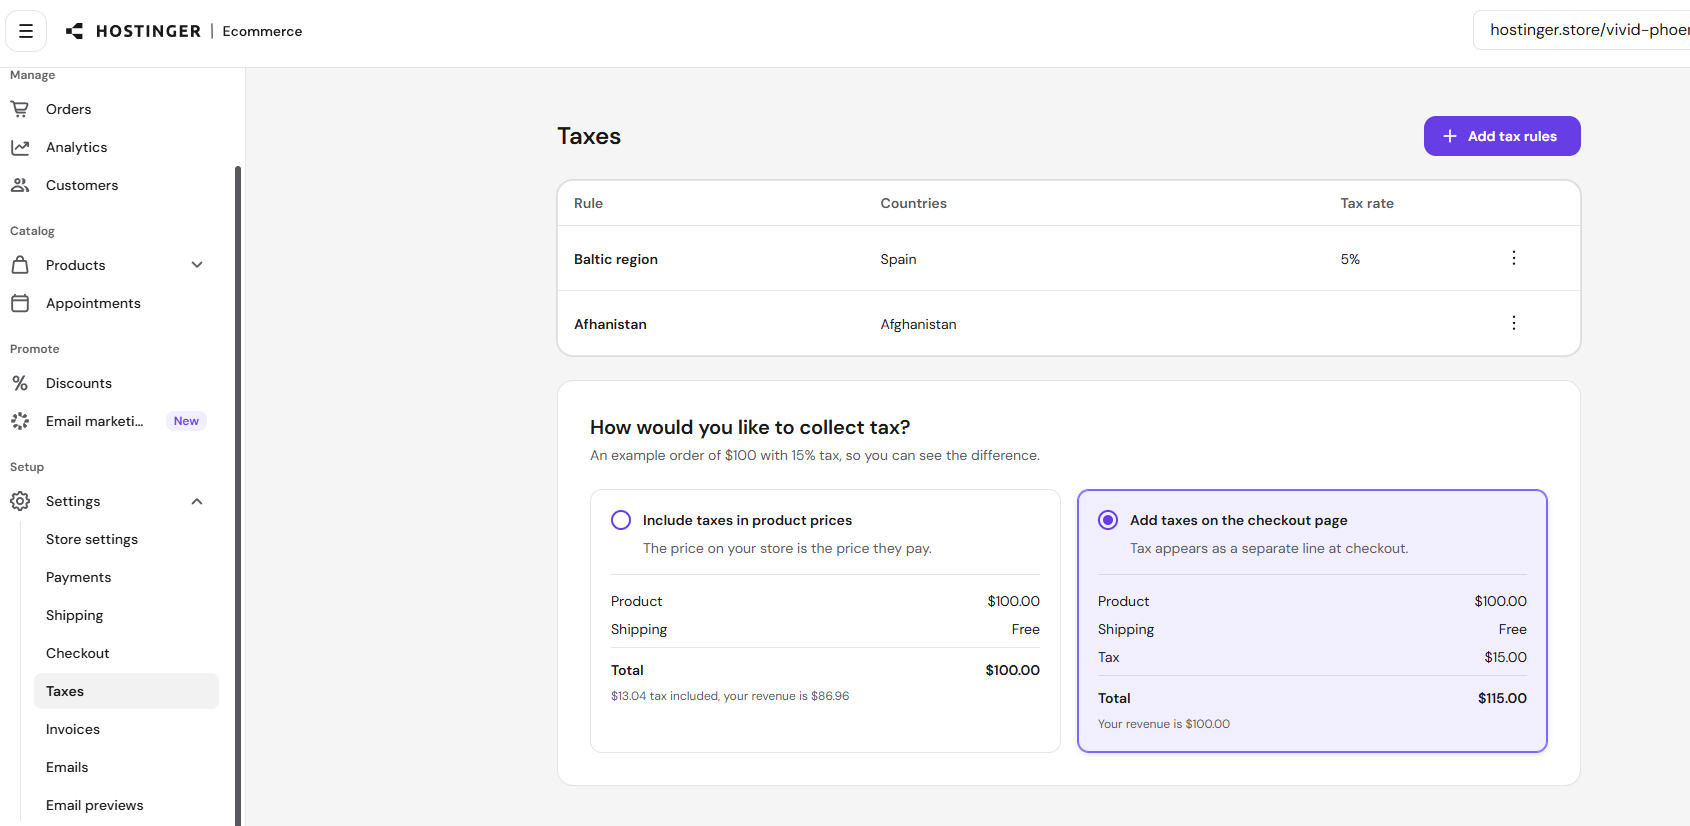
The tax rules table lists each Rule, its Countries, and its Tax rate. Click Add tax rules to create a new rule.
Choose how to collect tax on the checkout page:
- Include taxes in product prices – the price shown on your store is the price customers pay, with tax deducted from your revenue.
- Add taxes on the checkout page – tax appears as a separate line at checkout, added on top of the product price.
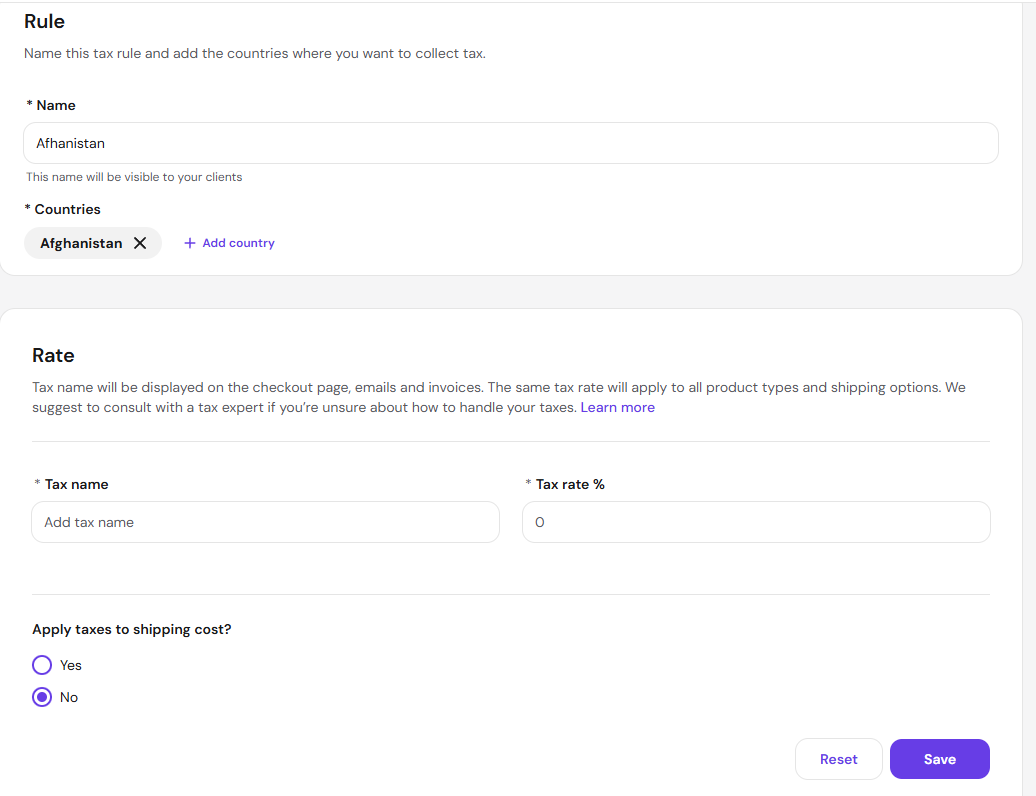
To edit a tax rule, set a Name (visible to your customers) and add one or more Countries. Under Rate, set a Tax name (displayed at checkout, in emails, and on invoices) and a Tax rate %; the same rate applies to all product types and shipping options in that rule. Choose whether to Apply taxes to shipping cost.
NOTE
- Hostinger Ecommerce recommends consulting a tax expert if you’re unsure how to handle your taxes.
Invoices
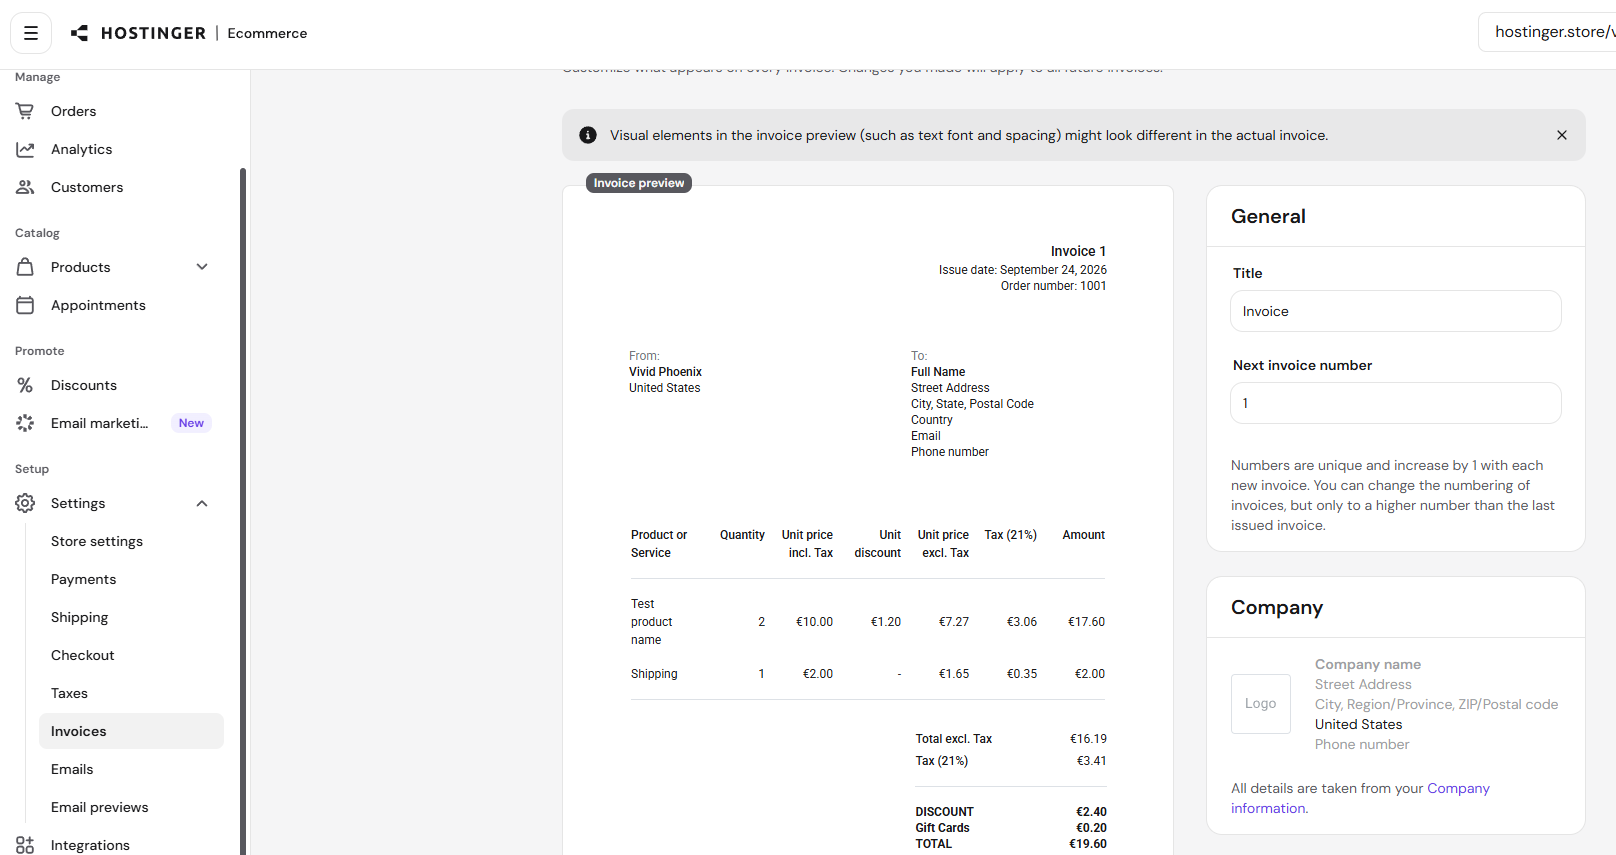
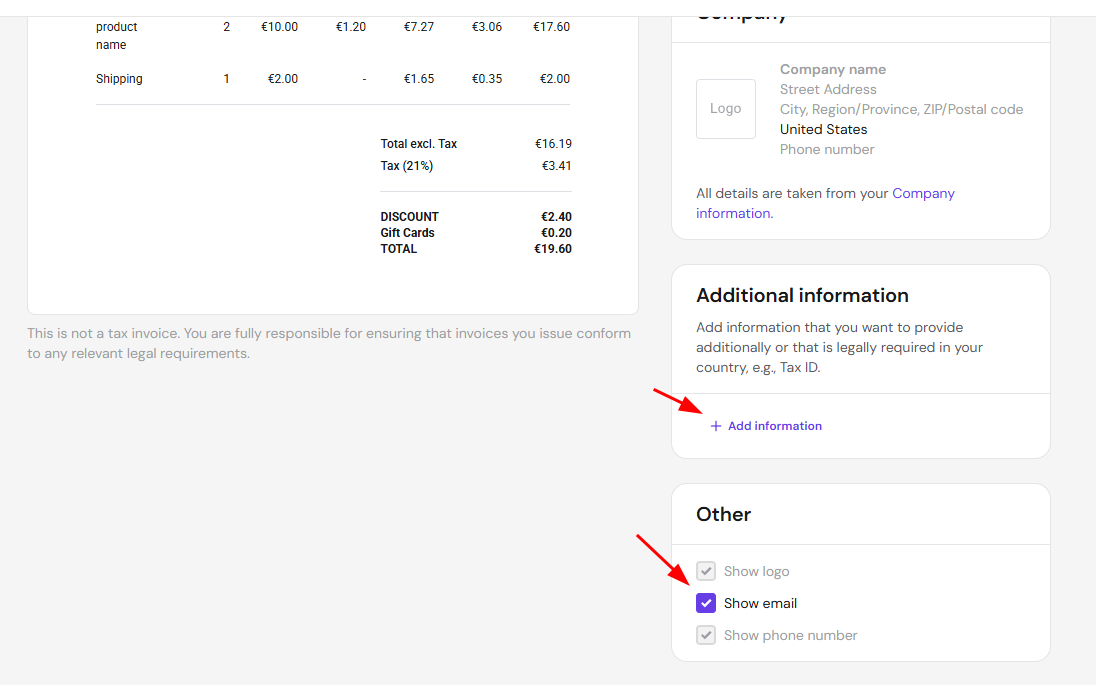
Customize what appears on every invoice; changes apply to future invoices only, and visual elements in the preview (such as font and spacing) may look different on the actual invoice.
- General – set an invoice Title and the Next invoice number. Invoice numbers are unique and increase by 1 with each new invoice; you can change the numbering, but only to a higher number than the last issued invoice.
- Company – invoice details are taken from your Company information (logo, address, and phone number).

- Additional information (optional) – click Add information to include anything you want to provide additionally, or that’s legally required in your country, such as a Tax ID.
- Other – toggle Show logo, Show email, and Show phone number on the invoice.

NOTE
- Invoices generated here are not tax invoices. You’re fully responsible for ensuring that invoices you issue conform to any relevant legal requirements.
Emails
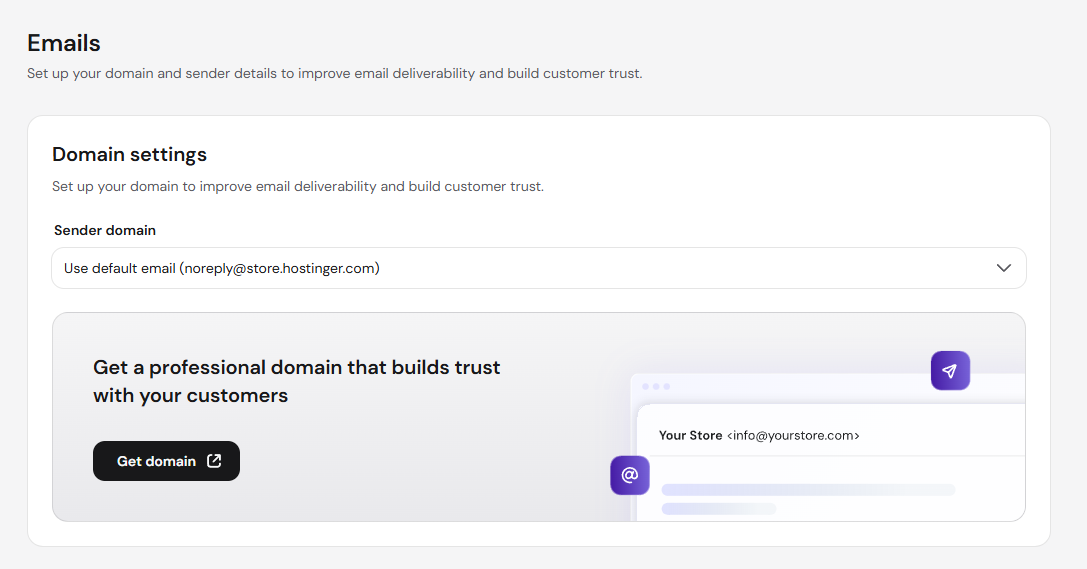
Domain settings – choose a Sender domain, defaulting to a Hostinger-provided address, or connect a professional domain to improve deliverability and build customer trust.
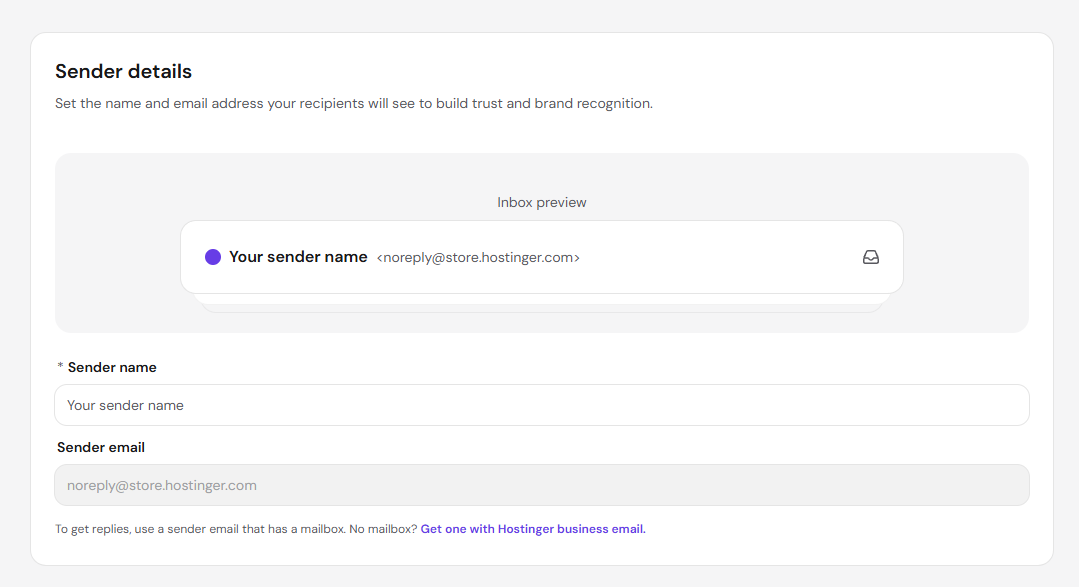
Sender details – set a Sender name and Sender email. Use a sender email with a real mailbox so customers can reply to your emails.
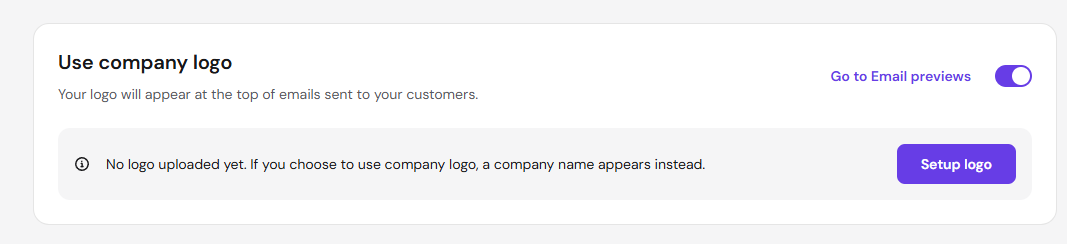
Use company logo – toggle this to show your logo at the top of customer emails. If no logo is uploaded, your company name appears instead.
Email previews
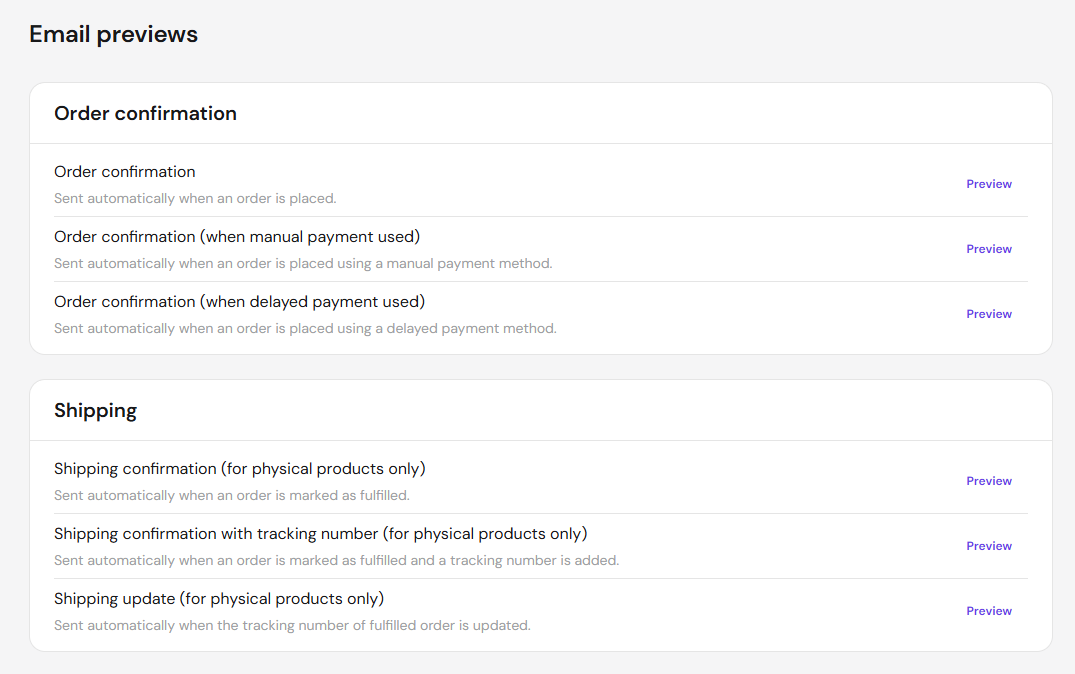
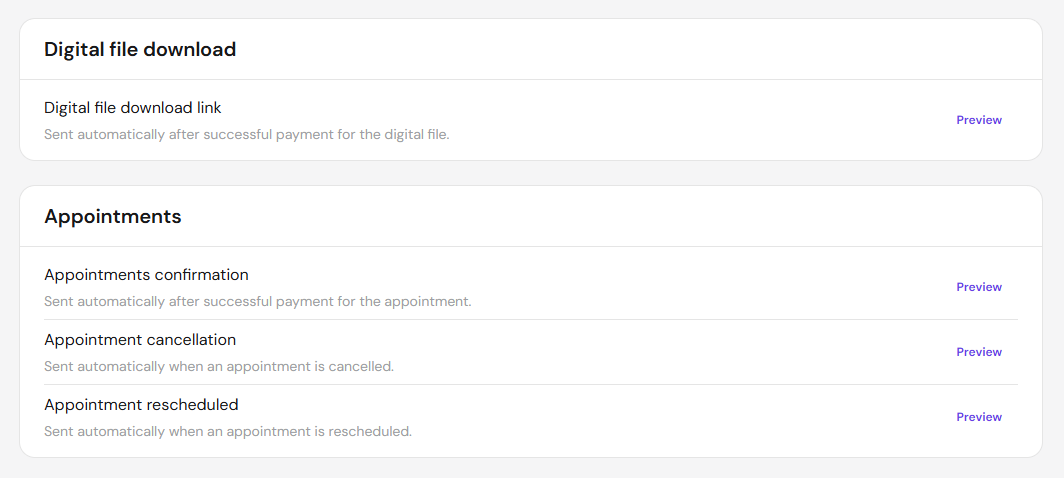
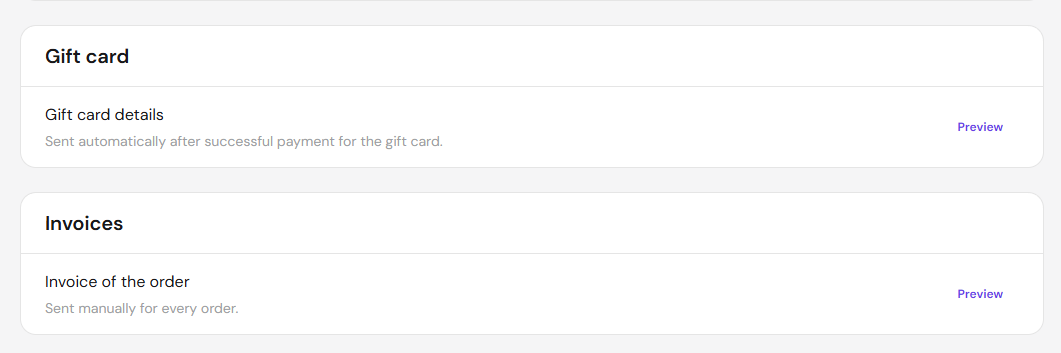
Email previews lists every automatic transactional email your store can send, grouped by category, each with a Preview link:
- Order confirmation – Order confirmation, Order confirmation (when manual payment used), and Order confirmation (when delayed payment used).
- Shipping (physical products only) – Shipping confirmation, Shipping confirmation with tracking number, and Shipping update.

- Digital file download – Digital file download link, sent automatically after successful payment for a digital product.
- Appointments – Appointments confirmation, Appointment cancellation, and Appointment rescheduled.

- Gift card – Gift card details, sent automatically after successful payment for a gift card.
- Invoices – Invoice of the order, sent manually for every order.

With your store’s identity, payment methods, shipping zones, taxes, and transactional emails configured, your store is ready to process orders end to end.