The Hostinger Ecommerce Store Manager is the admin area for a single store, organized into a left-hand menu covering setup, sales, catalog, promotion, and configuration tools. Open a store from Hostinger dashboard → Ecommerce to reach the Store Manager, then use the sidebar to move between the Overview, Sales channels, Orders, Analytics, Customers, Subscriptions, Products, Appointments, Discounts, Email marketing, Settings, and Integrations pages.
Open a store’s Store Manager
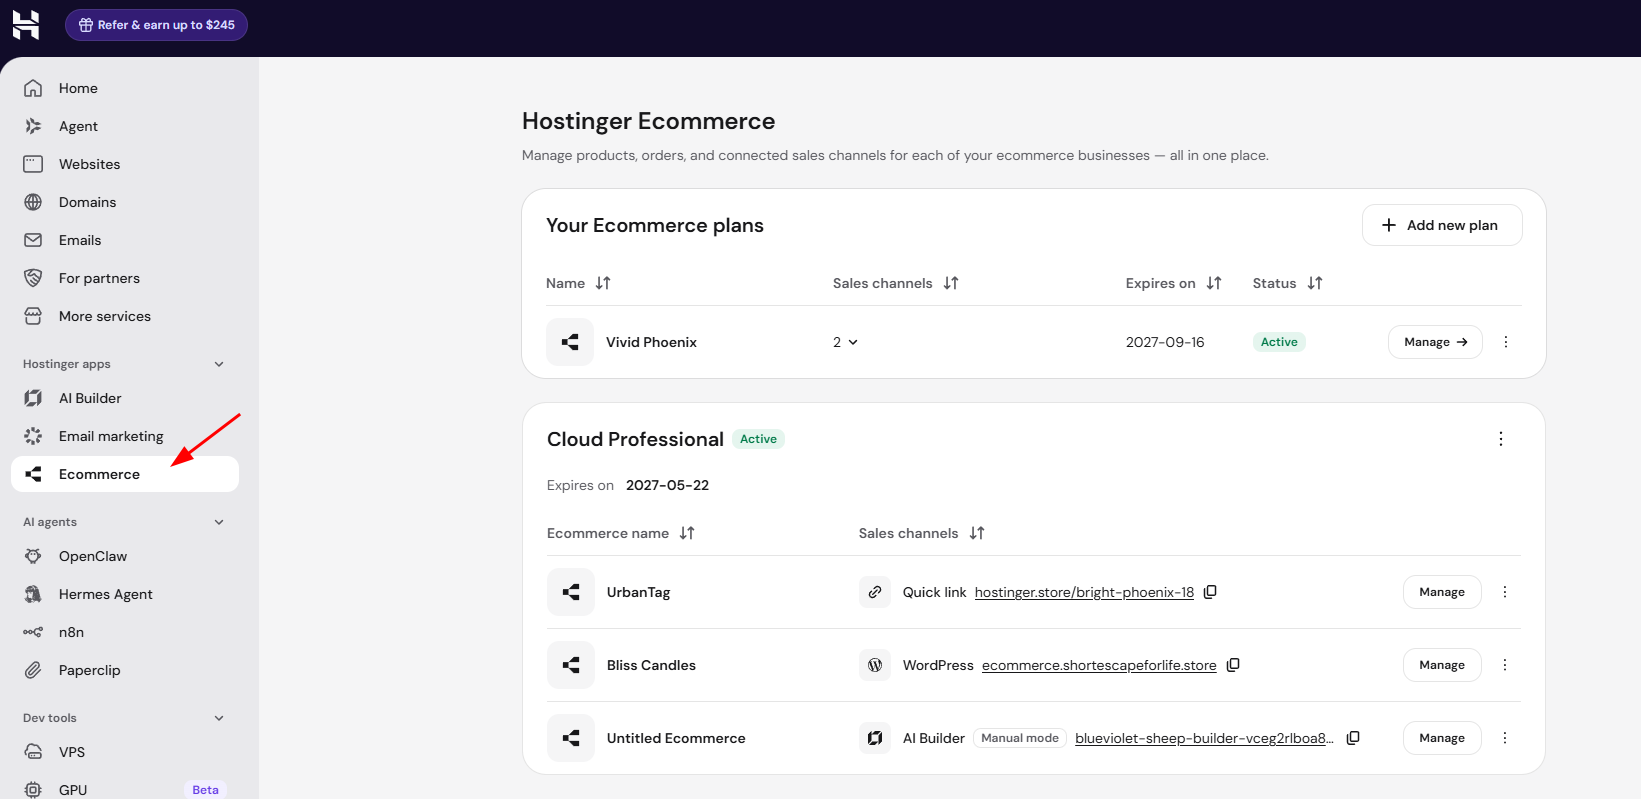
Click Ecommerce, under Hostinger apps in the main Hostinger dashboard sidebar, to see Your Ecommerce plans: every Ecommerce subscription and hosting plan with Ecommerce access on your account, listed with its Name, connected Sales channels, Expires on date, and Status. Click Add new plan to purchase an additional Ecommerce subscription.
Click Manage on that row to open its Store Manager.
Overview
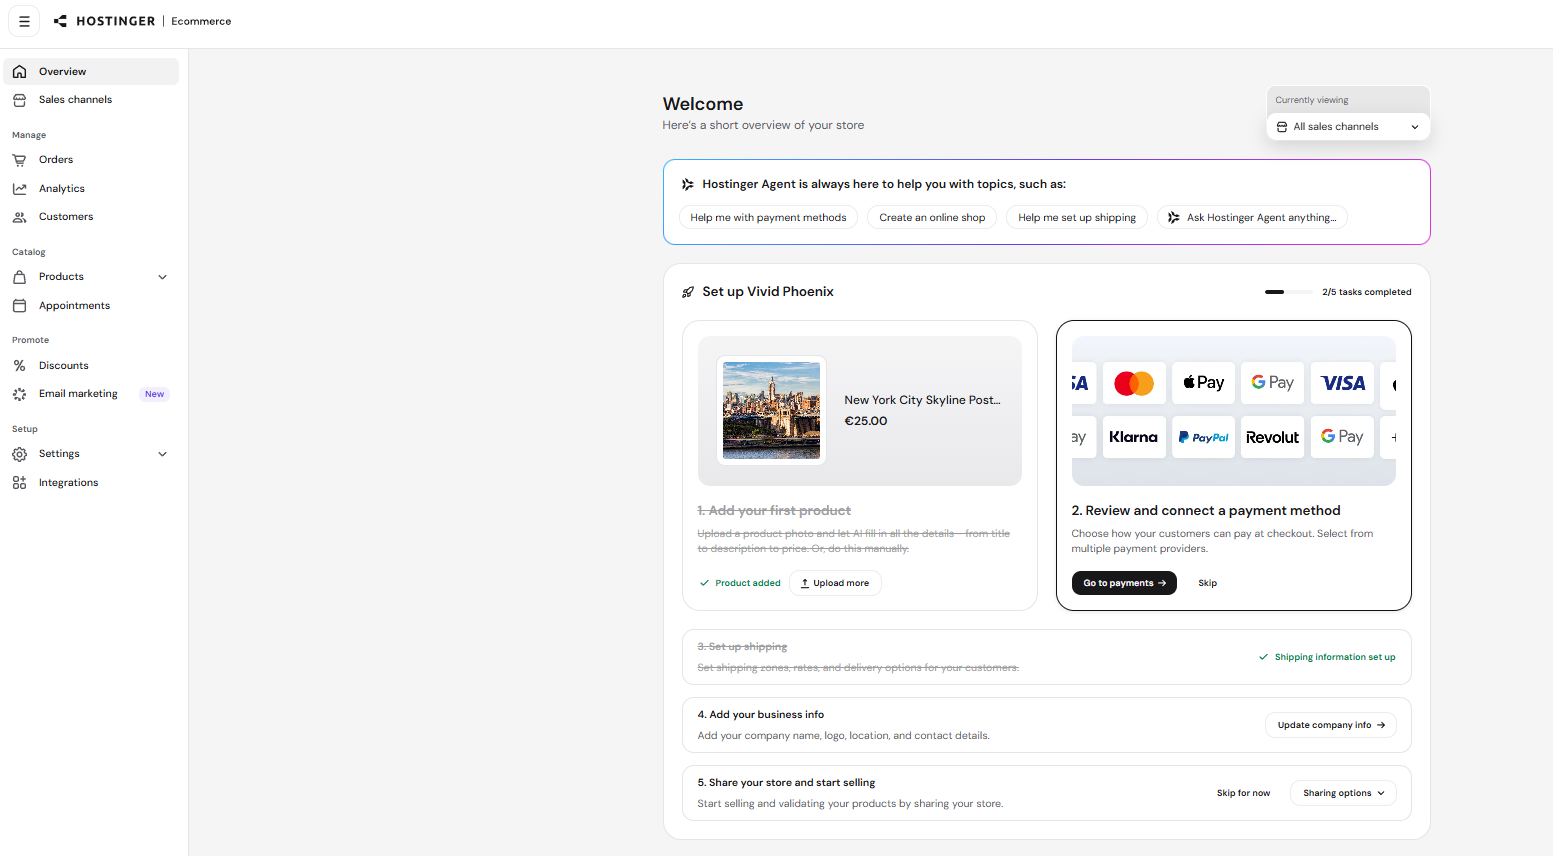
The Overview tab is the first page you see after opening a store, summarizing setup progress and store performance. Ask Hostinger Agent directly from the Overview page for help with tasks such as payment methods, shipping setup, or creating an online shop.
A Currently viewing dropdown lets you filter the analytics widget and recent orders list by a specific sales channel.
- Defaults to All sales channels — existing behavior is unchanged.
- Selecting a channel updates both the analytics widget and the recent orders list in real time.
A setup checklist tracks progress toward your first sale, showing how many of the following five tasks are complete:
- Add your first product.
- Review and connect a payment method.
- Set up shipping.
- Add your business info.
- Share your store and start selling.
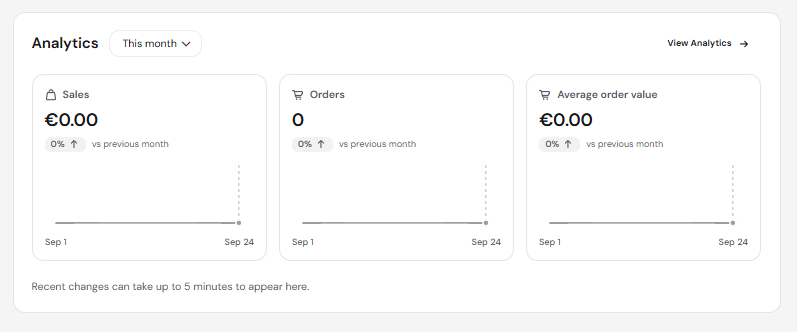
Below the checklist, an Analytics widget shows Sales, Orders, and Average order value.
- Each metric includes a sparkline chart showing daily performance for the selected period.
- Hover over any day on the chart to see the exact value for that date.
- A comparison badge (e.g. +165% vs previous week) shows how the current period compares to the previous one.
NOTE
- Recent changes can take up to 5 minutes to appear in the Overview analytics.
Sales channels
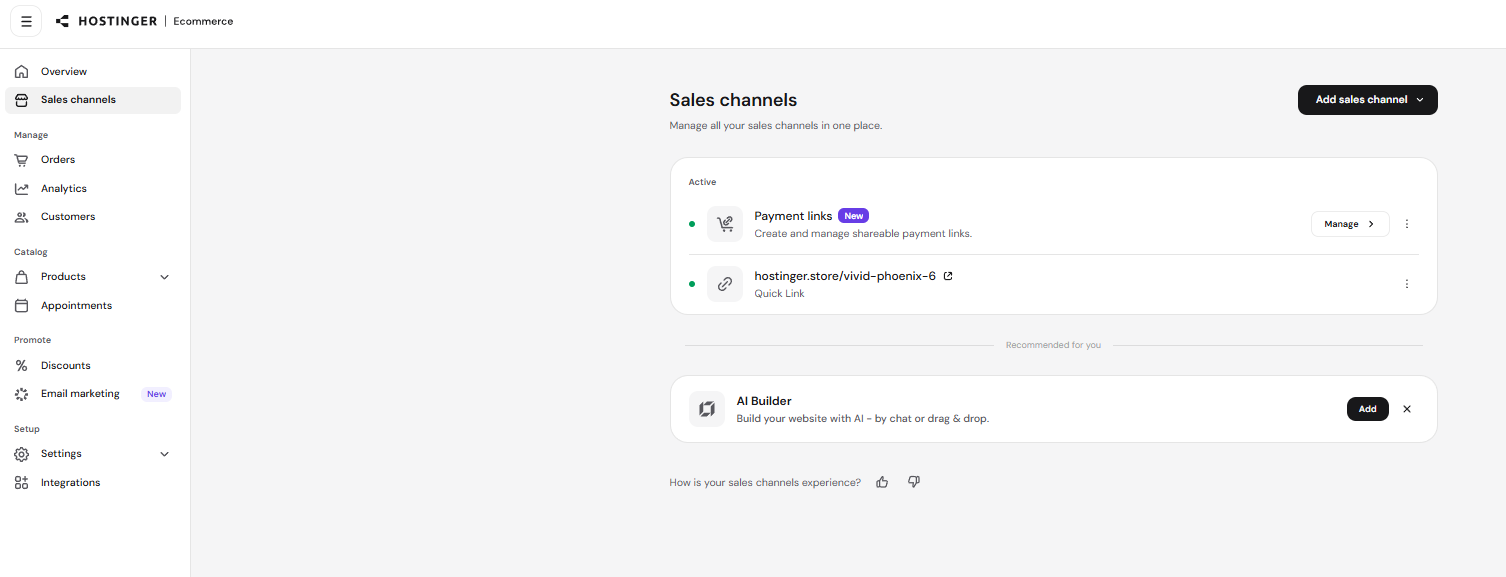
The Sales channels page lists every sales channel connected to your store under an Active section. Each channel shows a status indicator, a shortcut to manage it (for example, Manage for Payment links, or the store URL for a Quick Link), and an actions menu.
Click Add sales channel to connect a new channel to your store. See Hostinger Ecommerce: Product overview for the available connection methods (Quick link, AI Builder, Custom sales channel, Checkout Link, WordPress).
Orders
The Orders page lists every order placed across your sales channels, ready to track, manage, and fulfill. A count badge next to Orders in the sidebar shows how many orders your store has received.
The Orders page lets you find orders using the following filters:
- Fulfillment status
- Payment status
- Date
- Product type
- Shipping method
- Country
- Order notes
- Order ID
- Cart ID
- Product title
- Product SKU
- Discount
Click More filters to customize which filters are visible and in what order they appear — select the filters you want, then click Apply selected. Use Reset to default view to revert to the standard filter set at any time. Orders are paginated, with a page size selector at the bottom of the table so you can control how many orders are shown per page.
Each order row also includes an actions menu (⋮). Use it to view order details, mark an order as paid, mark it as fulfilled, cancel it, or archive it, directly from the Orders table.
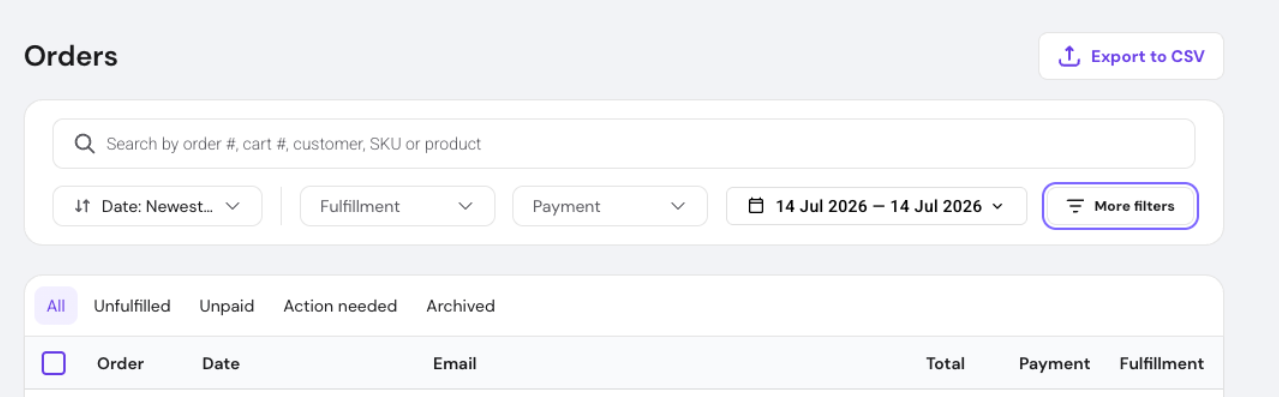
Click Manage filters to customize which filters appear, or Reset to default view to revert. A page size selector at the bottom of the table controls how many orders are shown per page. Click Export to CSV to download your order data.
See Hostinger Ecommerce: How to manage orders for the full Order Details page layout, order timeline, and custom product input fields.
Analytics
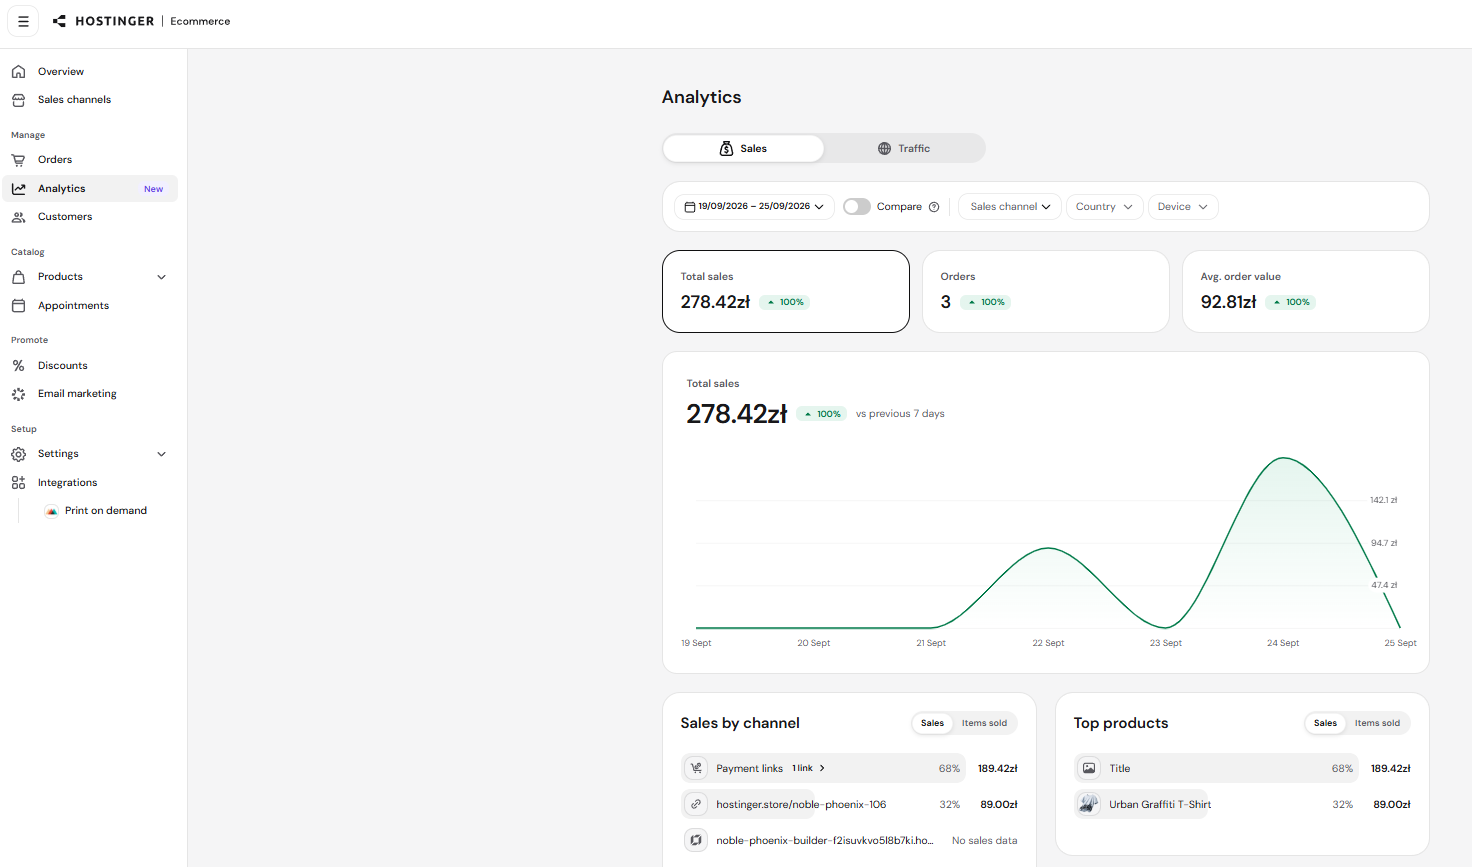
The Analytics page reports your store’s sales and traffic performance, split into a Sales tab and a Traffic tab, with filters for date range, sales channel, country, and device. See Hostinger Ecommerce: How to use the Analytics page to track sales and traffic for the full breakdown of available metrics and filters.
Customers
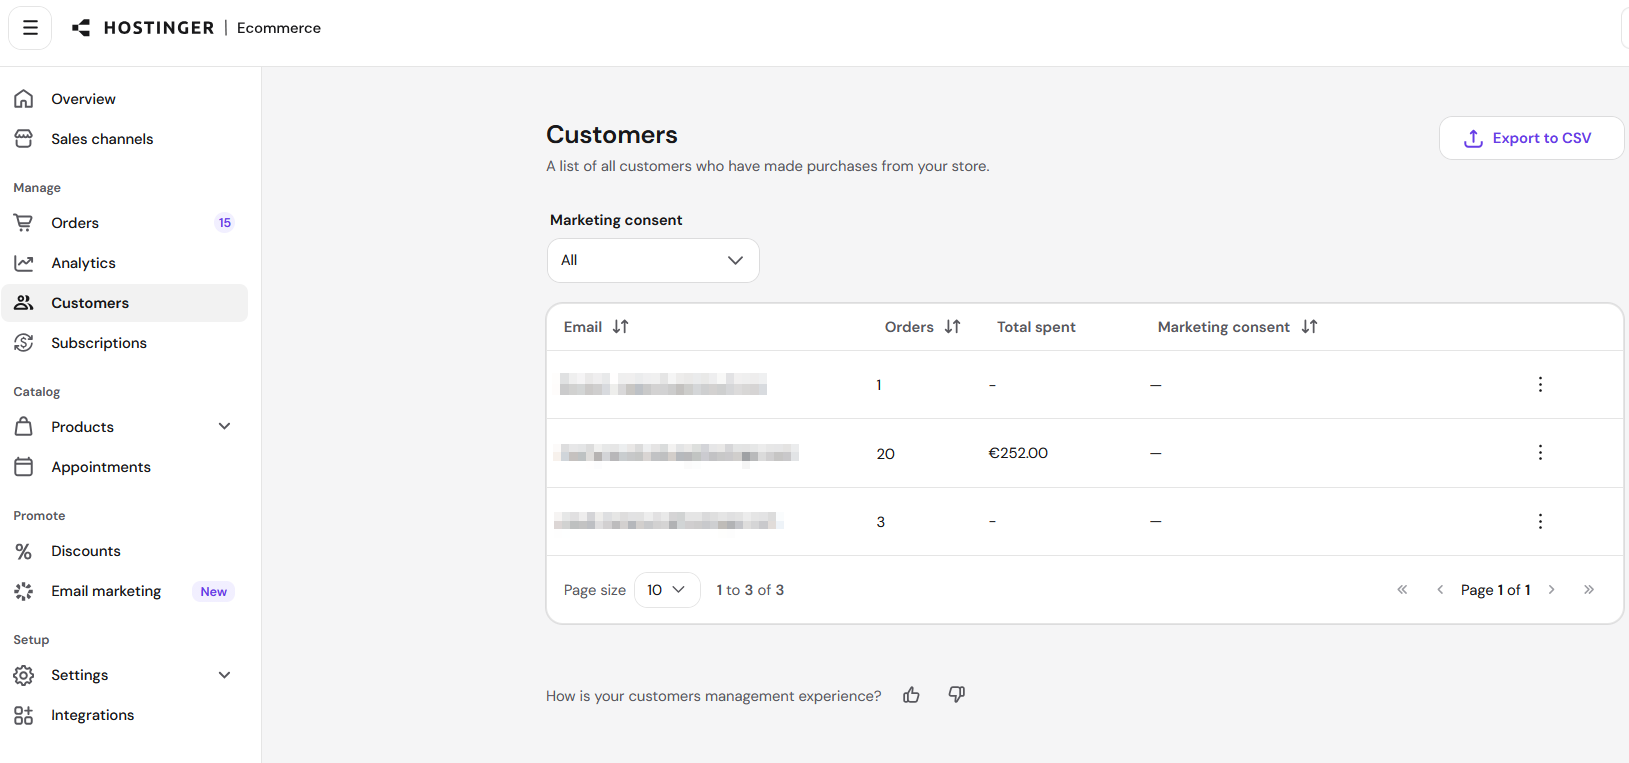
The Customers page lists everyone who has purchased from your store, with an Export to CSV option. Customer records appear here after their first purchase, showing each customer’s email, number of orders, total amount spent, and marketing consent status. Sort the table by email, orders, or marketing consent, or filter the list by the Marketing consent dropdown.
Collect marketing consent at checkout to start growing your customer email list; access this setting by clicking Go to checkout settings from the banner on the Customers page.
Products
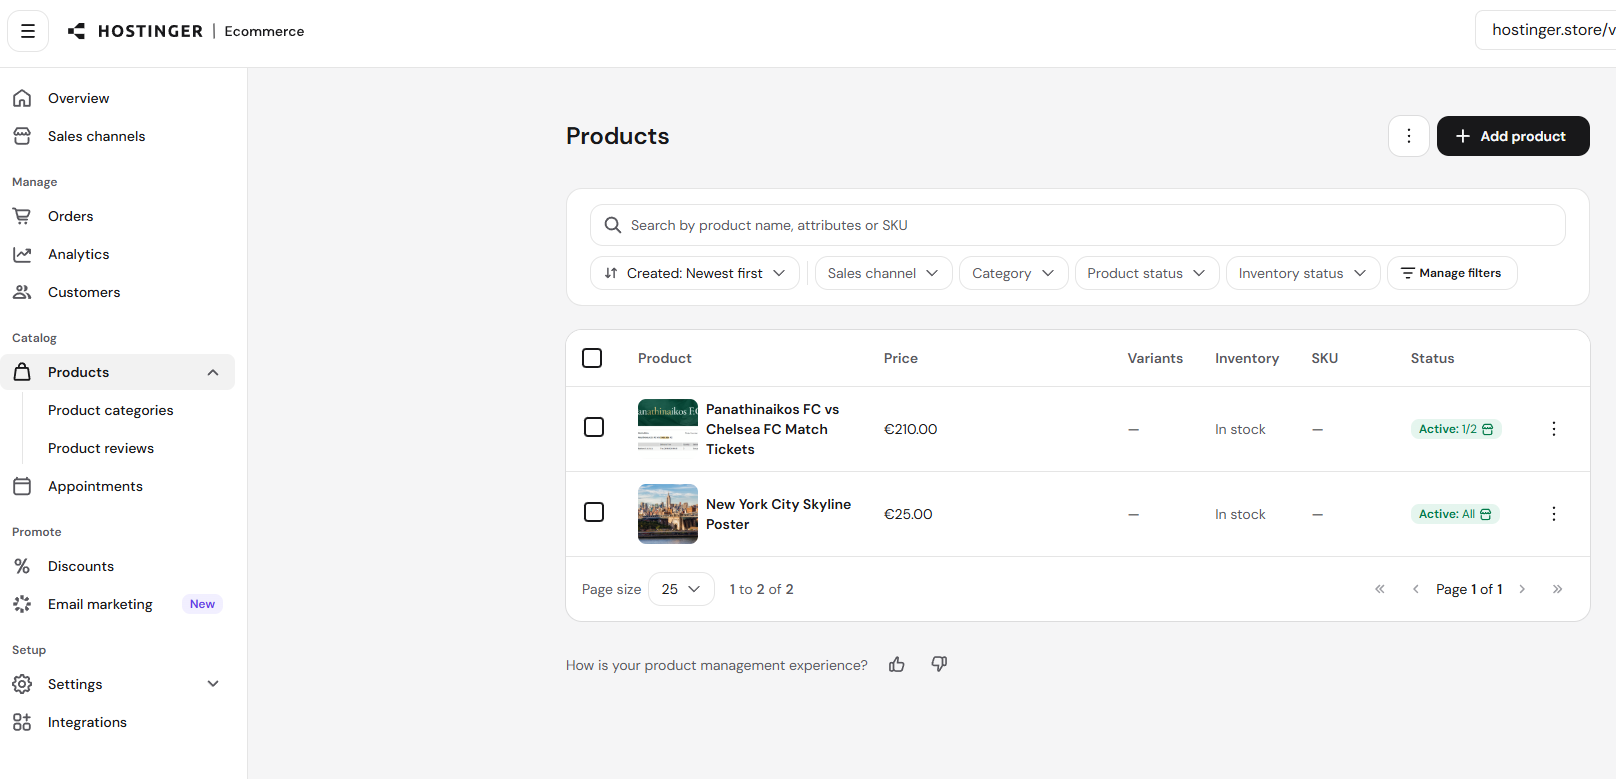
The Products page lists every product in your store, with search and filters for sales channel, category, product status, and inventory status. Click Manage filters to customize which filters appear. Click Add product to create a new product.
See Hostinger Ecommerce: How to add products to your store for the full product creation steps and product types.
Product categories
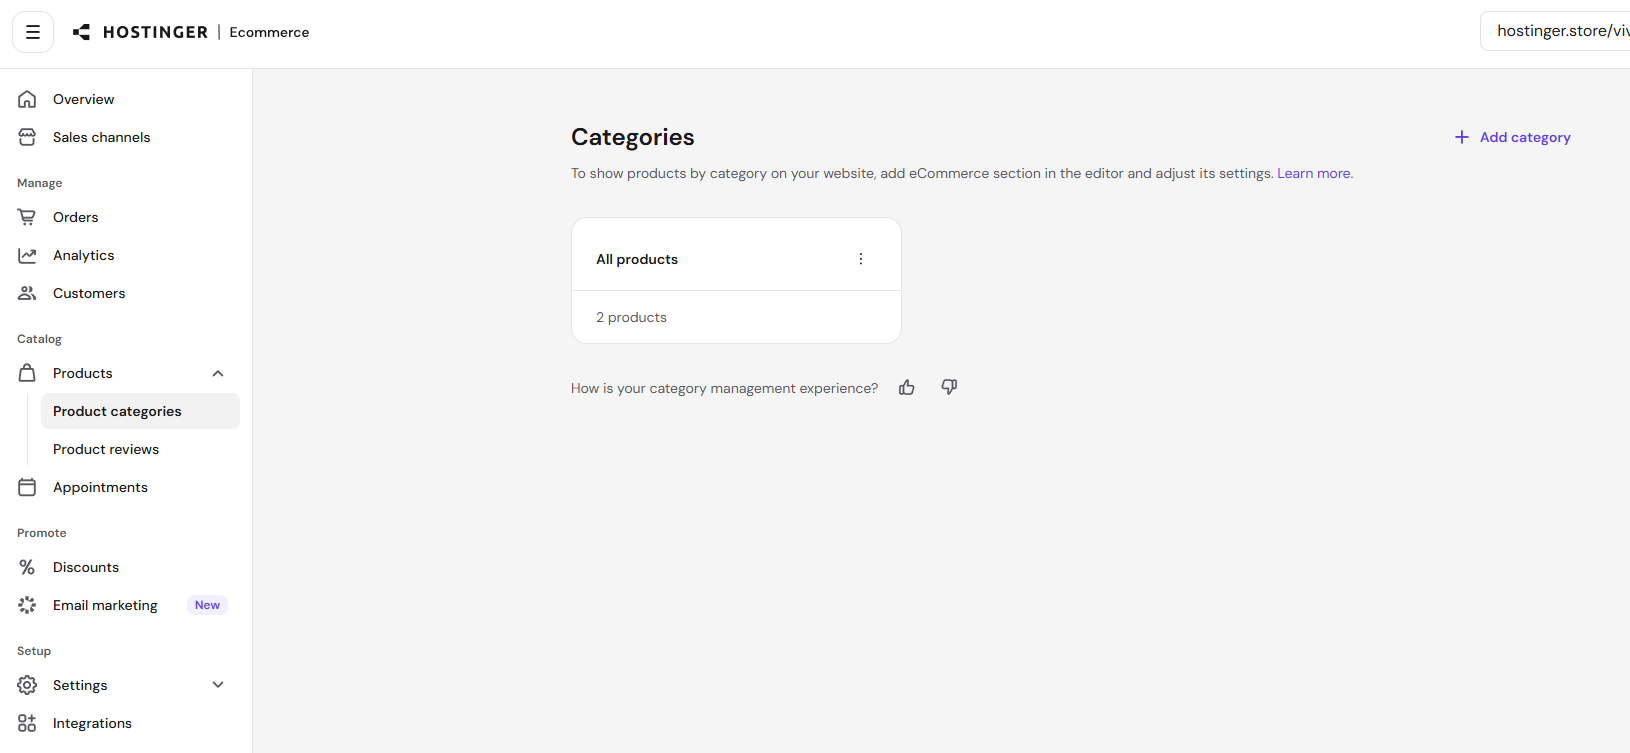
Go to Products → Product categories to group products for display on your website. An All products category exists by default; click Add category to create additional ones.
Product reviews
Go to Products → Product reviews to manage customer reviews. See Hostinger Ecommerce: How to manage product reviews for the full setup and moderation steps.
Appointments
The Appointments page lets you set your schedule and sell online or in-person appointments as a product type. Manage appointments across four tabs: Overview, List of Appointments, Availability, and Settings.
Overview and List of Appointments
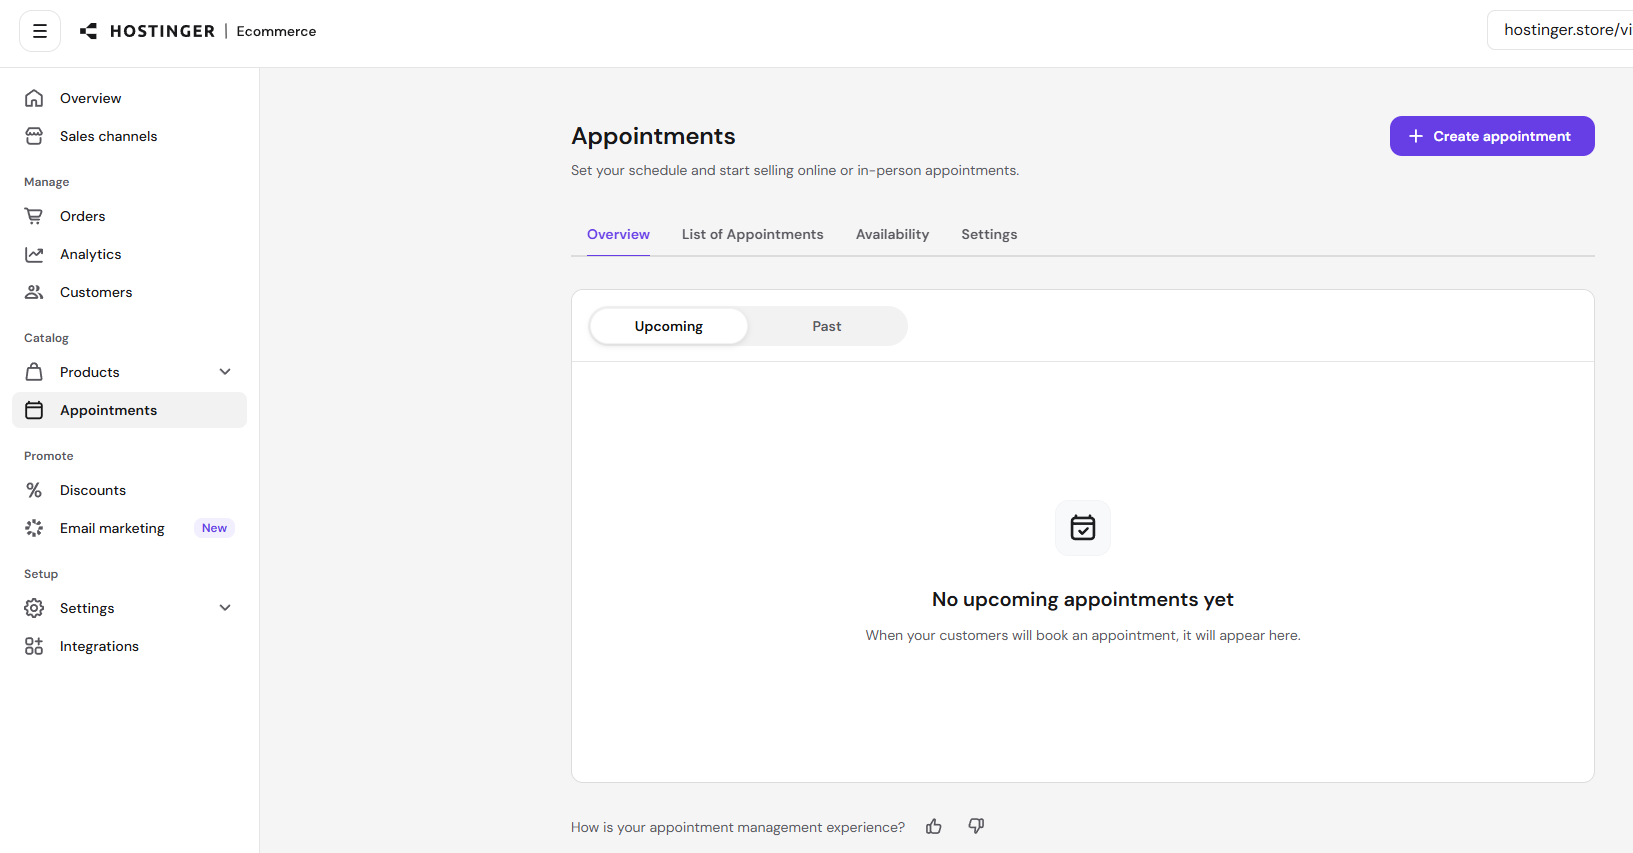
The Overview tab tracks customer bookings, split into Upcoming and Past appointments.
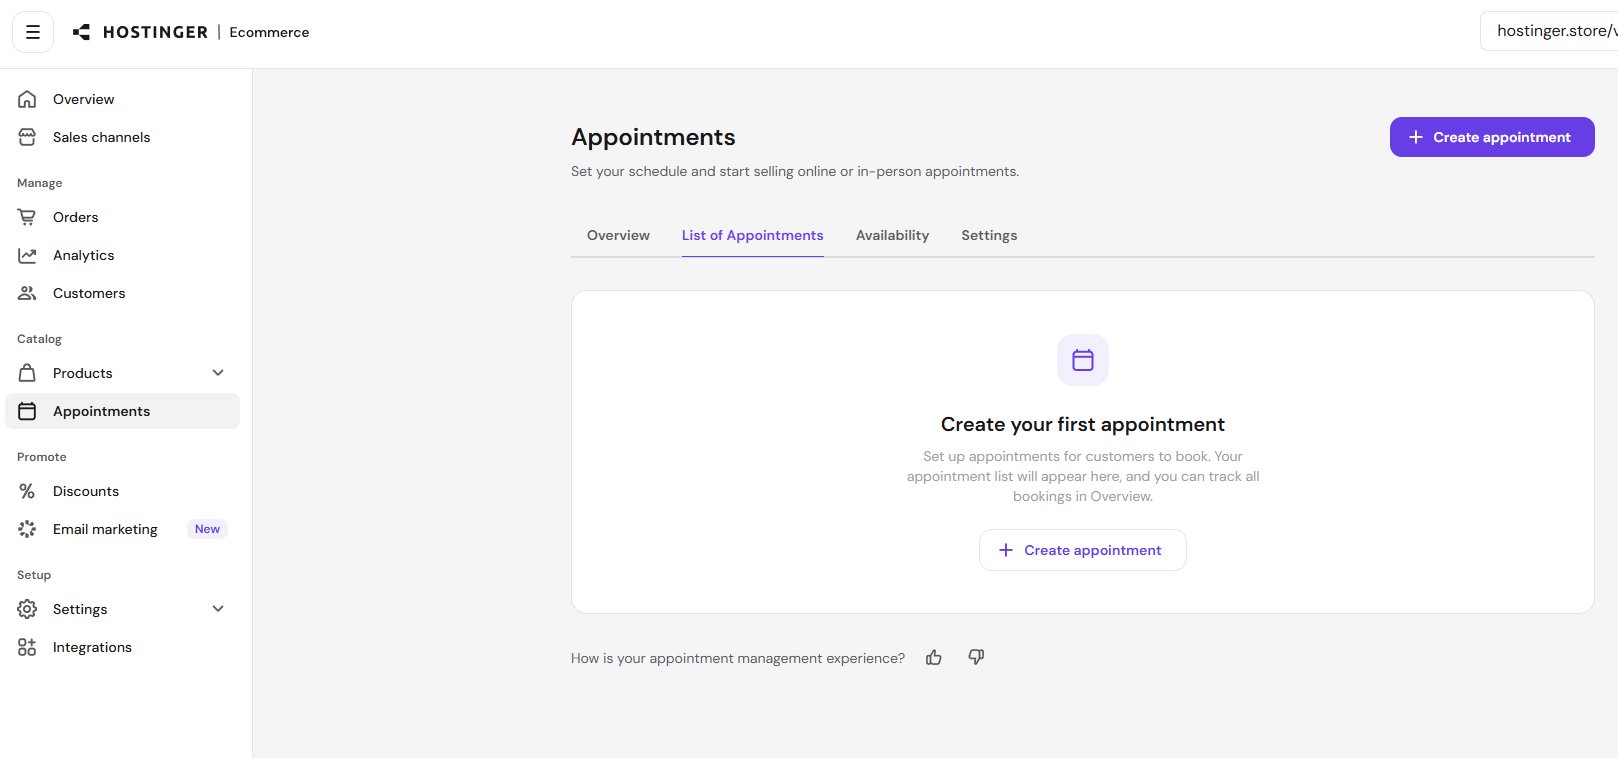
The List of Appointments tab is where you set up the appointment types customers can book; click Create appointment here to add a new one. Bookings made against your appointment types then appear back on the Overview tab.
Availability
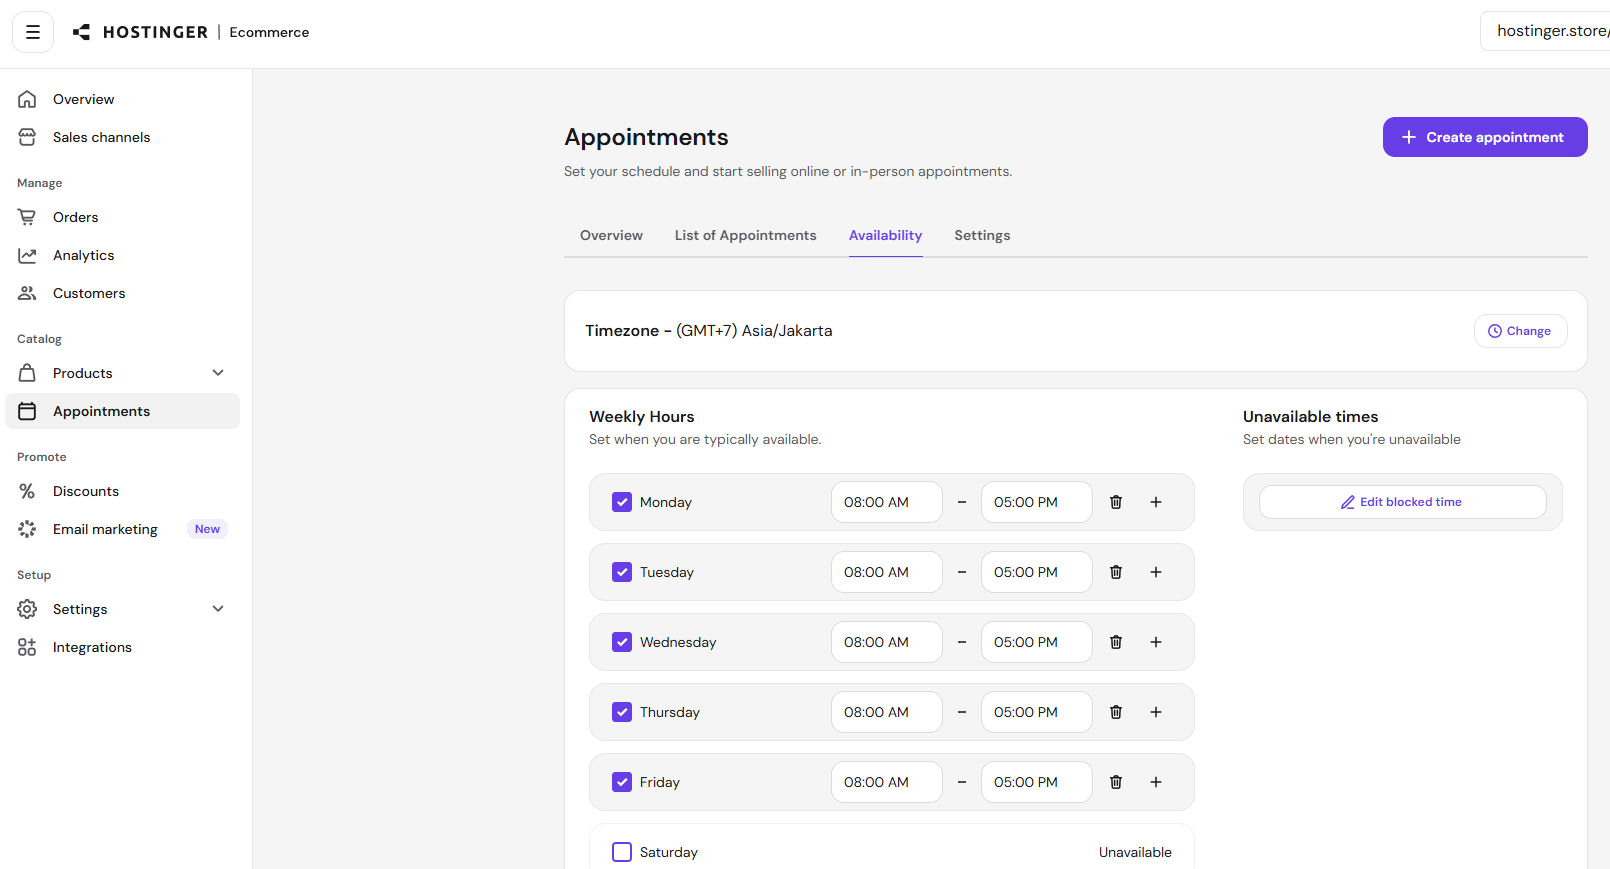
Set your working hours on the Availability tab. Change your timezone, then set Weekly Hours by toggling each day on or off and setting a start and end time; click the plus icon to add an extra time range to a day, or the trash icon to remove one. Click Edit blocked time under Unavailable times to set specific dates when you’re unavailable.
Settings
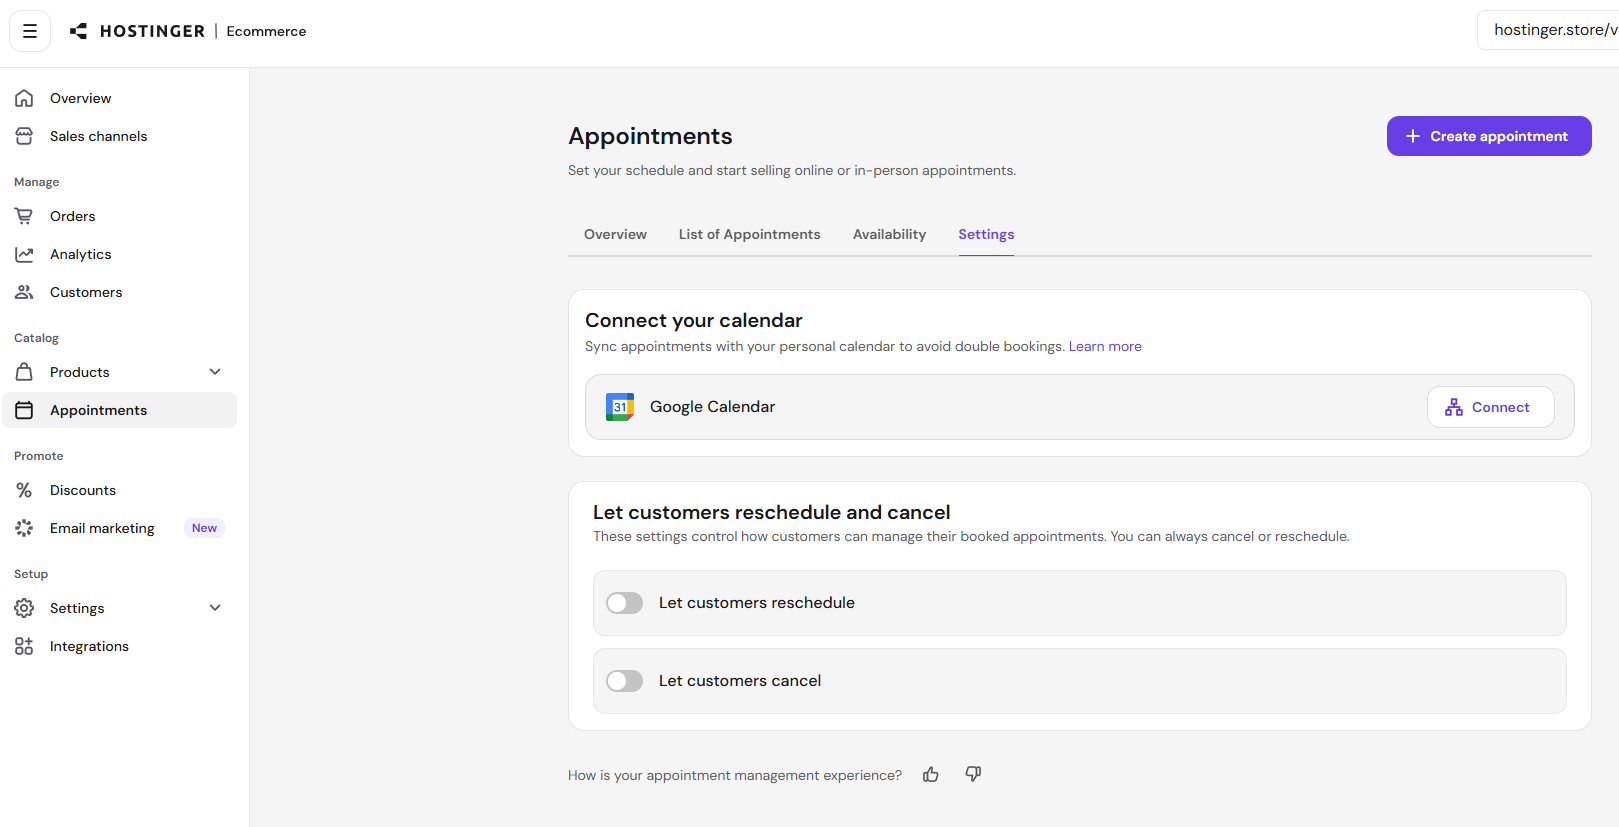
On the Settings tab, click Connect under Connect your calendar to sync appointments with Google Calendar and avoid double bookings. Under Let customers reschedule and cancel, toggle Let customers reschedule and Let customers cancel independently to control whether customers can manage their own bookings; you can always cancel or reschedule an appointment yourself regardless of these settings.
Discounts
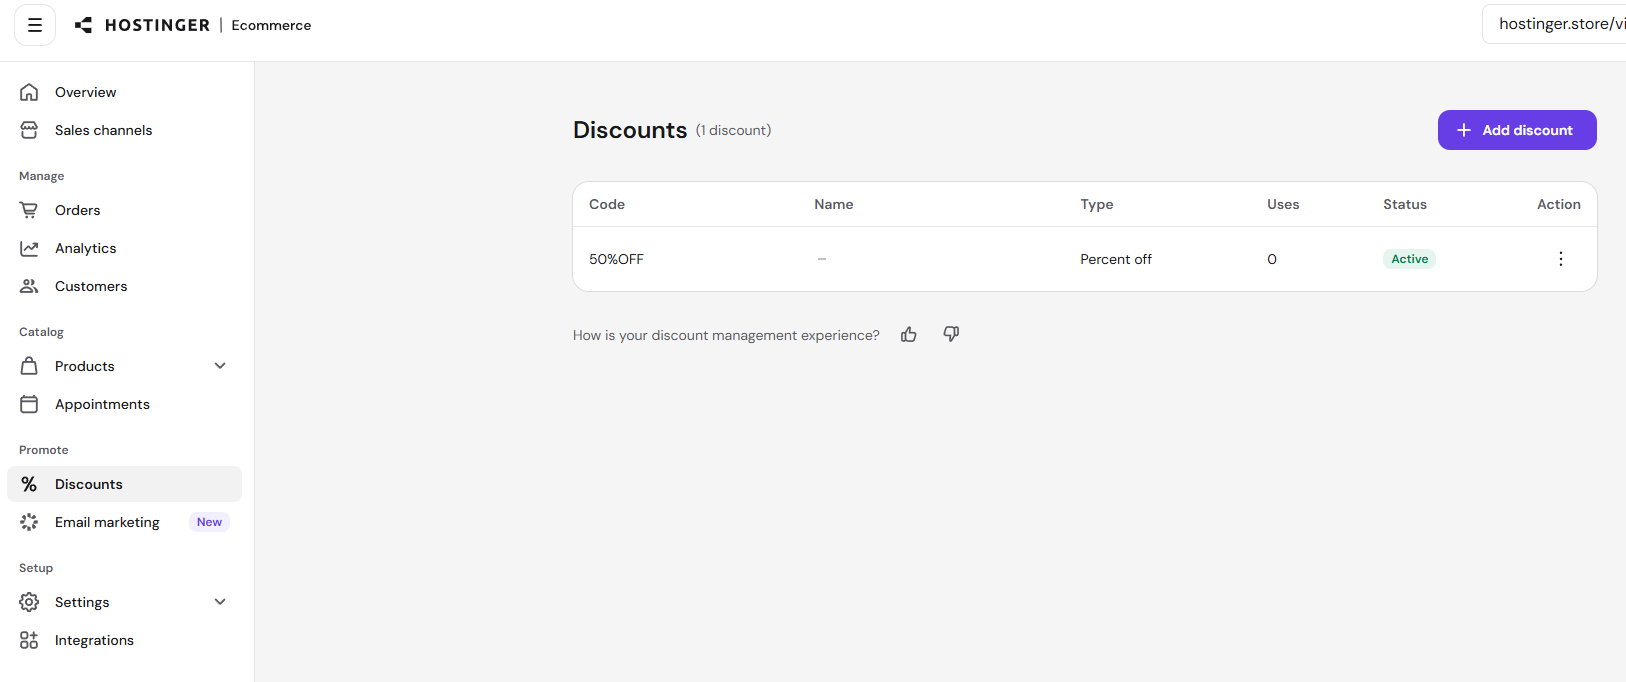
The Discounts page lists every discount code created for your store, showing its code, name, discount type, number of uses, and status. Click Add discount to create a new discount code.
Email marketing
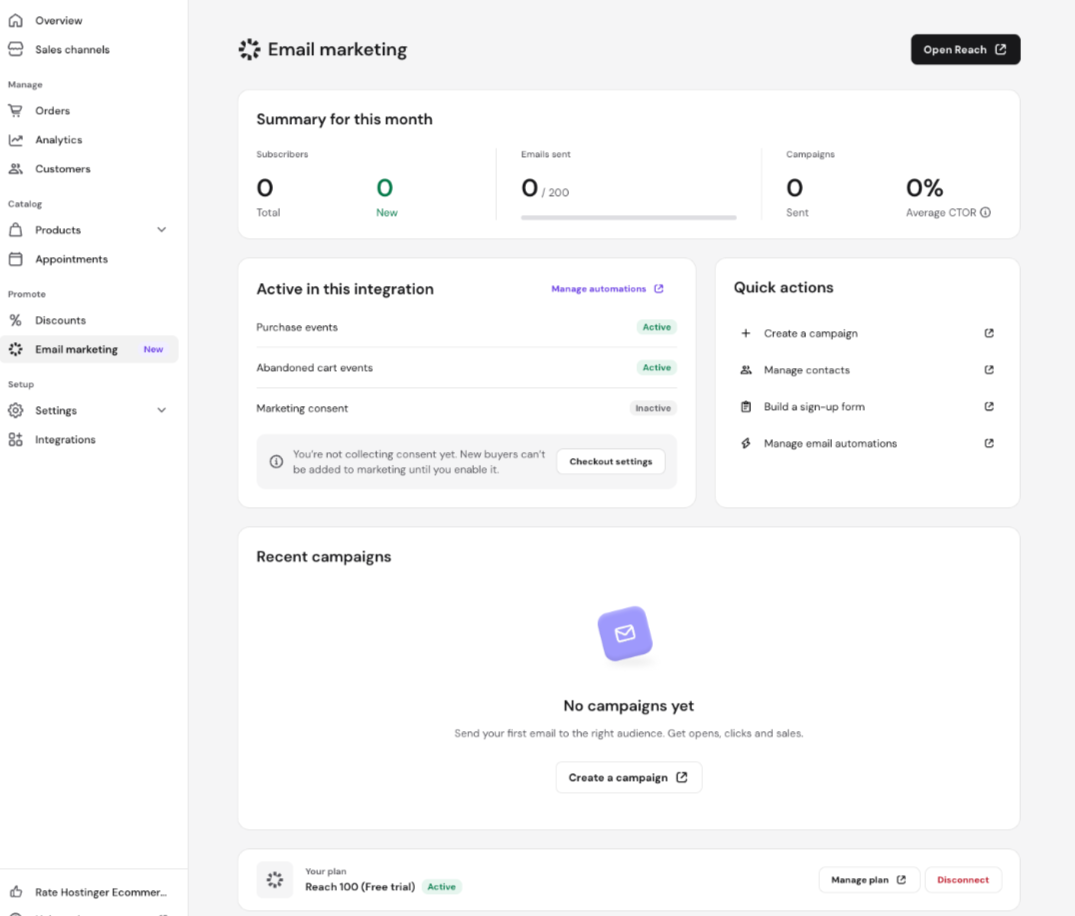
The Email marketing dashboard in Hostinger eCommerce gives you a single place to monitor and manage your store’s email marketing activity:
- Monthly summary — a real-time overview of subscribers, emails sent, and campaign performance, including average click-to-open rate (CTOR).
- Purchase and abandoned cart event tracking — automatically captures buyer behavior to trigger the right emails at the right time.
- Quick actions — create campaigns, manage contacts, build signup forms, and set up automations directly from the dashboard.
- Integration status panel — see which events are active and manage your automation settings without leaving the dashboard.
- Direct access to Reach — jump into the full Hostinger Reach dashboard with a single click.
To access it, go to your store dashboard, then Email marketing.
Settings
Access store-wide configuration from Settings, organized into: Store settings, Payments, Shipping, Checkout, Taxes, Invoices, Emails, and Email previews. See Hostinger Ecommerce: How to edit store settings for a full walkthrough of each settings page.
Integrations
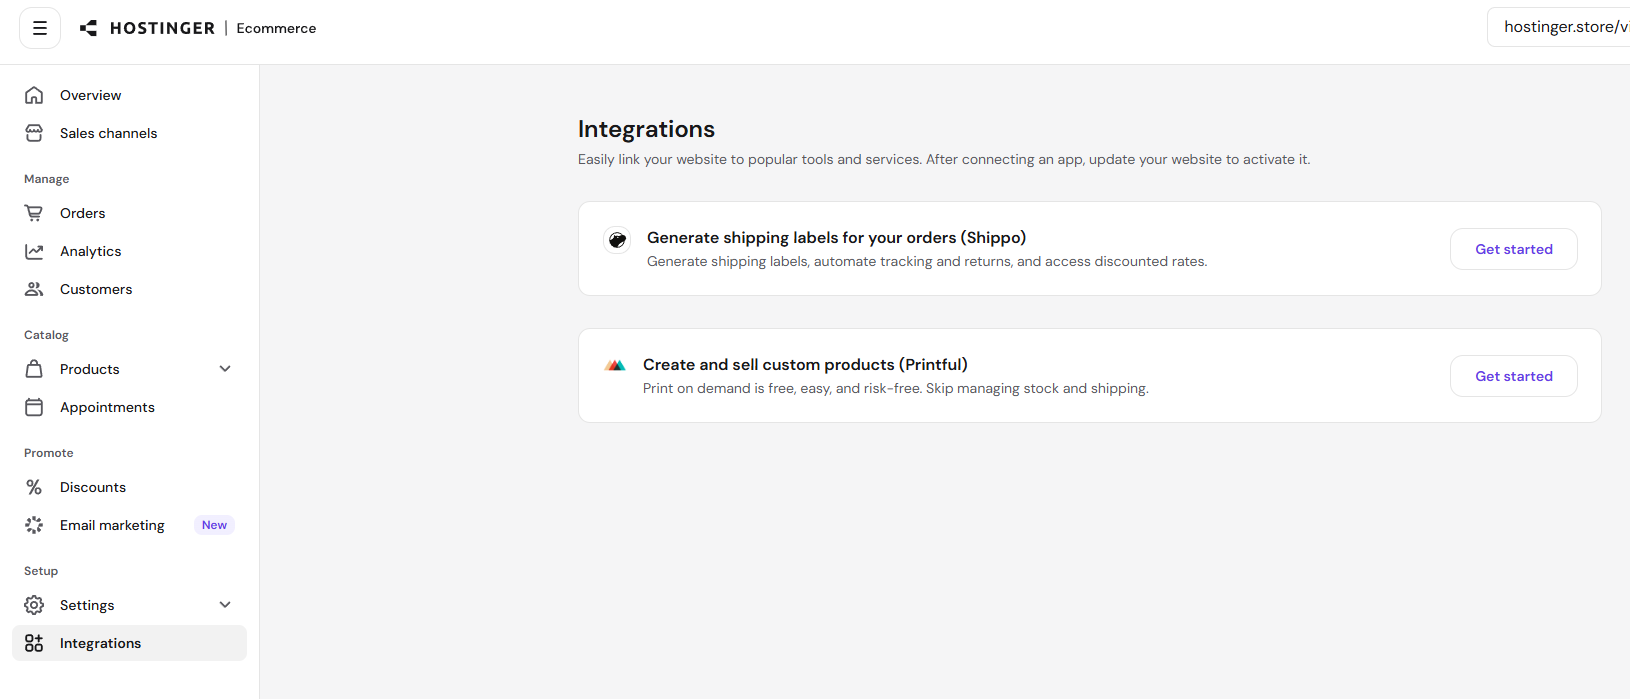
The Integrations page connects your store to third-party tools:
- Shippo – generate shipping labels, automate tracking and returns, and access discounted shipping rates.
- Printful – create and sell custom, print-on-demand products with no inventory or shipping to manage.
Click Get started on either integration to connect it to your store.
Once you’re familiar with the sidebar, you can move directly to the page you need instead of navigating page by page.