Create shipping labels for your Hostinger Ecommerce store orders with the Shippo integration, generating professional labels from 40+ global carriers without leaving your Store Manager. To do it, install the Shippo app from the Integrations page, then buy and print a label from the order page.
Step 1 – Install the Shippo app in Hostinger Ecommerce
Before creating labels, connect your Shippo account to your Hostinger Ecommerce store:
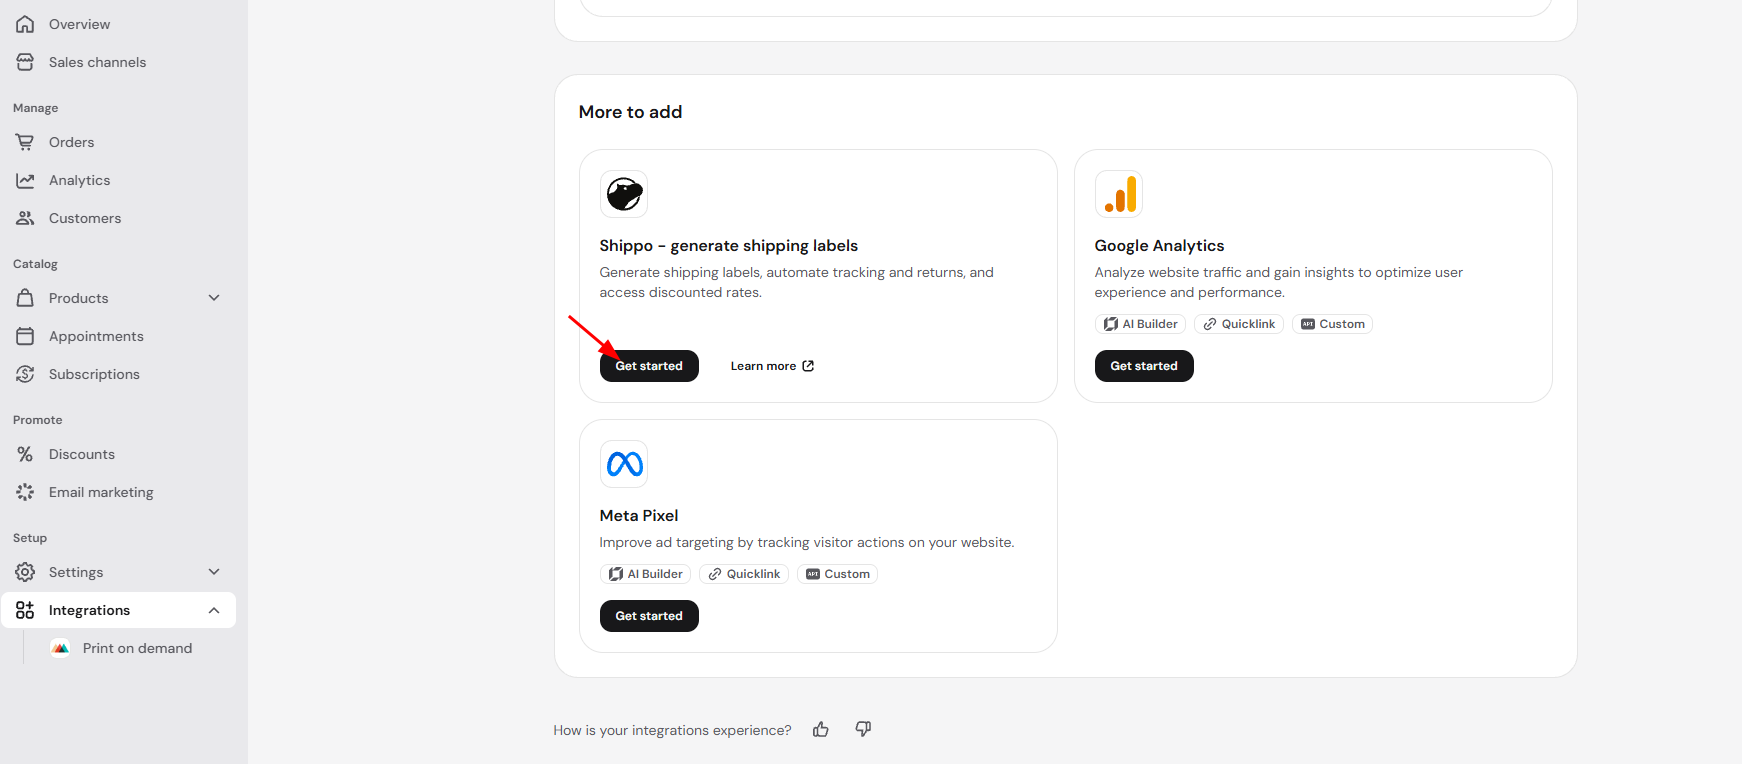
- In the Store Manager, go to Integrations and click Get started next to Shippo.
If you build your website with Hostinger AI Builder, you can also open the integrations from the manual mode editor: click the ellipsis (⋯) button → Integrations.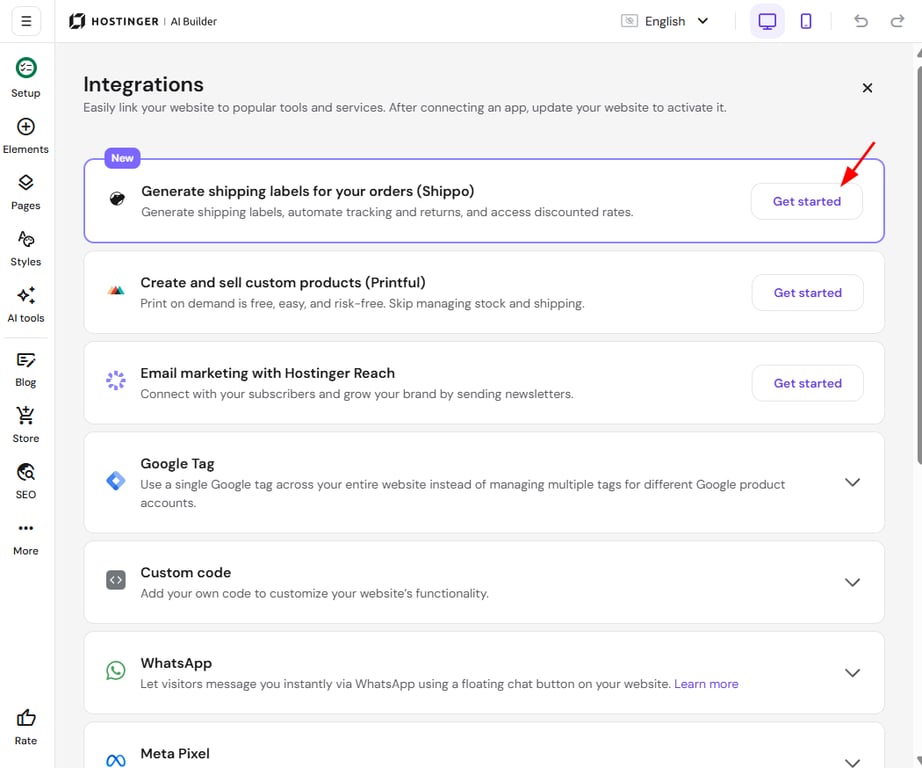
- Select Get started.
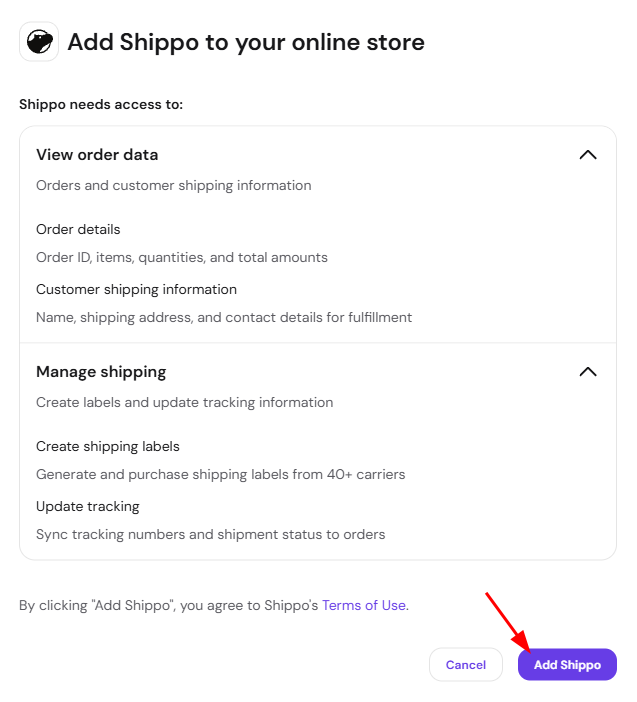
- In the Add Shippo to your online store window, review the access Shippo needs, View order data and Manage shipping, then click Add Shippo.
- On the Create Shippo account page, enter your full name, email address, and password, then click Sign up. If you already have a Shippo account, click Log in at the bottom of the page instead.
- On the Enter billing information page, enter your card details and click Continue. Shippo asks for a payment method because it charges label costs to your Shippo account, not to your Hostinger plan. Check the current options on the Shippo pricing page.
- Once your Shippo account is set up, you’re redirected back to your Store Manager.
Step 2 – Create shipping labels with Shippo in Hostinger Ecommerce
- From your Store Manager, go to the Orders page.
- Click on the Order that is ready for fulfillment.
- Inside the order details, look for the Shipping section and click the Create Shipping Label button. This will securely open the shipping label interface within your store.
- In the label creation window, you will need to confirm the package details:
- Shipping address: verify the customer’s address (this is pre-filled from the order).
- Package size & weight: enter the dimensions and weight of the box you are using.
- Carrier selection: Shippo will display a list of available carriers (e.g., UPS, DHL, FedEx) and their rates. Choose the option that best fits your budget and delivery speed.
- Once you’ve selected a rate, click Buy Label.
- The cost of the label will be charged to your Shippo account.
- Click Download Label to save it as a PDF.
- Print the label using a standard printer or a thermal label printer and attach it securely to your package.
Once the label is created, the order status will automatically update to Fulfilled, and the tracking number will be sent to your customer via email.
For stores in Lithuania, you can also connect LP Express and create shipping labels for LP Express parcel locker orders.
Fix Shippo connection errors in Hostinger Ecommerce
If Shippo stays under More to add after you finish the Shippo steps, the connection wasn’t saved. Follow these steps to connect it again.
- In Store Manager, go to Integrations and check whether Shippo appears under Your integrations. Shippo can return you to its own onboarding page instead of Integrations, so open Integrations again to see the current status.
- If Shippo shows an Action required badge with a Reconnection needed banner, click Reconnect now and complete the Shippo steps again.
- If Shippo still isn’t connected, contact Hostinger support. Include your store name, your website address, and a screenshot of the Integrations page.
With Shippo connected to your Hostinger Ecommerce store, you can buy and print a shipping label from any order in Store Manager, and your customers receive their tracking number by email automatically.