Accept donations in your Hostinger AI Builder online store by creating a donation-type product.
Step 1 — Enable the eCommerce platform
To enable the eCommerce platform, follow these guides:
- For manual mode: How to Enable eCommerce Features on Your Website
- For agentic mode: Integration with online store in agentic mode
Step 2 — Set up payment methods
You can enable two types of payment methods on your website: online payments and manual (offline) payments.
To set it up, access your store management area and go to the Settings → Payments.
Step 3 — Create a donation-type product
-
In the store management area, go to Products, and click Add product
-
Choose the product type: donation
-
(Optional for manual mode) Upload product images
-
Enter the product title, e.g., Donation — it’s automatically used as the meta title of the product page
-
(Optional) Enter a product subtitle
-
(Optional) Add a product ribbon
-
(Optional) Add the product description
-
Specify the price, i.e., the donation amount — it can’t be discretionary or set to zero; the minimum product price is 1 USD (or its equivalent in other currencies)
-
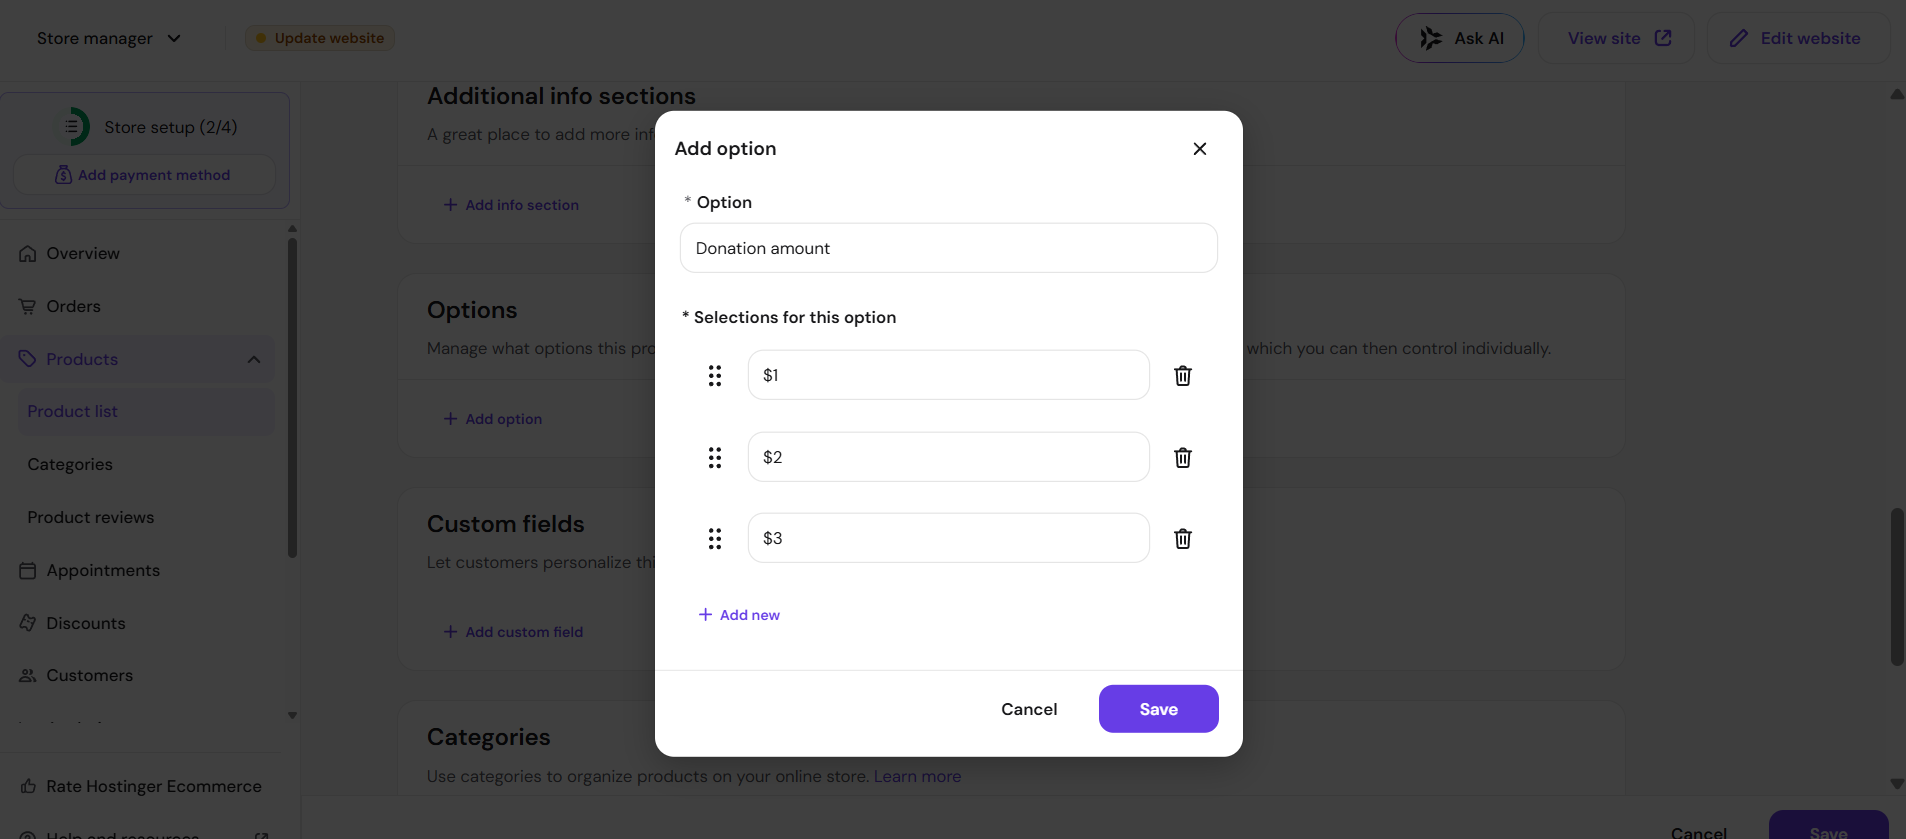
(Optional) Add product options to allow users to select the donation amount, e.g., $1, $2, $3, etc.:

-
(Optional) Assign a product to a category
-
Save the product
Step 4 — Display the product on your website
Once you create a product, the product page is created automatically. However, the product is not automatically displayed on your website. To display the donation-type product on your manual mode website, use product sections.
Finally, remember to update your website.