Configure your domain for Hostinger Mail manually if it isn’t connected via Hostinger nameservers, by adding the required DNS records directly at your domain’s DNS provider. If you already have email set up and want to check your inbox, go to Hostinger webmail instead.
Before you start
- Confirm your domain doesn’t use Hostinger nameservers. If it does, use automatic setup instead.
- If you’re not sure where your domain’s DNS zone is managed, see how to identify your DNS provider in the domain connection overview.
Accessing the domain’s DNS management zone
Once you know where your domain’s DNS zone is managed from, log in to your account at the service provider’s website and find the domain settings. Such settings may be called as follows:
-
DNS management
-
DNS zone
-
Advanced DNS management
-
Advanced domain settings or similar
In general, look for the option to add, edit, or delete DNS records. You may also find a list of guides for different domain service providers here: How to change DNS records in other registrars.
Opening the Domain Settings at Hostinger
In a new browser tab:
-
Log in to your Hostinger account
-
Go to the Emails section
-
Click on Mailboxes next to your domain
-
Open the Domain settings section:
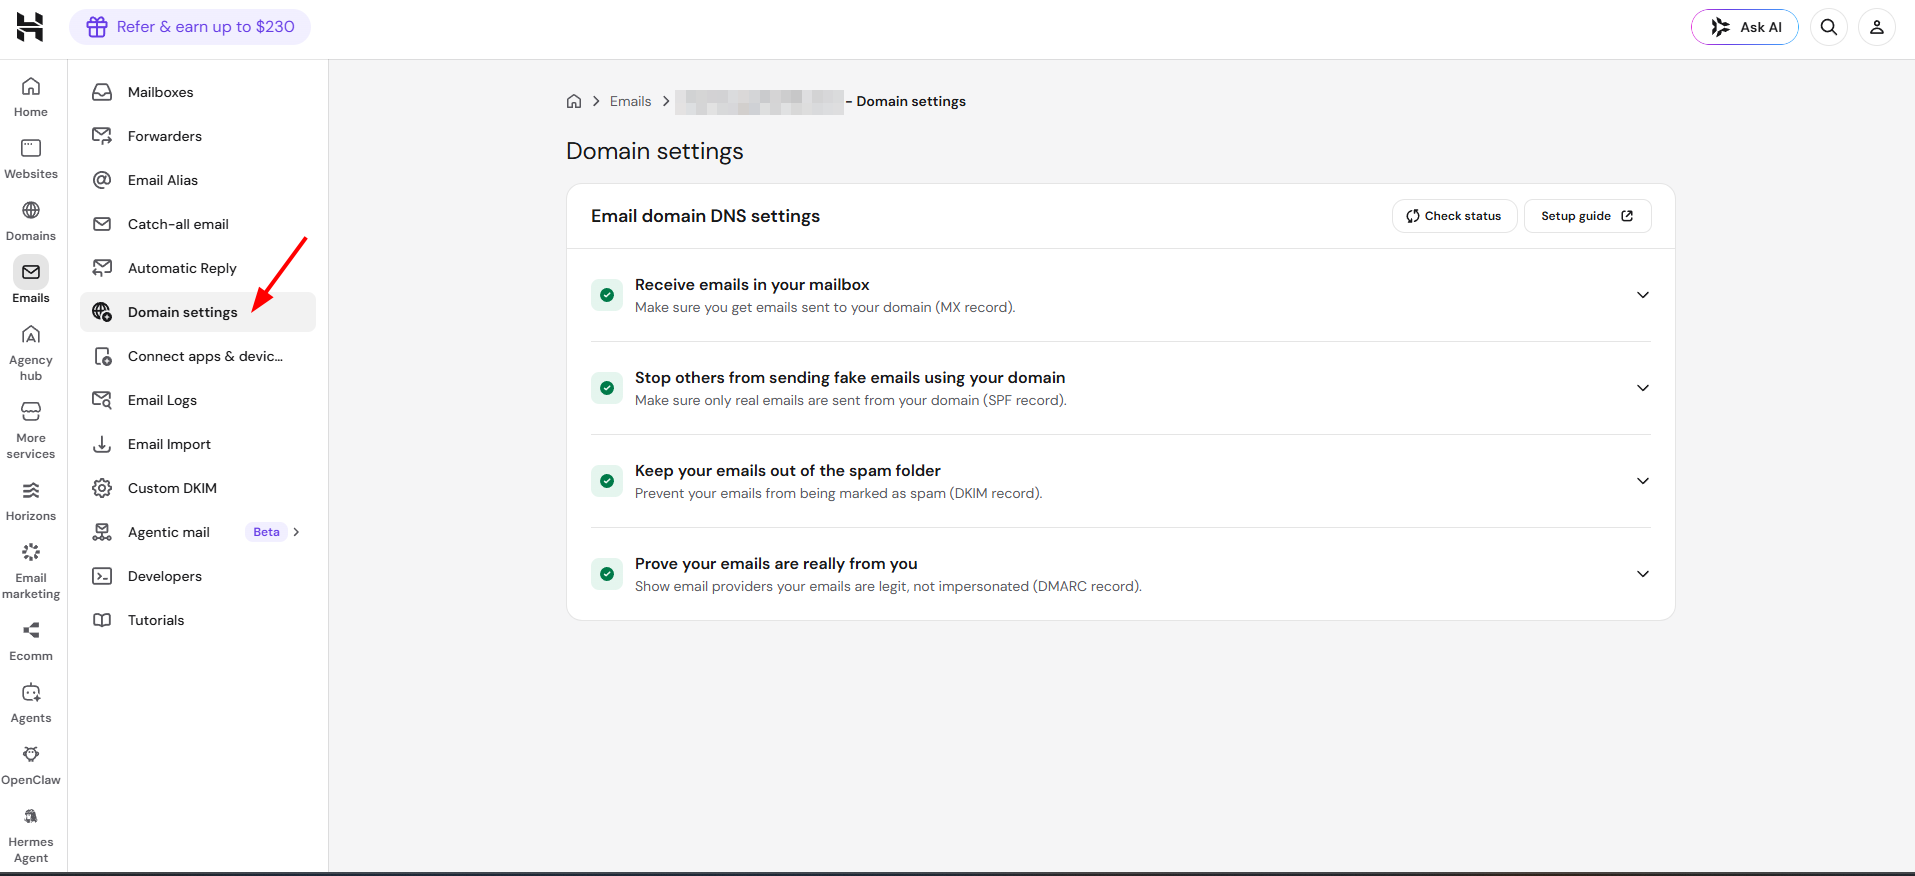
Here, you will find three sections — each of them is related to specific DNS records you need to add to your domain’s DNS zone:
-
Receive emails — MX records
-
Protect your reputation — TXT (SPF) records
-
Improve email deliverability — CNAME (DKIM) records
Add records in Hostinger (if DNS is hosted there)
-
Go to Domains in Hostinger dashboard.
-
Select your domain and open DNS Zone.
-
Add the MX, SPF, DKIM, DMARC records from the table bellow.
-
Save your changes.
-
Return to Emails → Mailboxes → Domain settings to confirm the status.
If your DNS is hosted elsewhere, add the same records at your DNS provider.
Hostinger Mail DNS records
Use @ (or leave the field empty) for the root domain when adding records.
MX records
These route incoming email to Hostinger Mail.
| Type | Host | Priority | Value | TTL |
| MX | @ or (Empty) | 5 | mx1.hostinger.com | Default |
| MX | @ or (Empty) | 10 | mx2.hostinger.com | Default |
SPF record
This authorizes Hostinger to send emails from your domain.
| Type | Host | Value | TTL |
| TXT | @ or (Empty) | v=spf1 include:_spf.mail.hostinger.com ~all | Default |
DKIM records
These allow Hostinger sign outgoing emails to prove they are legitimate.
| Type | Host | Points to | TTL |
| CNAME | hostingermail-a._domainkey | hostingermail-a.dkim.mail.hostinger.com | Default |
| CNAME | hostingermail-b._domainkey | hostingermail-b.dkim.mail.hostinger.com | Default |
| CNAME | hostingermail-c._domainkey | hostingermail-c.dkim.mail.hostinger.com | Default |
DMARC record
Informs recipients what to do if SPF or DKIM checks fail when receiving your emails
| Type | Host | Value | TTL |
| TXT | _dmarc | v=DMARC1; p=none; rua=mailto:dmarc@yourdomain.com | Default |
You may also refer to the table below to find more detailed instructions:
|
Record |
Description |
Instruction |
|
MX |
|
|
|
SPF |
|
|
|
DKIM |
|
|
|
DMARC |
|
The final result should look similar to this:

After making these changes, your email service may take up to 24 hours to start working due to DNS propagation. This delay is unavoidable—just give it time, and your emails will function as expected.
Once the records propagate, Hostinger Mail will be fully set up to send and receive messages through your domain. For an explanation of what each DNS record does and troubleshooting steps if something isn’t working, see the DNS record explanations and troubleshooting guide.