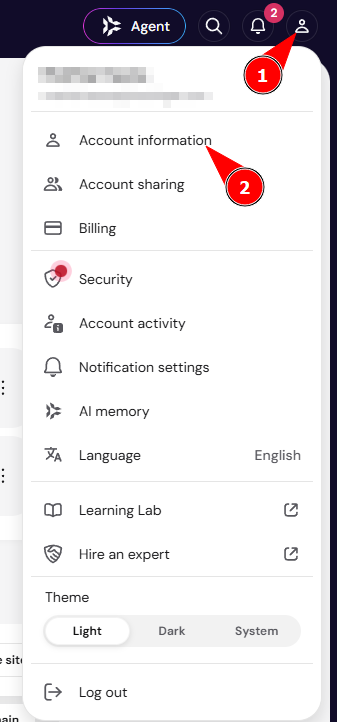
Change your Hostinger account details on the Account information page, which opens from the profile icon in the top-right corner of Hostinger dashboard. The page groups your details into five sections: Personal information, Account settings, Social logins, Account integrations, and Account. Changes to your name, address, or company details appear only on invoices issued after you save them.
Open the Account information page in Hostinger dashboard
- Log in to Hostinger dashboard and click the profile icon in the top-right corner.
- Select Account information.

- The Account information page opens.
Update personal information in your Hostinger account
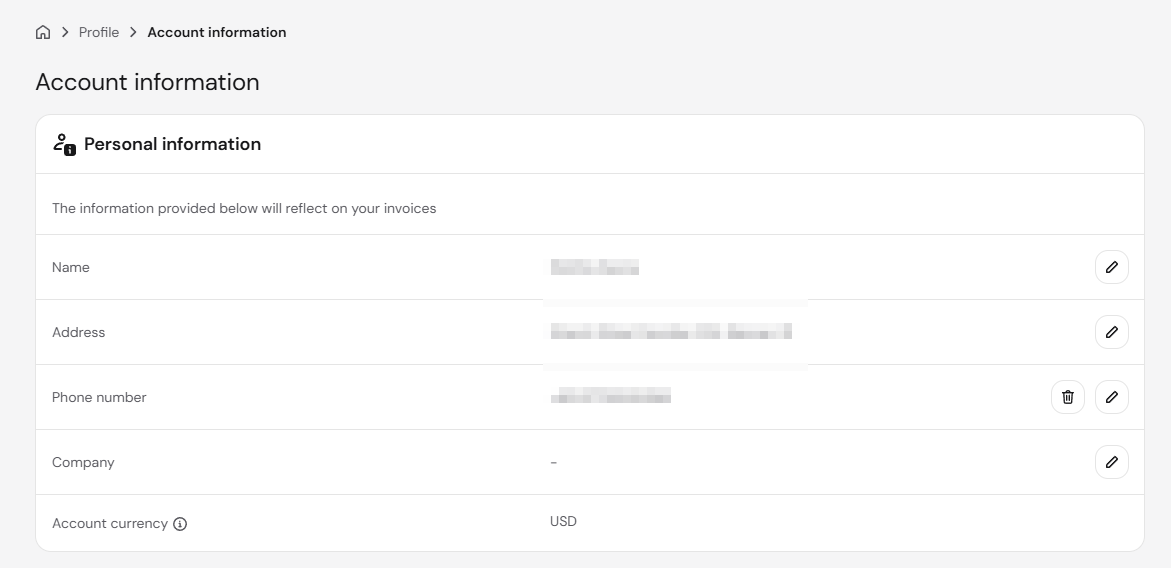
The Personal information section holds the details that appear on your invoices. Click the pencil icon next to a field to edit it:
- Name – your first name and last name.
- Address – country, state/region/province, city, street, house/flat number, and ZIP code. Addresses in the United Arab Emirates (UAE) require an emirate.
- Phone number – your contact number. Click the trash icon to remove it.
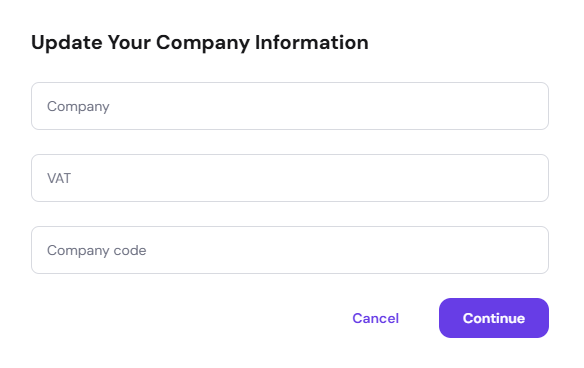
- Company – company name, taxpayer identification number, and company code.
- Account currency – the currency of your Hostinger account. This field has no edit option.
To add other details, such as your national identification number, use the Company code field. After entering the new details, click Continue and enter your Hostinger account password if prompted.
Manage your Hostinger account settings
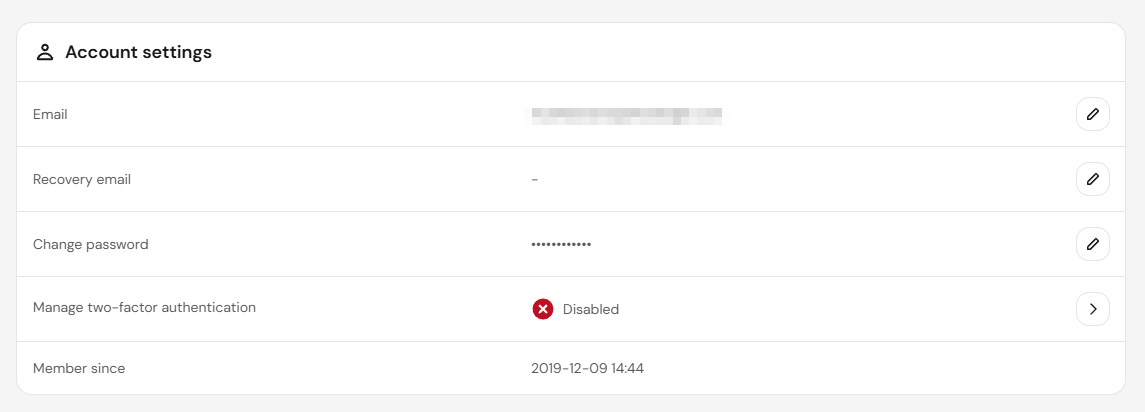
The Account settings section controls how you log in to Hostinger. It has five fields:
- Email – the email address you use to log in. To update it, see How to change the email address of a Hostinger account.
- Recovery email – a backup email address used for account security checks.
- Change password – your Hostinger account password. To update it, see How to change your Hostinger account password.
- Manage two-factor authentication – shows whether two-factor authentication (2FA) is enabled. Click the ❯ arrow to set it up.
- Member since – the date your Hostinger account was created.
Set up a recovery email for your Hostinger account
After you save a recovery email, Hostinger sends a verification link to your primary account email address to confirm that the recovery email is valid. The recovery email itself does not receive the verification message.
The recovery email is used for account security. When Hostinger detects a suspicious login, you can choose to receive the verification code at your verified recovery email instead of your primary account email.
Connect social logins and account integrations
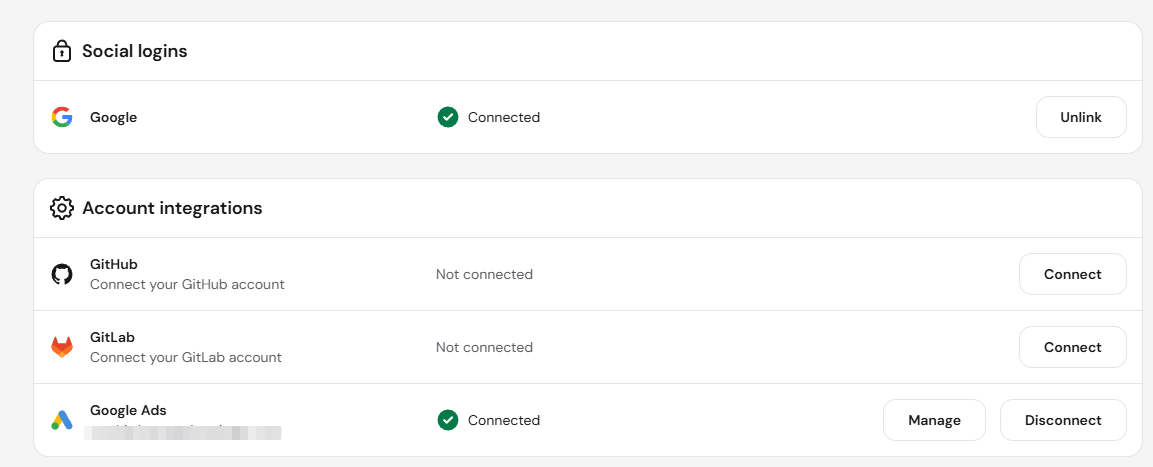
The Social logins section lets you log in to Hostinger with your Google account. A connected account shows Connected with an Unlink button. To set it up, see How to link your Hostinger account to social login.
The Account integrations section connects your Hostinger account to three services: GitHub, GitLab, and Google Ads. Click Connect next to a service to link it. A connected service shows a Disconnect button, and Google Ads also shows Manage.
Delete your Hostinger account
The Account section at the bottom of the page contains the Delete account button. Your account must have no active services, domains, or pending balance before you can delete it. For the full process, see How to delete your Hostinger profile.

Solve common Hostinger account issues
- Hostinger accounts can’t be merged, but you can move websites from one account to another. See How to merge Hostinger accounts.
- If no services appear after you log in, you may be using a different Hostinger account. See What to do if your account appears empty at Hostinger.
Your Hostinger account details are now up to date, and new invoices will show the information you saved.
NOTES
- You can’t add a recovery email address that uses a domain purchased within the same Hostinger account. This restriction does not affect new account registrations.
- The recovery email is used for account security only. It does not enable automated account recovery.
- Email communication language is set based on the location of your account, and the language of automated emails and newsletters can’t be changed.