To set up your Hostinger Email mailbox on the default Mail application on your Mac or iOS devices, first make sure that:
-
You have created an email account with Hostinger Email
-
Your domain is pointed to Hostinger
-
The correct Hostinger Email MX records are added to your domain’s DNS zone
Follow along with this step-by-step video guide:
Then, proceed with the steps below 👇
-
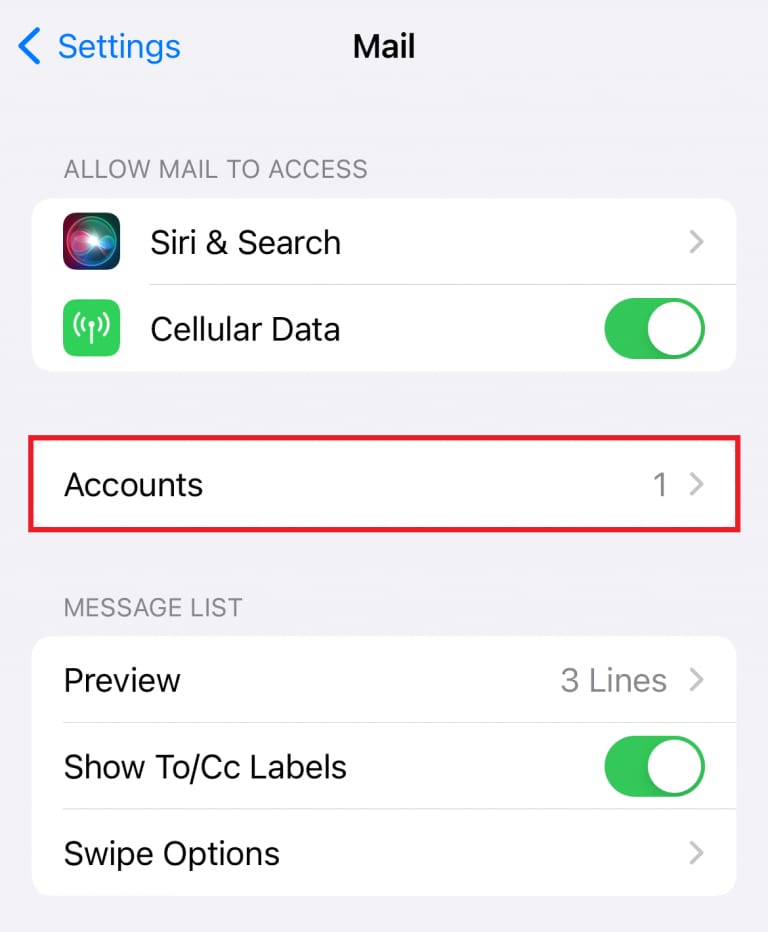
Go to Settings > Apps > Mail > Accounts
-
Click on > Add Account.

-
Tap Other


-
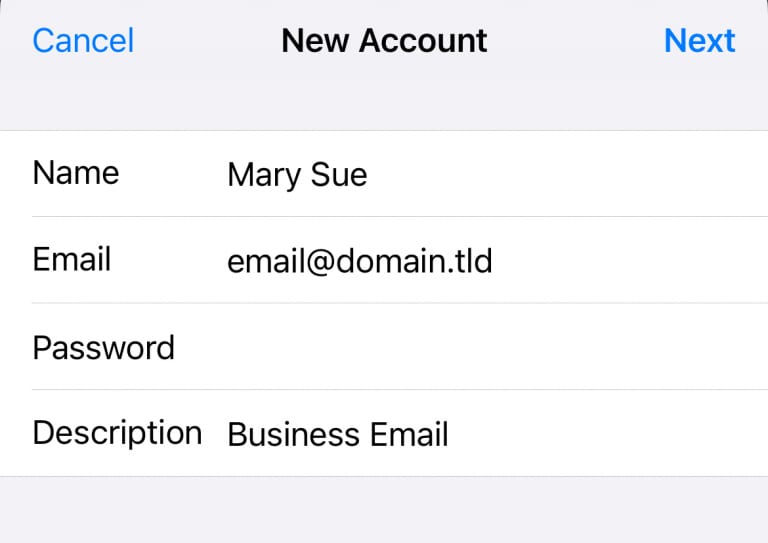
Enter:
-
Name (your display name)
-
Email address (your Hostinger email)
-
Password (email password)
-
Description (any label)
-
-
Tap Next.
-
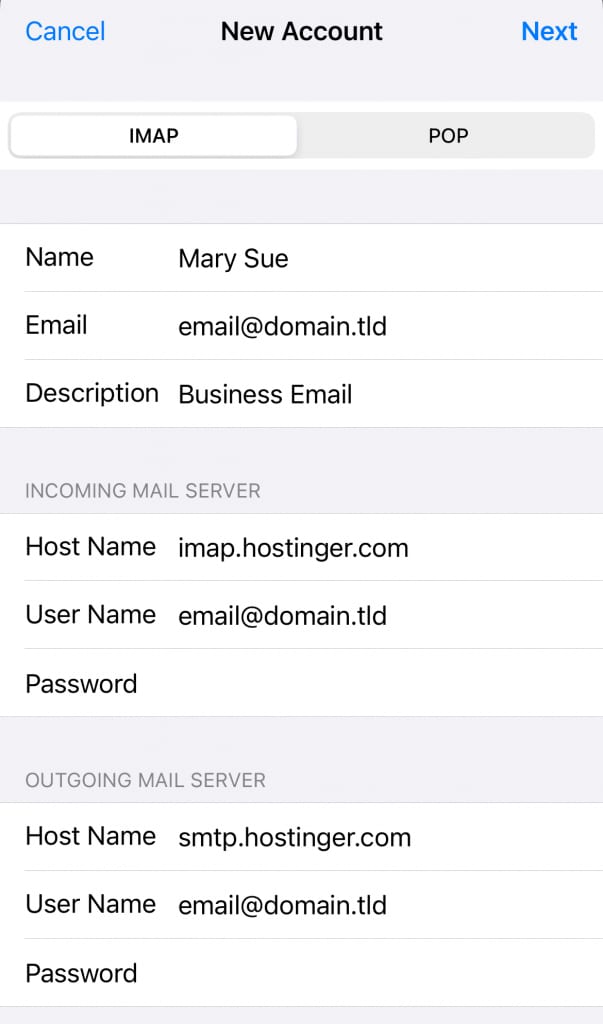
Select IMAP (recommended) and fill in these settings:
Incoming Mail Server
-
Host Name: imap.hostinger.com
-
Username: your full email address
-
Password: your email password
Outgoing Mail Server (SMTP)
-
Host Name: smtp.hostinger.com
-
Username: your full email address
-
Password: your email password
It should look like this:
👉 Important! The Username and Password fields must be filled even if labeled optional.
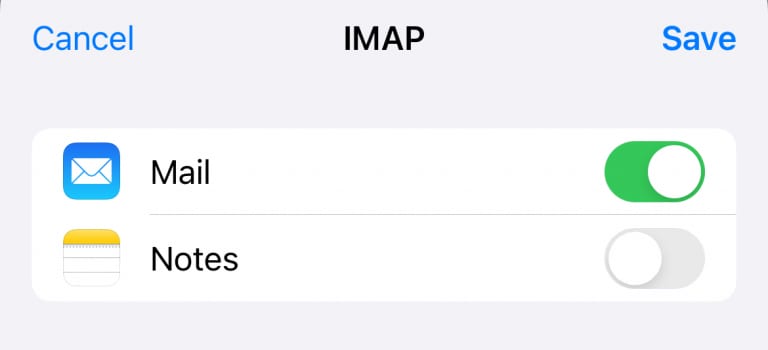
4. Tap Next, wait for verification, then tap Save.
Troubleshooting
If something doesn’t work:
-
Double-check the server settings.
-
Make sure SSL/TLS is selected.
-
Confirm the email and password are correct. If you’re not sure, please try changing it How to reset a Hostinger Email mailbox password.
-
Check if your domain’s DNS (MX and SPF records) is properly set Hostinger Email MX records.