How to set up a CDN: tips to improve website performance
Apr 23, 2025
/
Domantas G.
/
5 min Read

Website performance can make or break the success of your online business or project. If a site delivers a poor user experience, visitors will be more likely to leave it. One of the best ways to prevent this is by using a content delivery network (CDN).
A CDN can boost the speed and reduce resource usage of a website. It ensures quick deployment of static content by delivering it from the closest location to your visitors.
This article will show you how to set up a CDN to optimize your website’s performance. It will also go over the other benefits of using content delivery networks.

What Is a CDN
A content delivery network (CDN) is a collection of multiple servers outside the origin server, made up of multiple data centers worldwide called points of presence (PoPs).
CDN servers store cached website files such as HTML pages, images, and videos and then deliver them to visitors. By minimizing the distance between visitors and origin servers, a CDN enables the fast delivery of web content.
How Does a CDN Work
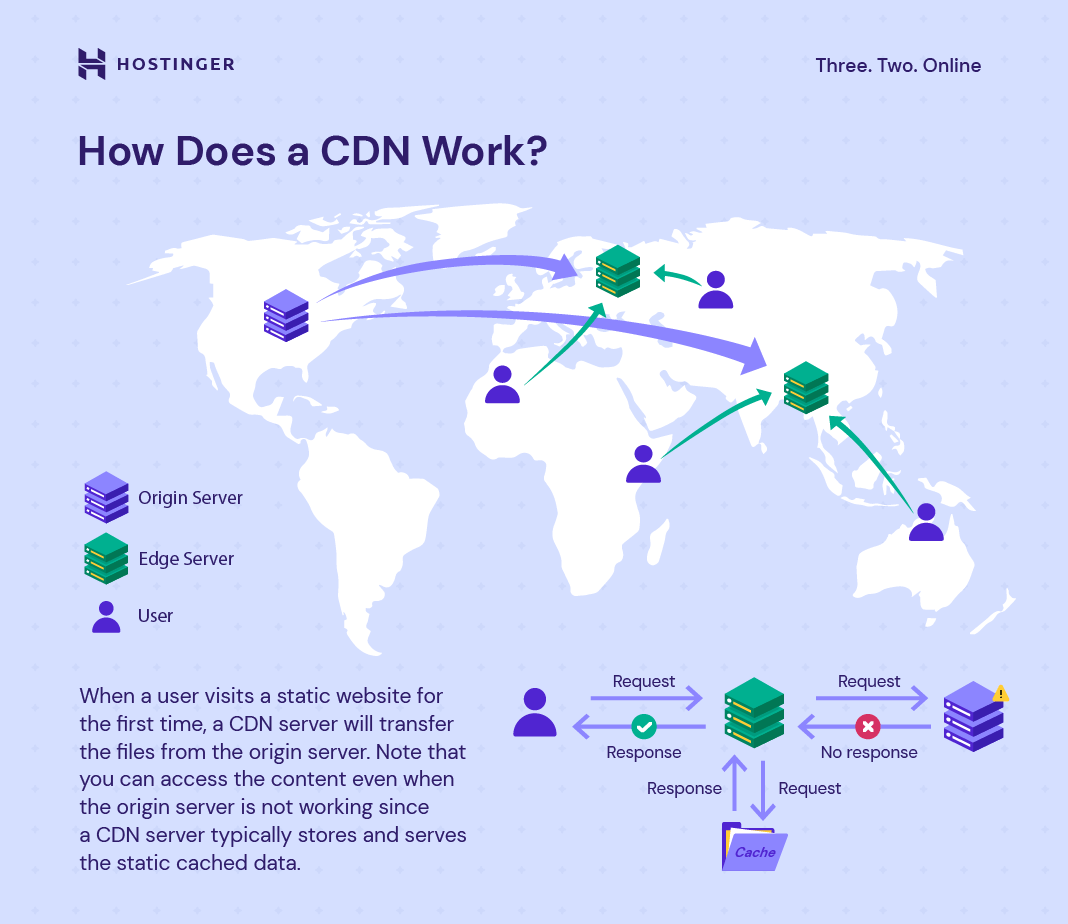
When a user requests static website assets for the first time, a CDN server will transfer the files from the origin server.
It will also cache a copy of the assets in the server nearest to the user, called the edge server, and reuse the stored data for future requests. This way, a CDN can serve the site content to visitors much more quickly and reduce the workload of the web server.
If your visitor is from India while your origin server is in the United States, the content delivery may take longer due to the physical distance between them.
By using a CDN with servers located in Singapore, Australia, and the United States, for example, you’ll ensure that the web files arrive quickly to the visitor from India, as your CDN will distribute the content from Singapore – the nearest server possible.
How to Set Up a CDN
The process to set up a CDN is simple, especially if your hosting provider offers default CDN integration.
Here are the three steps to set up a CDN:
1. Analyze Your Site
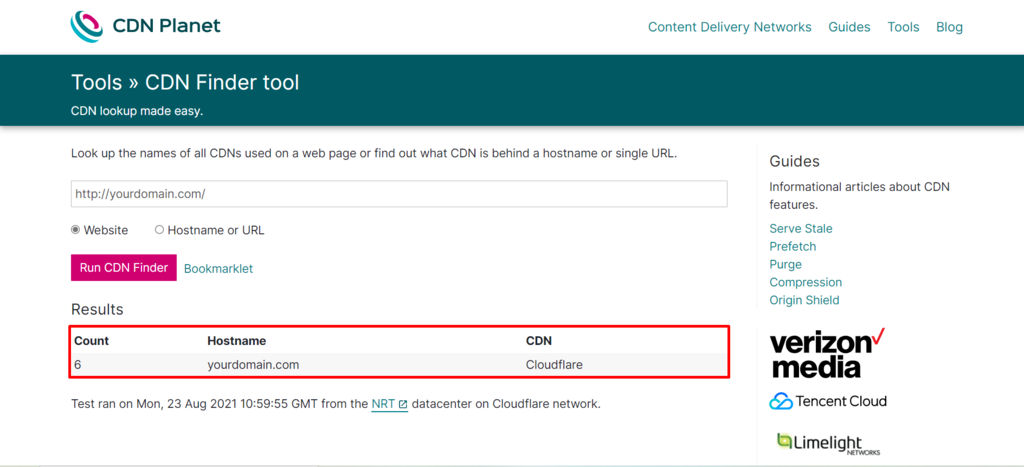
Before setting up a CDN, analyze your website and check whether a CDN is already integrated on your server using a tool such as CDN Finder by CDN Planet.
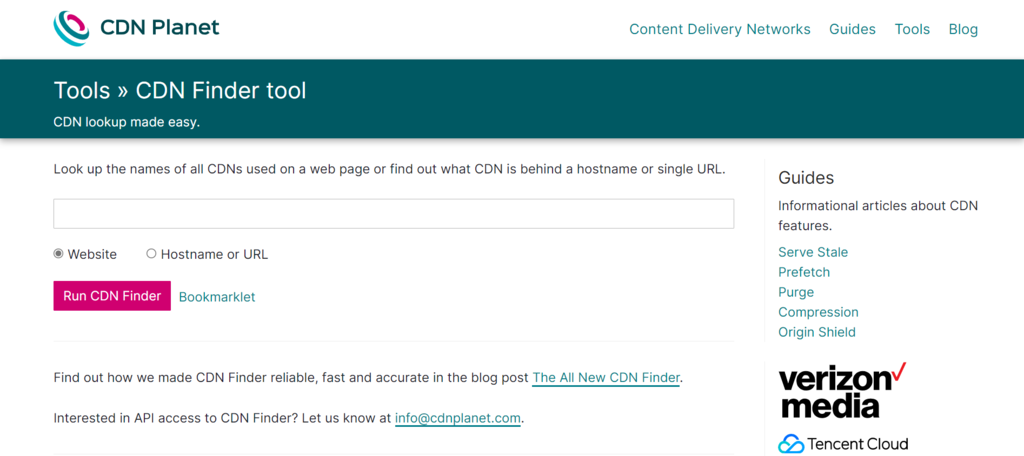
If the CDN is not activated yet, proceed to the next step.
2. Enable the CDN
There are two available options – using a free CDN or investing in a paid service.
It’s also possible to create your own CDN. However, it comes at a hefty cost as you’ll need to build your own infrastructure or rent out server space on private data centers.
Let’s take a look at each of the methods to enable a CDN.
Option 1 – Enabling Free CDN
If you run a small site with medium traffic, using a free CDN provider should be more than enough.
Cloudflare is one of the best free CDN services – its free plan comes with many excellent features, including distributed denial-of-service (DDoS) protection.
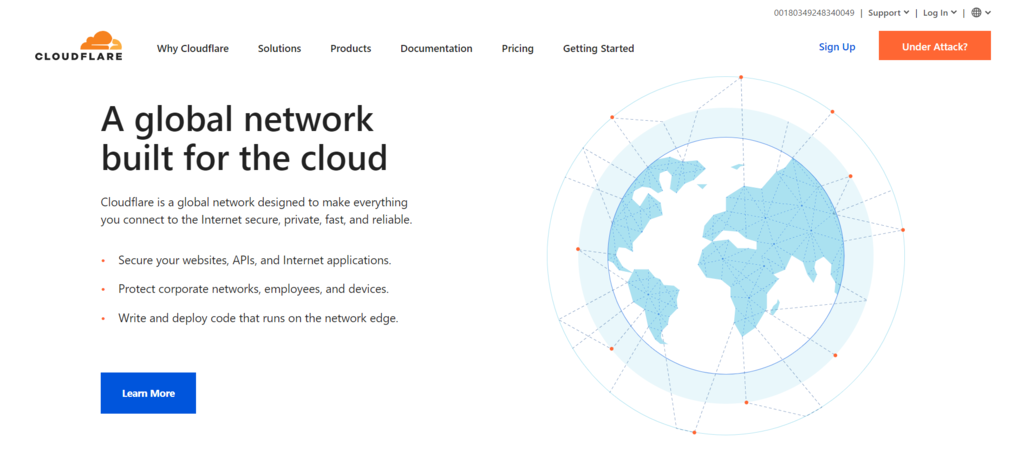
If the Cloudflare CDN comes with your web hosting plan or is an additional service, it will only take a few minutes to configure it.
To configure Cloudflare on Hostinger’s VPS hosting, or if your web host doesn’t support this service by default, you’ll have to set up the CDN manually.
It is pretty straightforward – create a Cloudflare account, add your domain name to it, and change the domain nameservers to Cloudflare’s.
After configuring your domain to use CloudFlare, wait for a few hours for the changes to take full effect. Once the process is complete, you’ll receive an email confirmation.
Note that if you set up Cloudflare on a WordPress site, it’s also essential to install the Cloudflare plugin to manage its settings from your WP-Admin dashboard. You can also check out our review of other WordPress CDNs.
Option 2 – Use Paid CDN Solutions
If your site experiences high traffic spikes and encounters high resource usage, investing in a paid CDN service will be a better option.
Here are a few excellent paid CDN providers to consider:
- Google Cloud CDN – includes free SSL certificates and lets users utilize custom certificates at no additional cost.
- StackPath – offers features such as segmented file downloading and unlimited file size, making it excellent for sites with large files like software and game installers.
- Fastly – supports encryption and uses secure tokens that restrict access to your media files.
- Leaseweb – provides in-depth statistics such as cache performance and traffic breakdowns.
- CDN77 – features a streamlined and user-friendly web console interface – great for CDN beginners.
3. Test the Changes
After enabling the CDN, run another test with CDN Finder to check whether it was successfully integrated into your site.
Here’s what the results should look like:

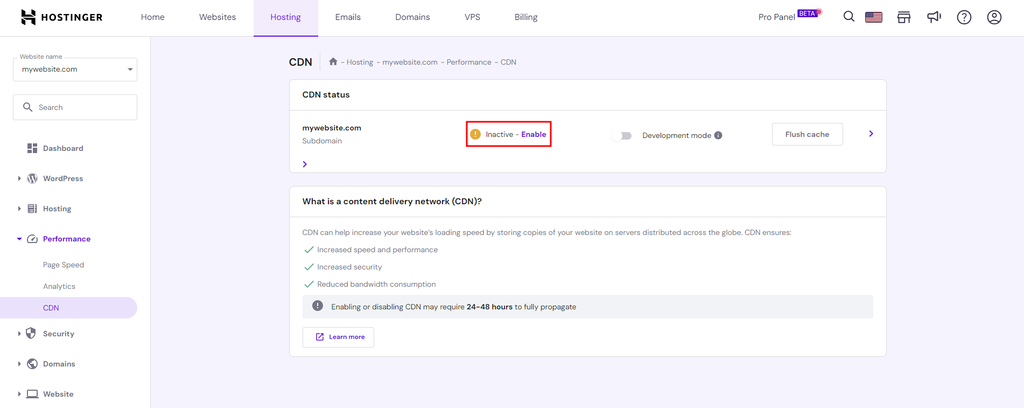
Hostinger CDN
Hostinger users on Business Web Hosting and above can leverage the built-in CDN to boost their website’s performance. Navigate to Performance → CDN and select Enable. The CDN can take 24-48 hours to fully propagate.
Do All Hosting Platforms Support and Benefit From CDNs
All hosting platforms need the help of content delivery networks to improve their performance and speed.
A hosting provider typically stores your web files on one or more servers located in a single data center. The further a visitor is from your hosting server, the longer it takes to load your site. Even if you use a robust hosting platform such as a VPS, the server’s location will still affect the website’s loading speed.
A CDN helps by delivering files to visitors from the nearest available server, thus overcoming the speed limitations imposed by the distance between users and your hosting server.
However, a CDN cannot replace web hosting since a CDN server typically only stores and serves static cached data. Many web hosts include free CDN services with their plans or have them available as an additional feature.
If your website uses free or shared hosting, a CDN can help you use fewer resources, which are usually limited on such platforms. In case your site experiences traffic spikes, CDNs will also ensure that those surges don’t result in exceeding the resource limit.
Advantages of Using a Content Delivery Network
Aside from improving site speed, utilizing a CDN comes with other benefits, such as maintaining website uptime.
Many CDN services use load balancing in their data centers to distribute incoming requests across available CDN servers, preventing any hardware failures from disrupting your site traffic.
Here are other advantages that a CDN offers:
- Improving website security – CDNs have multiple data center locations and features like intelligent load balancing and failover, which can help secure a website against DDoS attacks. Additionally, many CDNs implement CAPTCHAs or multi-factor authentication to prevent brute force attacks.
- Reducing bandwidth consumption – CDNs store cached content closer to users, lowering the number of data transfers from the host server.
- Improving SEO – since a CDN enhances site speed and user experience, it may also help a site rank higher on search engine results pages (SERPs).
- Better use of rich media – a CDN facilitates the use of rich forms of media like high-resolution images, infographics, and videos to engage site visitors.
Conclusion
Setting up a CDN is an excellent way to increase website speed while lowering its resource usage at the same time.
By caching static content at locations closer to visitors, a CDN helps quickly serve the web page and lower the number of requests the hosting server needs to handle.
Here’s a quick recap of the steps to set up a CDN:
- Analyze your site – use a tool such as CDN Finder to check whether a CDN is integrated into your site.
- Enable the CDN – choose between a free or paid CDN service. The process of setting up a CDN depends on your hosting provider. If you use Hostinger, it’s possible to configure a CDN directly from hPanel.
- Test the changes – run another test to check if the CDN was enabled successfully.
We hope this guide has helped you set up a CDN to improve your website performance. If you have any questions, feel free to leave us a comment below.
All of the tutorial content on this website is subject to Hostinger's rigorous editorial standards and values.

Domantas leads the content and SEO teams forward with fresh ideas and out of the box approaches. Armed with extensive SEO and marketing knowledge, he aims to spread the word of Hostinger to every corner of the world. During his free time, Domantas likes to hone his web development skills and travel to exotic places.