How to sell art online in 2026
Oct 01, 2026
/
By Justina B.
/
6 min Read

To sell art online, take high-quality photos of your work, set prices based on your actual costs, and list the pieces on your own website or an established art marketplace. This process works for original paintings, limited-edition prints, and digital downloads.
Selling art online breaks down into five main steps:
- Get your artwork ready. Produce professional images, write descriptions that make people want to buy, and organize your strongest pieces into a portfolio.
- Secure your files. Register copyrights, use low-resolution previews, and add watermarks to discourage unauthorized reproduction.
- Pick where to sell. Compare building your own online store, listing on a marketplace, or selling through social channels without a website.
- Set your prices. Calculate your base cost from materials, time, and selling fees, then mark it up enough to leave a profit, using comparable artists’ rates as your benchmark.
- Promote your work. Share your art on visual platforms, build a website you control, and engage with communities where collectors browse.
1. Prepare your art for online selling
To prepare your art for online selling, have high-resolution photos, clear descriptions, a decision on formats, and a polished portfolio ready:
- High-resolution photographs or scans of every piece.
- A clear, engaging description for each artwork.
- A decision on what you’re selling: originals, physical prints, digital files, or a combination.
- A polished portfolio that showcases your strongest work.
Product images are the first thing buyers see and usually the biggest factor in whether they click or scroll past – the same principle that applies to selling online in any other category.
For flat pieces like ink drawings, watercolors, and illustrations, scan at 300 DPI (dots per inch) or higher. For pieces larger than the scanner bed, scan in sections and stitch them together in Photoshop or a similar editor.
Photography is the better option for textured artwork, three-dimensional pieces, and larger canvases. Use even, natural lighting or softbox lights, shoot against a plain neutral background, and stabilize the camera with a tripod.
For sculptures or ceramics, take shots from at least four different angles. Edit your images in a free tool like Canva to crop, adjust brightness, and remove distracting elements.
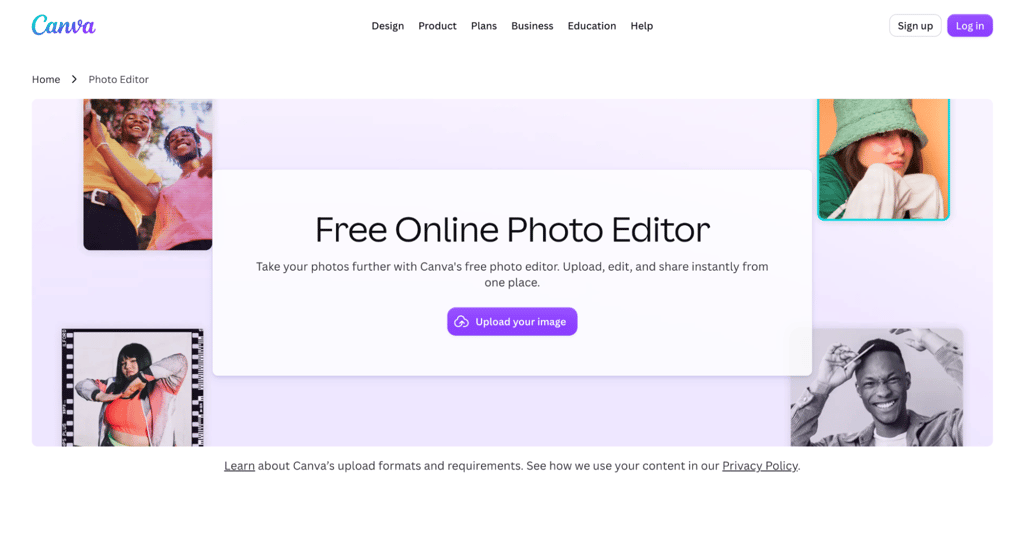
Short video clips help buyers see texture and dimension that photos miss. A 15–30-second walkthrough of a piece gives buyers a better sense of scale and surface detail than a still image can.
As you build your catalog, organize your strongest 10–15 pieces into a portfolio that shows your range across different themes and formats. Art portfolio examples from other artists are a good reference for grouping work, presenting project details, and structuring pages.
Every listing needs a description with both the facts and the story behind the piece. Include:
- Title.
- Medium and materials.
- Dimensions in both inches and centimeters.
- What inspired the work.
Describe the actual colors, textures, and techniques you used rather than writing something generic like “beautiful abstract painting.” Strong art listings rely on the same principles covered in how to write a product description, just adapted for your artwork.
A strong landscape listing reads like this: “Layered palette knife work in cadmium orange and cerulean blue, 24 × 36 in (61 × 91 cm), oil on stretched canvas. Inspired by a sunrise from a dock in northern Michigan.” Two sentences provide the buyer with the technique, color, size, materials, and the story behind the piece.
2. Protect your digital art
To protect your digital art, whether you sell physical originals or digital art as downloads and prints, secure your files by adding watermarks and limiting resolution before making them public.
The law covers you the moment you create something, but proving it’s yours and stopping copies from spreading around the web takes more effort on your end.
Copyright law automatically protects your artwork the moment you save it in a fixed form, such as a finished canvas or a file on your computer. This is true in the US and most other countries.
Registration is optional, but in the US you need it on file before you can sue for infringement – and registering early also lets you claim statutory damages and legal fees. Rules vary by country, so check what applies where you live.
Upload previews at around 1,000–1,500 pixels on the longest side. That looks sharp on any screen but is too small to print well, so it discourages people from reproducing your work. Keep your full-resolution print files for paying customers only.
Add your copyright information directly into each image file’s metadata. Include your name, website URL, and a copyright notice like © 2026 Jane Doe. All rights reserved. Software like Adobe Bridge handles this in bulk.
Place a semi-transparent watermark over your preview images. A logo or signature positioned diagonally across the center is visible without distracting from the artwork and is difficult to crop out.
3. Choose the right selling platform
Sell through your own online store, an established marketplace, or both. Compare where your buyers already shop, how much control you want over branding and pricing, and what share of each sale you’re comfortable giving up in fees.
An independent store gives you full control over branding, pricing, and customer relationships. You avoid marketplace commissions and own the customer data for future marketing.
Hostinger Ecommerce builds a professional store from a short description, complete with product pages, checkout, and payment processing. You customize the design, add your artwork, and sell from one platform.

Headless ecommerce lets you sell through any channel without a full website. You connect your product catalog to social media storefronts, messaging apps, or other platforms and process payments separately. This works well for artists who already have an audience on Instagram or TikTok and want to sell directly there.
Marketplaces like Etsy, Fine Art America, and Artfinder put your work in front of buyers who are already searching for art. Setup is faster than building a store. Reviews and buyer protection help drive early sales. The trade-off is lower margins from marketplace fees and limited control over how your brand appears.
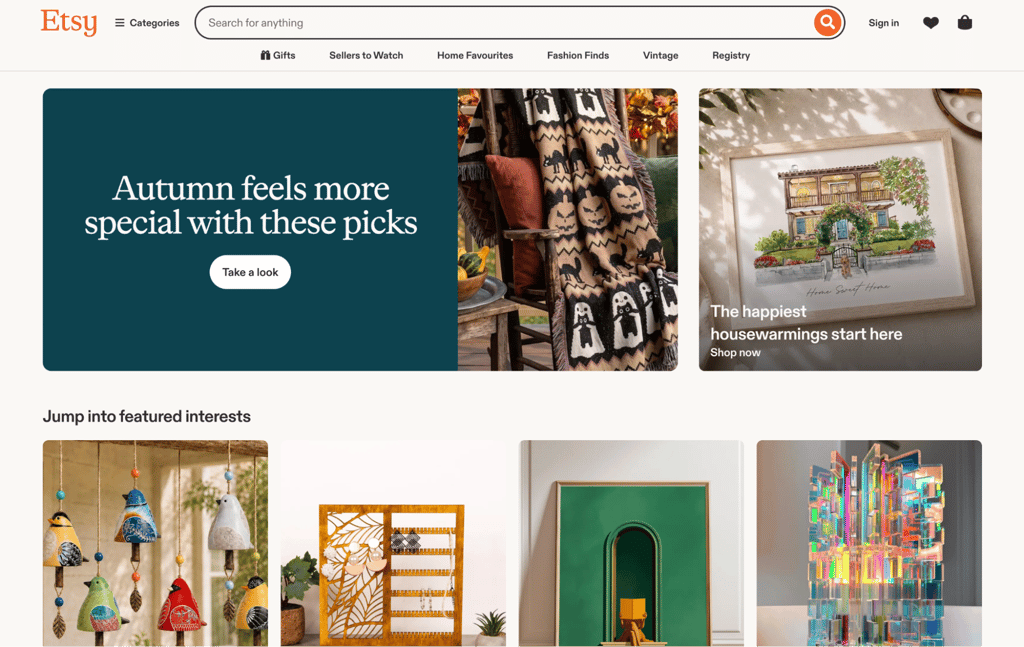
A marketplace is a faster way to find your first buyers. Your own store is where you keep them, since you own the customer list and the brand. Start with whichever feels more manageable and add the other once you have a few sales.
4. Price your art
Pricing your art starts with the same logic behind pricing any product: calculate what it costs you to make, then add the margin you need on top. Three variables make up your base cost:
- Materials. Everything that goes into creating the work: paints, canvas, paper, digital tool subscriptions, printing, framing, and packaging.
- Time and labor. The hours you spent multiplied by the hourly rate you feel your time is worth.
- Selling costs. Platform fees, payment processing, shipping materials, and postage.
A piece with $50 in materials, $40/hour for 5 hours of work, and $30 in selling costs has a base cost of $280. A standard retail markup for art is 2–3x the base cost, leaving room for a real profit after fees and unsold work. At 2x, the retail price is $560 with a 50% profit margin.
Browse marketplaces and individual stores to see what artists with a similar style, medium, and audience charge. Look at what’s actually sold, not just what’s listed – an unsold piece tells you nothing about what someone will pay.
Factor in platform commissions when calculating margins. Saatchi Art takes 40%, Artfinder charges 40–45%, and Etsy’s combined fees total approximately 9–11%.
Selling the same work at multiple prices broadens your audience. Sell originals at full price and make prints or digital downloads available at lower price points. Make your digital art portfolio the place where all of it lives, so buyers see every format and price tier in one place.
5. Market and promote your art
Share your work consistently, build an online presence you control, and engage with art communities where collectors browse. Post completed pieces, works in progress, and behind-the-scenes content on a regular schedule. Instagram, Pinterest, and TikTok work well for visual art because the content itself is the marketing.

Show your creative process. Buyers connect with the person behind the work, and seeing a painting evolve from sketch to final piece builds more interest than a static product photo.
Point every post back to where you sell. Link to your store in your bio, mention which pieces are available, and make the path from discovery to checkout as short as possible.
Building your artist website gives you a home base with your portfolio, store, and contact information all in one place. Regular content like blog posts and video walkthroughs keeps your audience engaged and helps your site show up in search results.
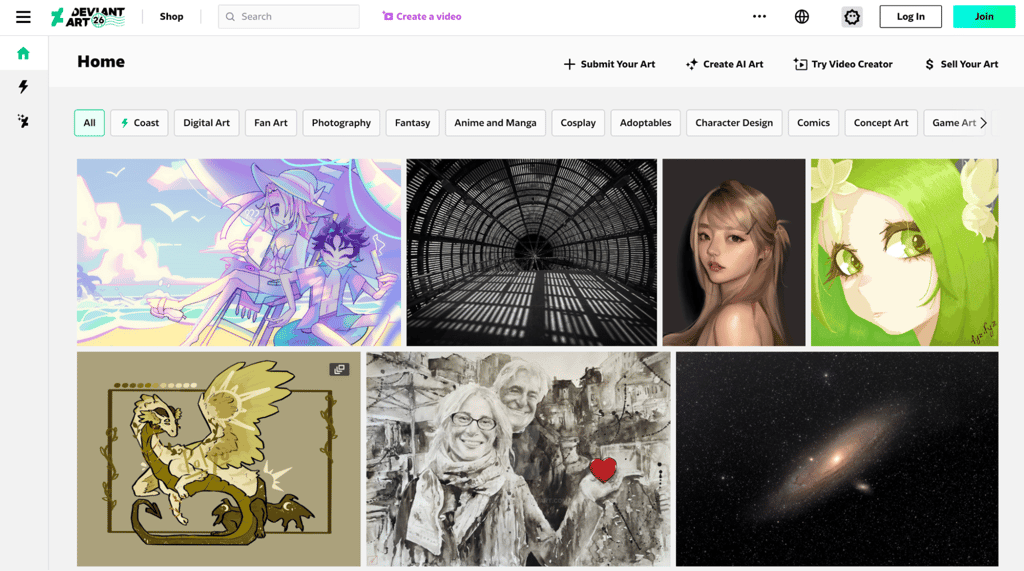
Art communities on DeviantArt, Behance, and the art-focused subreddits on Reddit are where artists share work, give feedback, and connect with collectors. Comment on other artists’ work, answer questions, and share your process. Communities respond better to members who contribute than to those who only post links.
How to make your art store successful
Once sales start coming in, two things keep them growing: how you handle orders and what you learn from your sales data. For physical artwork:
- Stock the right packaging materials and choose reliable shipping carriers.
- Set delivery expectations clearly on your product pages.
- Wrap pieces in protective materials like acid-free tissue and rigid mailers.
- Respond to buyer questions quickly and include tracking with every shipment.
For digital products, set up automatic delivery so buyers receive their files immediately after purchase. A smooth buying experience leads to repeat orders and positive reviews – 59% of customers leave after several bad experiences, and 17% leave after just one.
Review your sales data regularly to spot what’s working. Pay attention to which pieces sell fastest, which price points attract the most buyers, and which marketing channels bring in the most traffic. Expand your print offerings when prints outsell originals, and put more effort into the social platform that drives the most sales.
These patterns help you make money as an artist more predictably. Writing blog posts and product descriptions around the terms buyers search for helps drive traffic to your online store over time.
Build your online art portfolio
Once your store is up and running, the next step is to present your full body of work professionally. An effective portfolio features high-quality images, clear information about each piece or project, and a consistent visual layout that reflects your artistic identity.
A strong portfolio helps collectors, galleries, and collaborators understand your style at a glance – and puts your work in front of the people most likely to buy it. Browse art portfolio website examples from real artists to see how different mediums and styles translate into a working layout.
All of the tutorial content on this website is subject to Hostinger's rigorous editorial standards and values.

Justina is a Content Writer passionate about marketing, with a background in social media and customer success management. She also loves reading books, traveling and exploring new places as well as cooking, and trying out new recipes. Follow her on LinkedIn.