Comprehensive Dreamweaver tutorial: what it is and how to use it for web development
Aug 18, 2025
/
Luqmanul M.
/
10 min Read
When starting out with website development, you’ve probably heard about WYSIWYG (what you see is what you get) editors. The temptation to build a website with no coding knowledge sounds appealing and might have led you to look for a Dreamweaver tutorial on the internet.
When using Dreamweaver for the first time, however, it can be intimidating. Worry not, this article will cover all there is to know on how to make a website using Dreamweaver. Let’s get started with the Dreamweaver tutorial.

What is Adobe Dreamweaver CC?
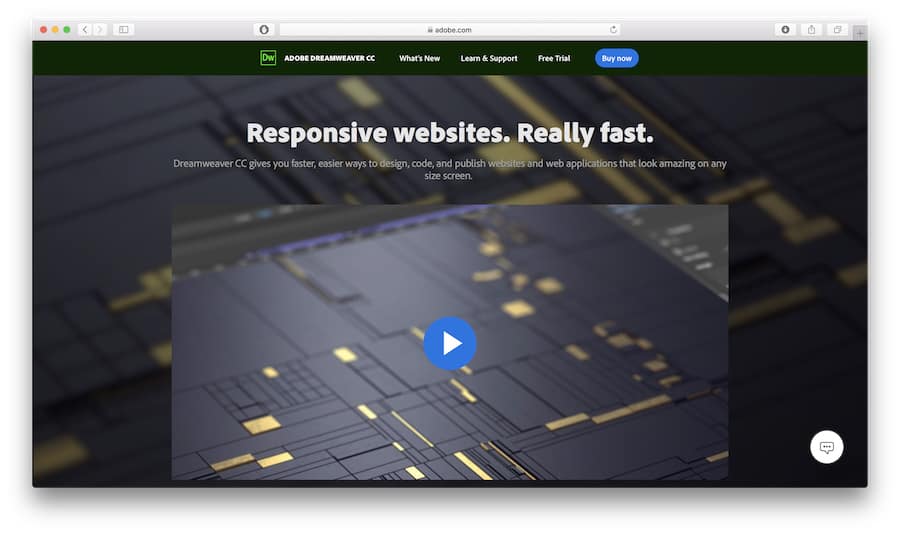
Adobe Dreamweaver CC is a website builder and deployment tool, and is a cross between a WYSIWYG editor and other, more conventional HTML editors. Macromedia developed Dreamweaver, then it was acquired by Adobe Inc. back in 2005.
Dreamweaver initially used a perpetual license – a one-time payment for using the software – but later changed to a subscription-based model with the Adobe Creative Cloud structure.
Adobe Dreamweaver CC is an integrated development environment (IDE) software, meaning it provides comprehensive tools and support for development purposes. It is also fully compatible with Adobe’s other Creative Cloud programs.
Dreamweaver allows you to build and design a website visually using the drag-and-drop method which allows you to move elements in the designer dashboard. You can also use it like any traditional code editor – coding only with text, and uploading the code to your server.
You’ll also get a bunch of learning materials and resources, and a dedicated Adobe community forum that helps answering whatever questions you have about the product. It also supports 15 different language locales. What is more, if you are looking for a Dreamweaver tutorial, you will find plenty on the web.
These features position Dreamweaver as a hybrid between a Content Management System (CMS) and a pure code editor.

Distinguishable features
Being a part of the Adobe creative ecosystem has already distinguished Dreamweaver from other visual-based code editors. Dreamweaver has access to assets and perks that only Adobe could offer. Still, here are the two most dominant features:
Beginner-friendly visual interface
Adobe Dreamweaver CC is easy to use, but hard to master. Your site is only as good as your skills. Meaning, while the software offers a lot of web development features, you can’t use those features to the fullest with basic or limited knowledge.
Despite that, beginners can start building a website thanks to its visual editor. There are drag-and-drop features to insert HTML elements into your web pages, and you can instantly see any changes you make visually. A simple Dreamweaver tutorial will help you to get started.
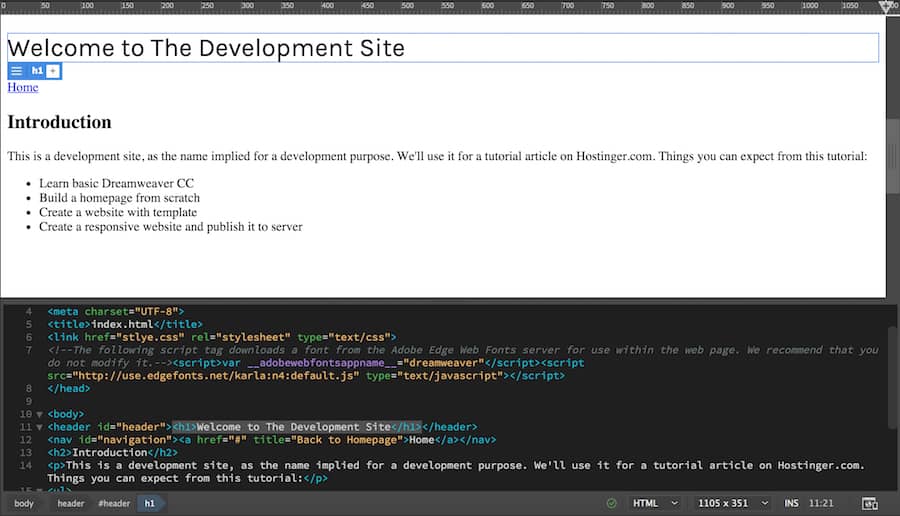
It also helps you understand which part of the element that you’re currently working on. As in the example, when you click on the title, it highlights the respective code in the editor.
Powerful built-in code editor
Another important aspect of Dreamweaver is the powerful built-in code editor. If professional developers want to code in a text editor, they can do that. Some of its key functions include:
- Syntax highlighting. To make reading the code easier, it highlights various elements in your code like variables, ID, class, and more.
- Code completion. Increase your productivity with automatic code completion. For example, simply type img and hit tab on your keyboard to insert <img src=”” alt=””>.
- CSS documentation. Whenever you need references for CSS properties, there’s a Quick Docs feature that will pop up with relevant information right in the code editor.
Apart from that, other important features include:
- Bootstrap 4 ready. The latest version of the HTML, CSS, and JavaScript framework for developing a responsive website.
- Git support. Use all common Git commands including Push, Pull, Commit, and Fetch right from your Dreamweaver dashboard.
- Real-time browser preview. See changes on your website while editing it in real time.
- Creative Cloud Libraries. Access colors, graphics, and other creative assets that can be used in your projects.
- Chromium Embedded Framework (CEF) ready. To help developers embed Chromium-based browsers in third-party applications.
Nothing is perfect
Nevertheless, Adobe Dreamweaver CC also has its drawbacks. As mentioned previously, this software is only as good as your skills. So even though the live interface helps beginners to build a website, you’ll probably need more time to create a really sophisticated one.
Despite all the documentation provided, Dreamweaver still has a steep learning curve. You’ll need to invest a considerable amount of time to grasp all of its features fully. So if you expect to read a Dreamweaver tutorial and become a pro, you will be disappointed, especially if you don’t already have web development skills.
Additionally, it’s a paid service which doesn’t come cheap. So for a hobbyist developer, Dreamweaver is probably not the best tool to use.
Pro Tip
If you feel like Adobe Dreamweaver CC is not your thing, you’re not alone. In fact, some 43.5% of websites on the internet use WordPress (as of 2025). It’s even better if you use Hostinger's WordPress hosting, as our AI tools and 24/7 support make things really easy. Alternatively, you can use our AI Website Builder to build your own website easily too.
Dreamweaver pricing overview
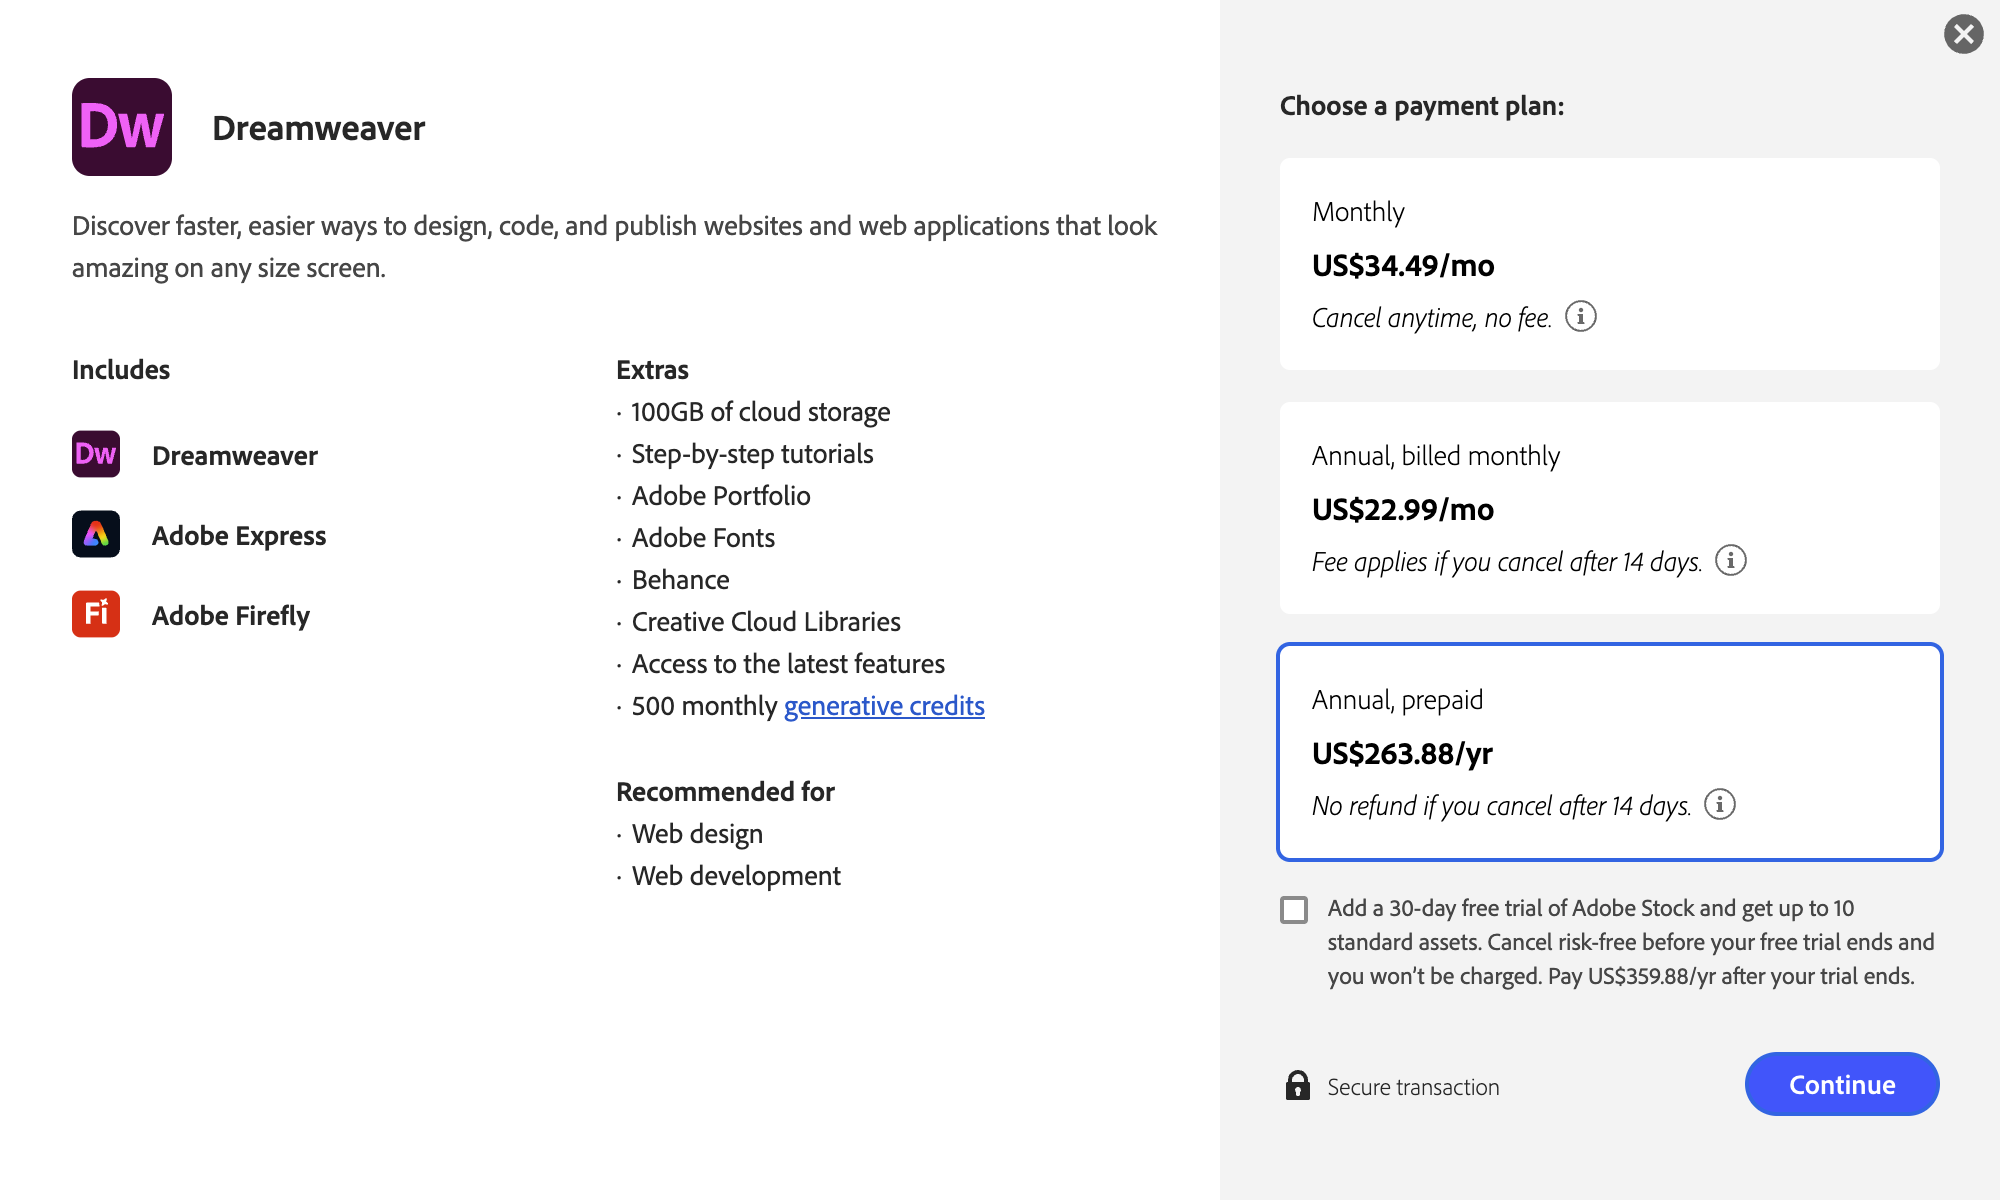
As a subscription-based software, Dreamweaver offers a range of plans for the individual user. The prepaid plan for the single app plus 100 GB of cloud storage, Adobe Portfolio, Express, Firefly, Fonts and more costs $263.88 annually.
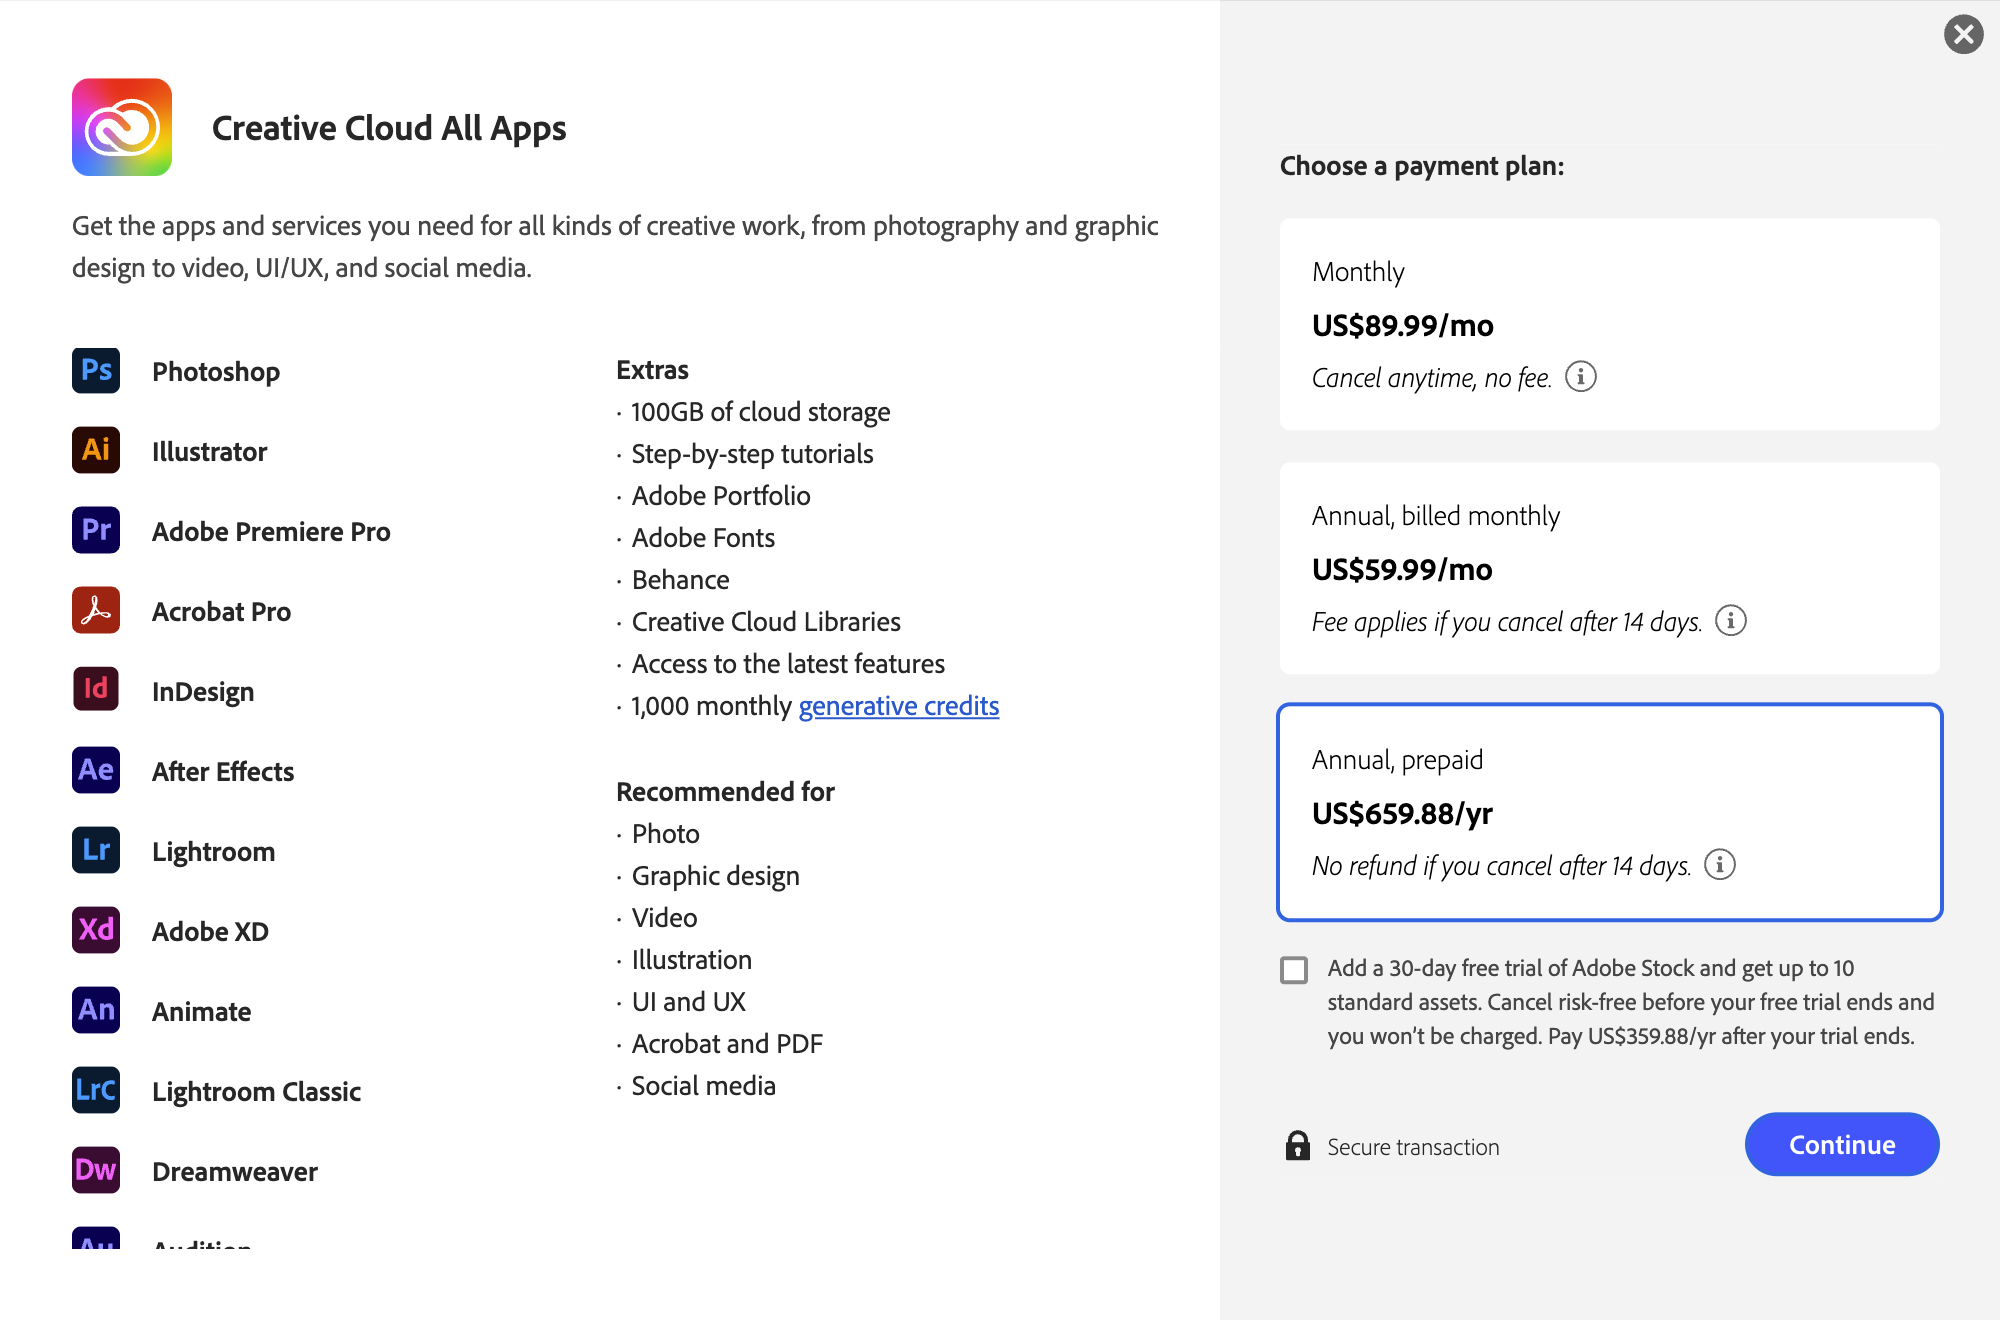
And the all-apps option that includes the entire collection of 20+ creative software including Photoshop, Illustrator, Premiere Pro, Acrobat Pro, InDesign and more will cost you $659.88 a year.
Though, you can also have a taste using Dreamweaver for seven days in a free trial. Just download the app and sign up with your email, Facebook, or Google account.
Let’s start with a basic Dreamweaver tutorial and learn how to create a homepage.
Dreamweaver tutorial: Building a website
1. Create a new site
In your Adobe Dreamweaver CC dashboard, go to Site -> New Site and a window will pop up.
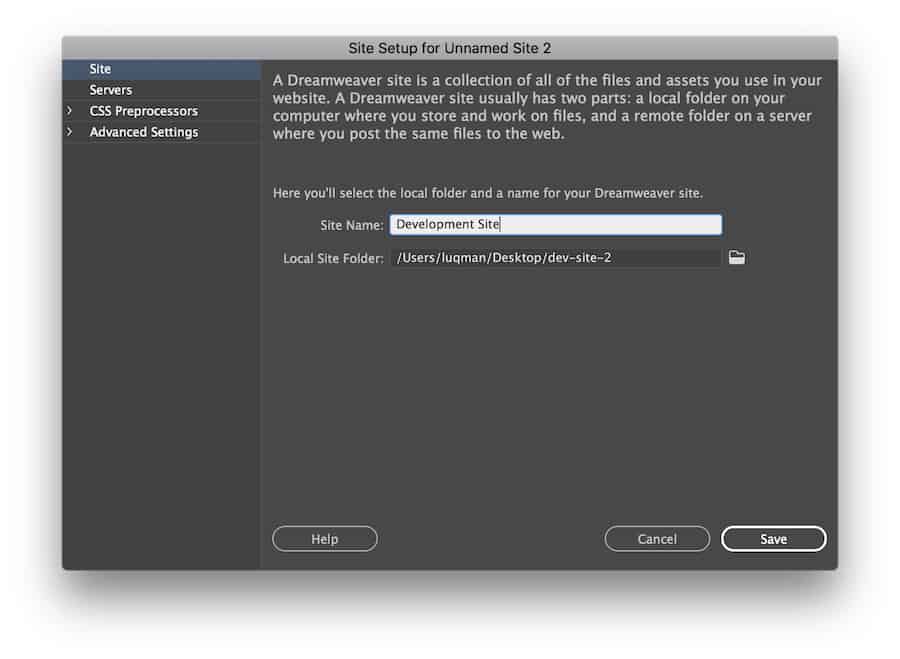
The first step is to name your website and save it in a single folder. This helps to organize the files and will make the uploading process easier.
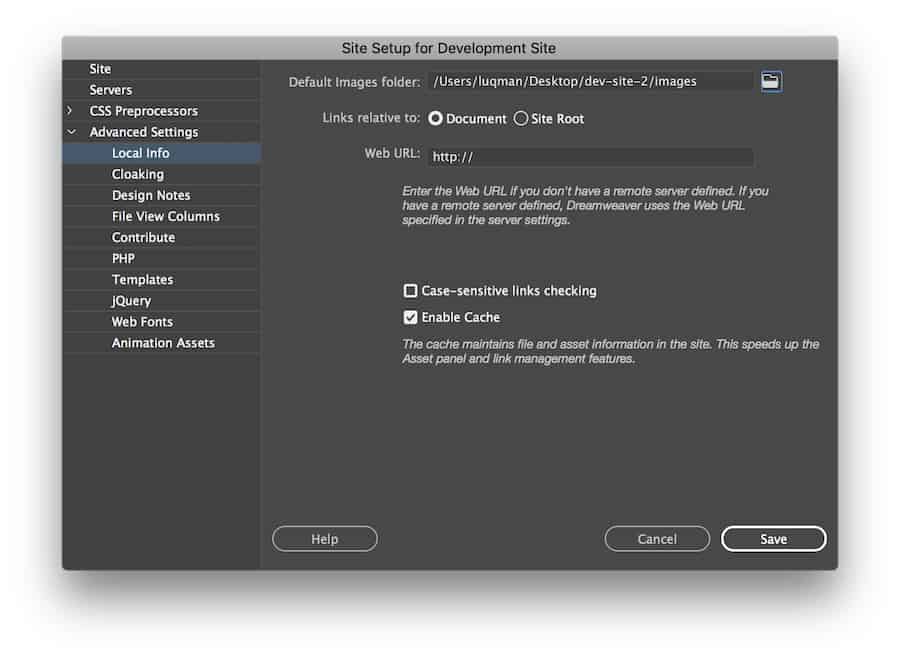
If you want to include images in your site, you can do so by navigating to Advanced Settings -> Local Info. The images folder should also be created within your site’s folder.
Click Save when you finish.
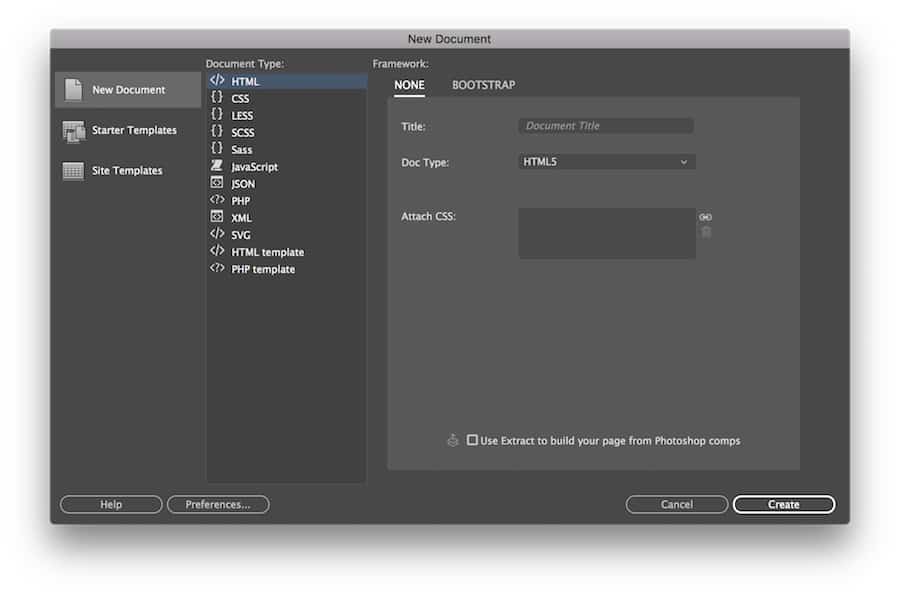
2. Create the homepage file
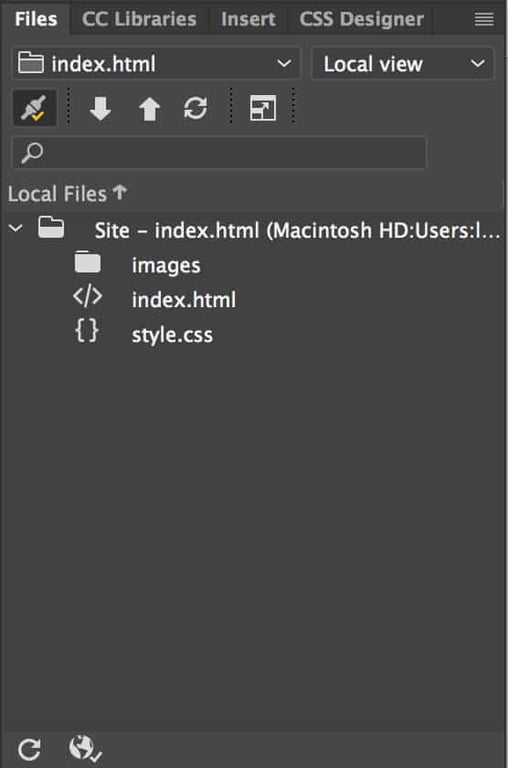
You’ll get a blank workspace to start with. But, take a look at the top-right panel, your site’s files should be there. Now, we will create the homepage file.
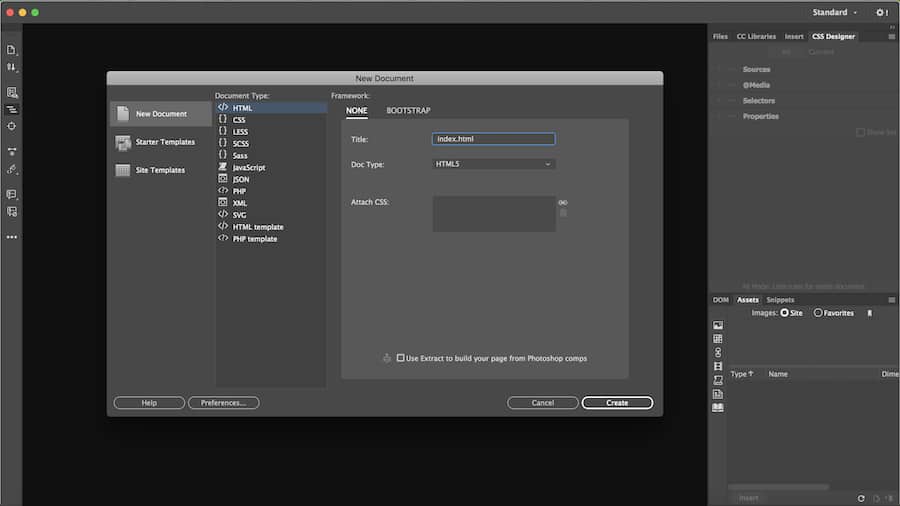
Go to File -> New and choose New Document. Select HTML as the document type and click Create. Giving a title to the document is optional at this stage.
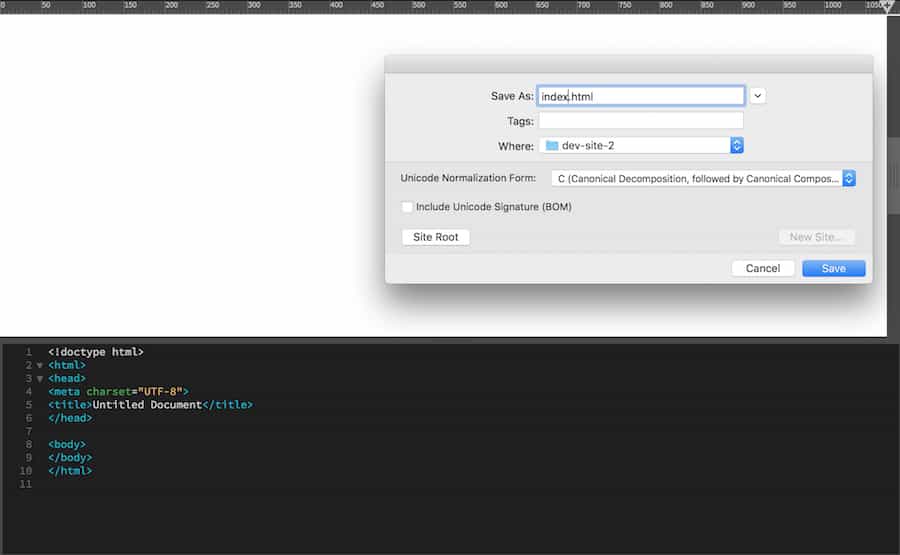
You’ll be directed back to the workspace and will see a white page with several lines of HTML code. Save that HTML file as index.html, and place it within the site’s folder.
3. Create a header
We’re going to create the header for the website. This usually consists of the logo and the name of your site.
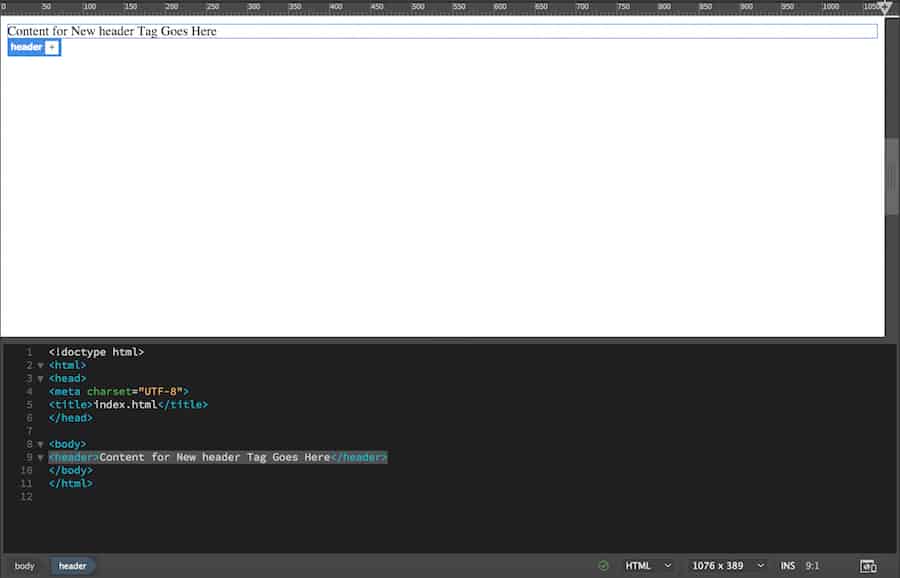
Click on the white page or choose a specific place within the <body> element on the editor. Go to the top-right panel and click Insert. This will give you a list of common HTML elements that you can add to your page.
Search for the Header element.
Click or drag-and-drop it to your workspace, and it will add to your website along with its code.
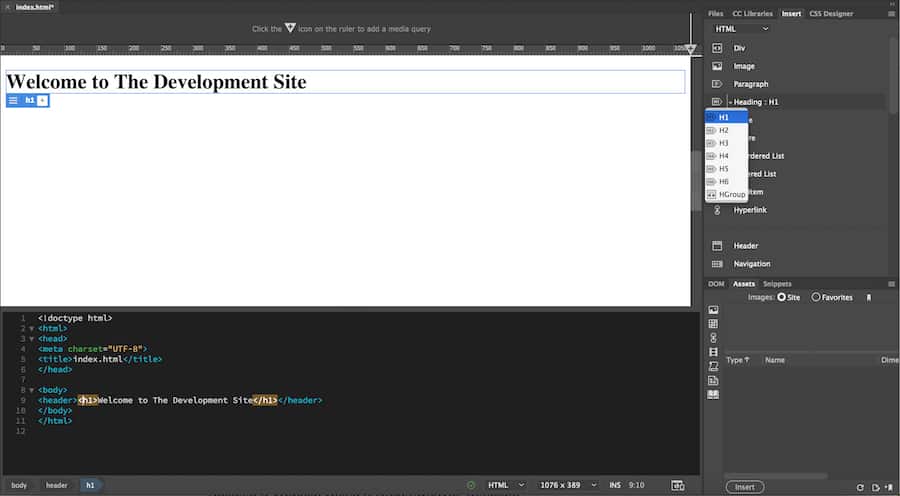
Next, we’ll turn the header into a heading with <H1>…</H1> tag. Proper tags are important for SEO purposes and to inform the search engine what is your site about. Mark the text in that section and go to the Insert panel. Search and click the Heading: H1.
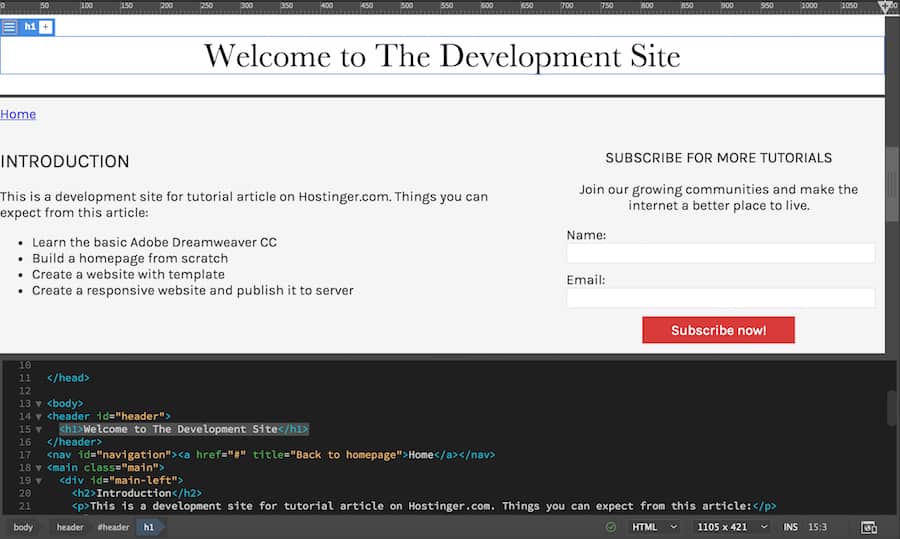
After that, change the text to your website’s title. It has to be something descriptive and representative. Here, we’ll use “Welcome to The Development Site.”
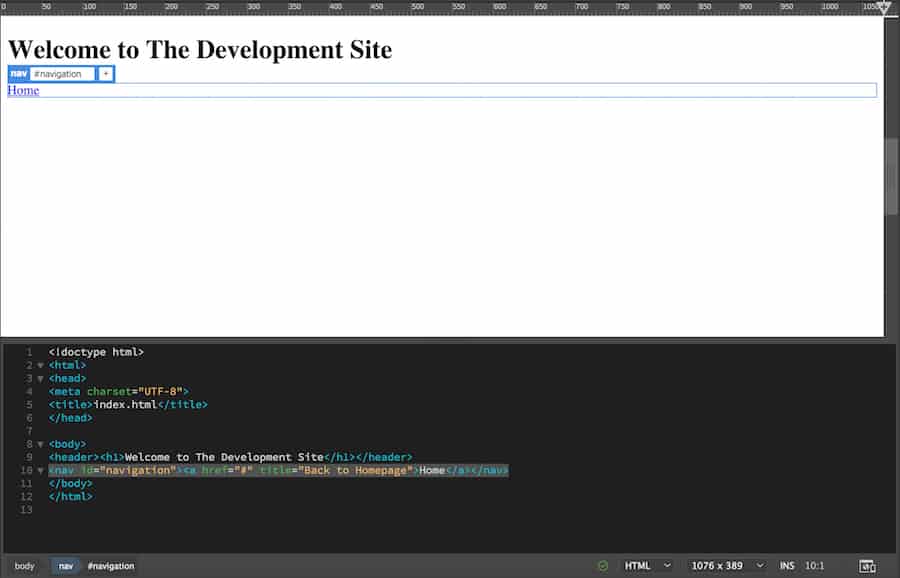
4. Add home navigation
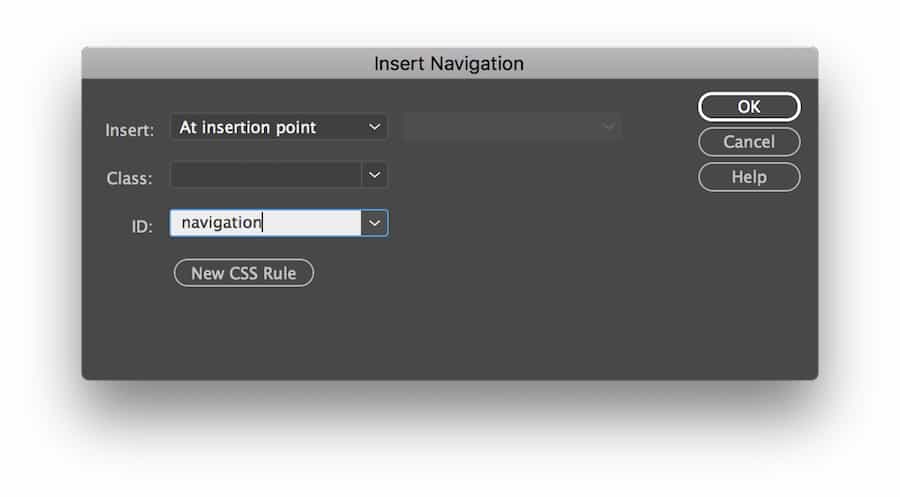
To add a navigation button, add a line after the header by pressing return or enter. Now go to the Insert panel and search for the Navigation element. When you click it, a window will pop up. Write navigation as the ID and click OK.
This will add a navigation element to the editor. While you’re in the element content, look for Hyperlink in the Insert panel. Click it and fill in the details as follow:
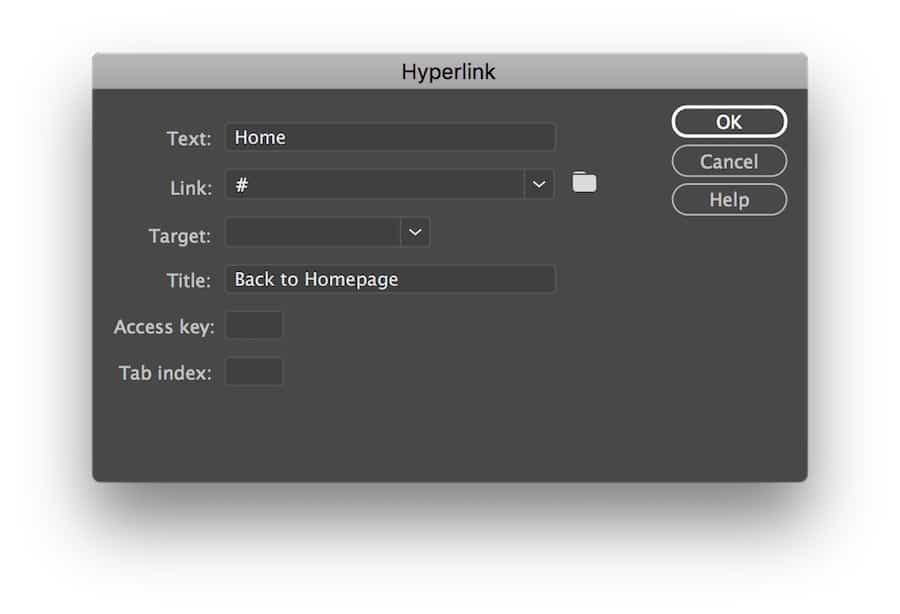
Important! The link will correspond with the page you’ll navigate to on your website. Currently, we’re using a hashtag as a placeholder.
When you finish, click OK. Now it is a clickable home link.
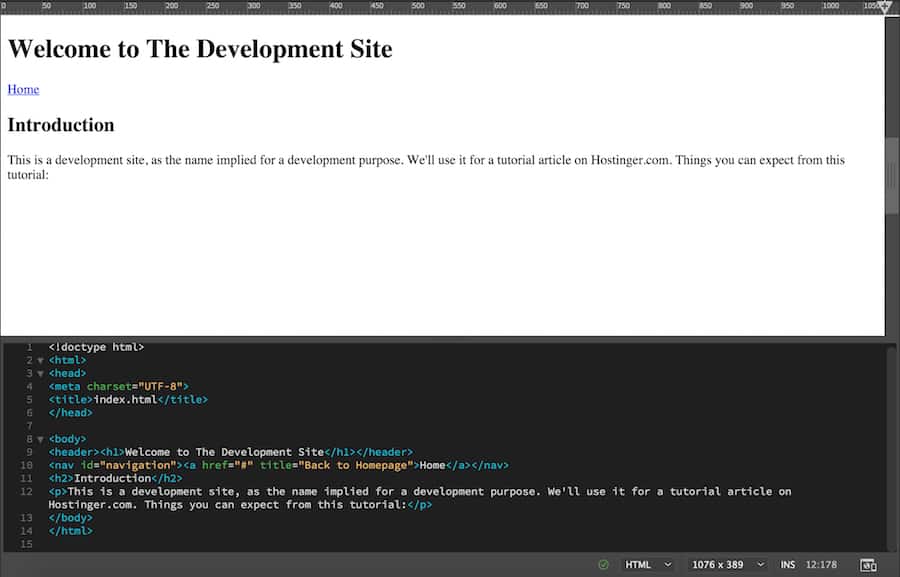
5. Add a website description
We’ll insert a secondary header, paragraph, and several bullet points as the description.
Add a line after the navigation code and click Header: H2 and Paragraph in the Insert panel. It will add the <h2> and <p> tag on the editor. Put your content in.
To add bullet points, add another line below the paragraph code. Go to the Insert panel and click the Unordered List. It should add the <ul> tag on the editor. While you’re at it, click List Item in the Insert panel and it’ll add the <li> tag inside the <ul> tag.
For HTML lists, you have to manually add several tags yourself consistent with the number of your points. Ours will look like this.
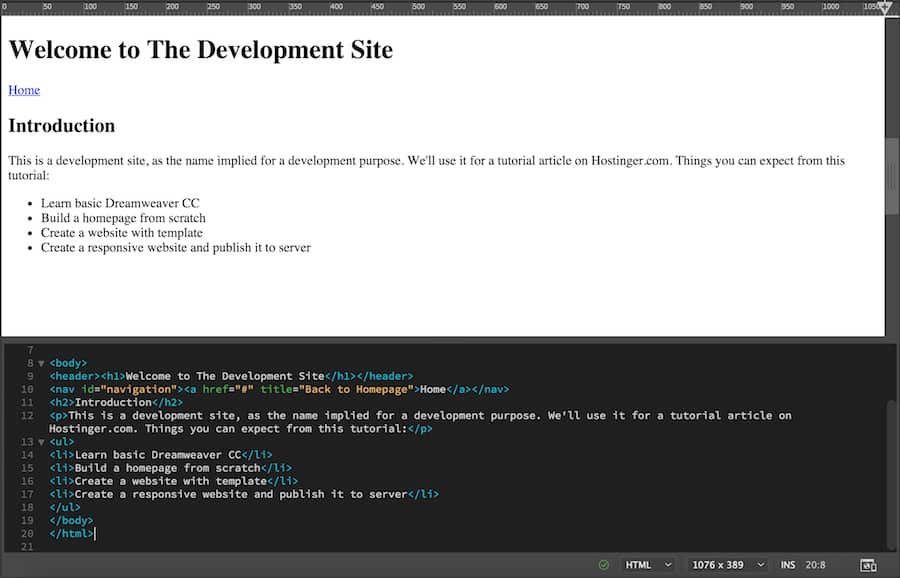
You’ve essentially created the basic homepage structure. You can also add more content such as forms, videos, and images, but this is okay for a starter.
While it looks dull at the moment, we’re going to add the style sheet to make it more appealing.
6. Create a CSS file
The Cascading Style Sheets (CSS) language is used to stylize elements in HTML. Think about HTML as the structure of the page, and CSS as the aesthetic part that makes the page content visually appealing.
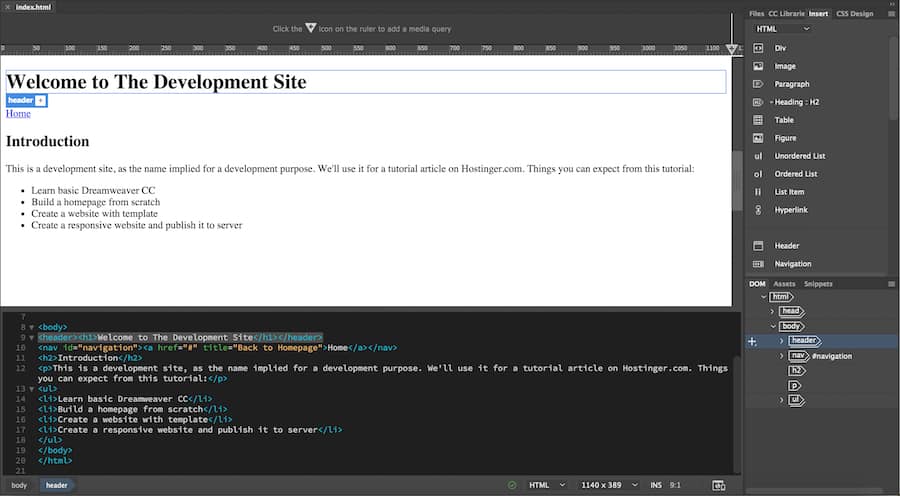
Now, the first thing to do is to give your Header an ID. Go to the bottom-right of the Dreamweaver panel and choose DOM panel. You’ll see an overview of your website’s structure there.
Click Header, and you’ll notice it will mark your header in blue, along with the label and the plus sign.
Click the plus sign and type #header. The hashtag means we’re assigning an ID to that element. Press return or enter. In the upcoming menu, select a source: Create a New CSS file.
A new window will pop up. Choose Browse and locate your site’s folder. Type style.css and click save. Then, click OK.
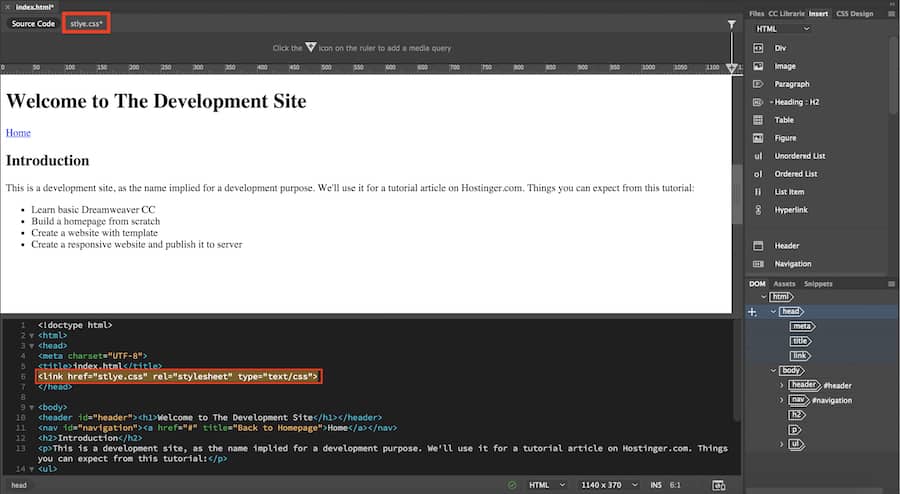
You’ll notice a new style.css appear at the top of the live view and new link element on the code editor.
Do the same for all elements that need stylization. This time, instead of creating a new CSS file, save it in the same style.css file that you’ve created earlier.
Now, you’re ready to style it using CSS selector.
7. Create a CSS selector for the website title
We will change the font and align our website title to center.
Mark the H1 under your header from the DOM panel. Then, choose CSS Designer from the panel above.
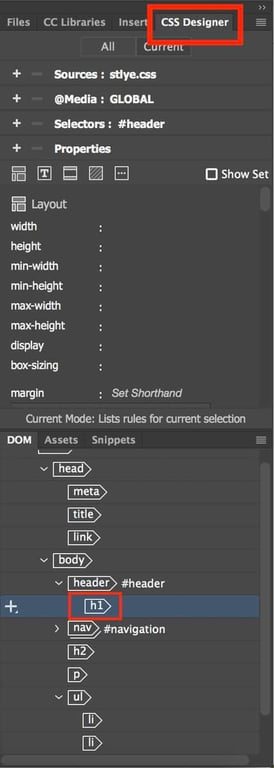
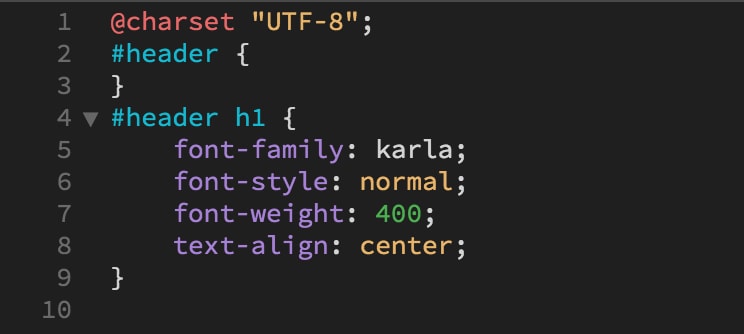
Click the plus sign right behind the Selectors. It will automatically propose a name like #header h1. Hit return.
Important! This means that you’re only targeting the element named h1 inside the #header element. This way, the style will only apply to the written text (your website title) and not the header element itself.
8. Change the title font
Make sure the selectors point at #header h1.
Click Properties and uncheck the Show Set to unlock the Layout, Text, Border, Background, and More options.
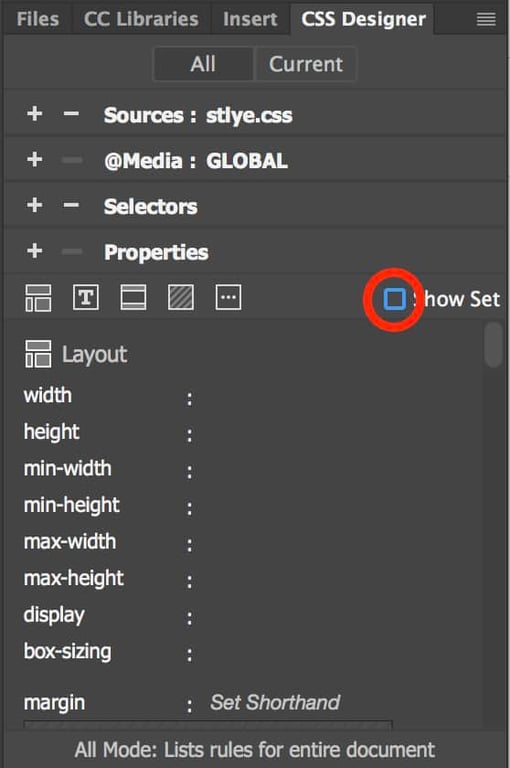
Click the Text option and hover over font-family and click on default font. It will give you plenty of options to choose from.
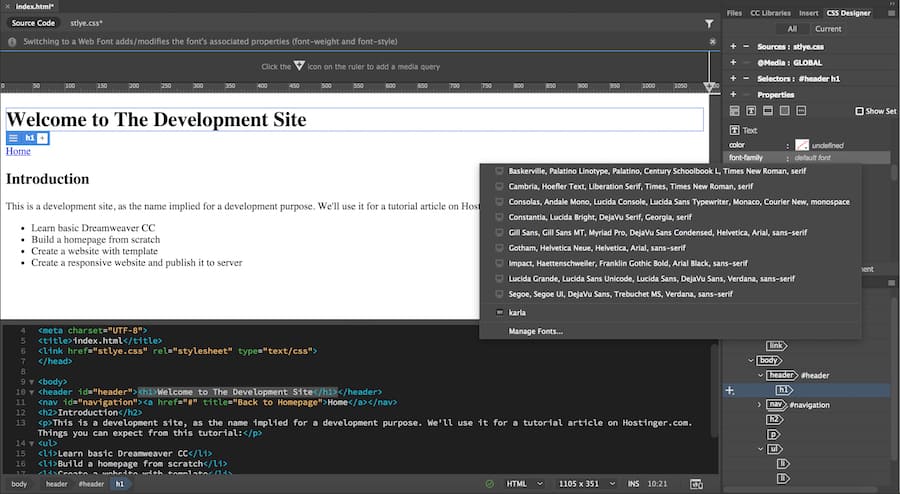
Additionally, the Manage Fonts menu will give you another range of options from the Adobe Fonts database.
Choose your preferred font by clicking it. Here, we’re using one called Karla. When you finish, it will change your website’s title font and add the necessary code to the Source Code and style.css.
9. Align the title to center
In the Text option, hover over text-align and click center. You’ll notice the change happen and additional code added to the style.css.
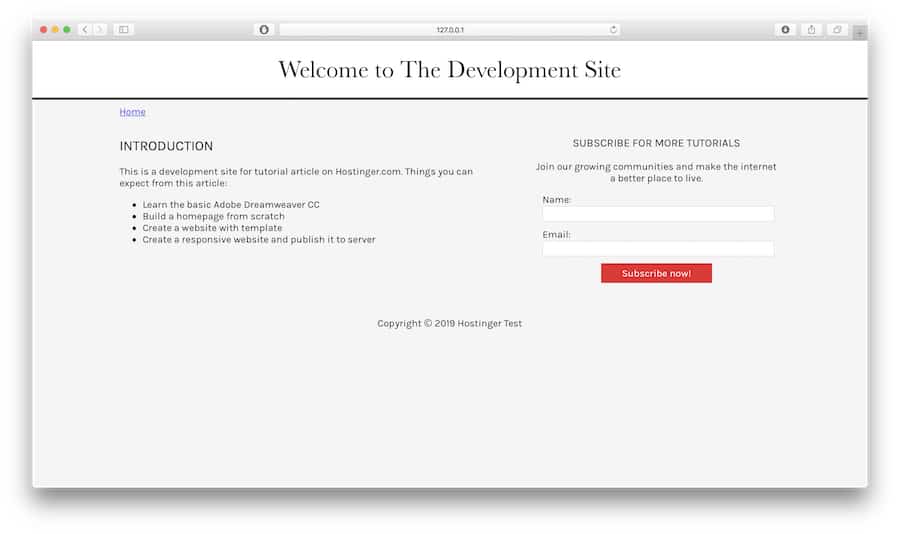
Make all the necessary changes to your website’s content. For this tutorial, we’ve also added more content and styled our site. Here is the final look:
Building a website using a Dreamweaver template
You can also create a website with a premade template in Dreamweaver. With a template, you’ll be one step ahead and get the advantage to see how the final site will look like along with the code that followed.
Let’s go through another Dreamweaver tutorial and learn how to use a template:
1. Choose the template
To do that, go to File -> New. Choose Starter Templates -> Basic Layouts. We’ll use the single page for this tutorial. Click Create.
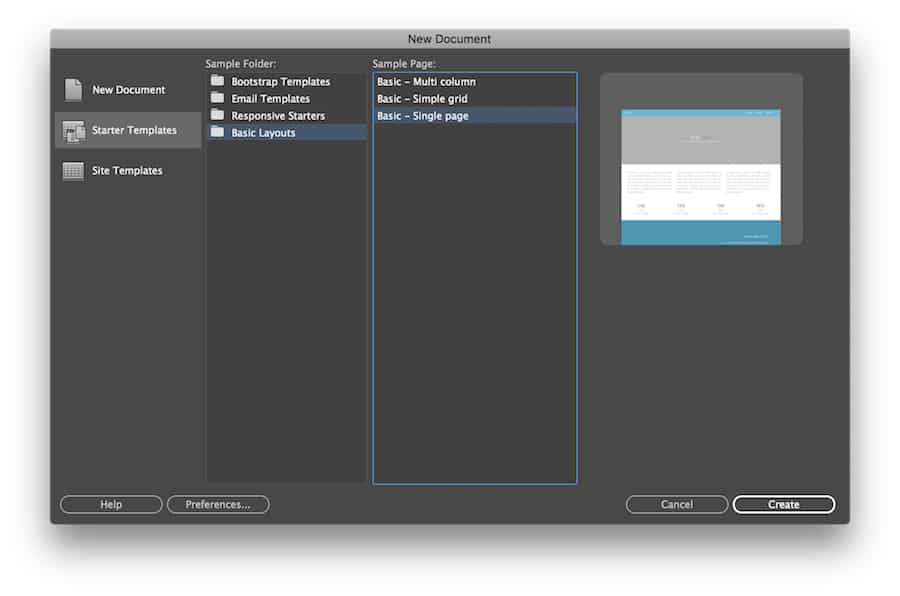
Dreamweaver gives you all the necessary structure and style for your website. All that’s left is to add your content and tweak the style to your needs.
In this tutorial, we will only do basic changes like editing the website’s title and description, and also change the website’s background color.
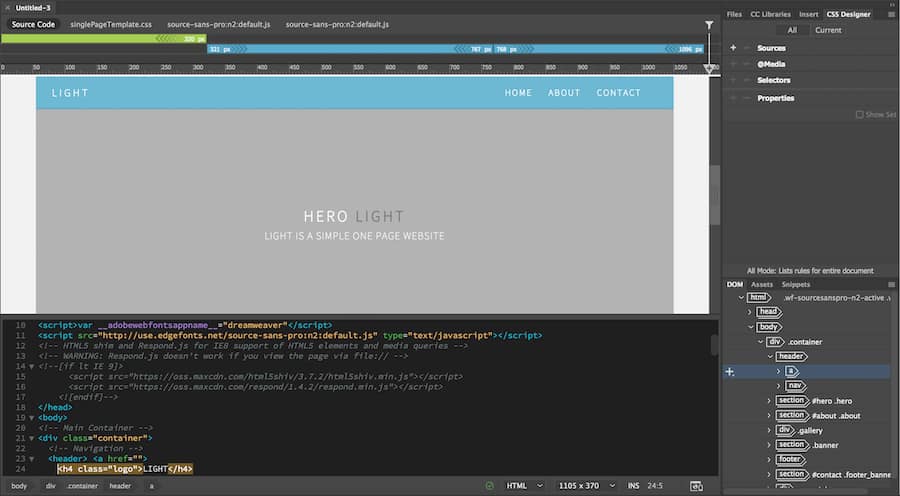
2. Change the logo and header text
To change the text logo, click the h4 .logo in the DOM panel. It will highlight the code line on the editor, change it to whatever name you want.
Alternatively, you can also double click the logo box in the live view and change the text from there. Do the same for website header and tagline. Ours changed to something like this.
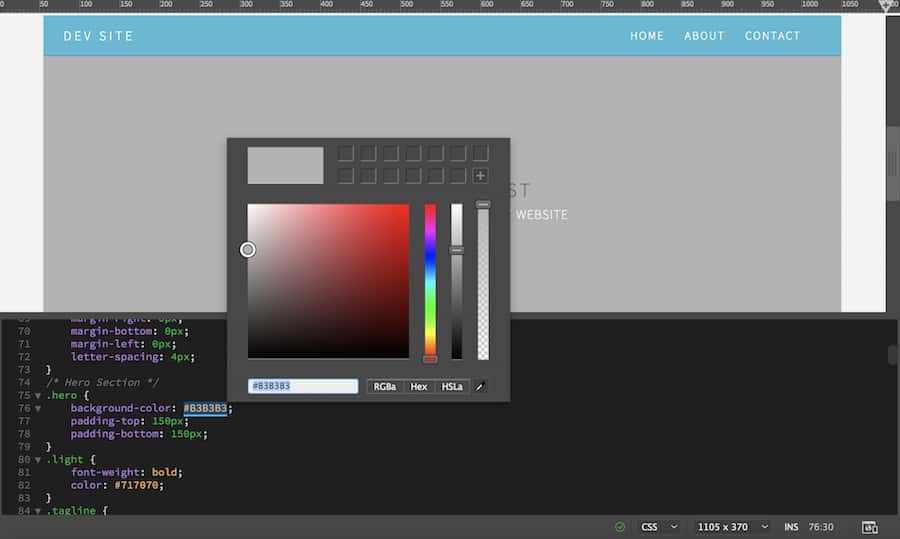
3. Change the header background color
To change the color of the background, go to the .css file and look for the header element. In this case, it is .hero. Look for the background-color line, and you’ll notice a certain cryptic number.
That number is actually the HTML color code. Every color has its own number representation that you can check on the official website.
The cool thing about Dreamweaver, you don’t have to go somewhere else to figure out the color code. Simply block that number, double-click it, and choose Quick Edit. It will pop up a color picker window, and you can adjust it from there.
We can change ours to be something like this.
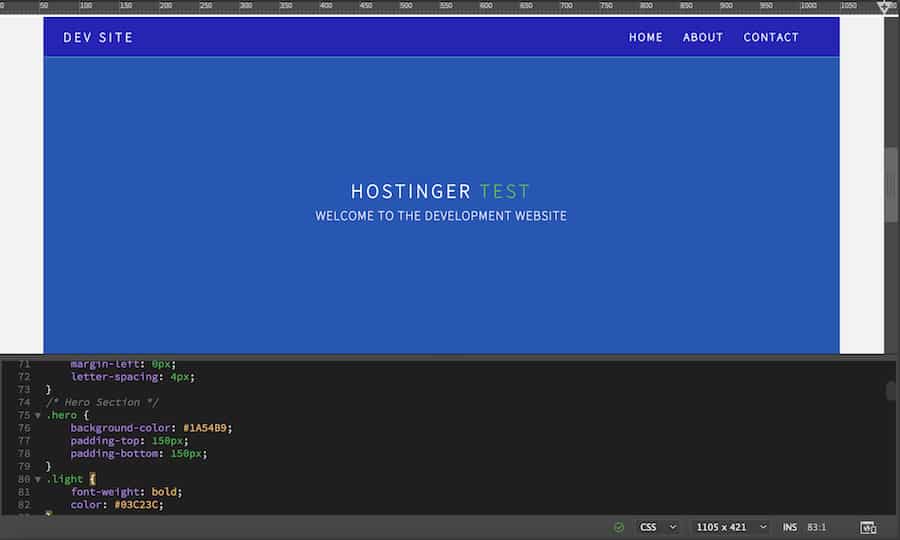
Of course, you still have some work to do. There’s content you need to add and styles to adjust. These are just basic changes that you can make to the template.
When you finish working on the website, you can then upload it to your server.
Preview your site on mobile
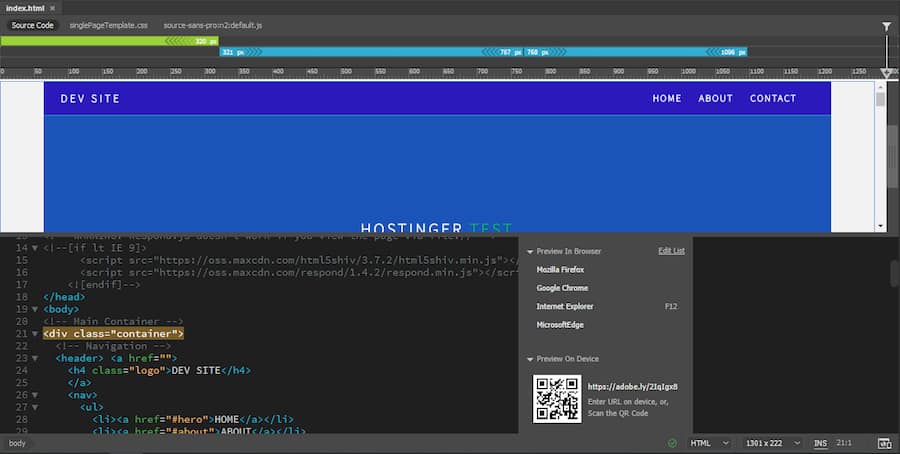
In the mobile era, having a responsive website is a must. Otherwise, many of your visitors will abandon the website. And one of the cool features in Dreamweaver is that you can preview how your site looks on mobile devices. Here’s how to do so:
Go to Real-time Preview at the bottom-right of your workspace. Open a browser on your phone and scan that barcode, or type the URL manually.
Important! To do this, you have to use the same Adobe ID on your Dreamweaver and mobile device. Also using the same WiFi network, and have Javascript and cookies enabled.
Alternatively, you can use the built-in mobile view feature in Dreamweaver. Head over to the Windows Size menu and choose your device option.
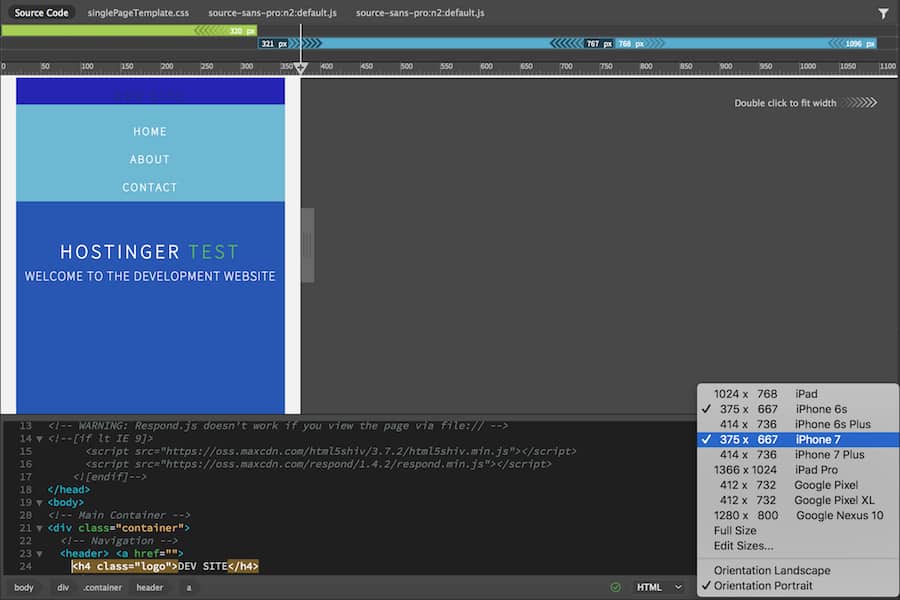
You should be aware that the templates are predominantly made to be mobile-friendly. But, this is not the case if you build your website from scratch.
To do that, you have to add media queries in your CSS code and adjust the pixel size and screen percentage accordingly. We’ve explained this process in detail in our tutorial on how to create a responsive website.
Publishing your site
When you finish building a website, you can publish it online from within Dreamweaver. To do so, all you need to is an active web hosting plan with an FTP account set up.
To establish an FTP connection with Dreamweaver, go to Site -> Manage Sites. In the following window, choose the website that you’ve developed, and click the pencil icon at the bottom. A new window will pop up. Go to Servers.
1. Create a new FTP connection
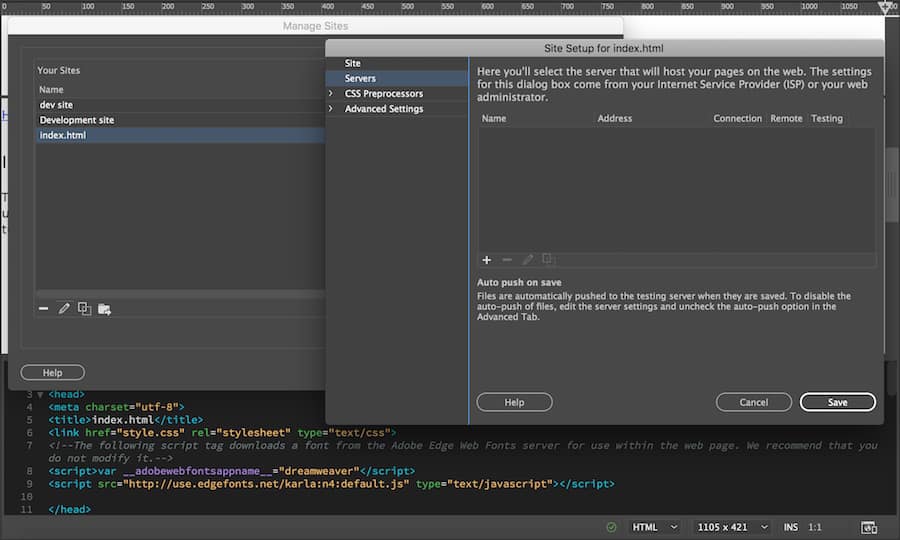
Click the plus icon on the Servers window, and it will display the FTP connection form. You need to fill that out.
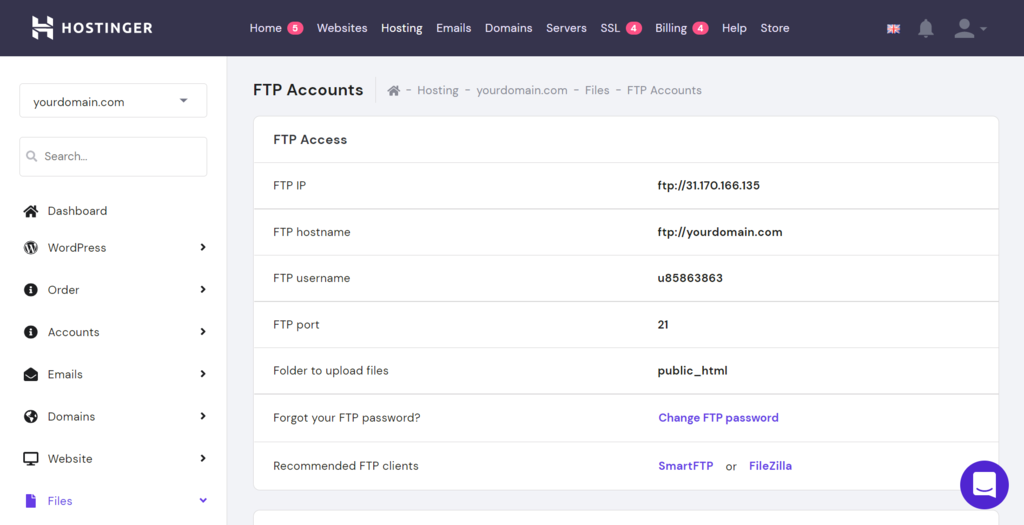
If you’re on Hostinger, you can find the FTP details on your hPanel. Go to your Hosting Account dashboard -> FTP Accounts. If you forgot the password, feel free to change it.
2. Fill out the connection details
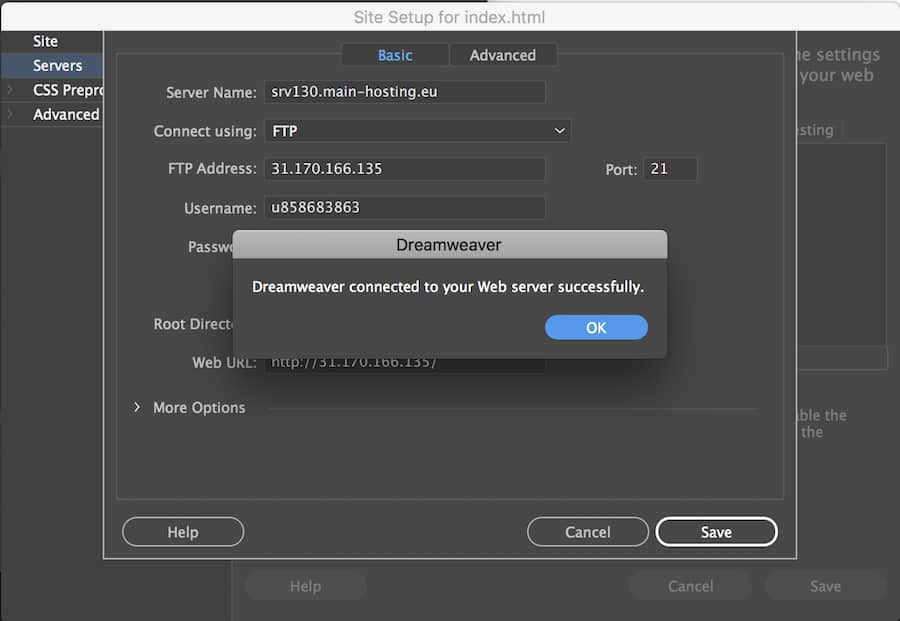
Fill out the form using the FTP Address, Username, and Password you’ve located before. Then click Test. Dreamweaver will tell you if the connection is successful. Don’t forget to click Save.
From your Files panel you can now initiate a connection to the server, along with options such as Get and Put and Synchronize.
Conclusion
You’ve learned the basics of creating a website with Dreamweaver.
In this Dreamweaver tutorial, you learned how to create a basic site from scratch, as well as use default templates, preview it for mobile devices, and publish a website on a server.
Suggested Reading
16 Best WordPress Alternatives For Your Site
15 Best CMS Platforms to Start a Website
Wix vs WordPress
Webflow vs WordPress
Website Builder vs WordPress
Squarespace vs WordPress
Drupal vs WordPress
Joomla vs WordPress
WordPress vs HTML
All of the tutorial content on this website is subject to Hostinger's rigorous editorial standards and values.

Luqman is a self-proclaimed social scientist. He is passionate about education, technology, and everything in between. He wants to help create a high-quality education system. Having spent the past four years as a social researcher and blog guru, he lends his skills to Hostinger's digital content team. As for free time, he enjoys reading scientific (and not-so-scientific) literature with a cup of black arabica coffee as a companion.