Managed n8n is a streamlined solution that simplifies the implementation of workflow automation. Managed n8n is part of the Hostinger AI Automation applications plan, together with OpenClaw, Hermes Agent, and Paperclip. Each plan runs one application at a time, so running two applications requires two plans. This feature automates server management, infrastructure updates, and security settings, allowing you to focus entirely on building your automations.
You can access Managed n8n from Hostinger dashboard:
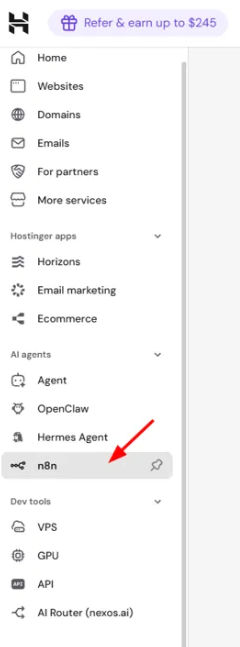
- From Hostinger dashboard — log in to Hostinger dashboard and click n8n under AI agents in the left sidebar.

With Managed n8n, you receive:
- Automated deployment: Get a ready-to-use n8n workspace without manual server setup.
- Isolated environment: Your n8n instance runs within a secure, dedicated Docker container.
- Managed infrastructure: Hostinger handles all backend security features and automatic software updates.
Prerequisites
- A Hostinger account with access to AI Automation applications (currently rolling out by region).
Set up your Managed n8n instance
To begin, deploy your n8n instance from Hostinger dashboard:
- Log in to Hostinger dashboard and click n8n under AI agents in the sidebar.
- Click Add n8n.
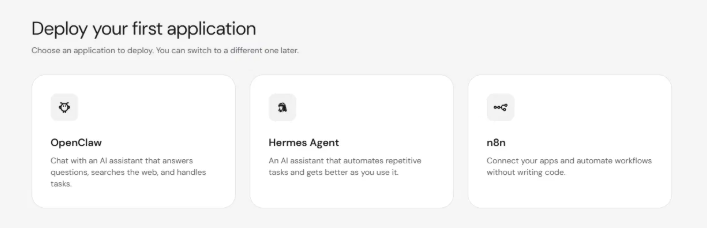
- On the Deploy application screen, click n8n.

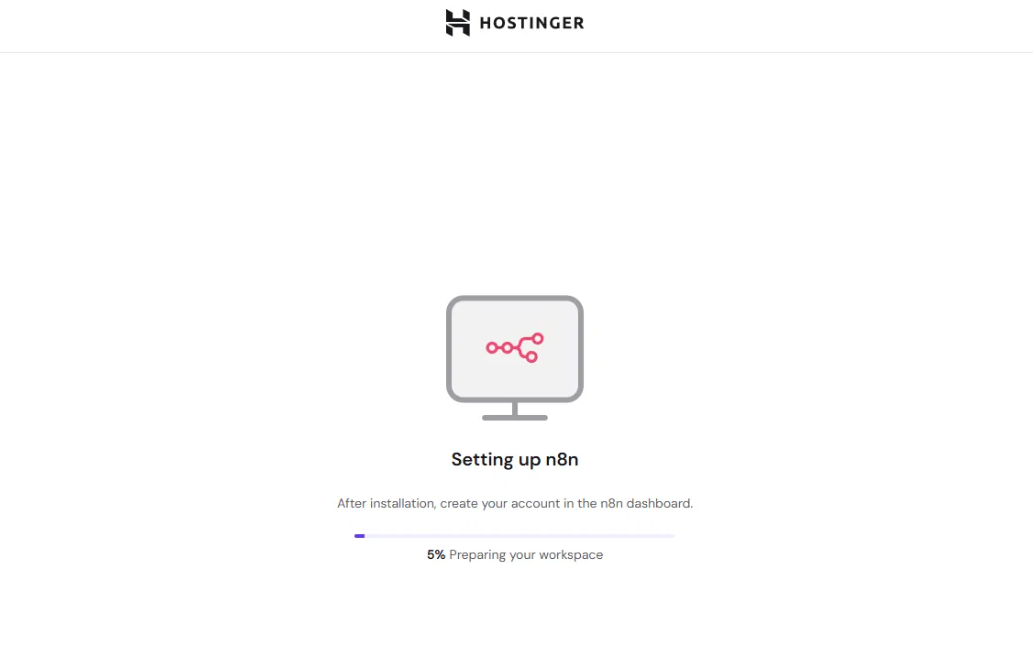
- The system will prepare your workspace. A progress bar shows the setup status.

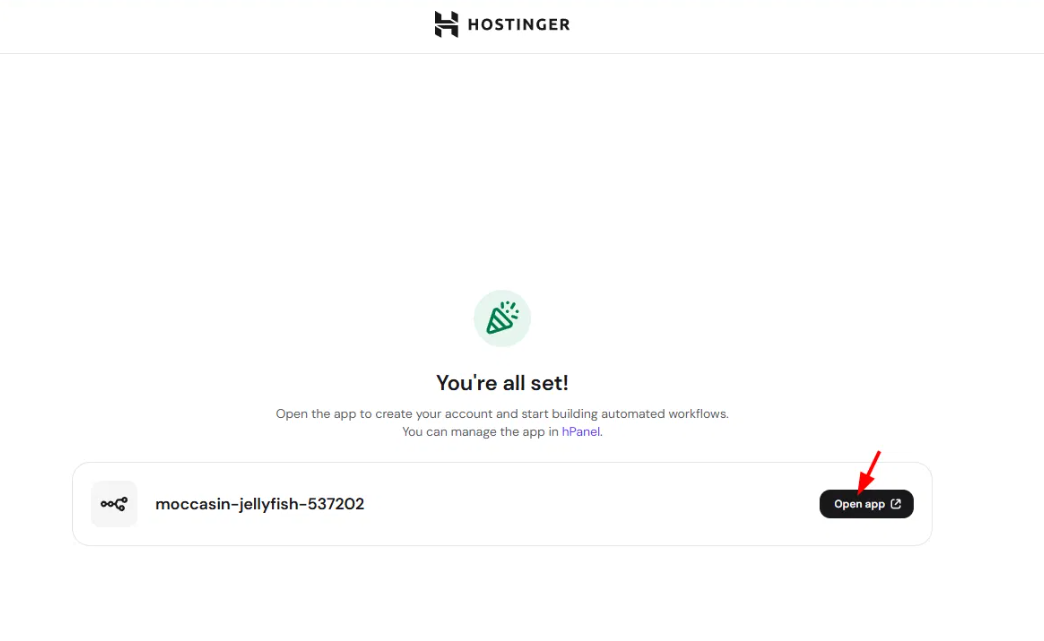
- Once complete, click Open app to launch n8n and continue with account setup.

- Set up your n8n owner account
Customize your n8n workspace
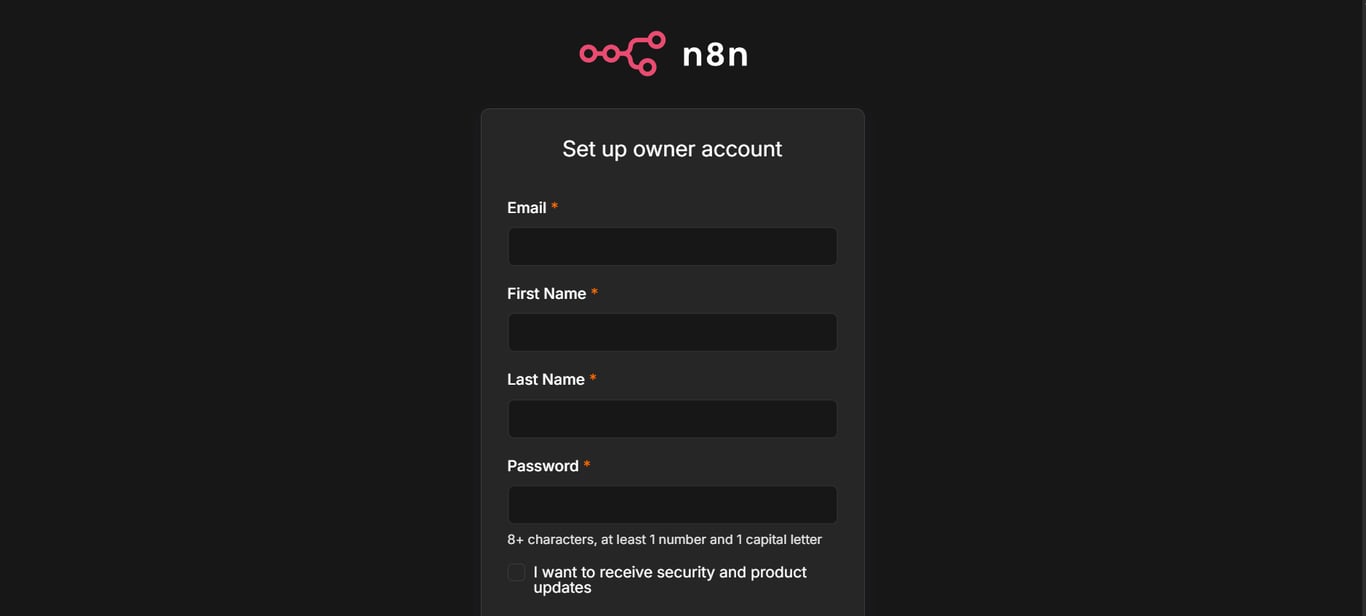
After the workspace is ready, you’ll be prompted to create your n8n account:
- Enter your email, first name, last name, and password. Your password needs at least 8 characters, including 1 number and 1 capital letter. Optionally, select the checkbox to receive security and product updates from n8n, then click Next.

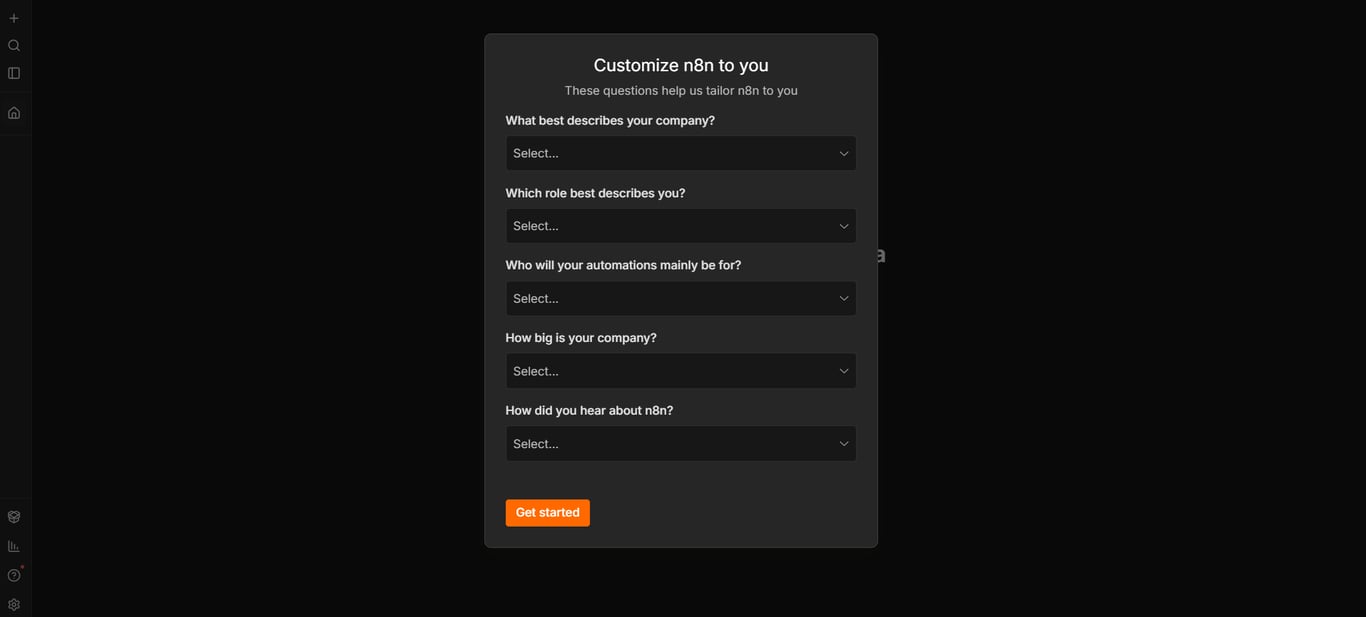
- n8n asks a few optional questions to tailor your workspace, covering your company type, role, intended automation audience, company size, and how you heard about n8n. Select an answer for each dropdown, or leave them blank, then click Get started.

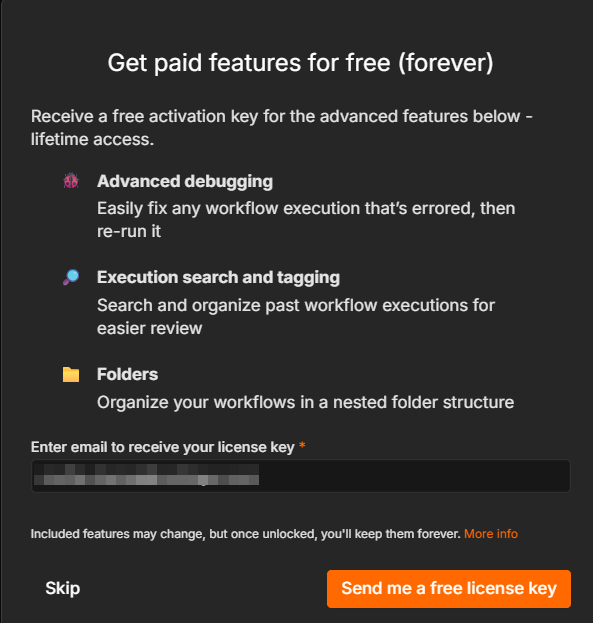
- You may also see a prompt offering a free activation key for advanced features such as advanced debugging, execution search and tagging, and folders. Enter your email and click Send me a free license key to claim it, or click Skip to continue without it.

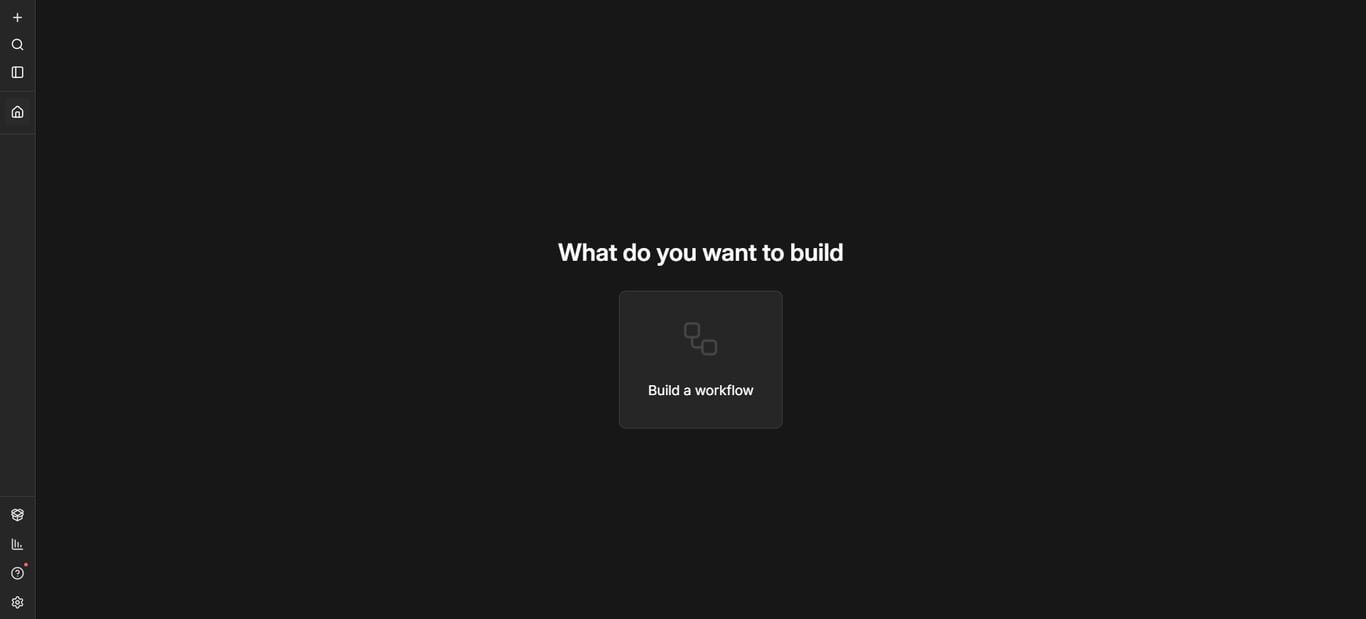
By completing these steps, you have successfully deployed a Managed n8n workspace. You can now start building automated workflows from the n8n page.
Manage your Managed n8n application
After completing the initial setup, you can manage your Managed n8n instance at any time from the n8n section on the Hostinger dashboard side menu.
For more details, refer to this guide: Hostinger Managed n8n: How to manage your application on Hostinger dashboard.
Managed n8n vs. self-hosted n8n on a VPS
Managed n8n suits customers who want Hostinger to run the server, and self-hosted n8n on a VPS suits customers who need full root access.
- Managed n8n: Hostinger deploys n8n in an isolated container and handles security and automatic updates. Backups run daily and are kept for 7 days.
- Self-hosted n8n on a VPS: the n8n VPS template installs n8n on Ubuntu 24.04 with Docker. You get full root access and manage updates and security yourself, as explained in How to use the n8n VPS template at Hostinger.
To switch between AI Automation applications, follow How to switch your Hostinger AI Automation application.
Additional resources