This guide explains how to send emails from an email alias using the Hostinger Mail Web App (Webmail) after the alias is created in hPanel.
Before you start
You cannot manage aliases directly in Webmail. Email aliases are created and assigned to mailboxes in hPanel, not in Webmail.
To create, assign, or remove aliases in hPanel, follow this guide: How to Set Up an Email Alias With Hostinger Email
Make sure that:
-
The email alias already exists.
-
The alias is assigned to the mailbox you are logged into.
Send an email from an alias
Once an alias is assigned to your mailbox, it becomes available as a sender option automatically.
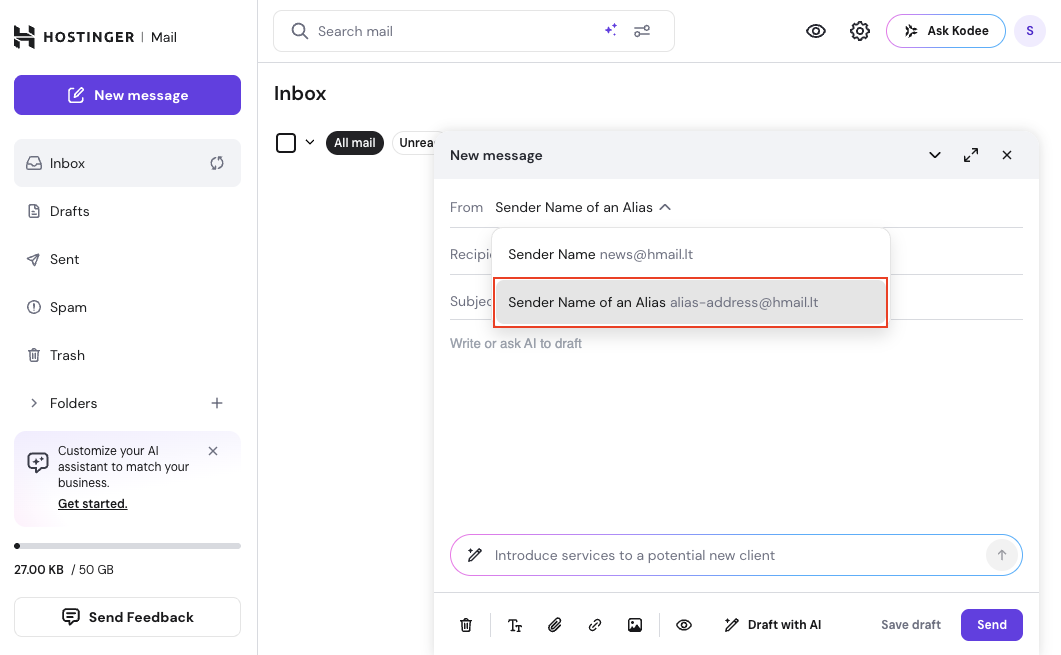
Steps
-
Click New message.
-
In the compose window, click the From field at the top.
-
Select the email alias from the dropdown list.
-
Enter the recipient, subject, and message.
-
Click Send.
The email is sent from the selected alias address. Replies are delivered to the same alias address.
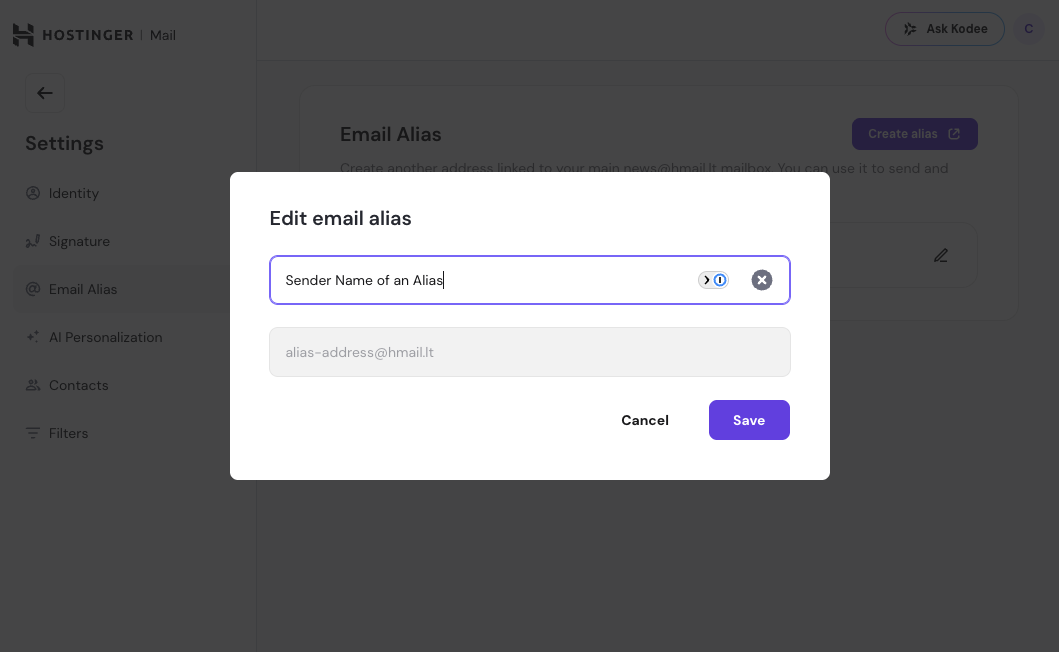
Add or edit the sender name for an alias (optional)
A sender name for an alias is optional. If set, recipients will see it in the From field along with the alias email address.
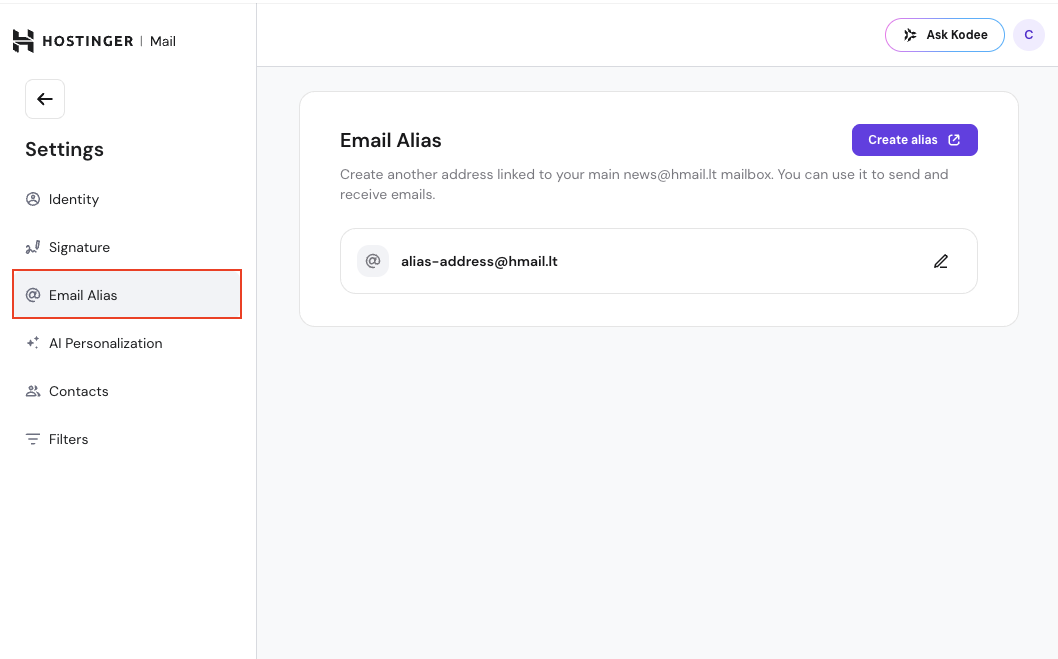
Steps
-
Click the settings (gear) icon in the top-right corner.
-
Select All settings.
-
Open Email Alias from the left menu.
-
Click the edit (pencil) icon next to the alias.
-
Enter or update the Sender Name.
-
Click Save.
Notes
- You can update the sender name at any time.
-
The alias email address cannot be changed here, and has to be changed via hPanel
What recipients see
Recipients see:
- The alias email address.
-
The sender name (if configured).
Your main mailbox address is not shown.
Important notes and limitations
-
All aliases share the same mailbox and inbox.
-
Replies always arrive to the same alias address.
-
Removing an alias in hPanel removes it from Webmail immediately.
Troubleshooting
Alias not visible in the From field
-
Confirm the alias exists in hPanel.
-
Confirm it is assigned to the correct mailbox.
-
Refresh the page or log out and back into Webmail.
Sender name not updating
-
Reopen Email Alias settings.
-
Save the sender name again to apply changes.