.htaccess is a configuration file used by Apache-based web servers to control redirects, access permissions, and advanced WordPress setups. On Hostinger’s Agency Hosting plans, .htaccess support is disabled by default to preserve optimal performance — but it can be enabled directly from your website Dashboard whenever needed.
Steps to enable .htaccess support
- Log in to hPanel at hpanel.hostinger.com.
- Navigate to Websites and click Dashboard next to the website you want to configure.
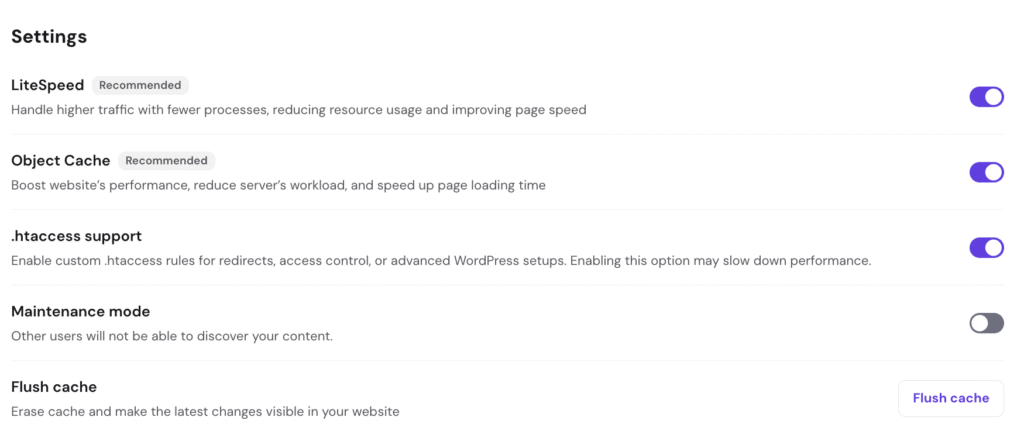
- Scroll down to the Settings section.
- Locate the .htaccess support toggle.
- Click the toggle to enable it. The toggle will turn purple when active.
- The setting is applied automatically — no additional save step is required.
What .htaccess support enables
Once enabled, you can use .htaccess rules for:
- URL redirects — set up 301/302 redirects without modifying server configuration
- Access control — restrict or allow access to specific directories or files
- Advanced WordPress setups — support for custom permalink structures, security rules, or plugin-specific requirements
- Custom error pages — define pages for 404, 403, and other HTTP errors
Performance considerations
Hostinger’s Agency Hosting uses Hostinger Web Server technology by default. It natively handles most redirect and rewrite use cases more efficiently than .htaccess. For best performance:
- Keep
.htaccessdisabled unless your specific setup requires it. - If you only need basic redirects, consider using the Redirects tool in hPanel instead.
- After enabling
.htaccessand making your changes, you can always disable it again.
Disabling .htaccess support
To turn it off, follow the same steps above and click the toggle again to disable it. The toggle will return to its grey/inactive state.