View, send, and customize invoices in your Hostinger Ecommerce online store.
View and send invoices
- Go to Store Manager.
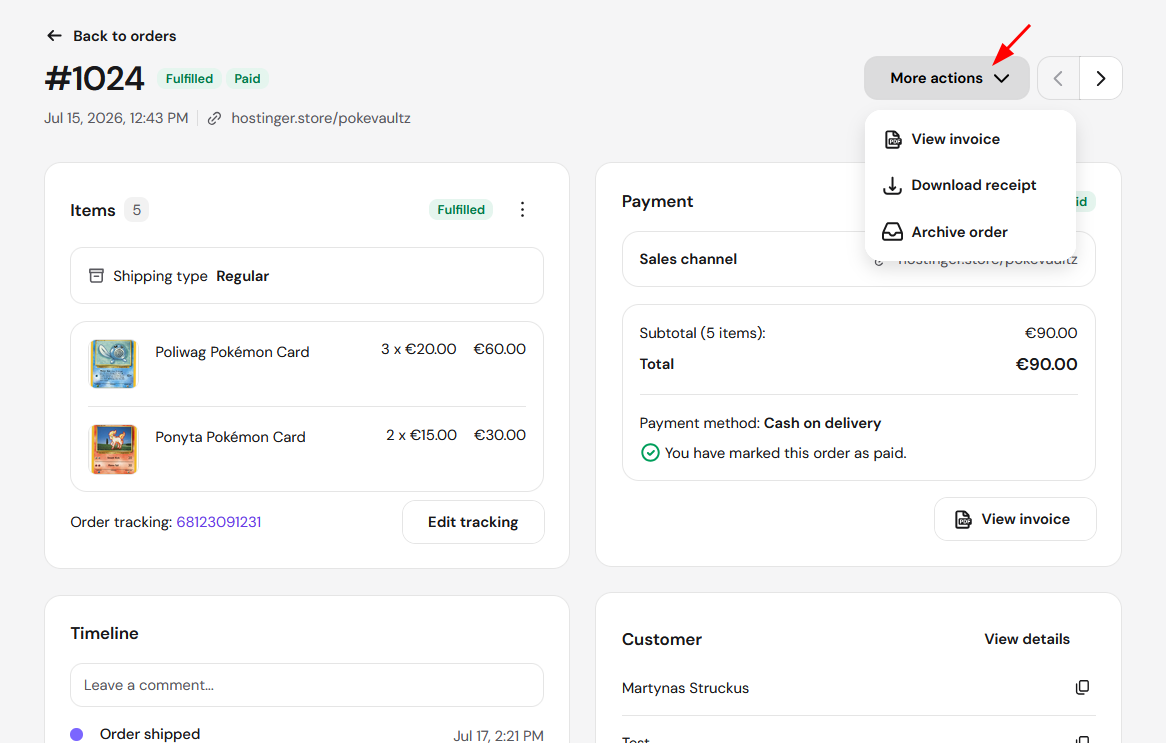
- Go to Orders, open the order in question.
- Click More actions then View invoice:
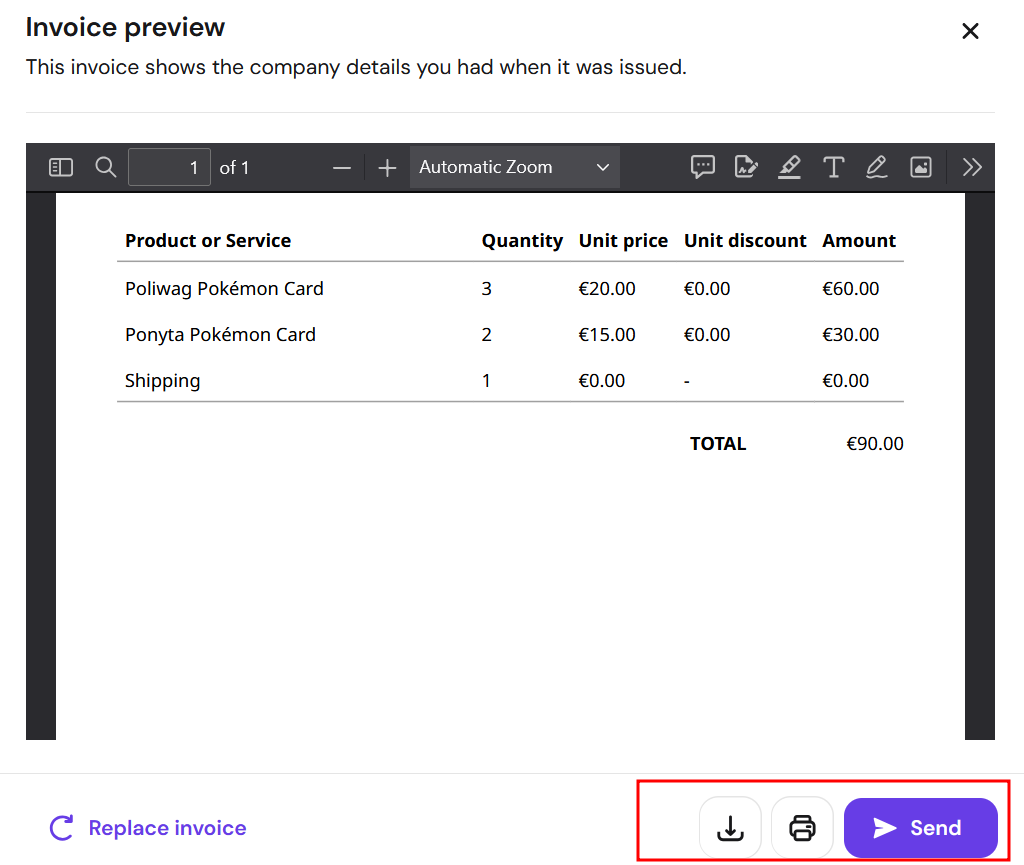
Now you may download, print, or send the generated invoice:
NOTES
- This is not a tax invoice
- If your customer only needs proof of payment rather than a formal invoice, send them a receipt instead.
Manage invoice settings
In the store management area, go to Settings → Invoices. Here you can preview the invoice template and customize its settings.
General
-
Change the title; by default it’s Invoice
-
Set the next invoice number
Company
These details are fetched from the Settings → Store settings.
Additional information
Add any additional details that you’d like to provide in invoices, e.g., your company code or tax ID. You can add up to two fields, and edit or remove this information anytime.
Other
Show or hide the following details:
-
Logo
-
Contact email address
-
Contact phone number
These details are fetched from the Settings → Store settings.