When developing your WordPress website, you can use a staging environment to test changes without affecting your live site. A staging environment is a copy of your website used for testing purposes. At Hostinger, you can create and manage these environments directly from hPanel if you have a Business web hosting plan or higher.
Before you start
- Ensure you have a Business web hosting plan or higher.
- If you are using an Agency hosting plan, please follow this specific guide for Agency staging environments.
- Ensure your WordPress installation is detected in the Websites section of hPanel.
Create a Hostinger WordPress staging environment
To set up your staging site, follow these steps:
- Go to hPanel → Websites
- Locate your WordPress website and click on Dashboard.
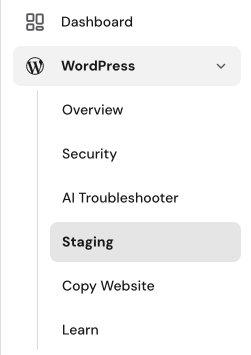
- On the left sidebar, select WordPress → Staging.
- Click the Create staging button.
- Enter your preferred subdomain name and click Create.
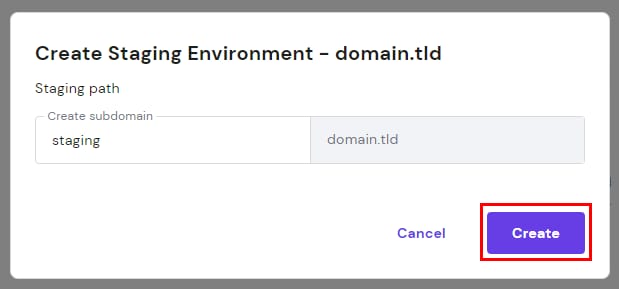
- The system will take a few minutes to generate the staging website.
NOTES
- The Hostinger staging tool creates staging environments for root domains. To set up staging for a subdomain, you must do so manually.
- If your domain uses external nameservers, you must manually create an A record for the staging subdomain in your active DNS zone and point it to your Hostinger IP address.
Manage the Hostinger WordPress staging environment
You can access and publish your changes through the staging management interface:
- Navigate to the Staging section.
- Click Manage staging to access the WordPress Admin area of your staging site.
- Once your changes are ready, return to the Staging section in hPanel.
- Click the options button ( ⋮ ) next to your staging site and select Publish.
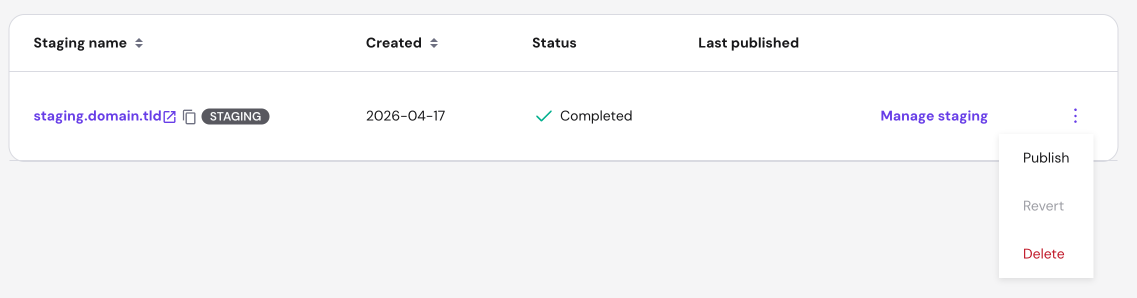
- Review the confirmation window and click Publish.
Important: Publishing replaces your live files and database with the staging copy. Any changes made to your live website after the staging environment was created will be overwritten and lost.
After publishing, your live website files and database are replaced by the staging version. You can also use the options menu to revert changes or permanently delete the staging environment.
By using a staging environment, you can safely experiment with new features and updates. Once you publish, your live site will instantly reflect the improvements you tested in the staging area.