Connect a custom domain to your Hostinger AI Builder agentic mode web application during onboarding, or at any time after your website is created. You can connect your domain from the Websites list in Hostinger dashboard or directly inside the Hostinger AI Builder editor.
Connecting your domain
First, if the domain is not pointed to Hostinger, make sure to change the nameservers to those of Hostinger and then proceed. You can also point it following a second method, which would be via CNAME records, also stated in the article.
If the domain is already registered at Hostinger or pointed to Hostinger, proceed to the next steps.
-
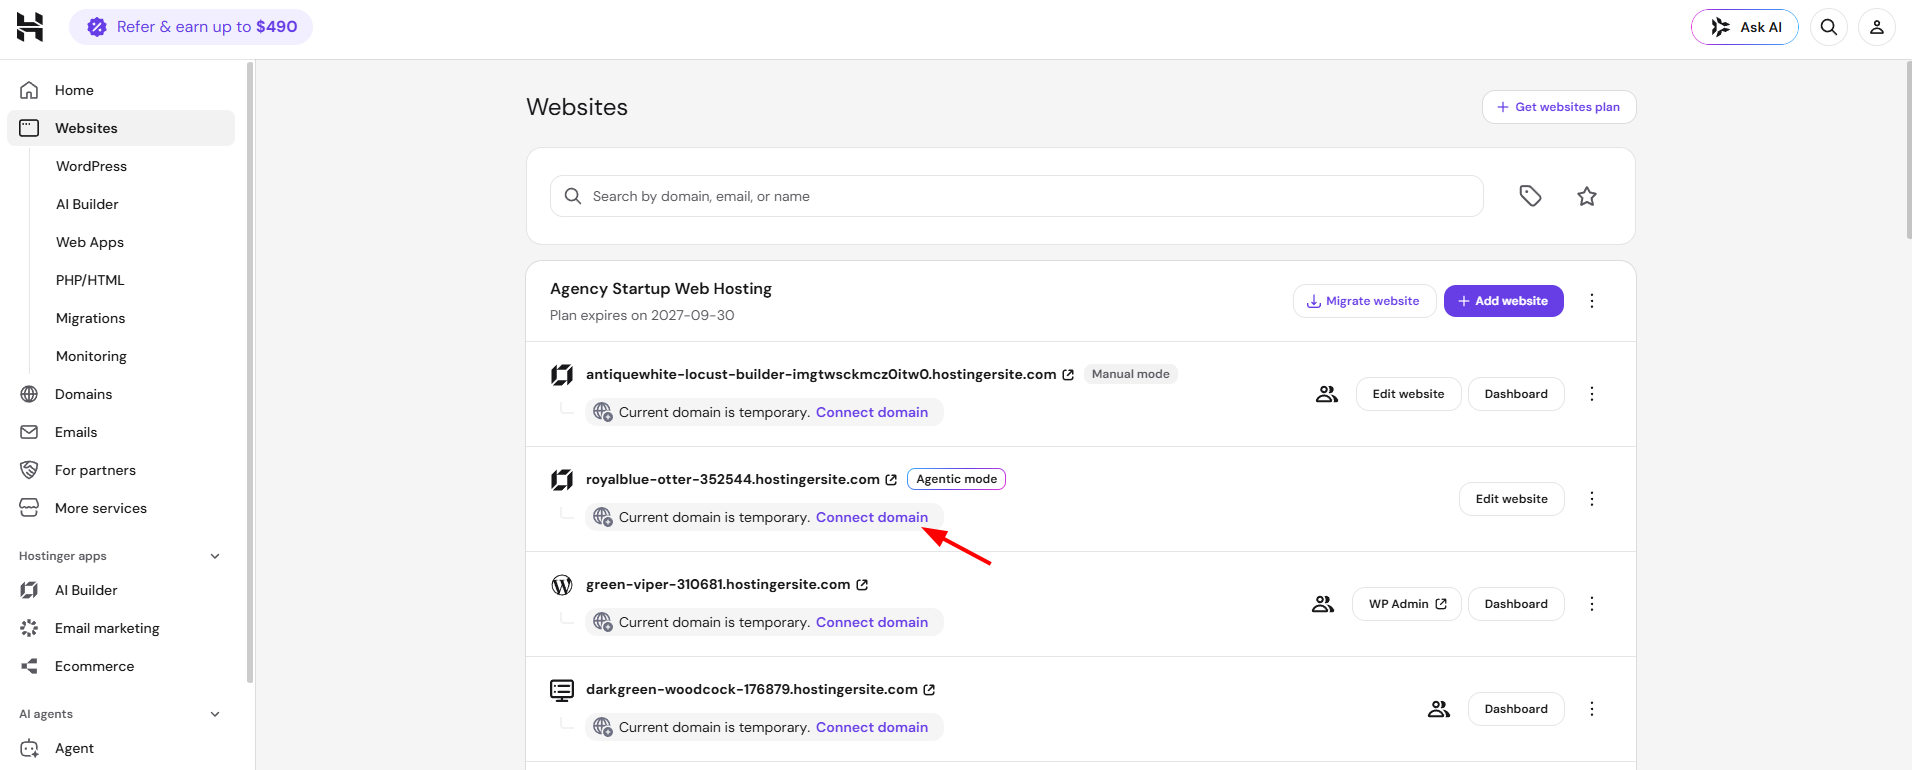
Navigate to the Websites list section on the left sidebar,
-
Click on Connect domain for the specific web application that you wish to connect to your domain, clicking this shows domains relevant to that specific project.
-
Follow the next steps on the Hostinger dashboard.
You can also connect your domain inside Hostinger AI Builder editor. For that, follow these steps:
-
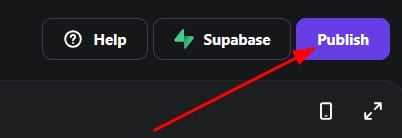
Click on the Publish button to prepare your website for going live:
-
Once your website is ready to publish, you’ll see an option to Connect Domain.
-
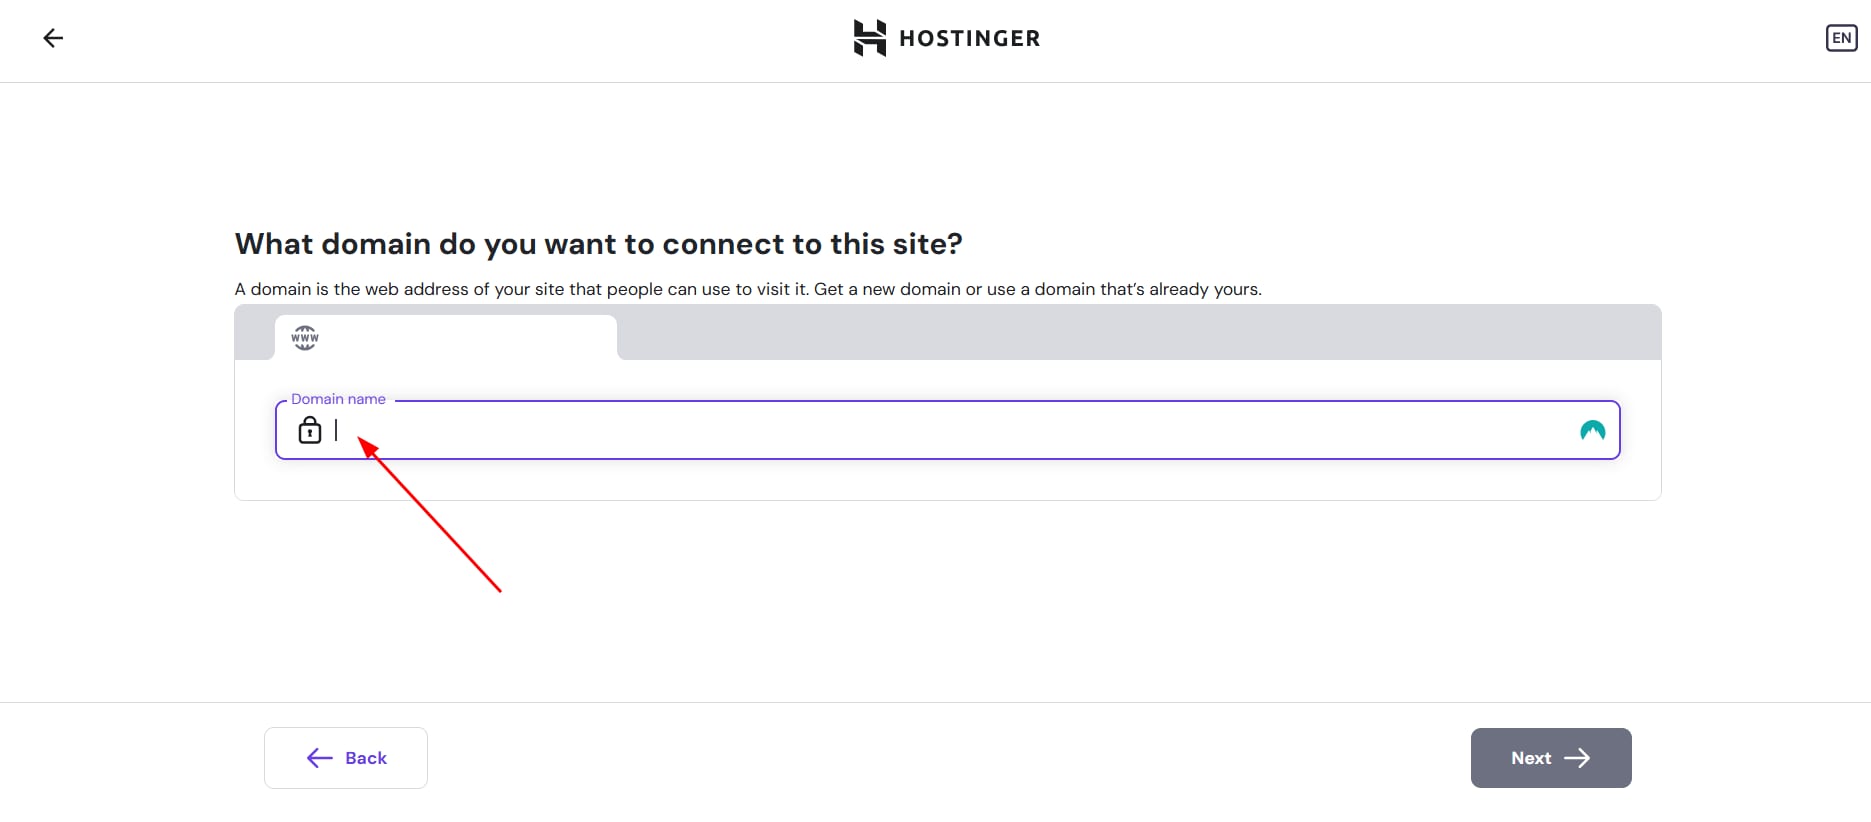
This will redirect you to the next screen where you’ll be able to enter the domain you want to use. Enter the name and follow the next steps inside Hostinger dashboard.
How to get your web app online
After connecting your custom domain to the web app created with Hostinger AI Builder, in order to get your web application live, you need to publish your project.
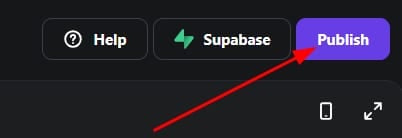
To publish it, click on the Publish button in the top right corner of Hostinger AI Builder tool:
When the publish is successfully completed, you will be presented with a unique generated link to view your new web app:
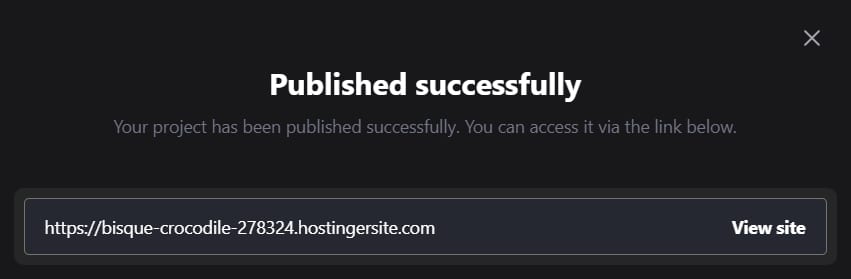
When the publish is successfully completed, your new web application is now live and ready to be used.