Create a functional contact form for your Hostinger AI Builder agentic mode website with automatic email notifications and database storage, so visitors can reach out to you directly. Forms automatically store submissions in a dedicated data collection and send email notifications to your preferred address, handled entirely within the Hostinger AI Builder interface without requiring external email services.
Step 1 – Prompt AI Builder to create the contact form
To set up the form, you must use the AI chat interface to define the fields and the notification behavior.
- Open the Hostinger AI Builder.
- Enter a prompt that specifies the required fields, the data collection name, and your notification email. For example:
“Add a contact form to my website with the following fields: full name, email address, and message. Store each submission in a data collection called Contact Submissions. Send an email notification to my.email@example.com every time the form is submitted, including the sender’s name, email address, and message.“ - Replace the placeholder email with the actual address where you wish to receive alerts.
Step 2 – Test the form in preview mode
Before making your site live, verify that the data is being captured and notifications are working.
- Click Preview in the editor.
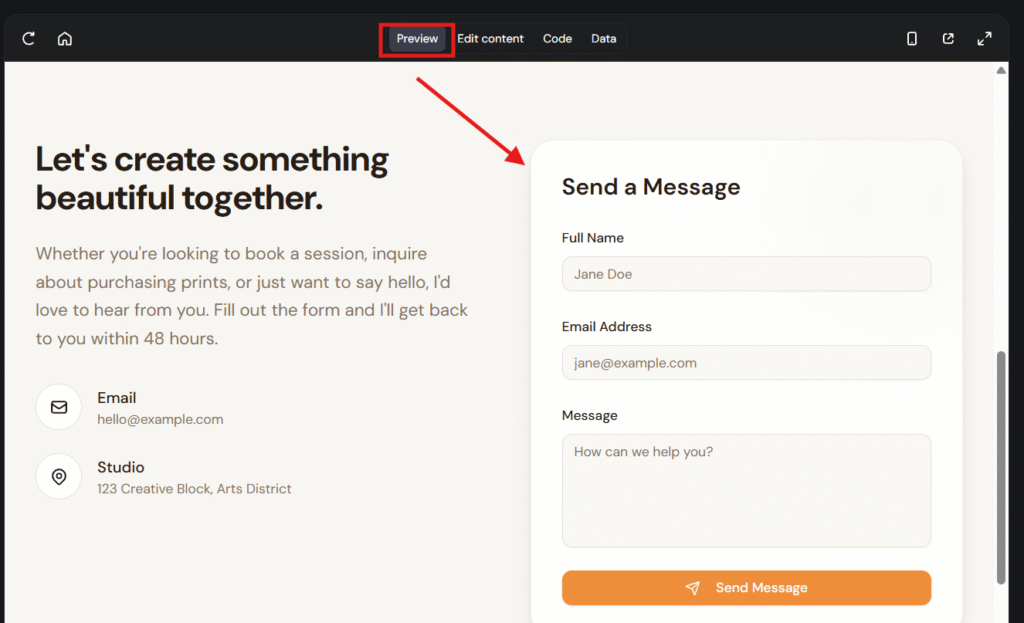
- Fill out the contact form as a visitor would and submit it.
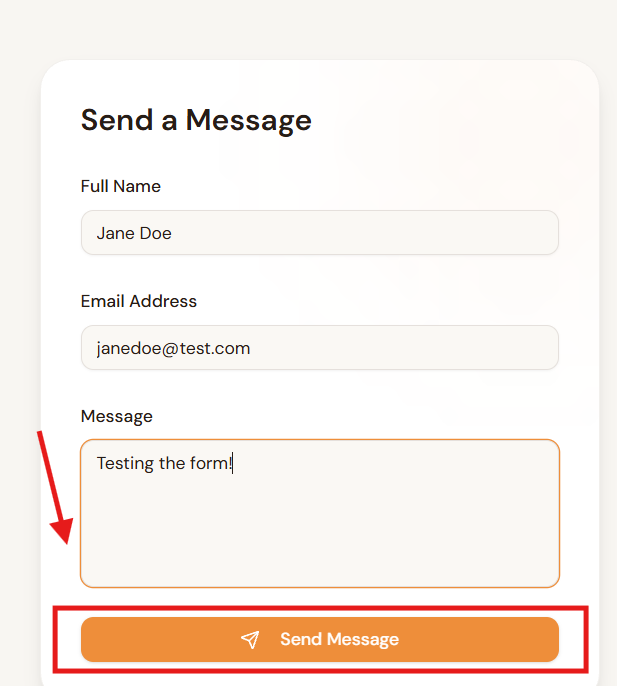
- Click the Data toggle at the top of the editor.
- Open the Contact Submissions collection in the left panel.
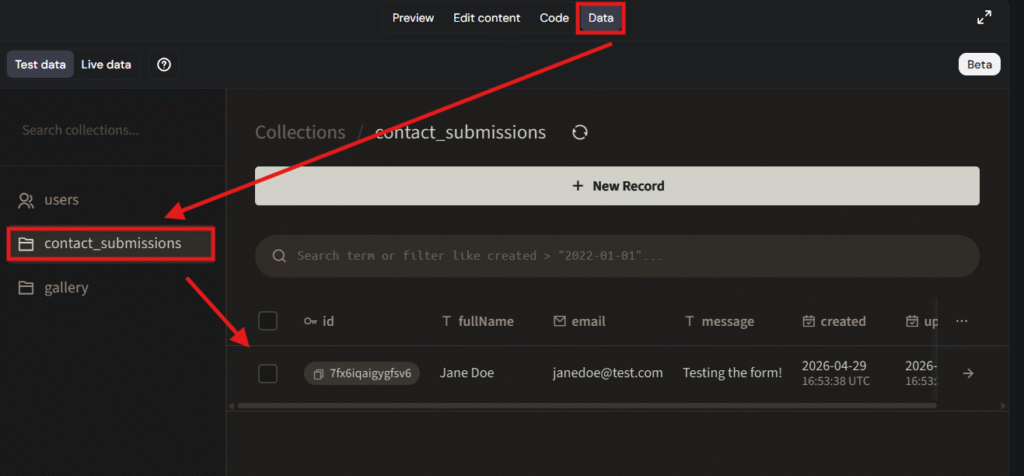
- Confirm the test entry appears under the Test data section.
- Check your email inbox for the notification.
Step 3 – Publish the website
Once testing is successful, publish the project to enable live submissions.
- Click Publish in the editor.
- Real visitor submissions now appear in the Live data section of the Data tab. Test submissions you made in preview mode are also copied to Live data when you publish.
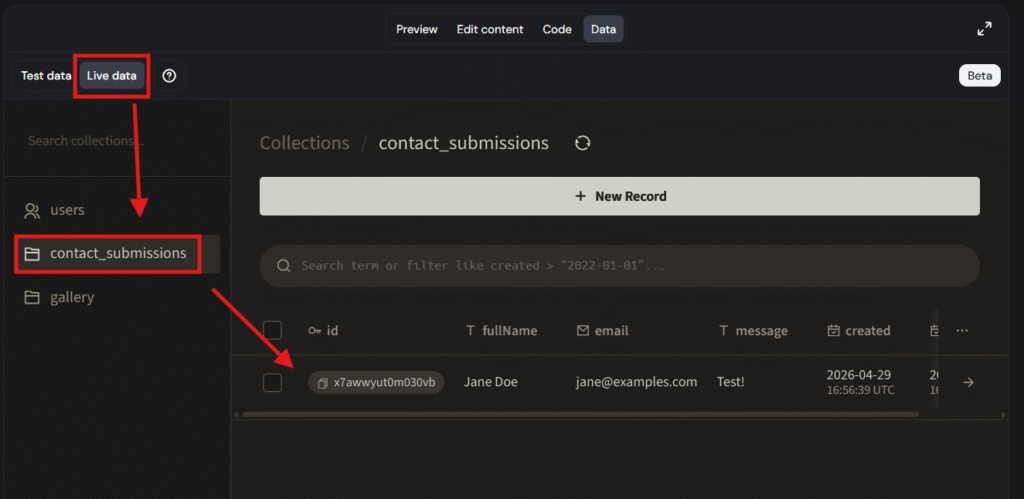
- Email notifications will trigger for every new submission.
You have now successfully integrated a contact system into your Hostinger AI Builder site. Your visitors can reach you easily, and you can manage all interactions directly from your dashboard. For more advanced marketing features, you can always use your forms with Hostinger Reach.
NOTES
- If your form isn’t behaving as expected, see how to troubleshoot contact forms in agentic mode.
- To customize the notification emails further, see how to add email notifications in agentic mode.
- If you also want to connect external services to your project, such as payment processors or APIs, see how to use integrations in agentic mode.