Add DKIM records for Titan Email to strengthen your domain’s email authentication. If you use Titan Email, your emails are already automatically signed with a default key — this article covers where to find that key’s DNS values in case you need to add or verify them manually.
Before you start
- Make sure your domain is set up for Titan Email first.
Find and add your DKIM record
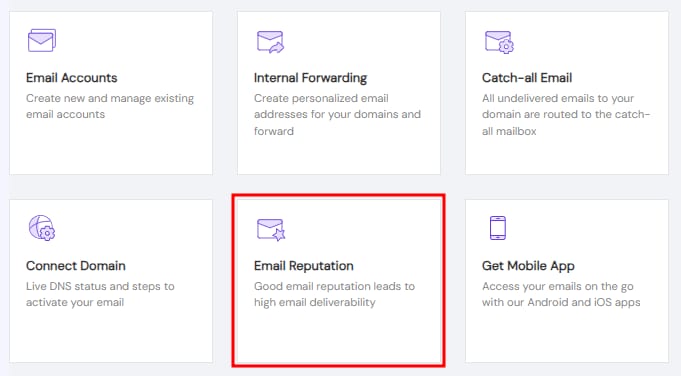
To check the value of your DKIM record, go to the Emails section, click on Mailboxes next to the email service in question, and select Email Reputation:
On the Add DKIM record, click on ADD to expand the section:

There, you will find the details of your DKIM keys. It will look similar to this:
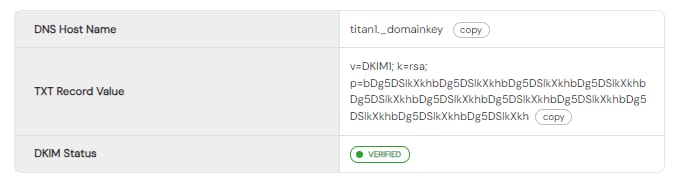
Use the copy buttons and create a new TXT record in your domain’s DNS zone using these values.
After making these changes, consider up to 24 hours for them to propagate worldwide and the DKIM record to be fully operative.