Inside Hostinger Reach, you are able to edit the content inside your email campaign template, and add images by generating them with AI, uploading from your local device, using free images online, or using a direct image URL link.
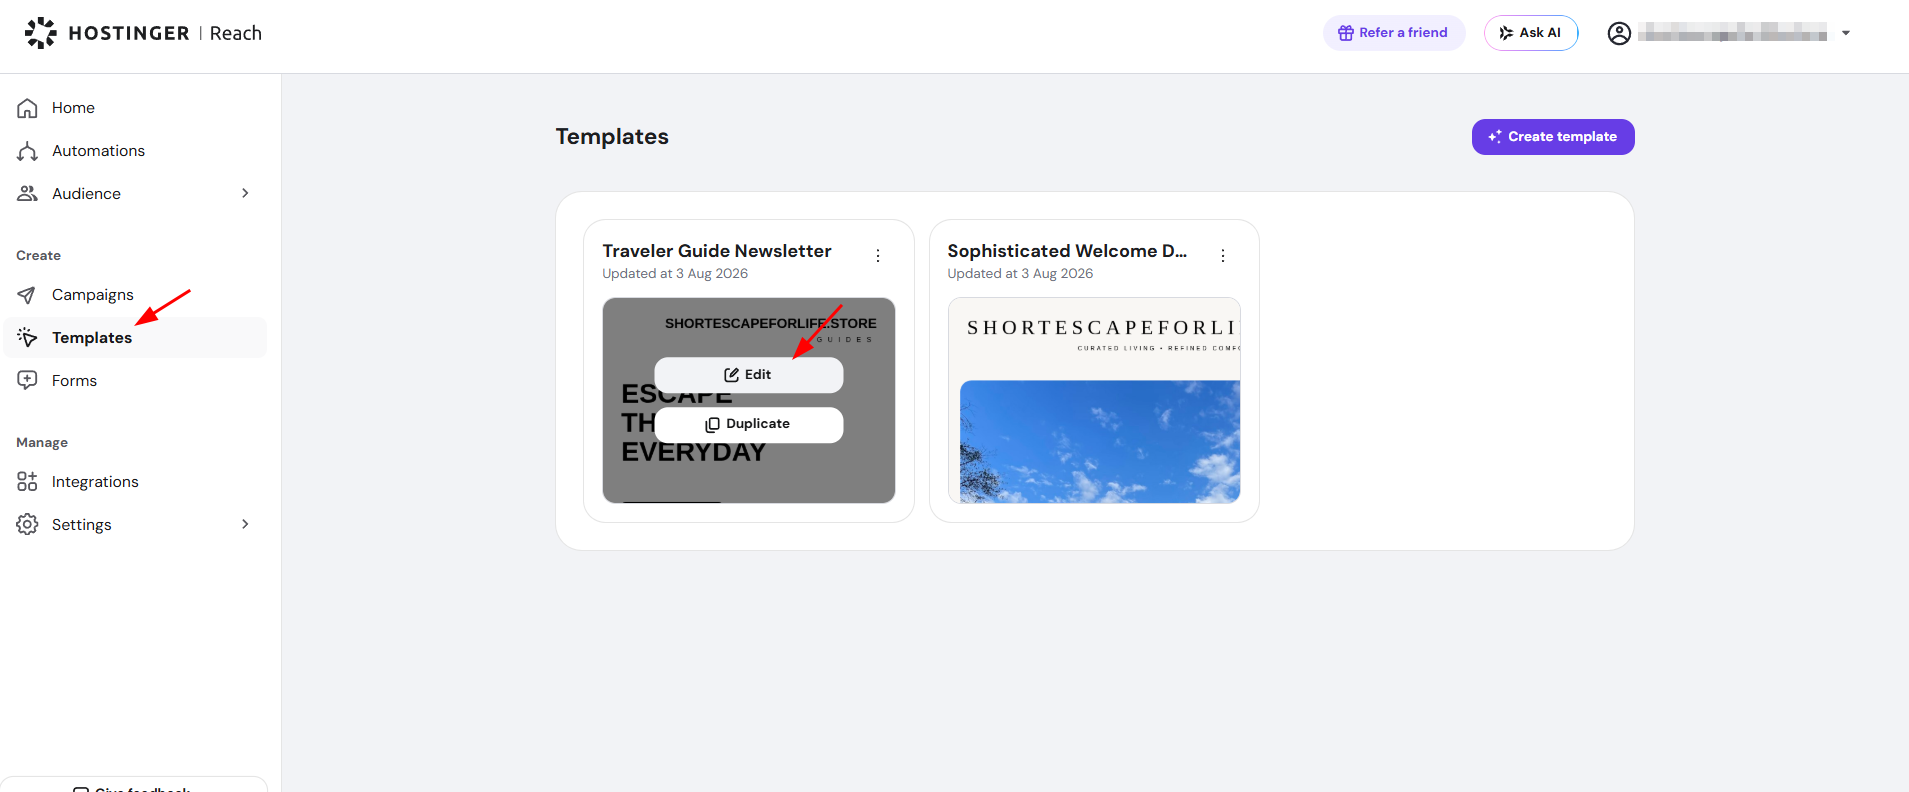
To upload images, access your email campaign template, and click on Edit inside the preview screen:
After that, you will click the specific image you would like to edit and click on Change image:
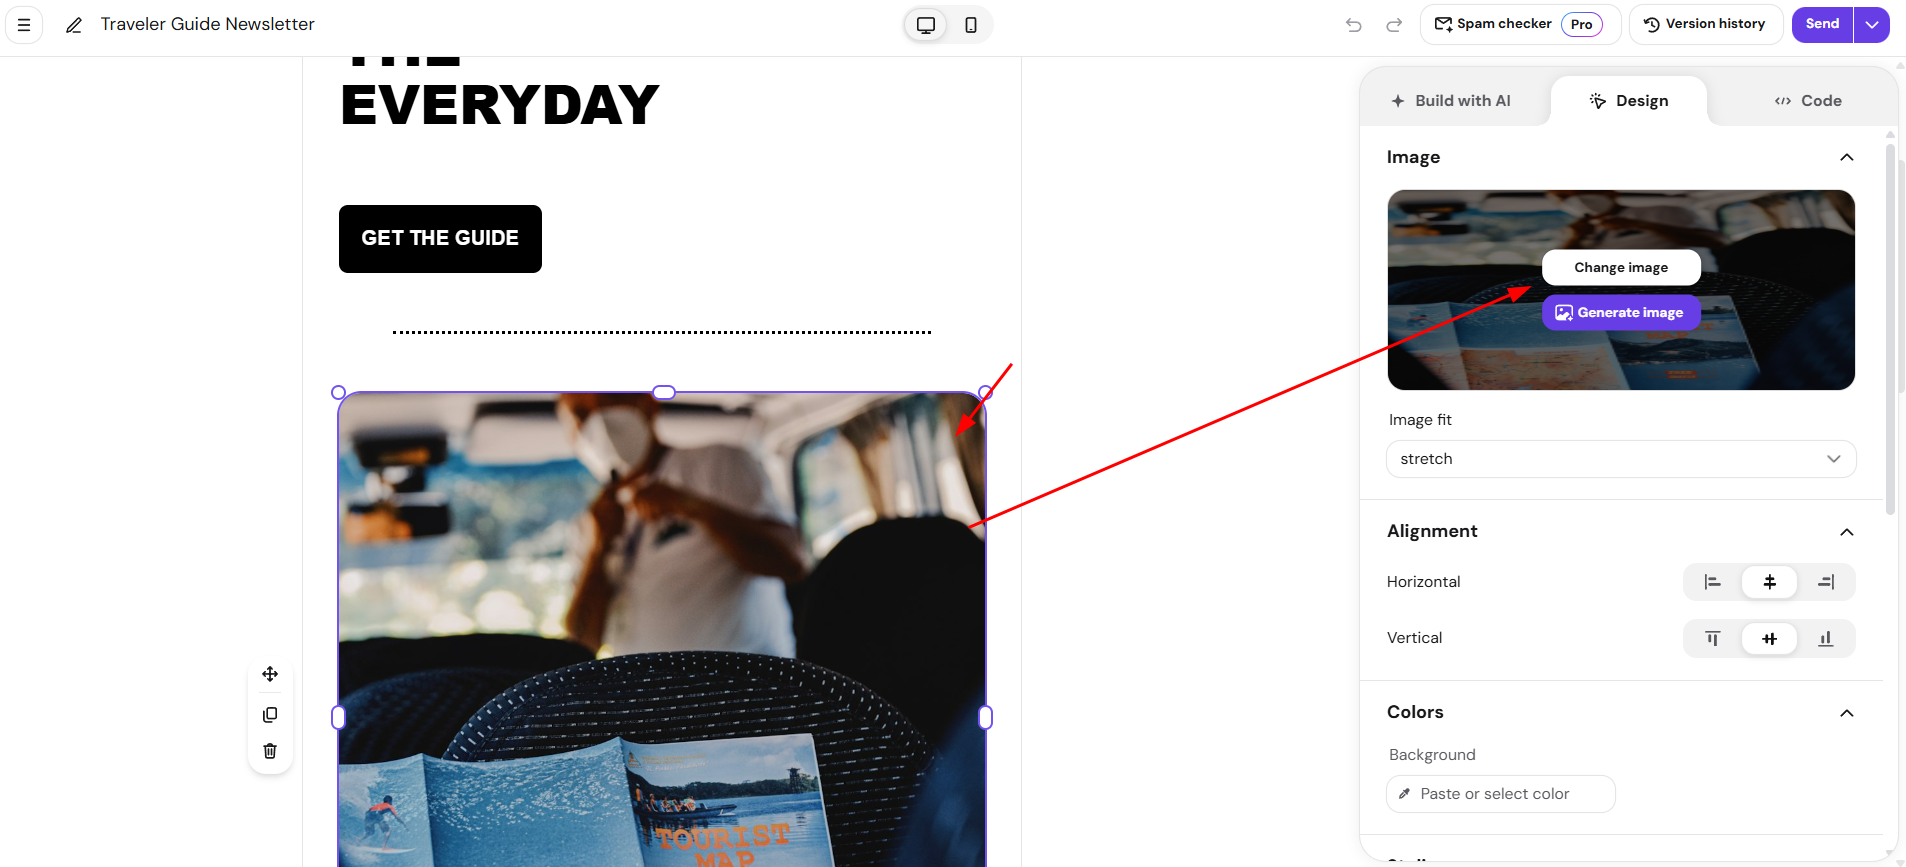
Now, you will be able to follow one of the several ways to upload images inside Hostinger Reach tool.
Upload image from local device
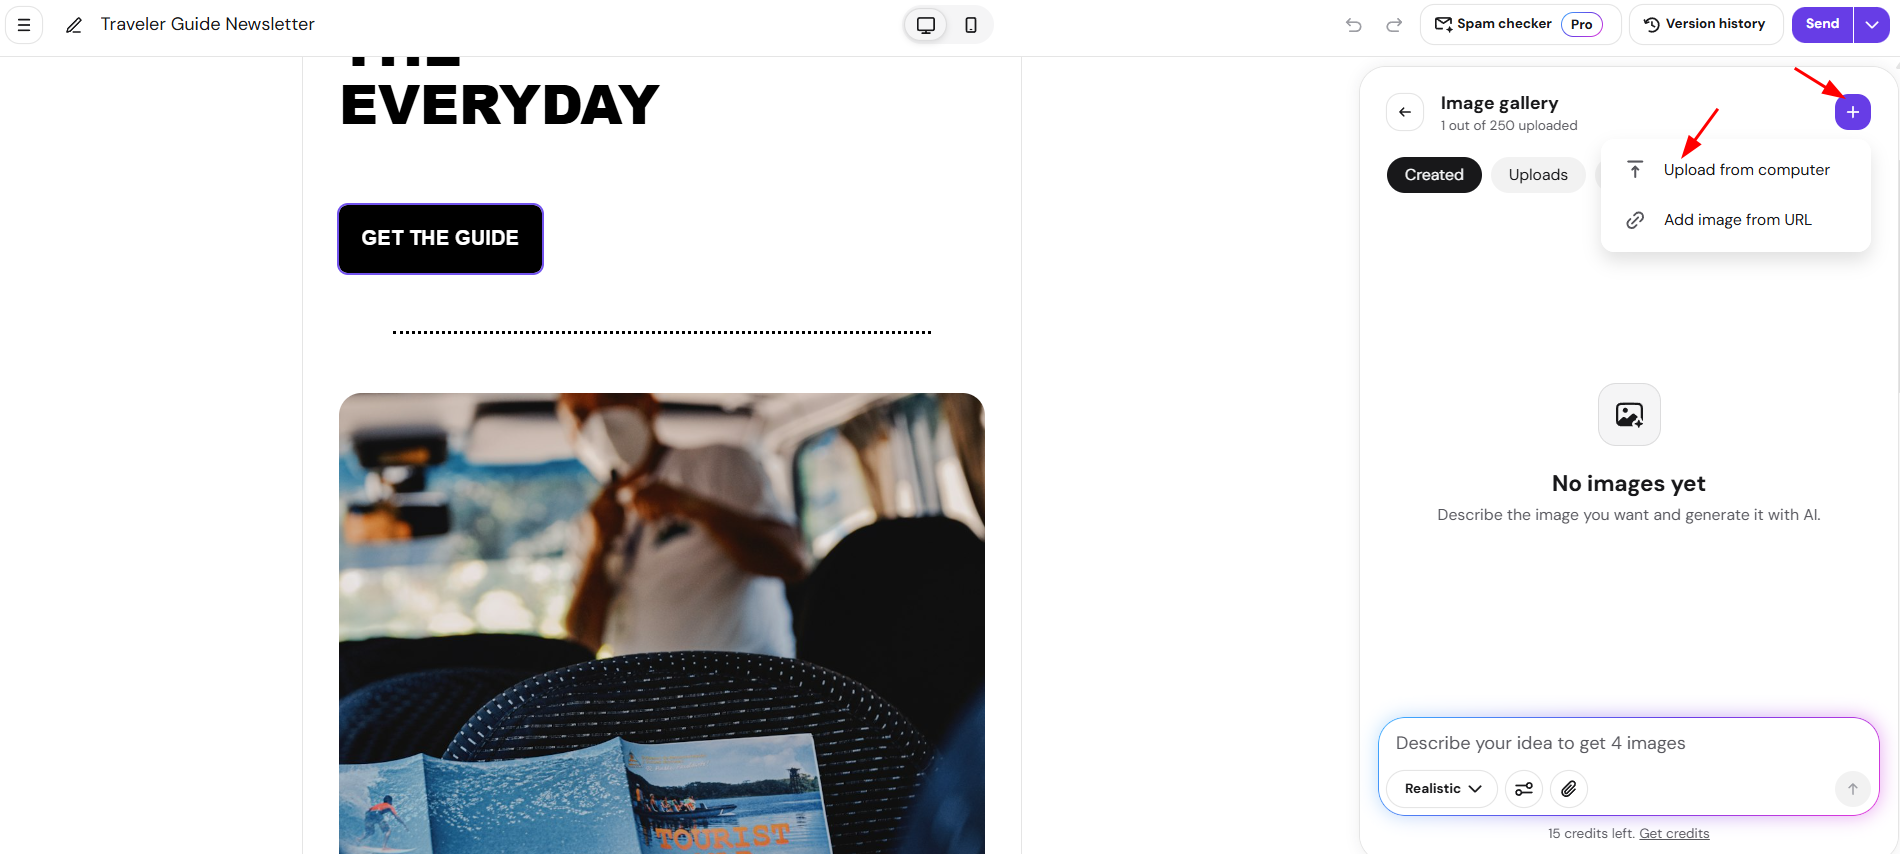
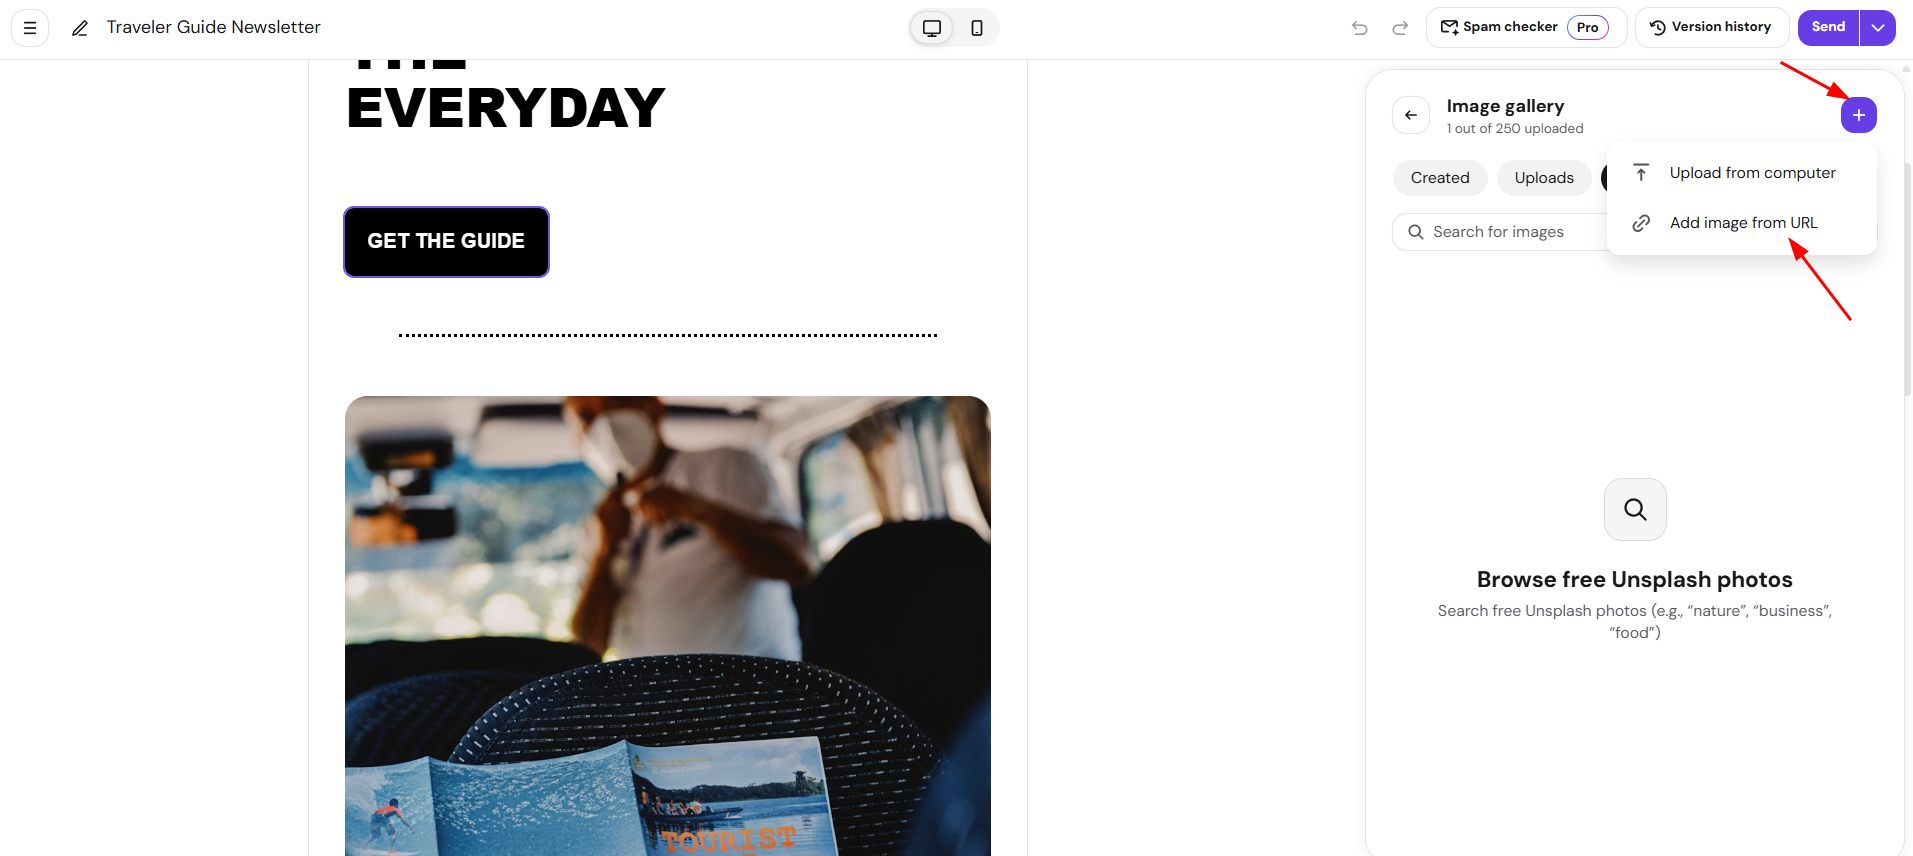
In this case, you can simply click on the “+” symbol, as in the image below, then choose Upload from computer:
Upload a free image from Unsplash
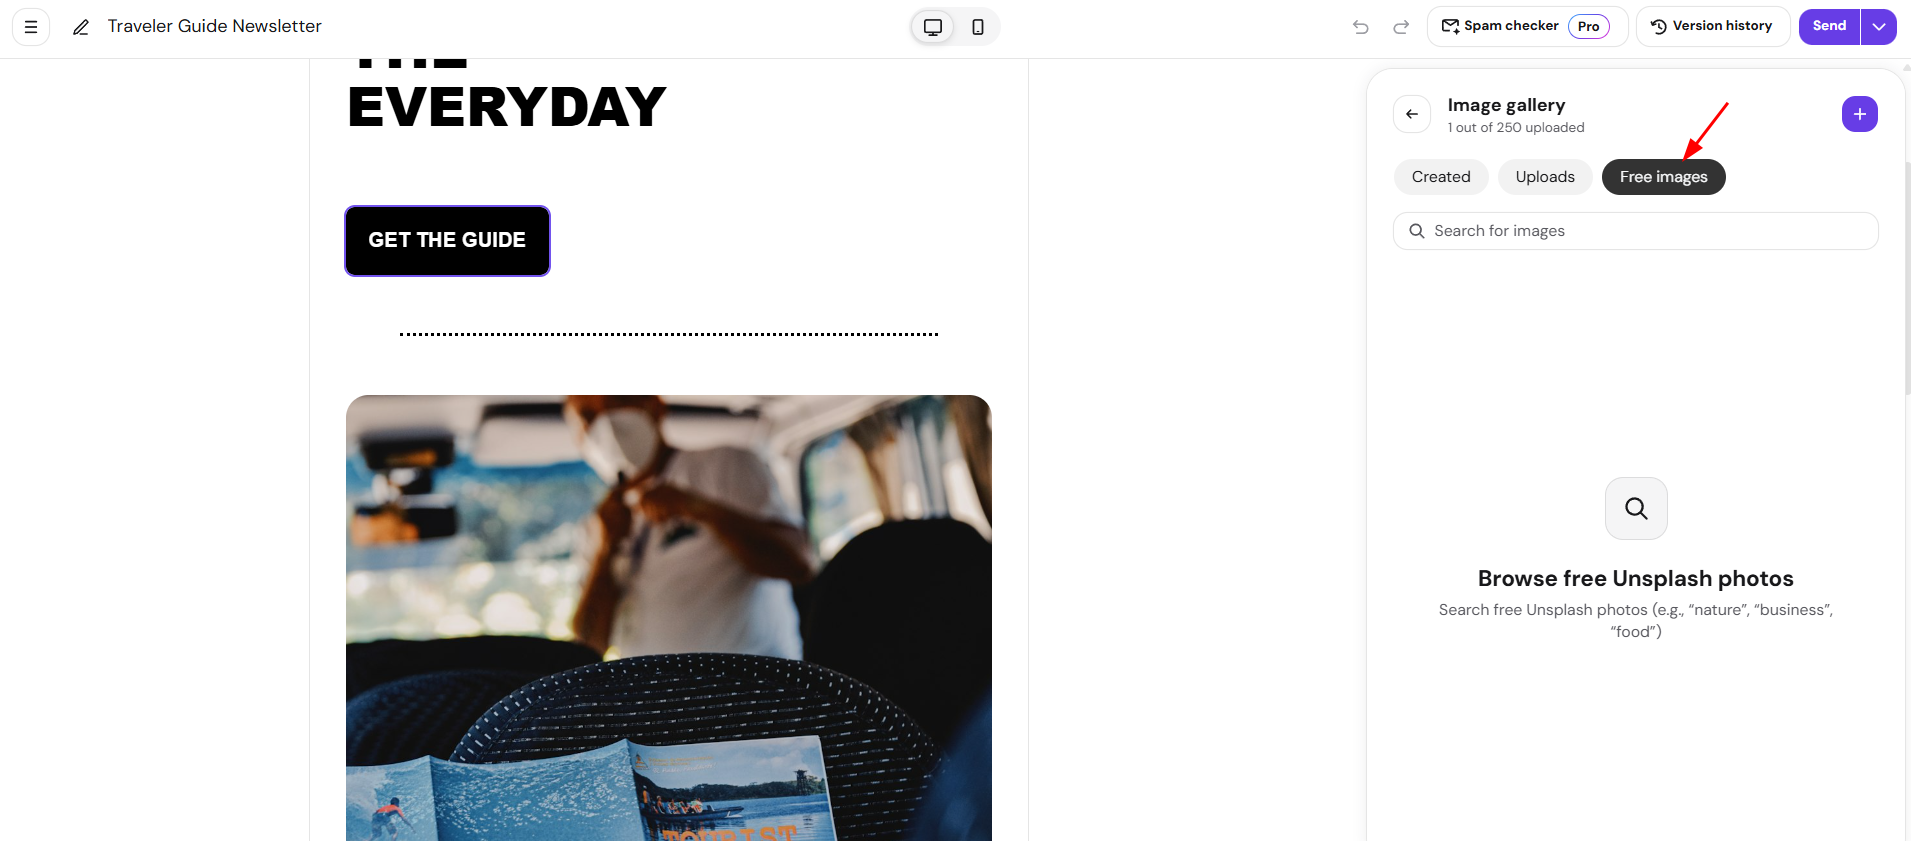
To use one of the professional free images from Unsplash, you would need to search for the specific keyword and select the desired image result, as shown below:
Upload a direct image URL from the web
To achieve this, you would need to copy the image URL from the live web by using the left-click. In Reach, you can simply click on the “+” symbol, as in the image below, then choose Add image from URL and then paste the copied URL into the field:
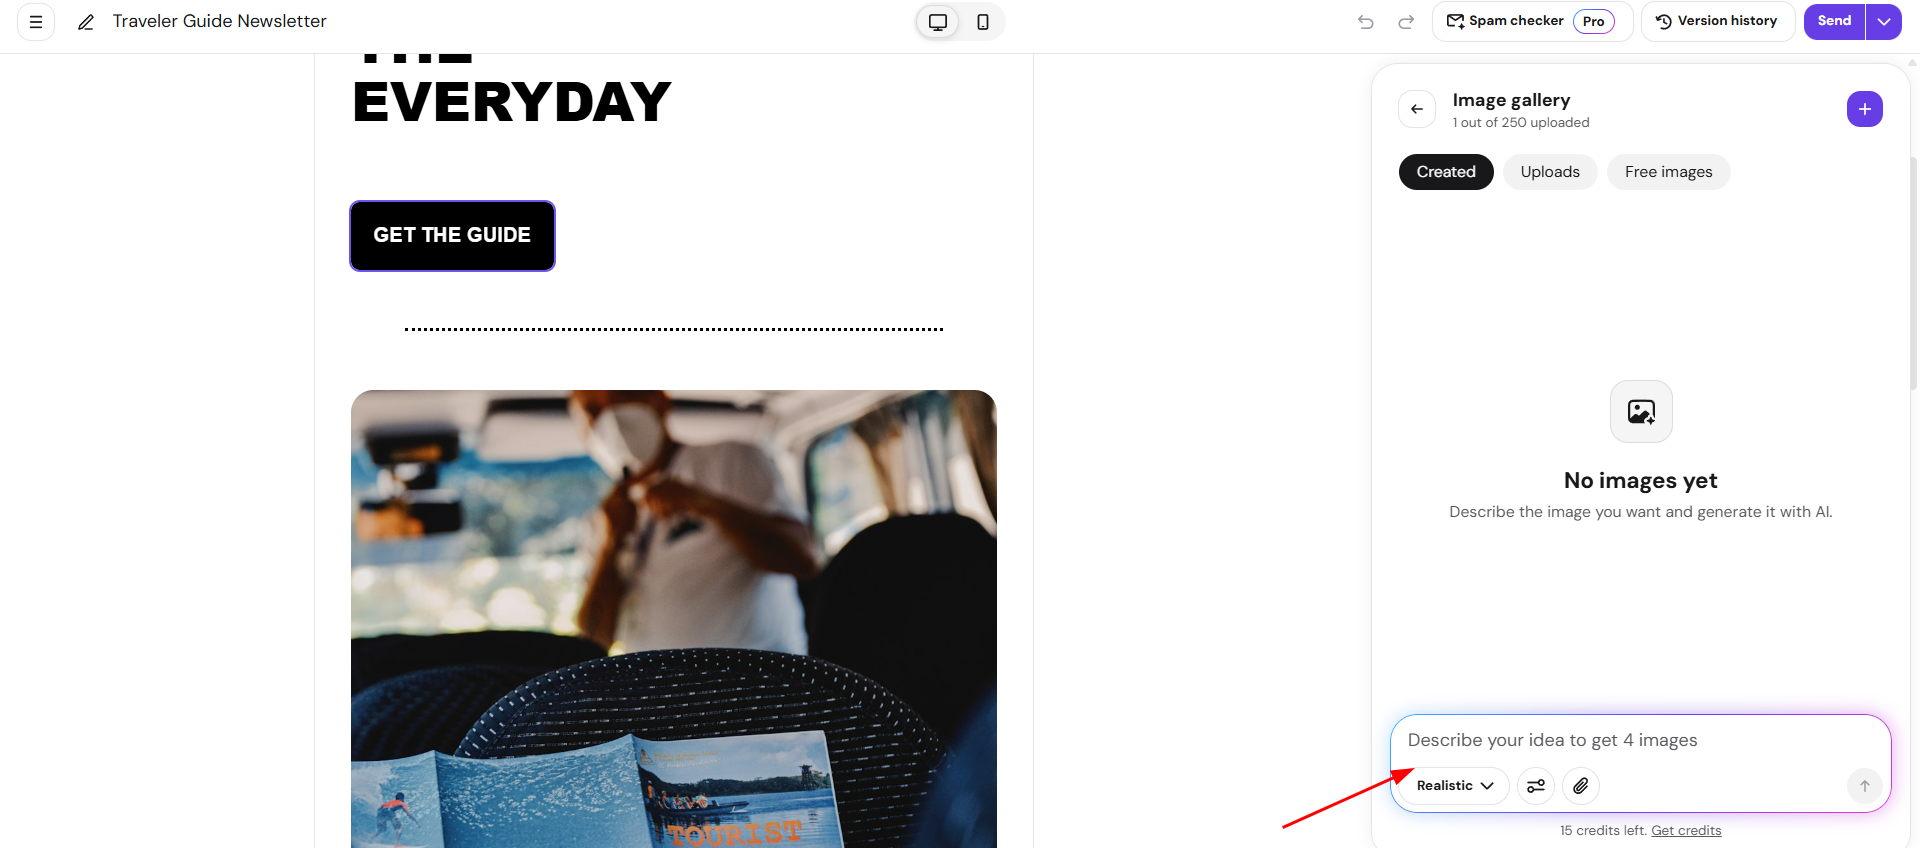
Generate an image with AI
Describe the image you want, and AI generates it for you. You can optionally choose a style (Realistic, Illustration, Flat design, 3D render, Minimalist), a layout (Banner, Horizontal, Vertical, Square), and attach a reference image. Each generation returns 4 variations to pick from. Generated images are saved to your image gallery under Generated, so you can reuse them later.
And that’s it 🚀 If you would like to know more details about editing your email template content, you can find them here.