To create and start a Minecraft server on a Minecraft VPS at Hostinger, create an instance in Game Panel, choose a Minecraft edition, wait for the setup to finish, and connect with the Endpoint information shown on the instance dashboard.
Create your Minecraft instance
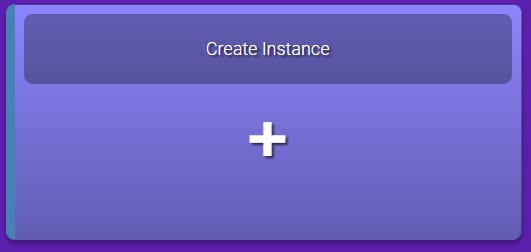
Log in to your Game Panel and click on the Create Instance button:
Then choose the preferred Minecraft Edition and press Create Instance:
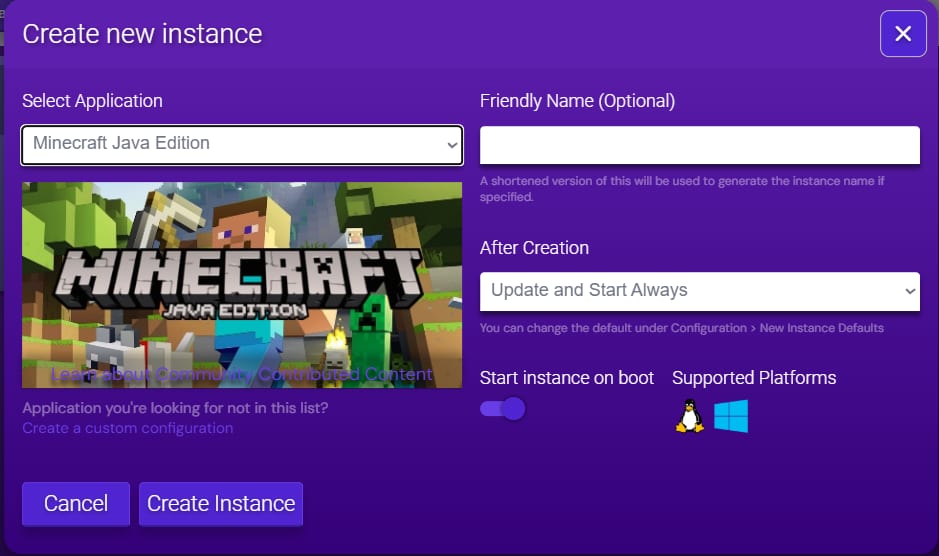
The following editions are available:
|
Minecraft Edition |
Platform |
Features |
|
Java Edition |
PC |
Best for servers with plugins or mods when you and your friends are playing on computers only |
|
Bedrock Edition |
Any (computer, console, smartphone) |
Best for playing with your friends or family without having to worry about what platform they are on |
|
BungeeCord Proxy |
Spigot/Craftbukkit on PC only |
Perfect for large servers that offer several different modes, such as minigames and factions, or servers that just want to keep things separated |
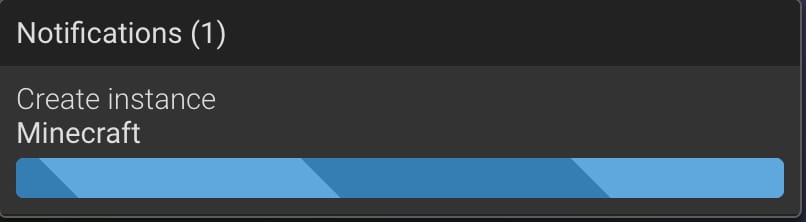
Once the preferred Edition has been selected, allow a few minutes for the server to be set up (you will see the loading icon in the right-hand corner):
When the server’s setup process is done, double-click to Manage on your instance:
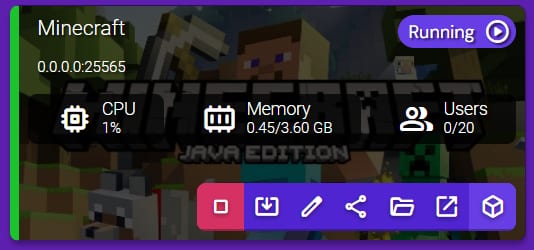
The server will start, and you will be able to connect to it by using Endpoint information:
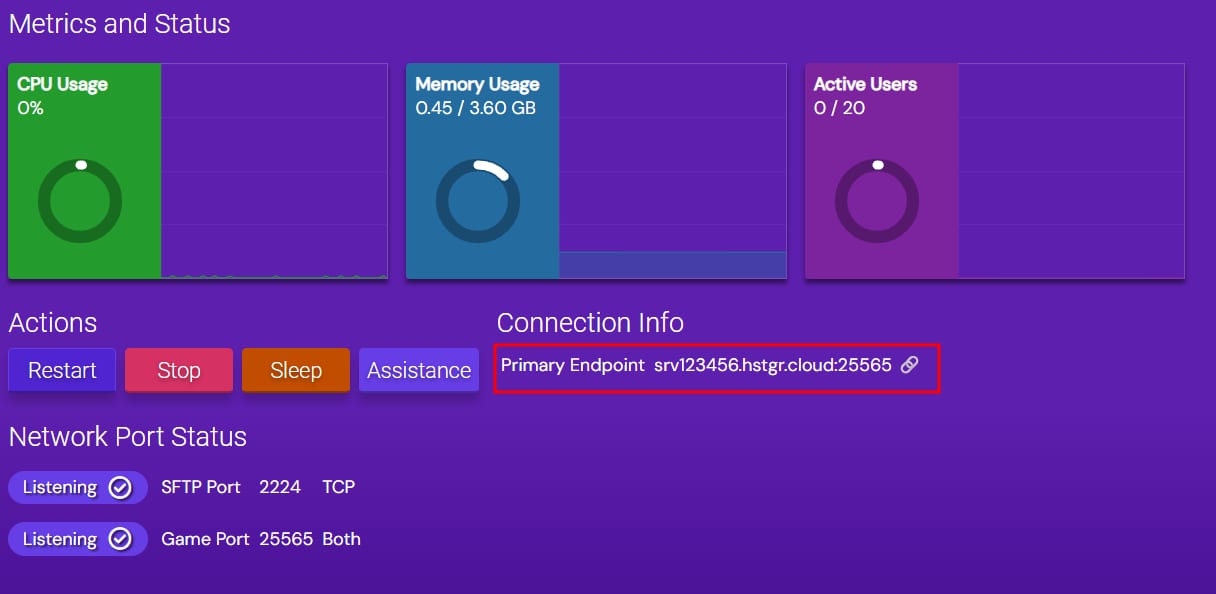
Your Minecraft server is now running on your Hostinger VPS, and players can connect to it using the Endpoint information. Use the guides below to manage and customize your server.
Manage your Minecraft server
- Update your Minecraft server
- Change your Minecraft server configuration
- Change the Java version on your Minecraft server
- Edit hidden Minecraft settings
- Allocate more RAM to your Minecraft server
- Create a backup of your Minecraft server
- Upload files to your Minecraft server
Customize your Minecraft server