If you’d like to build a site using Hostinger AI Builder and create additional subdomains or domain redirections on your own, we highly recommend using Cloudflare.
Adding your domain to Cloudflare
- Create a free Cloudflare account.
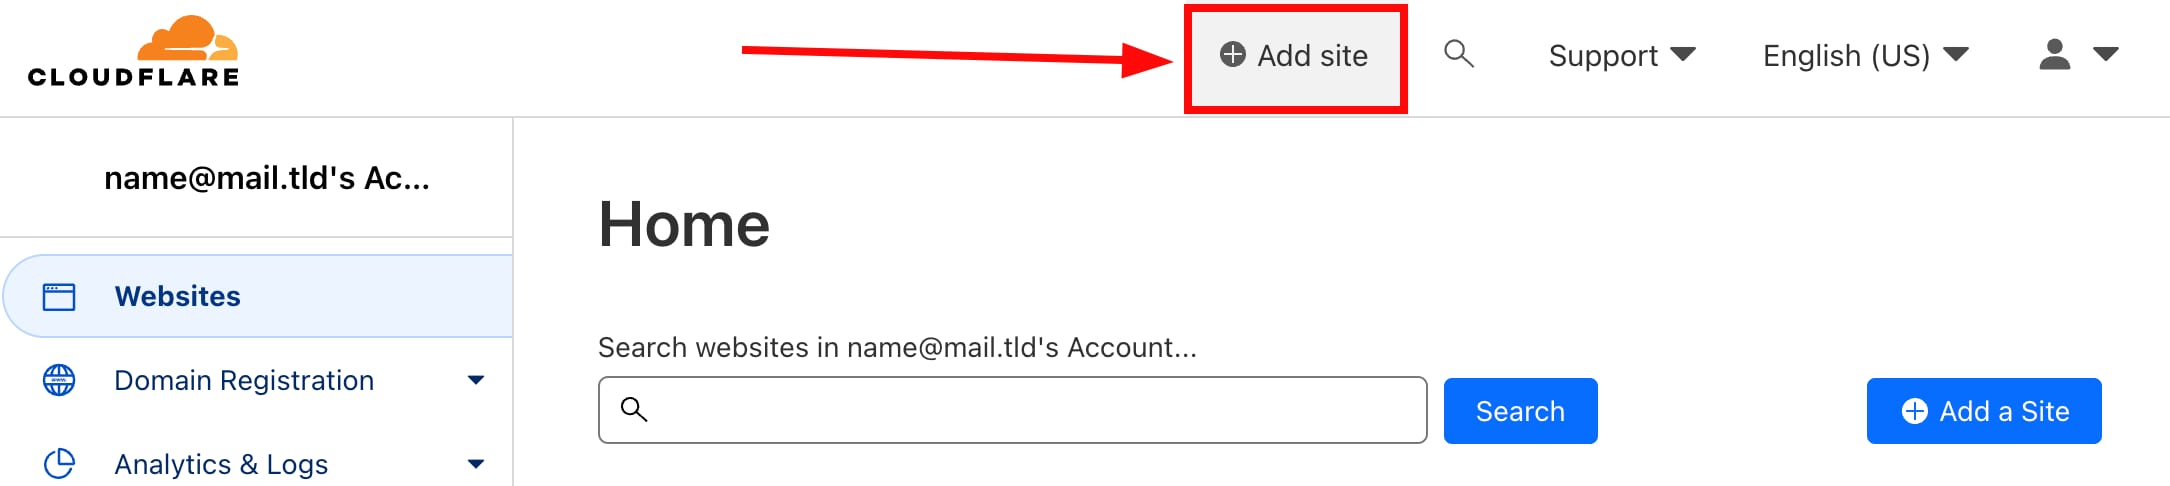
- Click on Add site and insert your domain:

- On your domain provider’s website, find the nameservers settings. Delete the current nameservers and insert the ones provided by Cloudflare. You can find more detailed instructions here: Change your authoritative nameservers
This way, you’ll point your domain to Cloudflare servers, and your domain’s DNS zone will be transferred to Cloudflare.
Pointing your domain from Cloudflare to Hostinger AI Builder
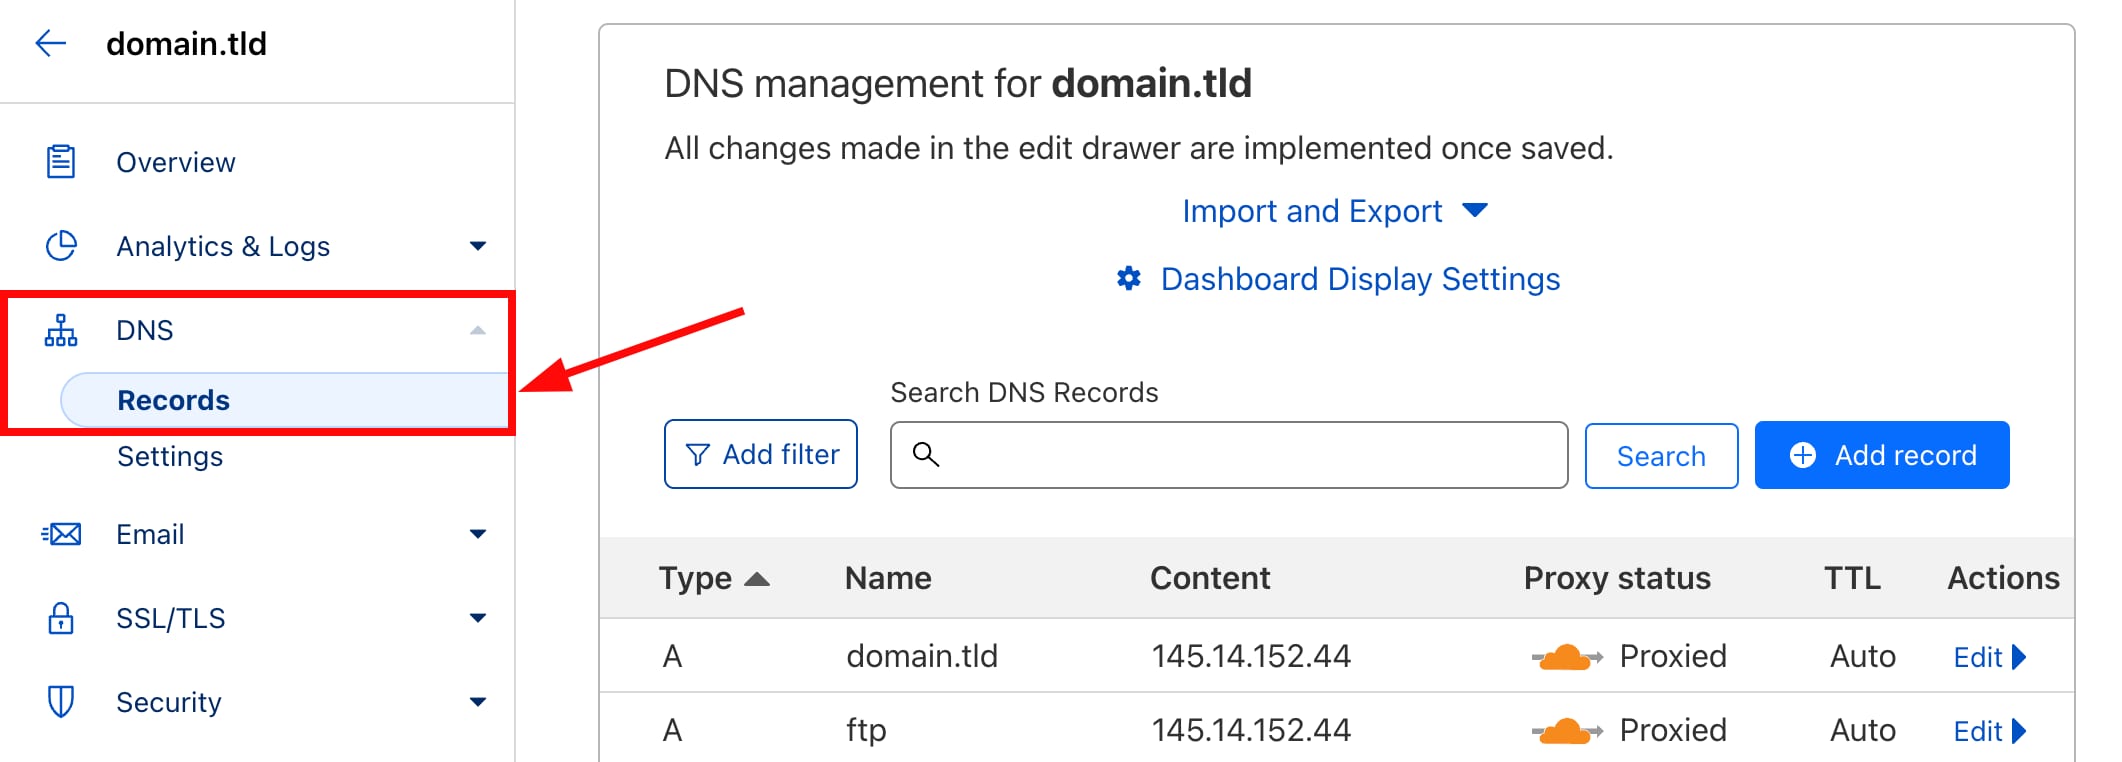
- In your Cloudflare account, select your domain and open its DNS settings:

- Delete A and/or AAAA records for your root domain (the ones that point
yourdomain.tldto any IP address), if there are any:

- Add these two CNAME records for manual mode:

|
CNAME 1 |
CNAME 2 |
|
Name: @ Content: connect.hostinger.com TTL: select any (or leave the default) value Proxy status: DNS only |
Name: www Content: connect.hostinger.com TTL: select any (or leave the default) value Proxy status: DNS only |
Or these CNAME records for agentic mode, make sure to replace yourdomain.tld with your full domain name, including the extension.
|
CNAME 1 |
CNAME 2 |
|
Name: @ Content: yourdomain.tld.cdn.hstgr.net TTL: select any (or leave the default) value Proxy status: DNS only |
Name: www Content: www.yourdomain.tld.cdn.hstgr.net TTL: select any (or leave the default) value Proxy status: DNS only |
Example:

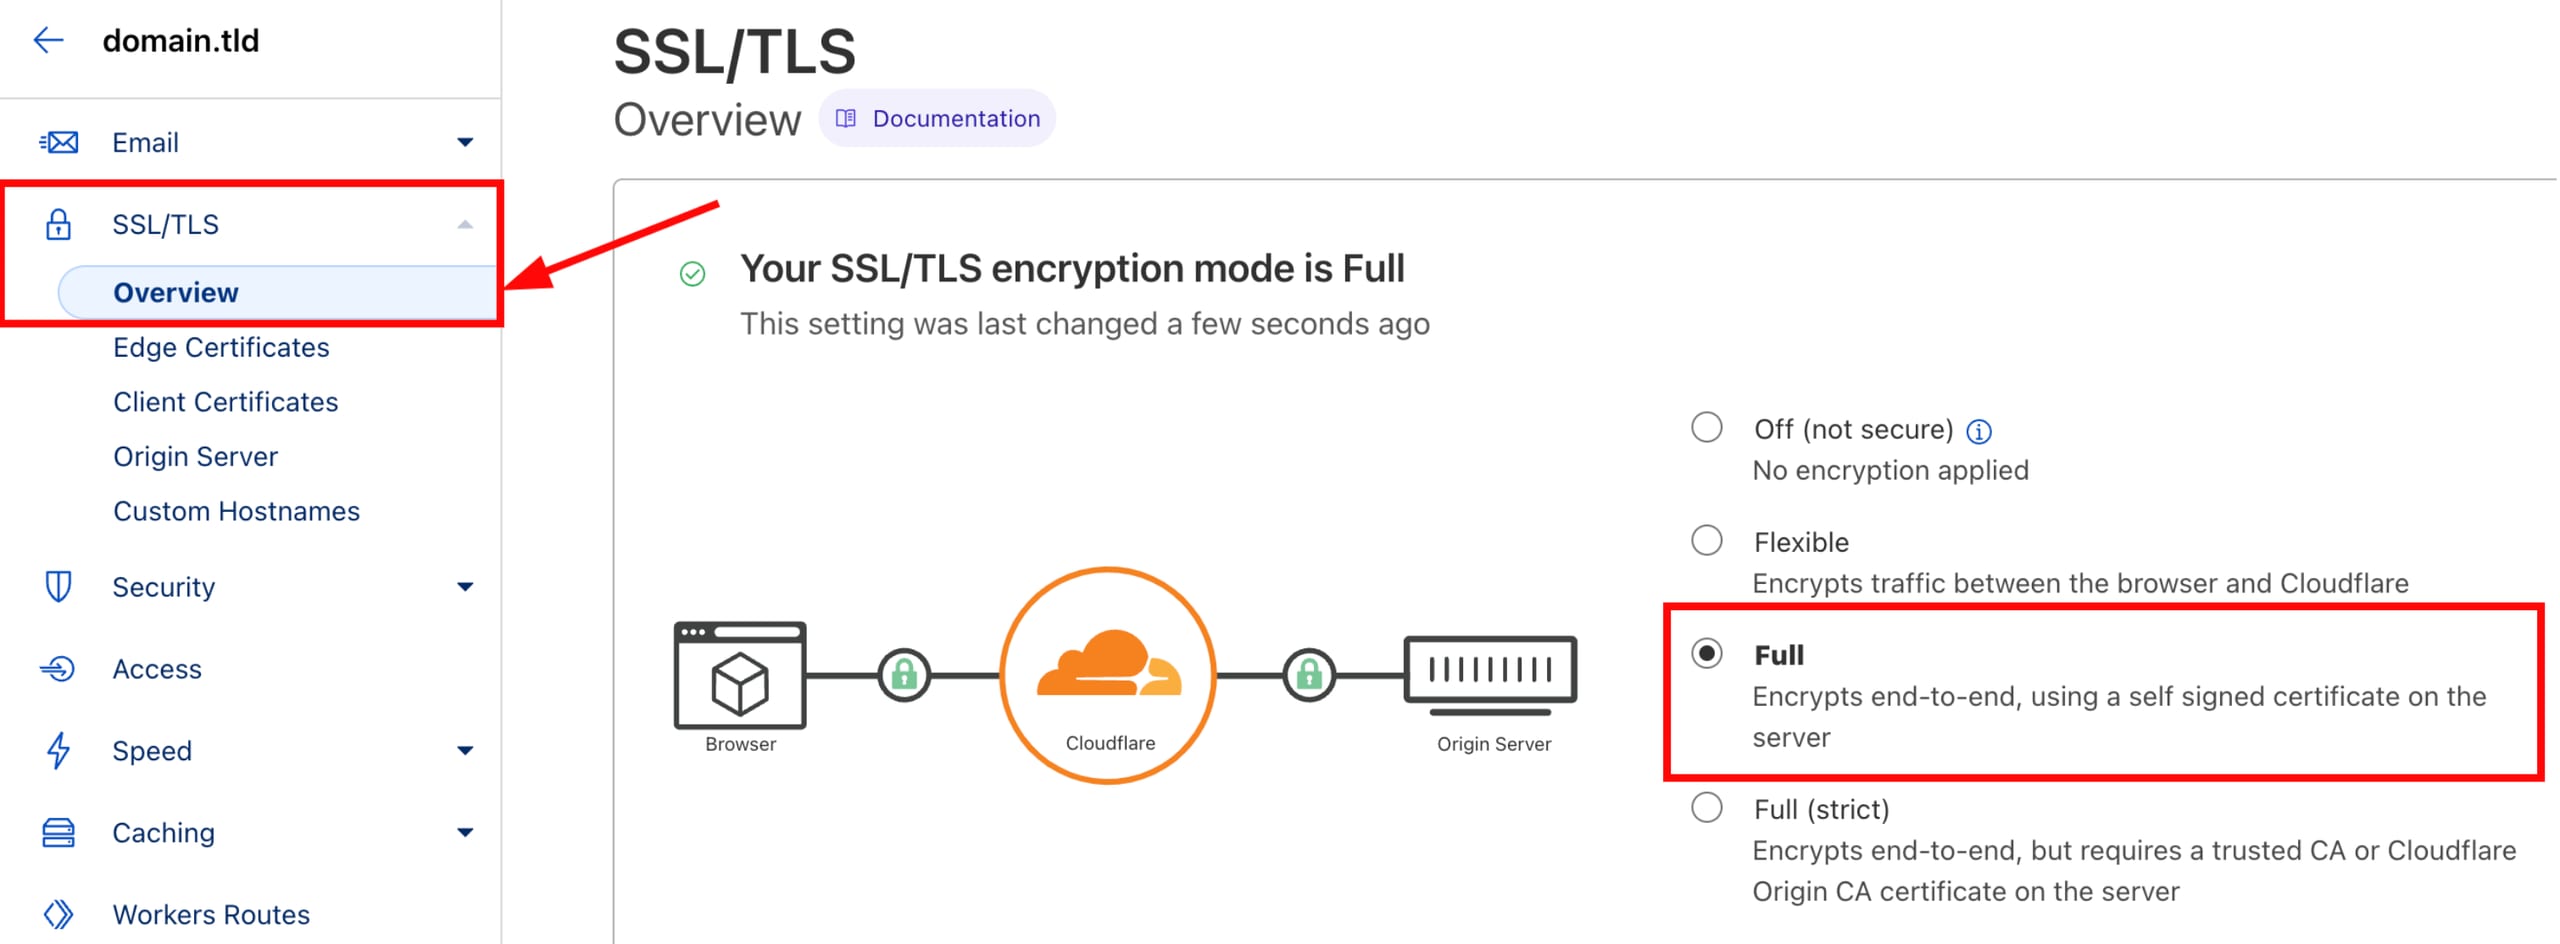
Additionally, open the SSL/TLS tab and select the option Full:
Finally, give the connection process some time to complete – your website will be available online within 24 hours.