To assign an image to each product option in your Hostinger Ecommerce online store, upload your images in the product editor and select one for each option.
Assign images to product options
Once you add products and create product options, you can easily assign an individual image to each of them.
- In your Store Manager → Products, click the ellipsis, then Edit.
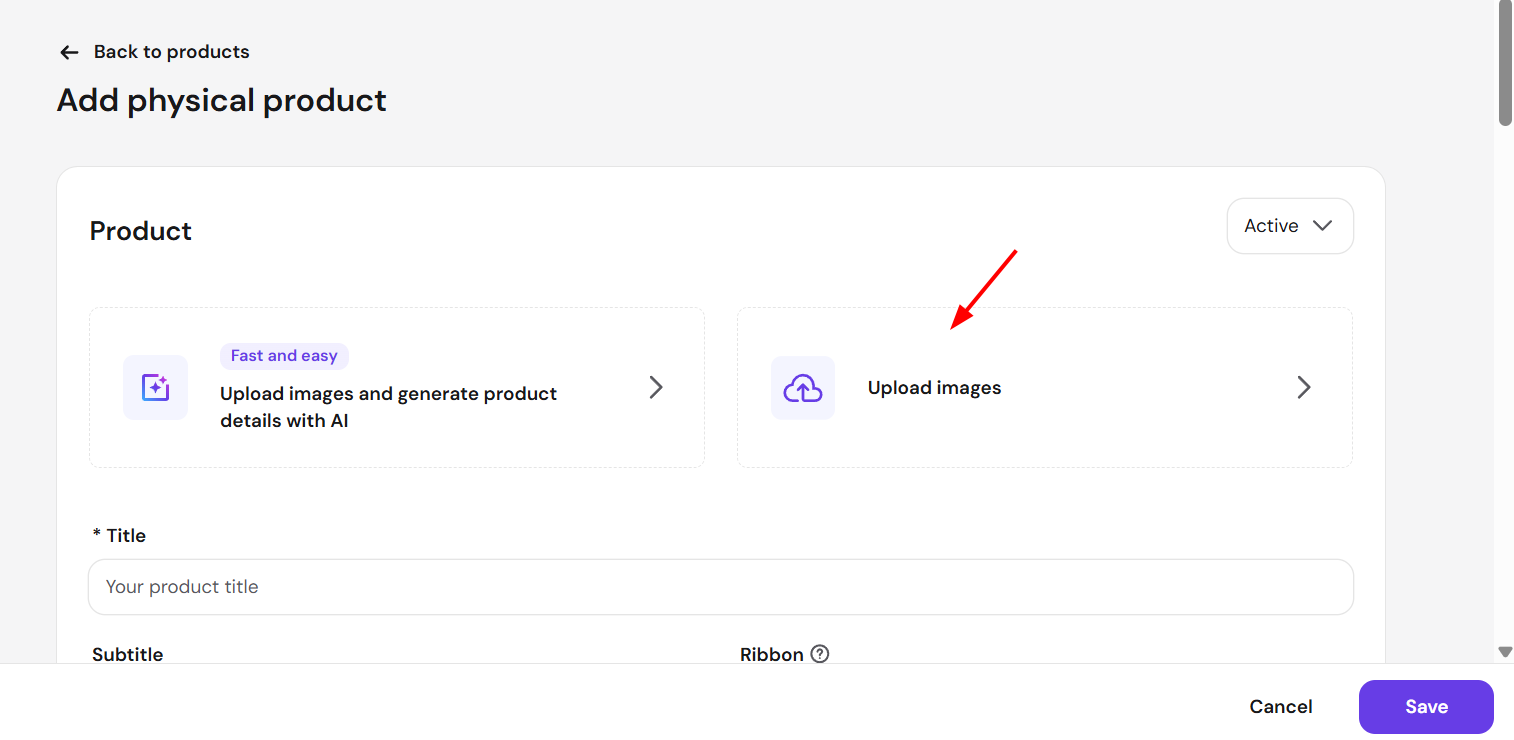
- Upload all your images here:
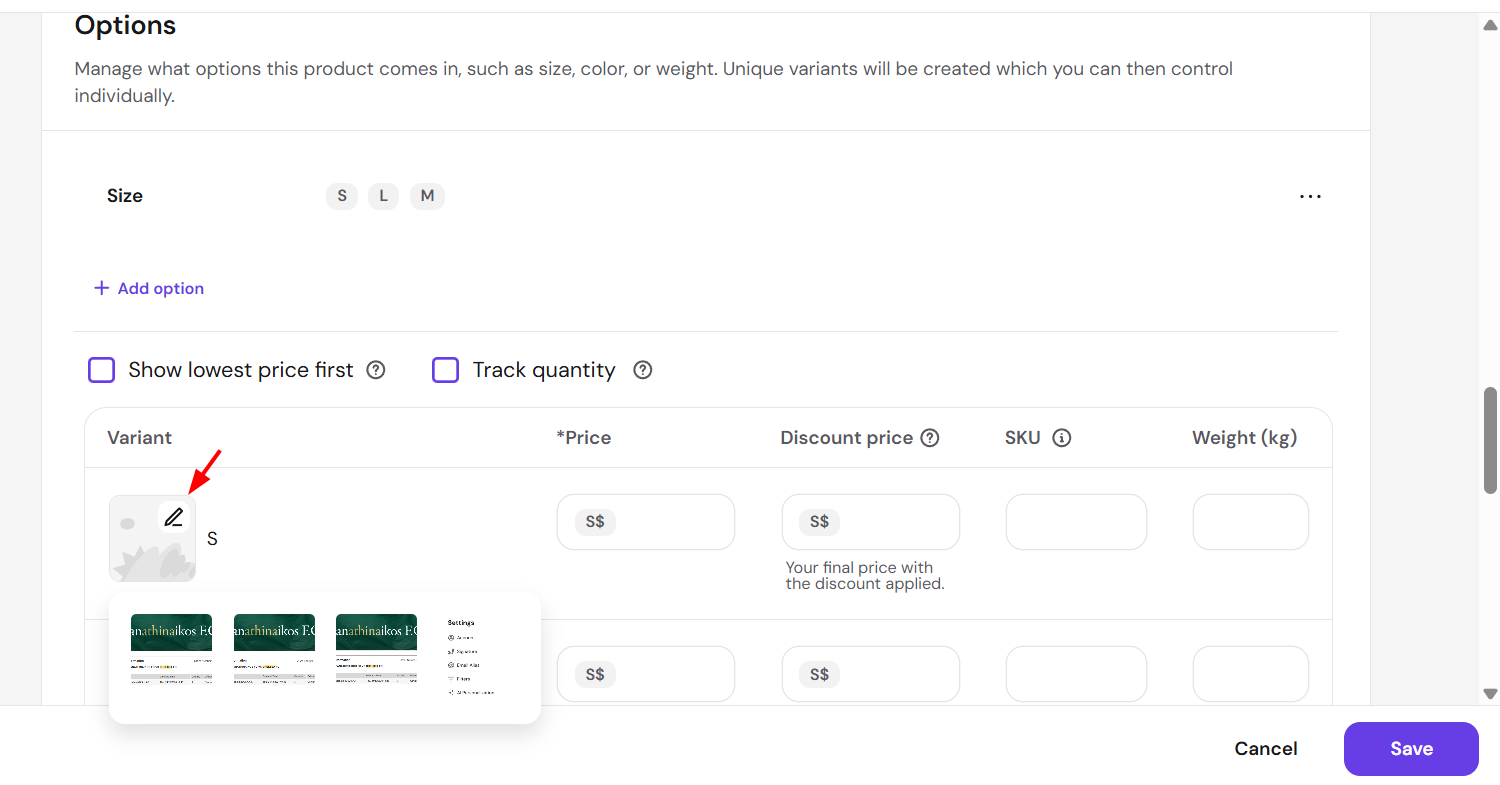
- Scroll down to the Options section
- Click on the image placeholder and select a particular image for a particular product option:
Each product option in your Hostinger Ecommerce online store now displays its own image, so customers see the matching photo when they select a size, color, or other variation.