To install a custom map on a Rust server at Hostinger, download a map, install Oxide, upload the Oxide.Ext.RustEdit.dll file to the Managed folder, and paste a direct download link in the Level URL field in Game Panel. Custom maps suit servers such as combat training, with custom arenas, monuments, and lobbies.
Here, you will find step-by-step instructions on how to configure your custom map to run on your own Rust server.
Select a map
Due to the resources needed to make a detailed map of Rust, most of the maps are paid. Don’t worry, as you can still find some free ones on these websites:
Once you have chosen the map you want to play on, download it and extract it to your computer.
Map installation
Before going any further, make sure you have Oxide installed on your Rust server. Once this is done, you will need to download the Oxide.Ext.RustEdit.dll file from this GitHub page.
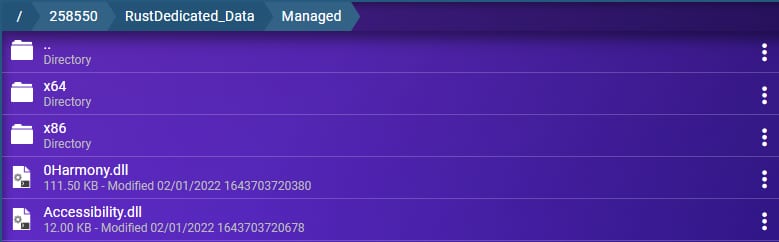
Once you have this file downloaded, you will need to upload it to 258550 → .RustDedicated_Data → Managed:
Once you have done this, go to the Rust configuration page. There, you will find all the settings for your Rust server. There, find a level URL field. In this field, you have to insert a direct download link, which your server will use to download the map:
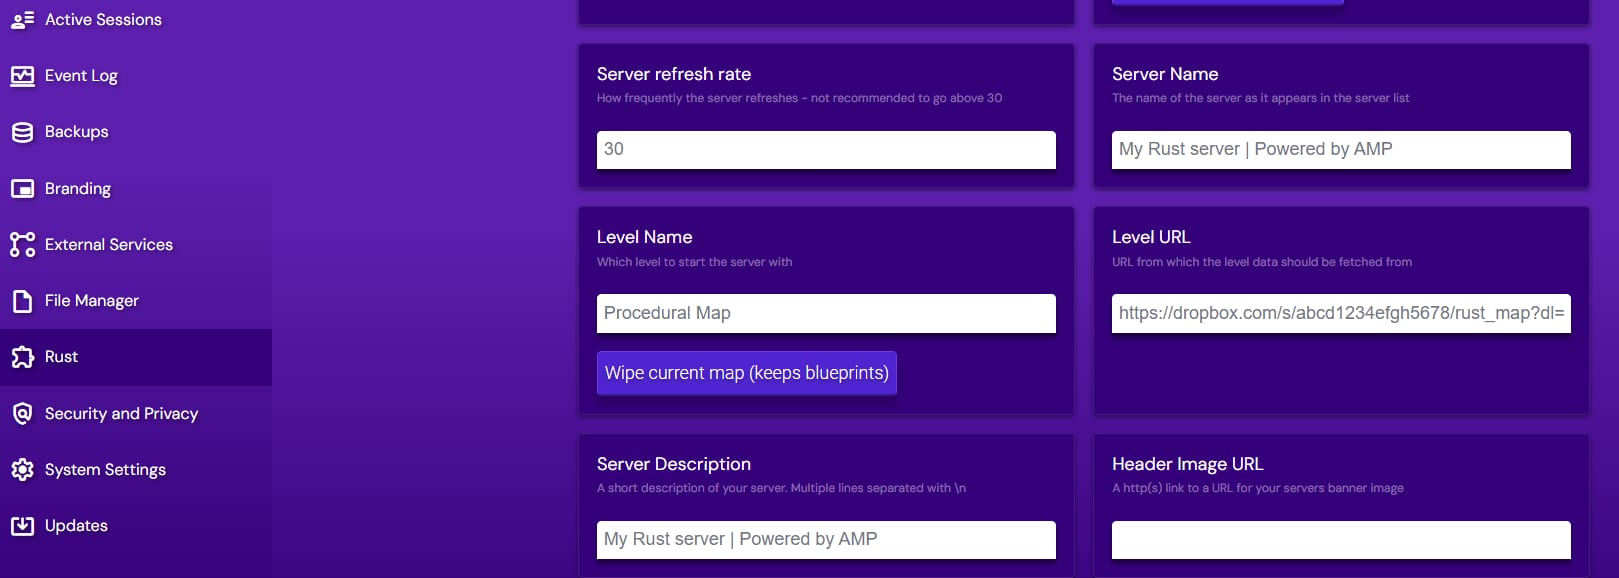
The best way to upload your map to the Internet is to use services such as Dropbox to upload your map file and generate a direct link.
Your Rust server now downloads the custom map from the link in the Level URL field.