To install Rust Oxide plugins on Hostinger Game Panel, enable Umod on the Rust configuration page, download Rust plugins from the Umod library, upload the .cs files to the plugins folder in File Manager, and restart your server. Plugins let you change gather rates, add teleporting, safe zones, arenas, and more.
Prerequisites
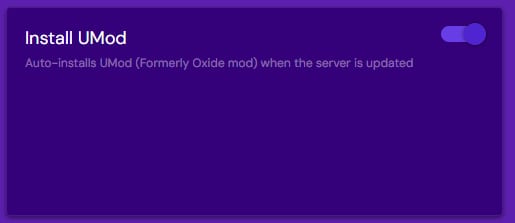
Before we begin, you need to make sure that you have installed Umod on your Rust server. This can be done by checking the checkmark in configuration > rust page in your Game Panel:
Downloading plugins
The next step is finding the plugins you want to install. Thankfully Umod has a library of all available plugins. This library can be found on Umod’s official website:
NOTE:
-
Umod offers support for a wide variety of games, therefore you must make sure that you are downloading plugins for Rust only!
Installing plugins
For the purpose of this article, we’ll be using the Gather Manager plugin.
-
Download chosen plugin for your server:

-
Login to your Game Panel, choose your Rust Instance, and click manage on the right side menu
-
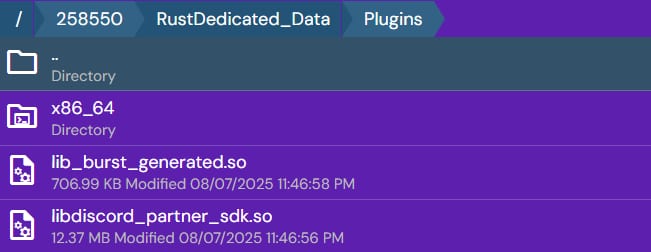
Open up your File Manager and head to 258550 > RustDedicated_Data> plugins folder:

-
Upload your plugins files here, make sure that you are uploading files with .cs format extension
-
Restart your server

Your Rust server now loads the plugins you uploaded, and their features are available in the game.
NOTE
-
See How to host a Rust dedicated server at Hostinger for other details about hosting a Rust server on Game Panel.