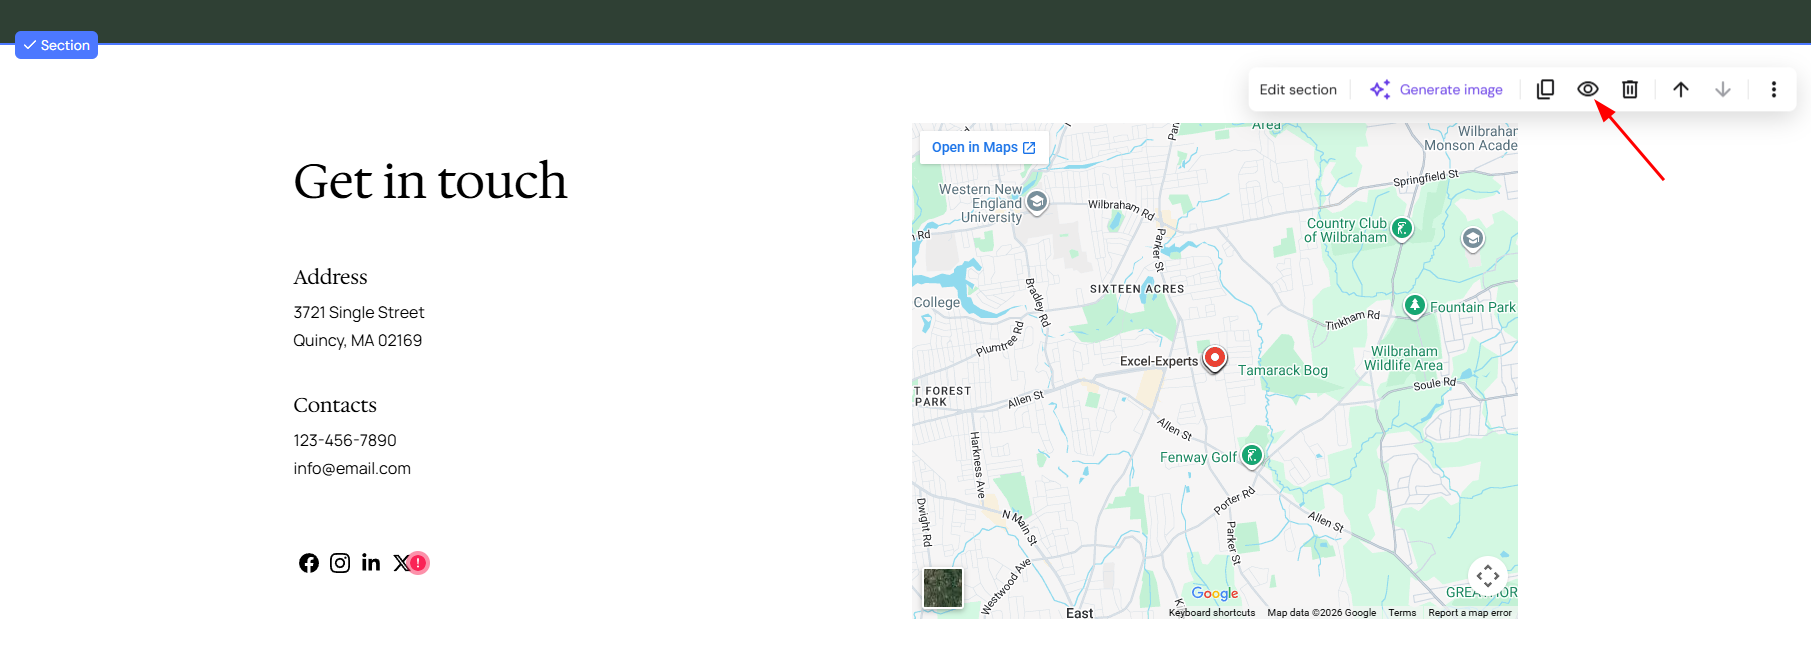
A footer is the bottom-most section of a webpage. It usually contains such information as a copyright notice, contacts, social media icons, maps, links to ToS, FAQ, privacy policy, refund policy, and the like.
In Hostinger AI Builder manual mode, you can add a footer to a single page, to all pages, or to several specific pages of your website.
Add the footer section
- Within the editor, keep your cursor in between two sections and click Add section:

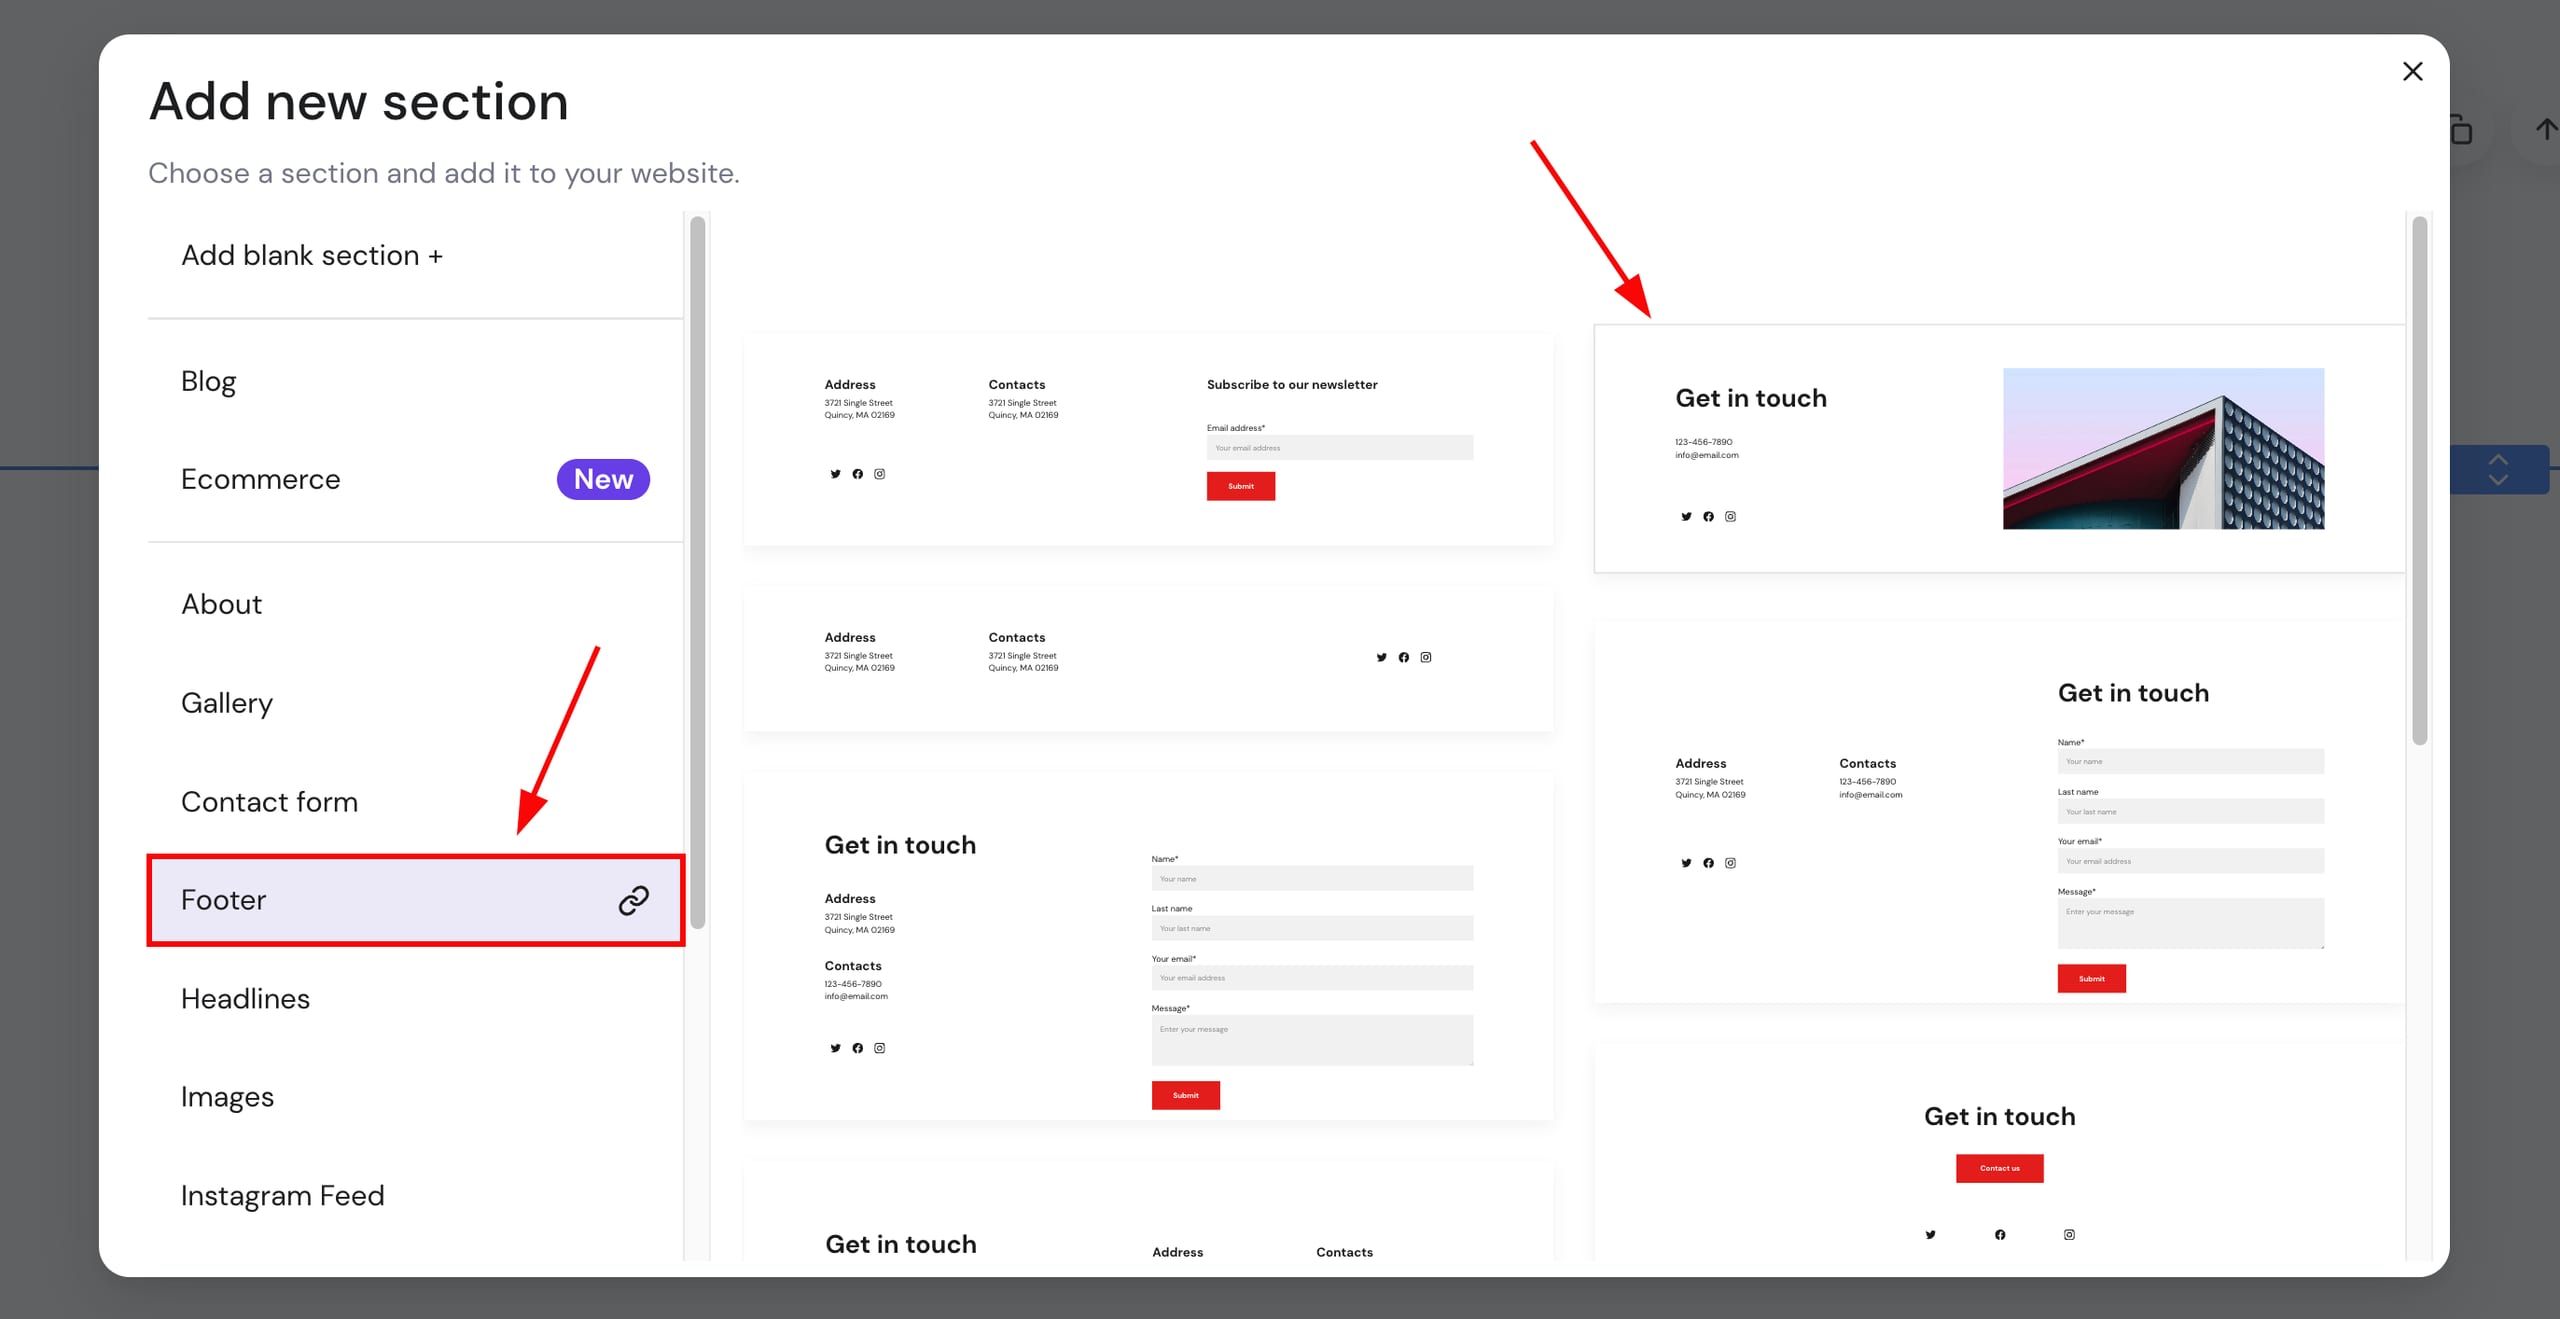
- From the menu on the left, select Footer and choose any footer template you like:
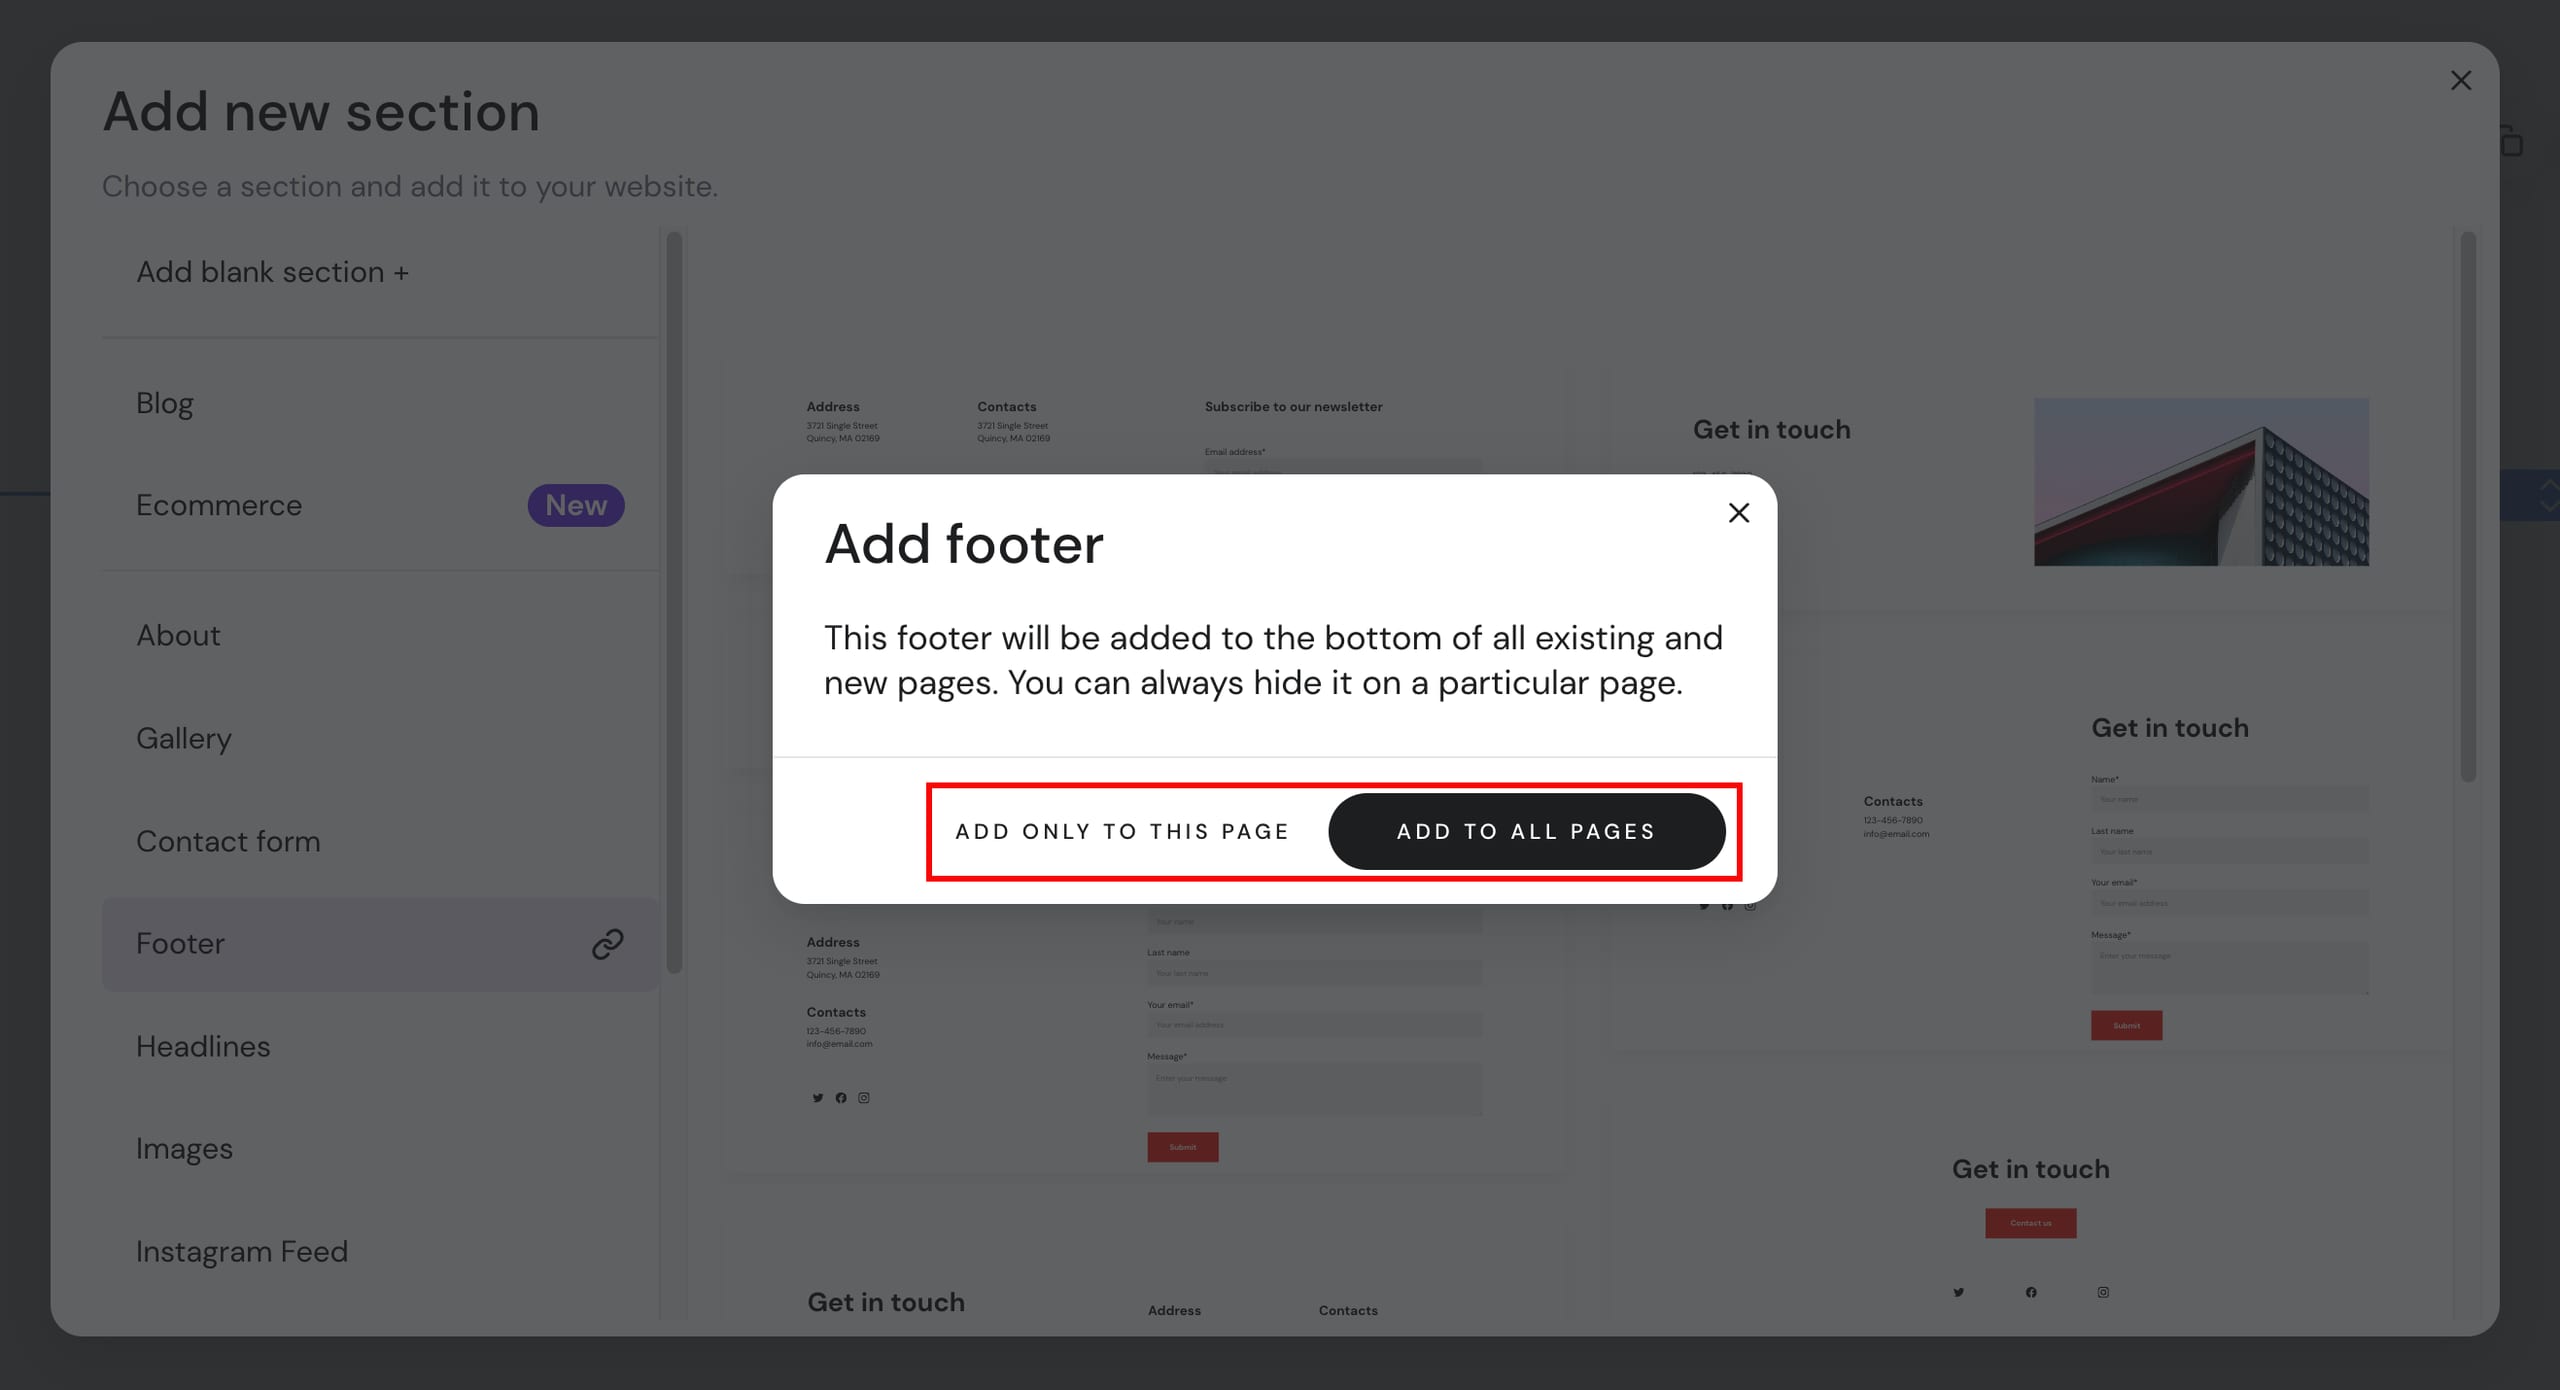
- You can either insert a footer section to a particular page or add it to all pages at once:
If you can’t see such options, it’s likely that a footer section is already inserted into your website; you can either delete it and insert a new footer or edit the existing one.
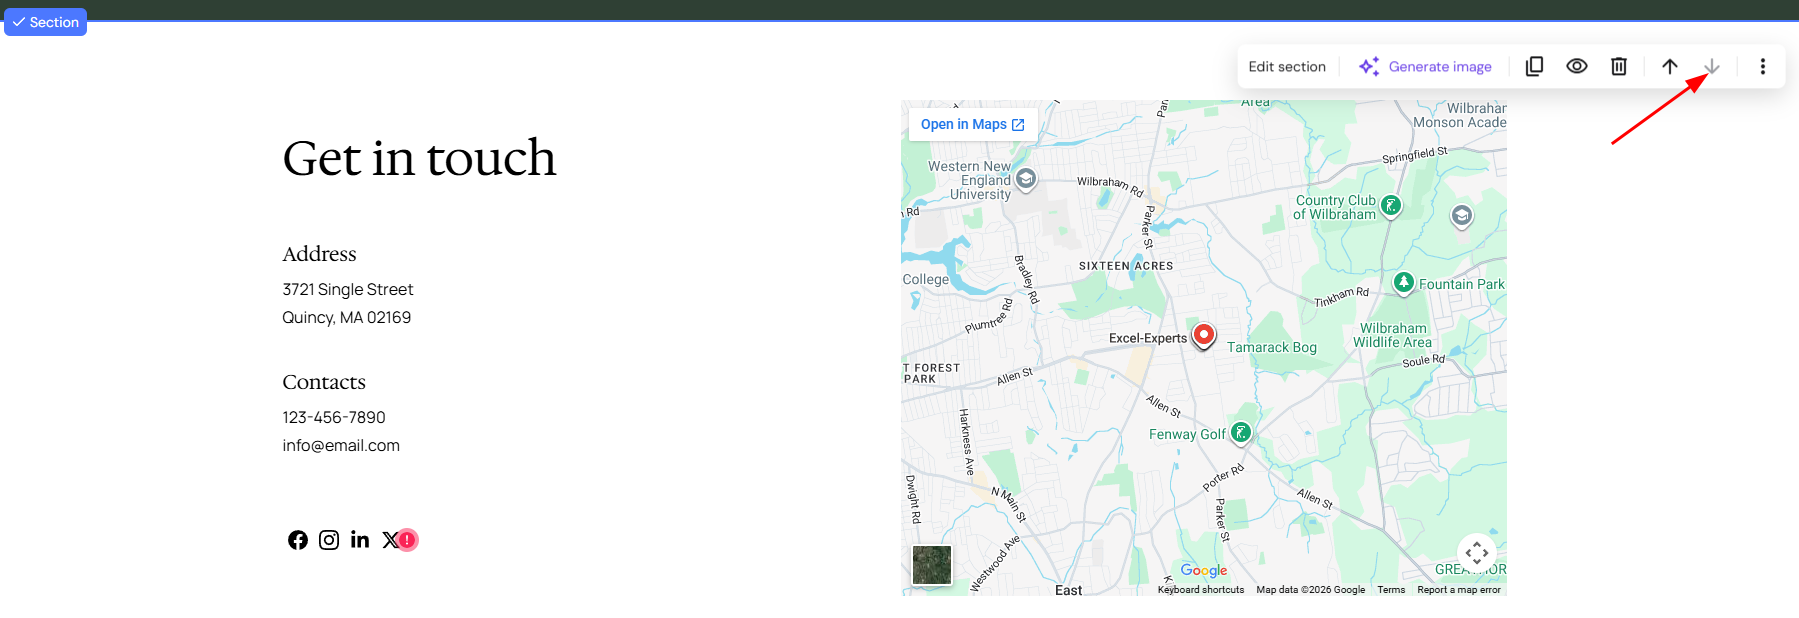
It’s recommended to select the Add to all pages option. This way, the footer is pinned to the bottom of your website, and you can hide it from particular pages manually. Otherwise, if you select Add only to this page, the footer will be inserted below the selected section. You may need to move the footer to the very bottom manually:
Edit the footer section
You can edit the footer section itself and each footer’s element individually. Click on the footer to see its settings menu:
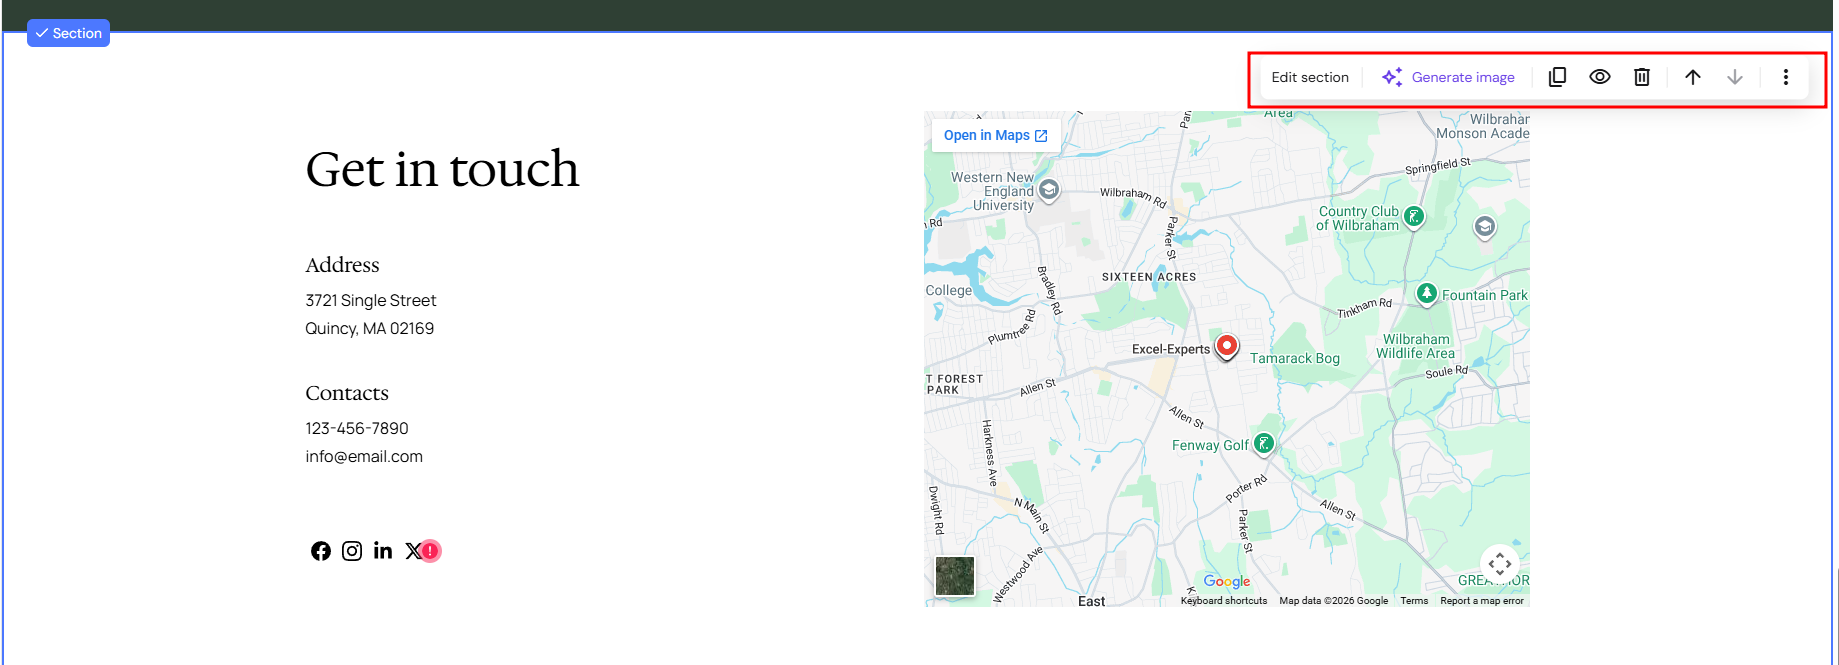
Click on any element to edit it individually:
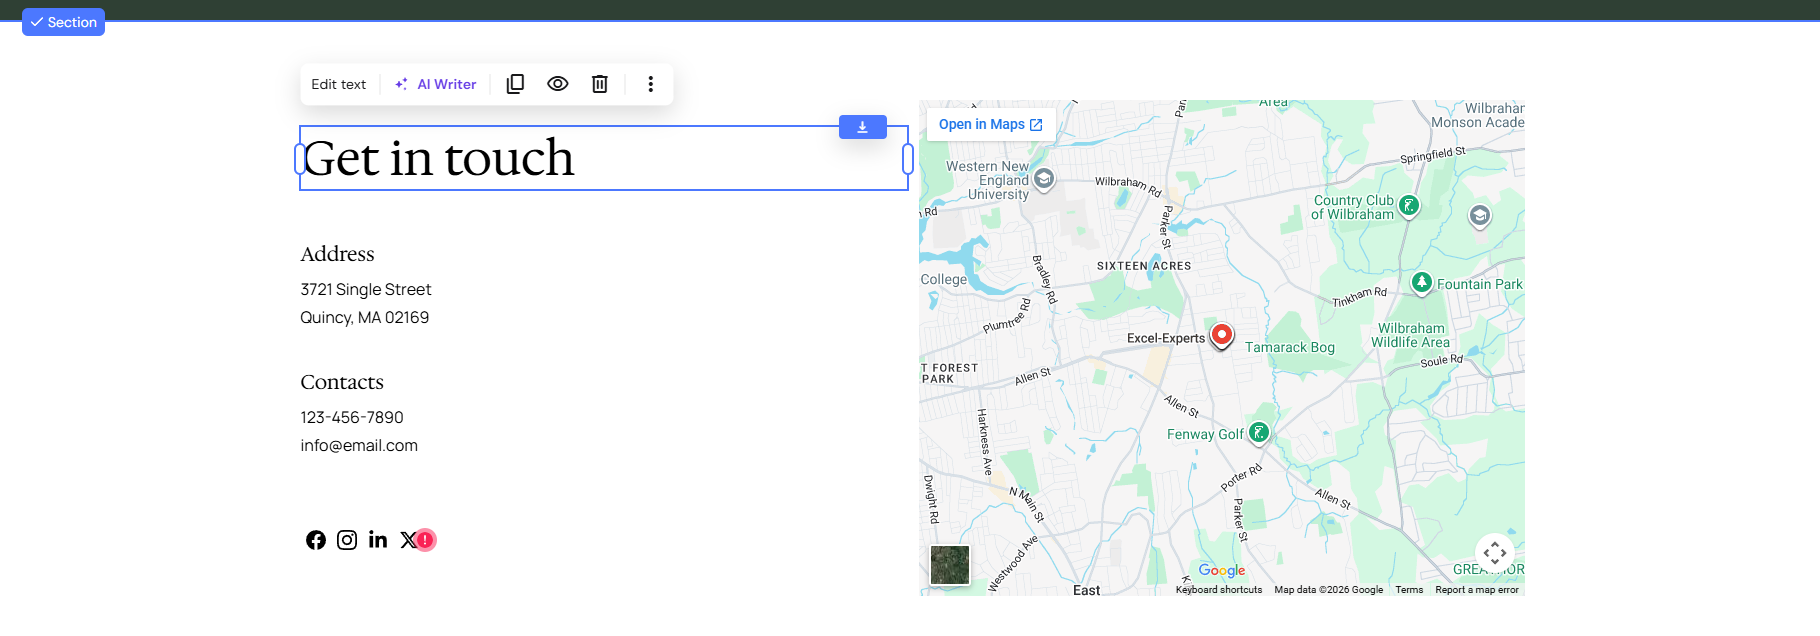
You can easily add or remove elements from your footer.
If your footer is pinned to all website pages, the footer changes made on a particular page will reflect on other pages, too.
Hide the footer from specific pages
If the footer is pinned to all website pages, you can easily hide it from some of them. Click on the footer section, then click on the Hide button, and select Hide on this page: