15 WordPress maintenance tips to keep your site running smoothly
Dec 22, 2025
/
Rea G.
/
13 min Read
Keeping your WordPress site in good condition doesn’t have to be complicated. With the right maintenance routine, you can prevent common problems, improve security, and save time in the long run.
This article will walk you through 15 WordPress website maintenance tips, providing step-by-step instructions and recommended schedules to help keep your site protected and performing at its best.
15 WordPress maintenance tasks
Before making any major changes, it’s a good idea to put your WordPress site into maintenance mode to avoid disruptions for visitors.
Maintenance mode temporarily displays a notice to anyone visiting your site while you’re working on it. You can enable it using a plugin, or set it up manually with some light coding. It is also enabled automatically while you run updates.
Here’s a quick list of 15 WordPress maintenance tips we’ll cover in this guide:
- Routine backups
- Check for updates
- Check performance
- Update user passwords
- Delete spam comments
- Database cleanup and optimization
- Find and fix broken links
- Test all forms
- Review the error log
- Perform an SEO edit
- Update outdated content
- Review registered user accounts
- Uninstall unused plugins and themes
- Check for compatibility issues
- Review unpaid subscriptions
1. Routine backups
A routine backup involves regularly saving copies of your website’s data. This includes your database, themes, plugins, media, and WordPress core files. Backups can be stored on your server, remotely in the cloud, or on your local device.
Routine backups are essential for WordPress maintenance. If something goes wrong – such as a server crash, plugin conflict, or security breach – you’ll be able to restore your site quickly and minimize downtime.
How to perform this task:
There are several ways to back up a WordPress site, depending on your needs and level of technical skill.
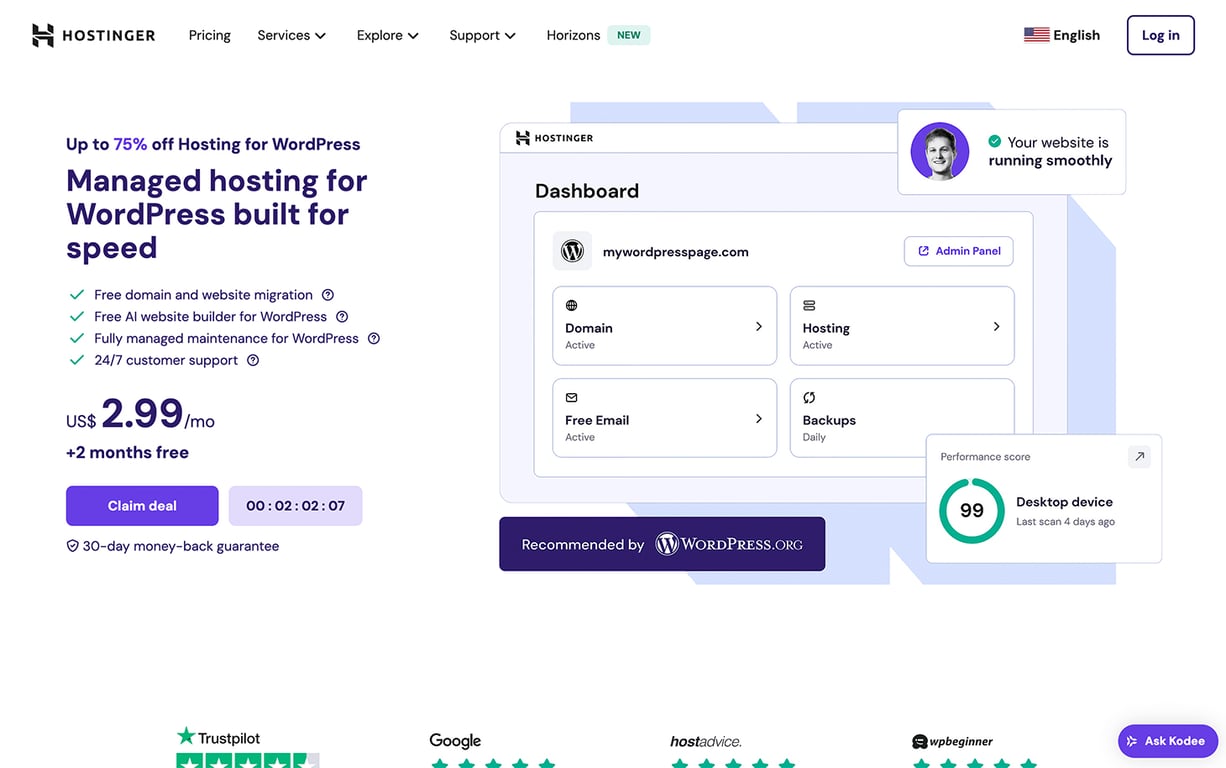
- Host-provided backups. Many web hosts include automated backup tools as part of their service. For example, Hostinger’s managed hosting for WordPress offers automatic weekly or daily backups using the hPanel backup tool.
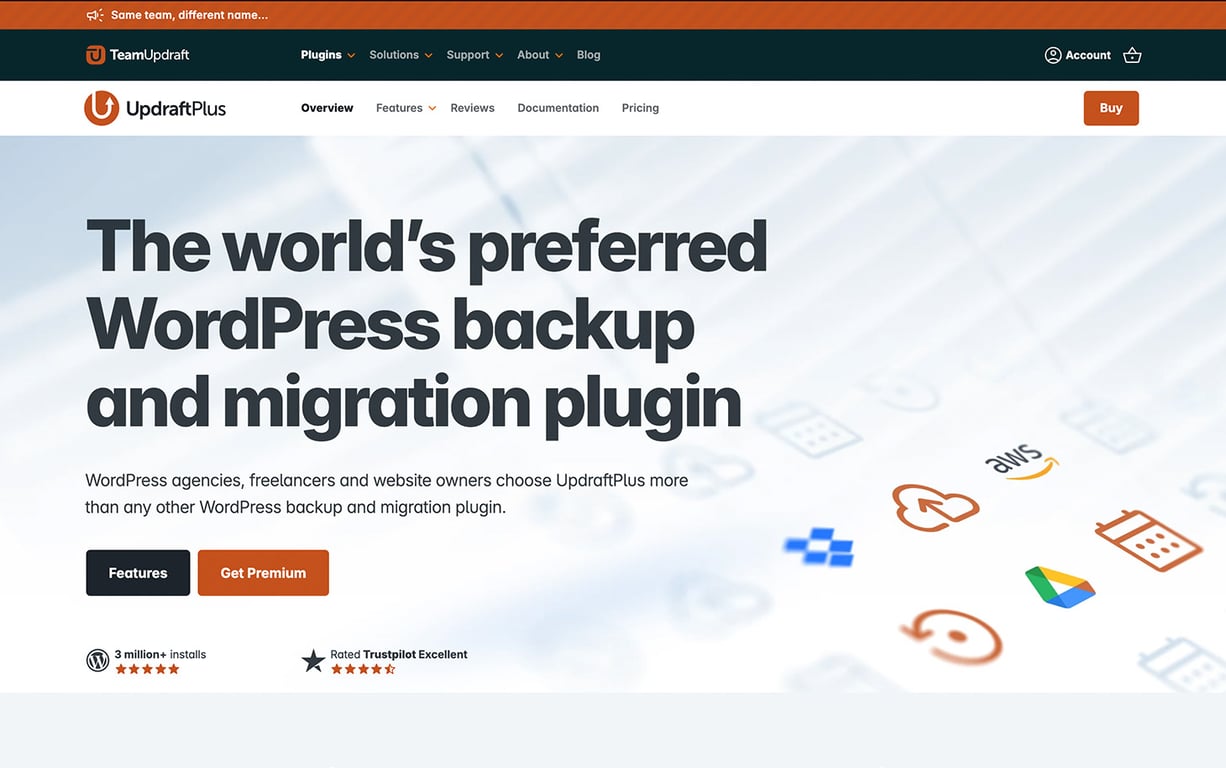
- Backup plugins. Tools like UpdraftPlus let you schedule automatic backups and store them on cloud services such as Google Drive or Dropbox. Installation is easy, via the Plugins menu in the WordPress dashboard.
- Manual backups. If you want full control over which files and database elements are included, you can create manual backups by downloading your site files and database directly from your server. This method offers the most flexibility but requires more technical know-how.
How often should you do it?
For most sites, a weekly schedule is enough. If you update your site daily, consider making a copy of at least the database each day. It’s also best to keep at least three copies in different locations for extra safety.
2. Check for updates
Keeping your site’s core files, plugins, and themes updated is one of the most effective ways to protect your site.
Updates often contain security patches, bug fixes, and new features that keep everything running smoothly.
Outdated software is a major security risk – hackers can exploit it to install malware, steal data, or disrupt your site. These problems can damage your reputation and even lead to legal trouble if user data is exposed.
How to perform this task:
The processes to update WordPress and enable automatic updates are straightforward.
- Go to Dashboard → Updates to see and apply updates for core software, plugins, and themes.
- For themes, go to Appearance → Themes, click your theme, and enable auto-updates.
- For plugins, go to Plugins → Installed Plugins and turn on auto-updates for each plugin.
If you use Hostinger’s managed hosting for WordPress, smart auto-updates are available. This feature automatically checks for and applies updates, so you don’t have to worry about missing important security patches. You can enable and manage auto-updates directly through your hPanel dashboard.

Only use plugins and themes from trusted sources, such as the official WordPress.org repository or reputable third-party platforms like Envato Market.
To verify a plugin or theme’s reliability, check user reviews, ratings, and the frequency of updates on the product page. On platforms like Envato Market, you can also review sales numbers and feedback to gauge product quality.
Pro tip
If your site uses custom code or many plugins, test updates on a staging site first. A staging site is a private copy of your website where you can safely test updates before applying them to your live site.
How often should you do it?
Check for updates at least weekly. For high-traffic sites, check daily.

3. Check performance
Website performance comes down to two main things: how fast your site loads and how responsive it is for users.
A slow site can frustrate visitors and hurt your business – Google reports that 53% of mobile users will leave if a site takes longer than three seconds to load.
How to perform this task:
WordPress has a speed test page to help you check your site’s performance.
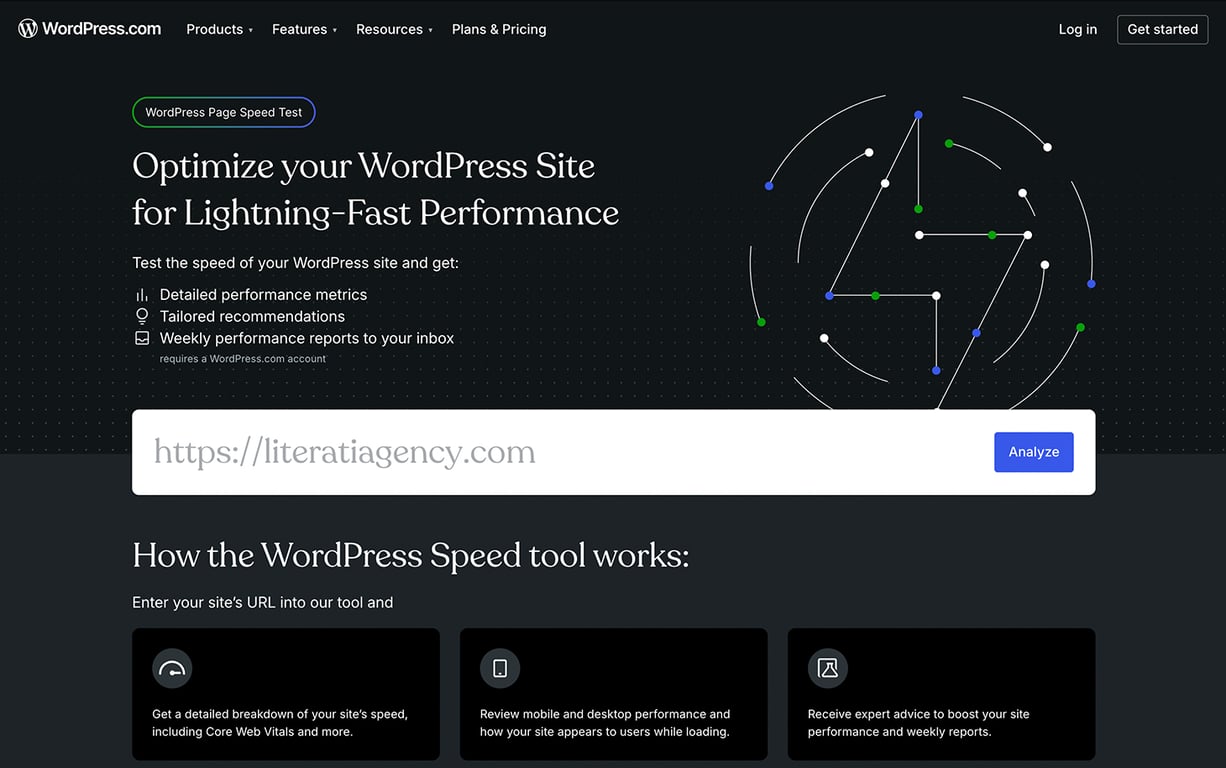
Just enter your website’s URL to get a performance score for both mobile and desktop, along with a breakdown of your Core Web Vitals. These metrics measure your site’s loading performance, interactivity, and visual stability, all crucial for providing a good user experience.
You’ll also get tailored recommendations to improve your site’s speed and overall performance. Alternative tools include GTmetrix and Google PageSpeed Insights.
After running a speed test, review the recommendations and make the suggested changes – such as optimizing images, enabling caching, or updating plugins and themes.
How often should you do it?
Run a performance check at least once a month, or after you make a major change, like switching themes, adding new plugins, or uploading large files.
4. Update user passwords
As with any online account, updating user passwords regularly helps protect your WordPress site from unauthorized access.
If a user account is compromised – especially one with admin privileges – it can put your entire site at risk of content loss, data breaches, or malicious changes.
Knowing how to create strong passwords is just as important. WordPress recommends the following tips:
- Use unique passwords for every site. If you reuse passwords, a hacker who gets your login details from one site can access your accounts on others.
- Never share your passwords. Sharing – even with someone you trust – can put your site at risk if the person with whom you’ve shared your password accidentally reveals it, for example.
- Don’t email your passwords. Email isn’t encrypted, so use secure password-sharing tools if you need to send a password.
- Avoid saving passwords in your browser. Browsers don’t always protect stored passwords, so use a dedicated password manager instead.
- Don’t save passwords or click “Remember Me” when you log in on public computers. Others can access your accounts if you leave passwords saved on shared devices.
How to perform this task:
The easiest way to change your WordPress password is through the main login page – click Lost your password? and enter your username or email address. You’ll receive an email with instructions on how to reset your password.
If you need to change the password for another user and you have an administrator account:
- Go to Dashboard → Users → All Users.
- Hover over the user you want to update and click Edit.
- Scroll to the Account Management section and click Set New Password.
- Enter your own password or use the one generated by WordPress.
- Click Update Profile at the bottom of the screen.
How often should you do it?
Every three to six months is a good rule of thumb. Always change passwords immediately after removing a team member or detecting suspicious activity.
5. Delete spam comments
Deleting spam comments on WordPress means removing irrelevant or inappropriate messages from your website – typically those left by bots or spammers.
Deleting spam comments helps you protect your visitors from spam links and maintain your site’s quality and integrity.
How to perform this task:
To stop spam comments, you can disable comments entirely or set up comment moderation.
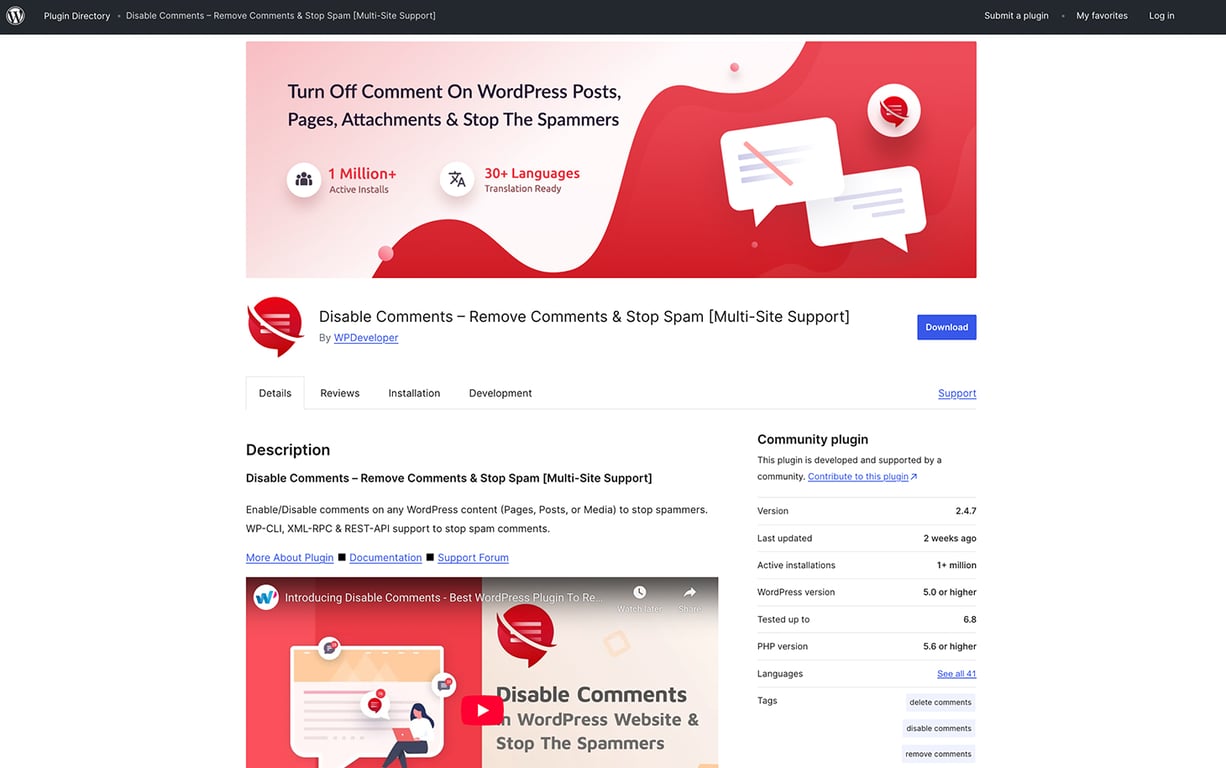
- Disable comments entirely. Go to your WordPress dashboard, click Settings → Discussion. You can also use a plugin like Disable Comments to turn off comments on any content.
- Enable comment moderation. In Discussion settings, turn on manual approval for comments before they appear on your site. This lets you review each comment so only real, valuable input gets published. While it takes more time, it gives you full control over what appears on your site.
How often should you do it?
If you don’t have content moderation enabled, check for spam comments weekly, or more often if your site gets a lot of comments. For high-traffic blogs, daily reviews are recommended to stay on top of things, as spam links can be added to previously posted comments if a commenter’s account was compromised.
6. Database cleanup and optimization
Database cleanup and optimization means removing unnecessary data – like old post revisions, spam comments, and trashed posts – and reorganizing your database tables to keep your WordPress site fast and efficient.
A WordPress database table is like a spreadsheet that stores a specific type of information, such as post and page content, user data, or comments.
How to perform this task:
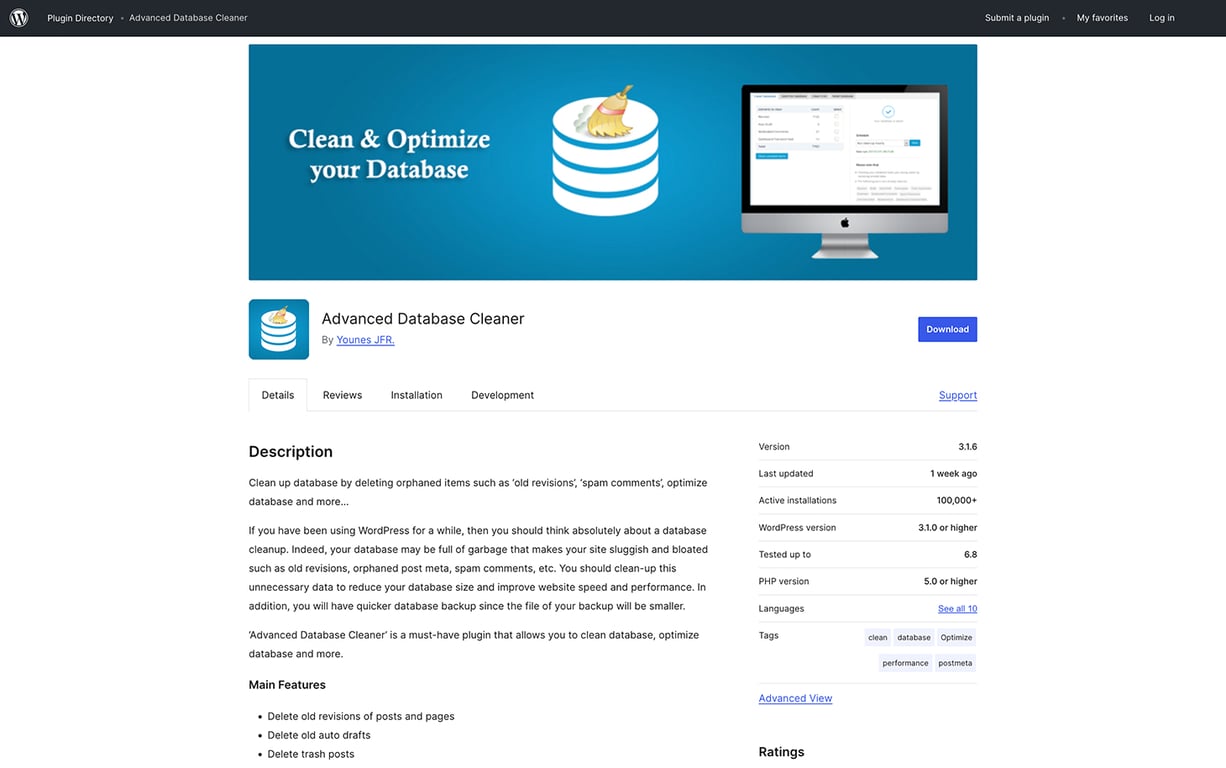
The easiest way to clean up and optimize your database is with a plugin like Advanced Database Cleaner.
This tool scans your site for things that can slow it down – such as leftover data from old posts, unused tables, and other clutter – and then streamlines your database in just a few clicks.
Manual cleanup and optimization are also possible through phpMyAdmin, a database management tool in your hosting control panel, but this method is more technical and only appropriate for experienced users.
How often should you do it?
For most blogs, portfolio sites, and small business websites, weekly cleanup is enough. For larger or more frequently updated sites – like news blogs or ecommerce stores – consider biweekly cleanups.
7. Find and fix broken links
Finding and fixing broken links on WordPress entails locating and correcting hyperlinks on your website that lead to pages or resources that no longer exist or have been moved.
Broken links can hurt your user experience, as your site may appear outdated or poorly maintained, and this will cause you to lose traffic. Search engines notice when visitors leave quickly due to a poor experience, which can lower your ranking.
They also make it harder for search engine crawlers to understand your site’s structure. If search engines detect many broken links, your domain authority may drop.
How to perform this task:
Use a plugin like Broken Link Checker to scan your site for both external and internal links in posts, pages, comments, blogrolls, and custom fields.
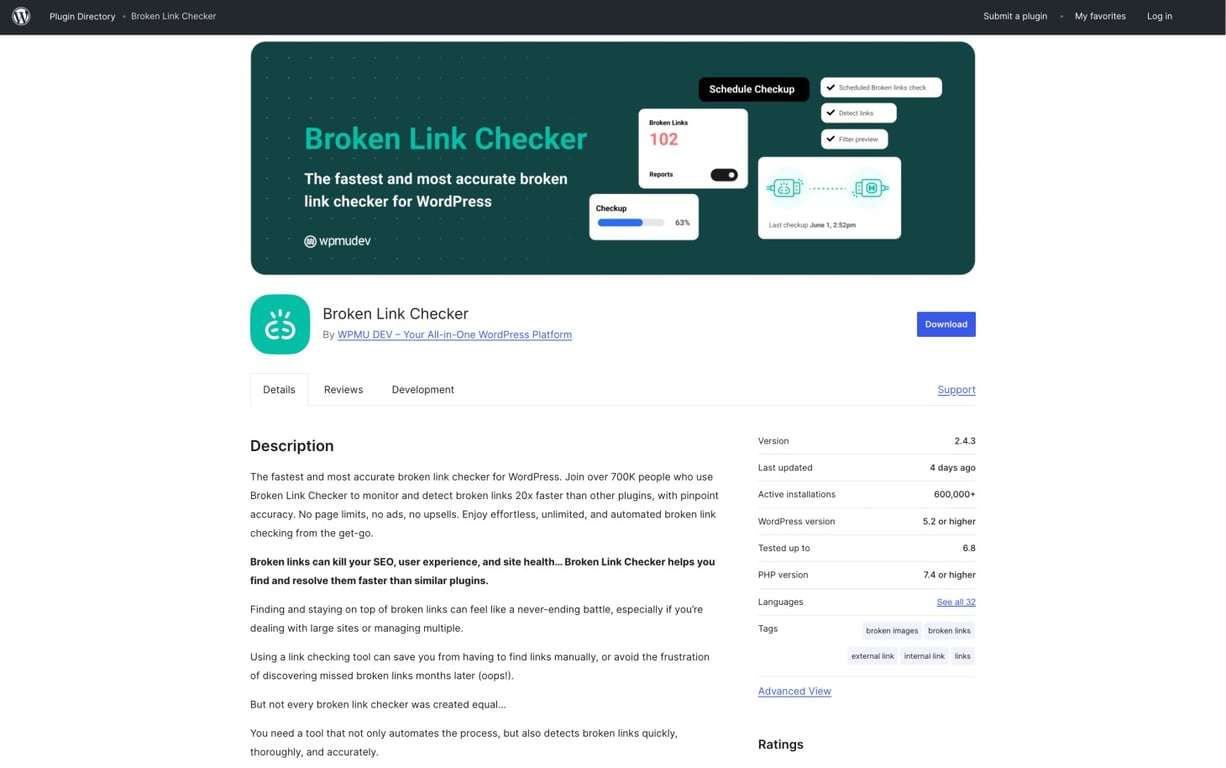
The plugin sends you email reports so you can quickly edit or unlink broken links directly from your dashboard.
You can also use tools like SEMrush, Ahrefs, or Google Search Console to find and manage broken links.
How often should you do it?
Run a link check every one to two months, or after a high volume of content additions or updates.
8. Test all forms
Forms are interactive elements on your site that let visitors send information – whether it’s for contacting you, booking appointments, event registration, newsletter signups, making purchases, or leaving feedback.
Regularly checking all your site’s forms is crucial for growing your email list, processing secure transactions, and making sure you don’t miss out on leads or important feedback.
How to perform this task:
You can easily manage and check form submissions if you’ve installed a WordPress form plugin, such as WPForms or Gravity Forms.
- Sign in to your WordPress admin panel and find the section where your forms are managed.
- Browse through your forms and check the submissions or entries for each one.
- Open individual entries to confirm information is being captured correctly.
Even if your forms send submission notifications by email, it’s best to check entries directly in your dashboard to ensure you’ve been receiving all submissions, since notification emails can sometimes fail to deliver.
How often should you do it?
Always test your form in an incognito or private browser window after you’ve published it on your site. After that, check your form submissions at least weekly, or adjust based on volume.
9. Review the error log
A WordPress error log is a file that records errors, warnings, and other important events on your website, along with their dates and times.
Checking your website’s error log helps you troubleshoot issues related to code, themes, and plugins, so you can resolve problems before they affect your visitors.
You can usually find the error log in the wp-content folder as a file named debug.log. To access this folder, use your hosting control panel’s File Manager.
Typical errors you might encounter include:
- The WordPress white screen of death. This shows a completely blank page on your site, usually caused by a problem with a plugin, theme, or your site’s code.
- PHP errors. A PHP error is a message that appears when something goes wrong with the code that runs your WordPress site. PHP is the main programming language behind WordPress, and errors can stop parts of your site from working or cause warning messages to appear.
- Invalid JavaScript Object Notation (JSON) error. This happens when WordPress can’t send or receive data properly. JSON is the format WordPress uses to communicate with the server, especially when saving content in the block editor.
- 408 Request Timeout Error. This error occurs when the server takes too long to respond to your request, which could be due to server overload or connectivity issues.
How to perform this task:
The easiest way to review your WordPress error log is by installing a plugin like WP Debugging.
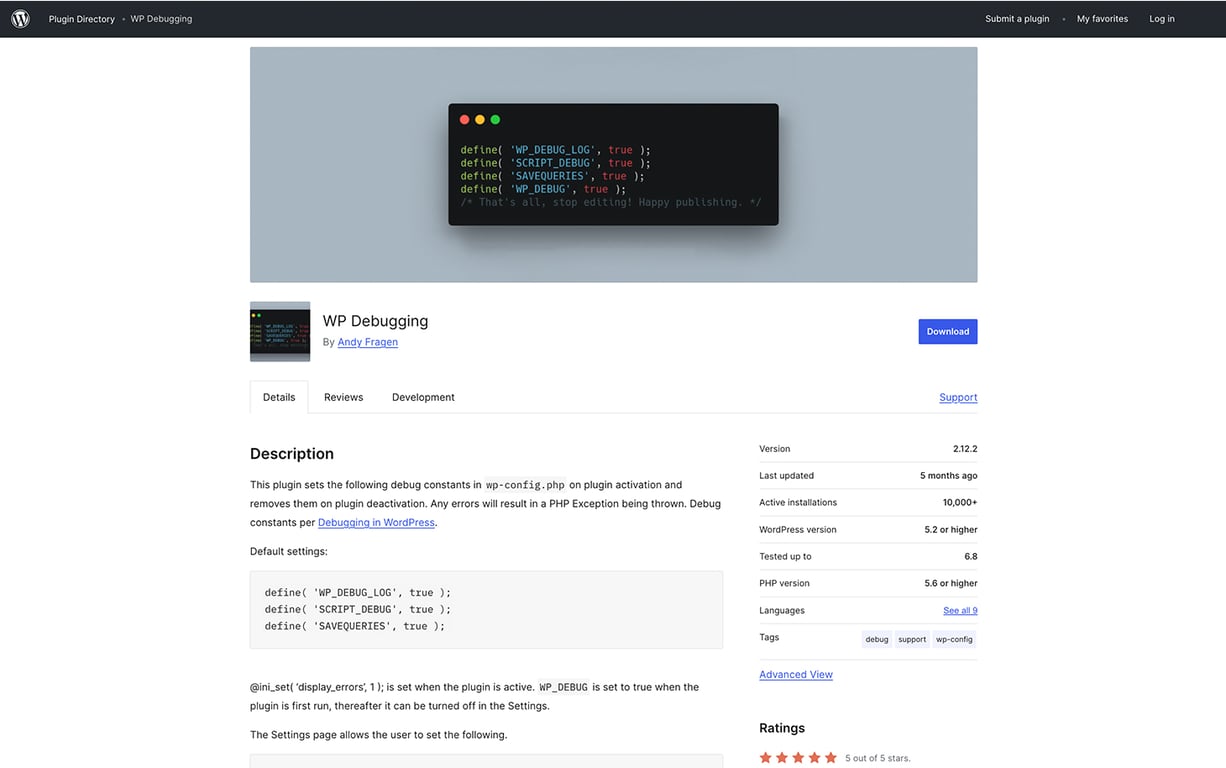
- Activate the plugin.
- Once it’s active, debug mode is enabled and error messages are automatically logged for you to review.
- If you can’t access your WordPress admin area, enable debug mode manually by editing your wp-config.php file in your host’s File Manager or via an FTP client. Change the line:
define('WP_DEBUG', false);to:
define('WP_DEBUG', true);or if you don’t see the first line, add the above line just before the /* That’s all, stop editing! Happy blogging. */ line, then save the file. WordPress will then output on-screen error messages the next time you access your site.
Important! Editing wp-config.php can be risky because this file contains crucial configuration settings for your WordPress site. Incorrect changes can lead to site downtime, broken functionality, or even security vulnerabilities. If you′re unsure, it′s best to ask someone with technical experience. For detailed steps, see our guide on working with wp-config.php.
After you’ve identified the error(s), look up solutions online using the exact error code and description.
Trusted sources for finding solutions include the WordPress Support Forums, Stack Overflow, and the developer’s documentation for your theme or plugins.
How often should you do it?
Check your error log monthly, or any time your site behaves unexpectedly.
10. Perform an SEO audit
An SEO audit is a thorough review of your website and online presence to assess how well your site is performing in search engine results.
Performing SEO audits is vital as it helps improve your site’s visibility and ranking on search engine results pages (SERPs).
How to perform this task:
The SEO audit process includes many steps that can be grouped into three key areas:
- On-page SEO. Refers to optimizing elements on your website, such as page titles, meta descriptions, keywords, content, image alt text, internal links, and URLs, to make your site more search engine-friendly.
- Off-page SEO. Involves factors away from your website that impact your rankings, like backlinks, domain authority, and your online reputation across the web.
- Technical SEO. Focuses on the backend of your website, including improving site speed, mobile-friendliness, security, structured data, and fixing crawl errors to help search engines properly index and understand your site.
Use tools like Ahrefs, Moz, or Google Search Console to scan your site. Review the audit results and prioritize fixing any issues to boost your SEO performance.
Pro tip
An SEO audit is just the start of improving your site’s performance. For more ways to boost your rankings and drive traffic, check out our guide with 30+ proven WordPress SEO best practices.
How often should you do it?
Most experts recommend performing an SEO audit at least once per quarter. For sites with frequent updates or high traffic, audit every one to three months.
11. Update outdated content
Outdated content includes:
- Information that is inaccurate or no longer current
- Pages that no longer bring in traffic or are irrelevant
- Old announcements, time-sensitive news, or event coverage
- Profiles of former team members
- References to discontinued products or services
- Thin content with little value or no backlinks
Leaving outdated content as-is can lower your SEO rankings, reduce your site’s credibility, and repel visitors.
How to perform this task:
Using the same tool from your content audit, check which pages have a high bounce rate, low click-through rate (CTR), no backlinks, or little to no traffic over the past six months.
Use these categories to decide whether to update, redirect, or delete your URLs:
- Update. Update pages that previously performed well but now have outdated advice or information.
- Redirect. Redirect pages that have strong backlinks but are no longer relevant, or if you have a newer page covering the same topic.
- Delete: Remove pages that bring no value – no traffic, backlinks, or relevance.
How often should you do it?
Some recommend updating content every three months, depending on the frequency of changes in your industry. Others suggest checking every six to 12 months.
12. Review for registered user accounts
Inactive or outdated user accounts – especially those with elevated permissions – can pose a security risk, as they may be exploited by unauthorized users or hackers to gain access to sensitive parts of your site.
How to perform this task:
Follow these steps to edit and customize WordPress user roles and permissions:
- Go to the Users section in your WordPress admin dashboard to view all user profiles.
- Hover over the account you want to update and click Edit.
- Adjust the user’s role or permissions as needed, then save your changes.
- If an account is no longer required, you can also choose to delete it.
How often should you do it?
Immediately, if you’ve never done it before. After that, whenever there are staff changes.
13. Uninstall unused plugins and themes
Outdated themes and plugins can affect your site’s performance and security, even when deactivated. That’s why deleting unused themes and removing plugins you no longer use is essential for a faster, safer website.
How to perform this task:
To delete a theme on WordPress:
- Go to Appearance → Themes.
- Click on the theme you want to remove, and select Delete in the lower right corner.
For plugins:
- Head to Plugins → Installed Plugins.
- Click Deactivate under any plugins you’re not using.
- Then, click Delete under any deactivated plugins you want to remove.
How often should you do it?
Once every few months, or whenever you stop using a plugin or theme.
14. Check for compatibility issues
Compatibility issues often arise when plugins or themes conflict with each other, or when they aren’t compatible with your current WordPress or PHP version.
These problems can cause forms or other features to stop working, slow down your site, or make pages and elements display incorrectly.
How to perform this task:
Prevention is key: before installing any new theme or plugin, check if it’s compatible with your version of WordPress and PHP – this information is usually shown on the plugin or theme’s page.
You can find your current WordPress version at the bottom of your dashboard or in the Updates section.
You can also use a compatibility checking plugin to scan your site for potential conflicts.
After installing or updating anything, review your site for errors or unusual behavior, and check the error log for signs of conflicts if necessary.
How often should you do it?
Do a compatibility check before and after every WordPress update, theme change, or new plugin installation.
15. Review paid subscriptions
Letting paid tools or services – such as plugins, themes, or hosting – expire can lead to lost features, invalid licenses, security risks, or even downtime.
Many premium WordPress plugins and themes require an active subscription for updates and support, so lapses can leave your site vulnerable or lacking key functionality.
How to perform this task:
- Make a list of all your paid services. Use a spreadsheet like Google Sheets or Excel, a note-taking app, or a subscription management tool like Rocket Money.
- Include domain registration, hosting, premium plugins or themes, and any other subscriptions tied to your site.
- Check renewal dates, pricing changes, and whether you’re still actively using each service.
- Cancel any subscriptions you no longer need or that overlap with others to avoid unnecessary costs.
- Update your payment information to prevent accidental cancellations.
- Double-check if any critical site features depend on license renewals before canceling.
How often should you do it:
Review all subscriptions every 6 to 12 months to keep costs under control and prevent unexpected service interruptions or loss of important features.
Conclusion
Regularly maintaining your WordPress site is crucial to prevent common issues and maintain your site’s overall health.
To ensure these tasks are completed regularly:
- Create a maintenance calendar to schedule time for backups, performance checks, and content updates.
- Automate where possible using plugins for updates, backups, and SEO checks. If you have a team, delegate specific responsibilities for user management, content updates, and technical maintenance.
- Set reminders using tools like Google Calendar to stay on track with your routine tasks. By organizing and grouping tasks – for example, backups, performance checks, and content updates – and staying on top of them, you can efficiently maintain your site without feeling overwhelmed.
Start implementing these 15 WordPress maintenance tips today to keep your WordPress site secure, fast, and up-to-date.
WordPress maintenance tips FAQ
How do I maintain my WordPress site?
Maintain your WordPress site by regularly updating plugins, themes, and core files, making routine backups, deleting spam comments, checking for broken links, and optimizing your database. Schedule periodic reviews of user accounts, content, and site performance. Using maintenance tools or checklists can make these tasks easier and help prevent security or performance issues.
Is WordPress hard to maintain?
WordPress isn’t hard to maintain if you stick to a routine and use the right tools. Maintenance tasks like updates and backups can be automated with plugins or by using a managed hosting for WordPress provider like Hostinger. Beginners may need to learn some basic site management skills, but following a simple checklist makes it manageable.
Is WordPress maintenance mode required?
Maintenance mode isn’t always required, but it’s helpful for major updates or site changes. When activated, it hides your site from visitors and displays some explanatory text, preventing confusion or error messages. When updating plugins, it’s implemented automatically during the update. For small updates, like adding a blog post, it isn’t required.
All of the tutorial content on this website is subject to Hostinger's rigorous editorial standards and values.

Rea has over 10 years of experience in content writing, with a passion for helping small business owners, side hustlers, and freelancers succeed. When not writing, she enjoys spending time with her dog, Shiro, sharing their adventures on social media, and playing online games. Follow her on LinkedIn.


