How to use an AI image generator to create images for your website
May 05, 2026
/
Larassatti D. & Ariffud M.
/
9 min Read
Using an AI image generator lets you create custom visuals from text descriptions. It’s a fast and affordable alternative to traditional graphic design or stock photography.
Here’s how to use an AI image generator:
- Choose a suitable AI platform. Select one that fits your use case and budget. Options range from free tiers to paid plans that commonly cost between $10-30/month.
- Write specific, structured prompts. Combine descriptive, stylistic, and technical details to generate results that match your vision.
- Upload and optimize AI-generated images. After generating your images, add them to your site in the correct file format, compress them to reduce file size, and enable lazy loading for better performance.
To get the best results over time, aim for consistency. Stick to one AI image generator tool when possible, reuse successful prompts as templates, and keep a simple style reference to keep your visuals cohesive across your site.
What is an AI image generator?
An AI image generator is a tool that uses artificial intelligence to create images from text descriptions (also called prompts). These tools produce custom visuals without requiring manual design work.
AI image generators serve website owners, marketers, and content creators who need visual content but lack the budget or skills for traditional graphic design.
The tools range from free browser-based platforms to professional-grade software with API access and commercial licensing.
How to use AI image generators
To use AI image generators, start by choosing a platform, then write structured prompts, and upload the optimized images to your site.
1. Choose a suitable AI image generator platform
The right AI image generator depends on what kind of images you need, how often you need them, and your budget.
Not every tool handles every use case well – a platform that excels at artistic illustrations may struggle with photorealistic product photos.
Evaluate platforms based on these criteria:
- Output quality. Test each tool with prompts similar to your actual use case. Check for sharpness, accurate colors, and realistic details like lighting and shadows.
- Prompt adherence. The tool should generate what you describe. Some platforms take creative liberties, while others follow instructions closely.
- Pricing and credit structure. Free tiers work for occasional use. For regular image generation, compare monthly costs, credit limits, and per-image pricing. Common platforms charge between $8-60/month.
- Commercial licensing. Confirm that the platform grants you the right to use generated images on your website, in advertisements, and in other commercial contexts. Licensing terms vary significantly between tools and pricing tiers.
- Text rendering accuracy. If you need images with readable text – for banners, social media graphics, or product labels – test this specifically, as many generators still struggle with typography.
- Editing and refinement options. Look for tools that let you modify parts of an image, adjust styles, or iterate on a result through conversational prompts.
- Integration options. Some platforms offer application programming interfaces (APIs), browser extensions, or direct integration with design tools. These are helpful if you want to automate image creation at scale.
- Style range. Check whether the tool supports different visual styles, such as photorealism, illustration, flat design, and 3D renders, to cover your website’s varied content needs.
2. Prepare the prompts for image generation
The quality of your prompt determines the quality of the output. AI image generators interpret your text literally, so the more specific and structured your description is, the closer the result will match your vision.
There are three main types of prompt elements to work with:
- Descriptive elements define the content – what objects, people, or scenes appear in the image. Be specific about composition, setting, and details.
A woman in a blue blazer is presenting to a small team in a modern glass-walled office
- Stylistic elements control how the image looks by describing its visual style, color palette, lighting, and mood.
Cinematic lighting, shallow depth of field, warm golden tones
- Technical elements specify format details such as aspect ratio, resolution, and camera angle.
16:9 landscape orientation, high resolution, shot from a low angle
Combining all three produces the most predictable results. Here’s a complete prompt example for a blog featured image:
Picture a young woman entrepreneur working on a laptop at a shared wooden table in a modern co-working space. The place has soft natural daylight, and the background is lightly blurred with neutral beige and soft brown tones. The image should have a natural and professional look, a photorealistic style, a centered composition, 4:3 aspect ratio.
Applying prompt engineering best practices, such as specifying negative constraints or weighting key phrases, can further improve output quality.
To keep your website visuals cohesive, build a small set of stylistic keywords that reflect your brand – for example, “minimalist, pastel blue and white, soft shadows” – and reuse them across prompts.
For even more control over how the model interprets your instructions, fine-tune your prompts by adjusting token weights or using reference images.
3. Add AI-generated images to the website
Once your images are ready, upload them to your site using the tools provided by your website platform.
The exact steps vary depending on your content management system (CMS) or website builder, but optimization matters regardless of which platform you use.
In WordPress, you can add images directly through the Media Library or insert them into a page using an Image block. If you’re working with multiple files, bulk-uploading them to the Media Library first saves time.
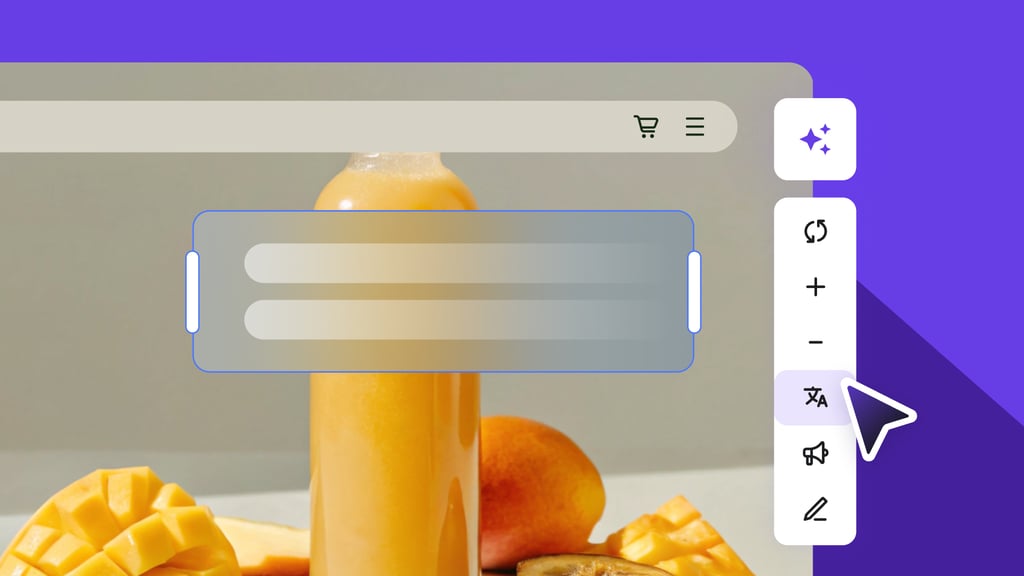
Hostinger Website Builder lets you add images by dragging them directly onto the page or by using the built-in Image element. You can also adjust sizing, alignment, and alt text in the Image element’s settings right inside the editor.
If you’re working with a custom-coded site, you can upload images directly through your hosting file manager or use an FTP client. This approach is especially useful when managing large image libraries or structured folders.
Image optimization is what really makes the difference. Unoptimized images slow page load times, hurt search engine rankings, and create a poor mobile experience.
To optimize images on WordPress and other platforms, start by choosing the right file format.
WebP is the best default for most website images because it delivers smaller file sizes while maintaining visual quality comparable to JPEG or PNG. Use PNG only when you need transparency, and SVG for icons or simple graphics.
Next, compress your images to remove unnecessary data while preserving visual sharpness. Aim for file sizes under 200 KB when possible.
Resize images to match the actual display size on your site. Also, enable lazy loading so images below the fold load only when visitors scroll down. These small adjustments add up to faster pages and a better user experience.
What are the best AI image generators?
The six strongest AI image generators for website use are GPT Image, Midjourney, Adobe Firefly, Ideogram, FLUX, and Leonardo AI. Each platform offers different strengths, pricing models, and licensing terms.
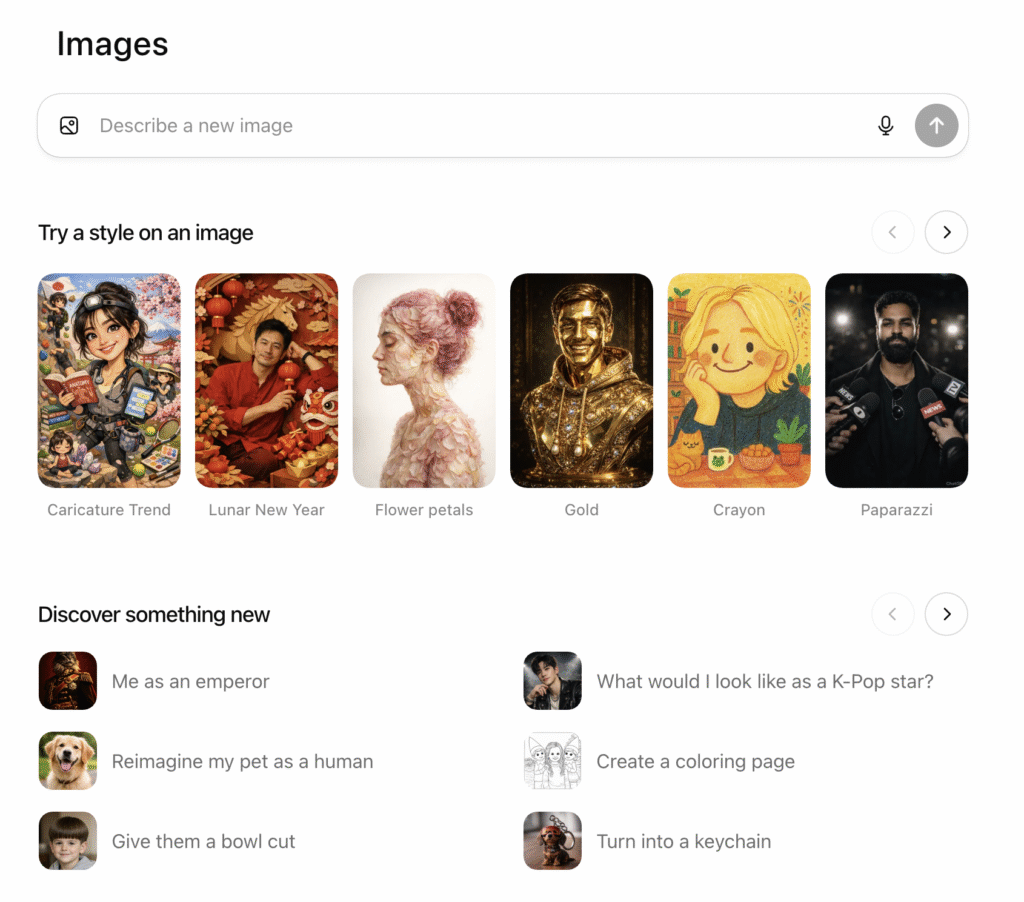
GPT Image
OpenAI’s image generation model stands out for prompt accuracy. It also supports iterative edits through conversation, so you can refine results without starting over.
The model is available across multiple ChatGPT plans, including a free tier with limited usage. The Plus plan costs $20/month and includes expanded image generation with faster output, along with text, video, and other AI features in one subscription.
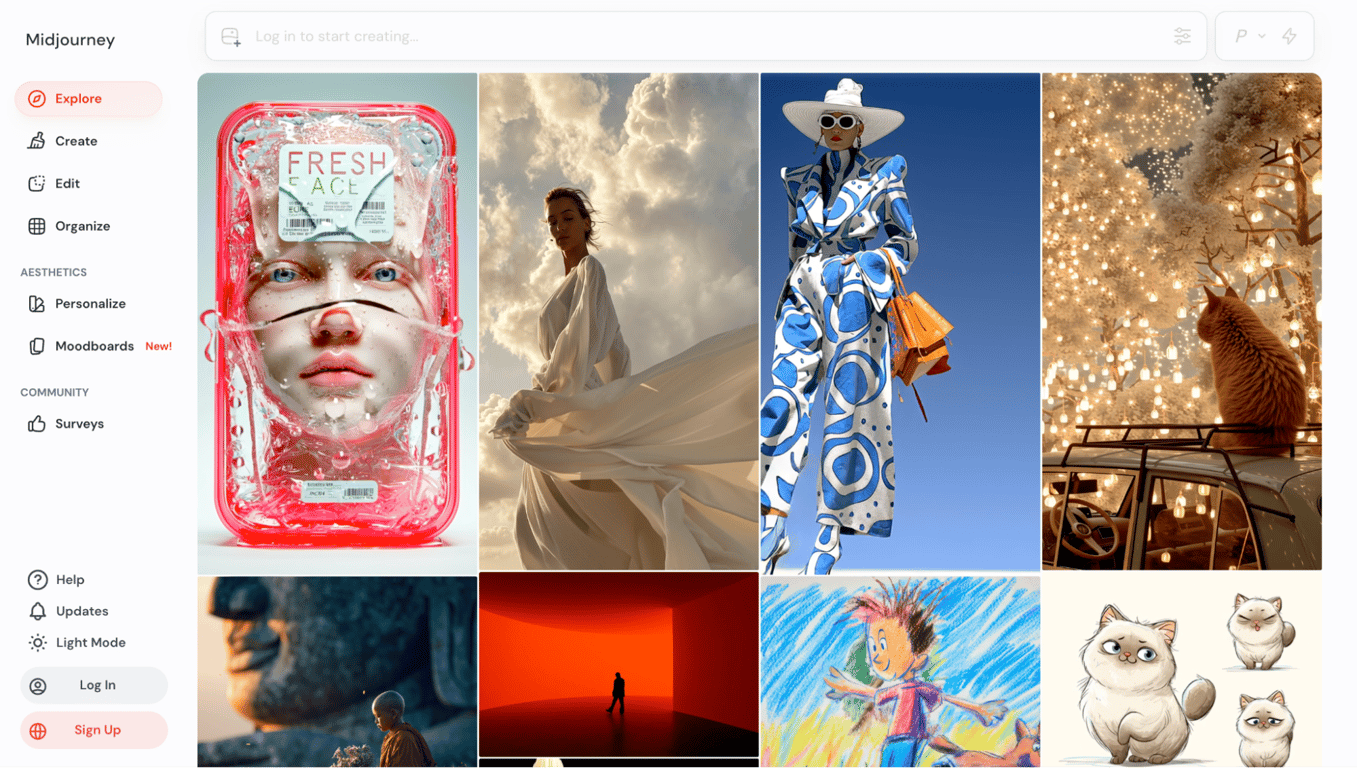
Midjourney
Excels at stylized illustrations, cinematic scenes, and concept art with dramatic lighting. You can access Midjourney through Discord and its web interface.
The Basic plan starts at $10/month and includes 3.3 hours of Fast GPU time. The Standard plan costs $30/month and adds unlimited image generation in Relax Mode. All paid plans include commercial use rights.
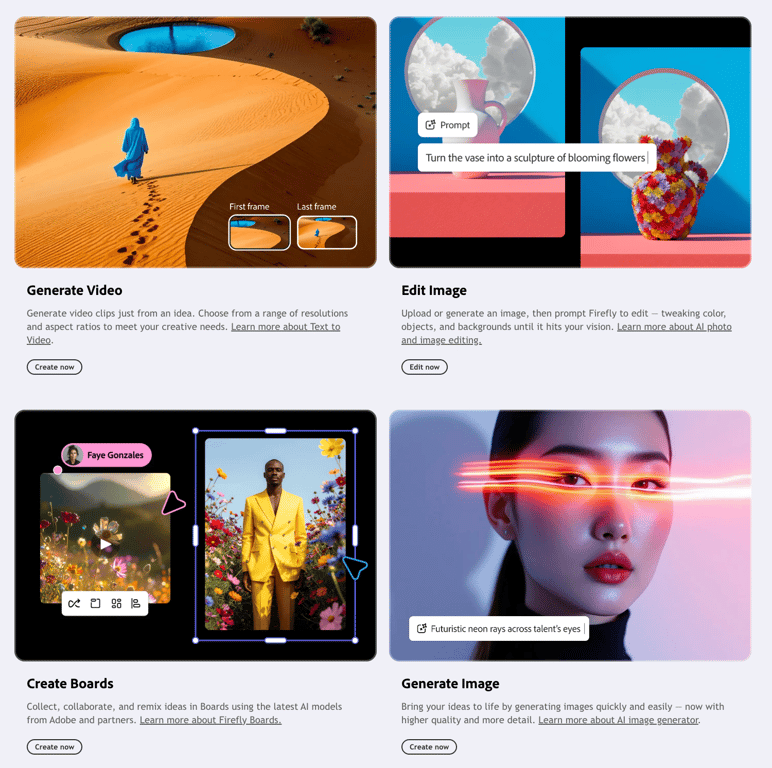
Adobe Firefly
Stands out for copyright safety – Adobe trains it exclusively on licensed content, providing businesses with stronger legal protection for commercial use. It integrates directly with Photoshop and other Creative Cloud apps, making it a strong choice for teams already using Adobe tools.
The Standard plan costs $9.99/month and includes 2,000 generative credits. The Pro plan costs $19.99/month and increases the credit limit to 4,000. These credits also apply to premium features such as video generation and partner AI models like Google, OpenAI, and Flux. All paid plans include unlimited standard image generations.
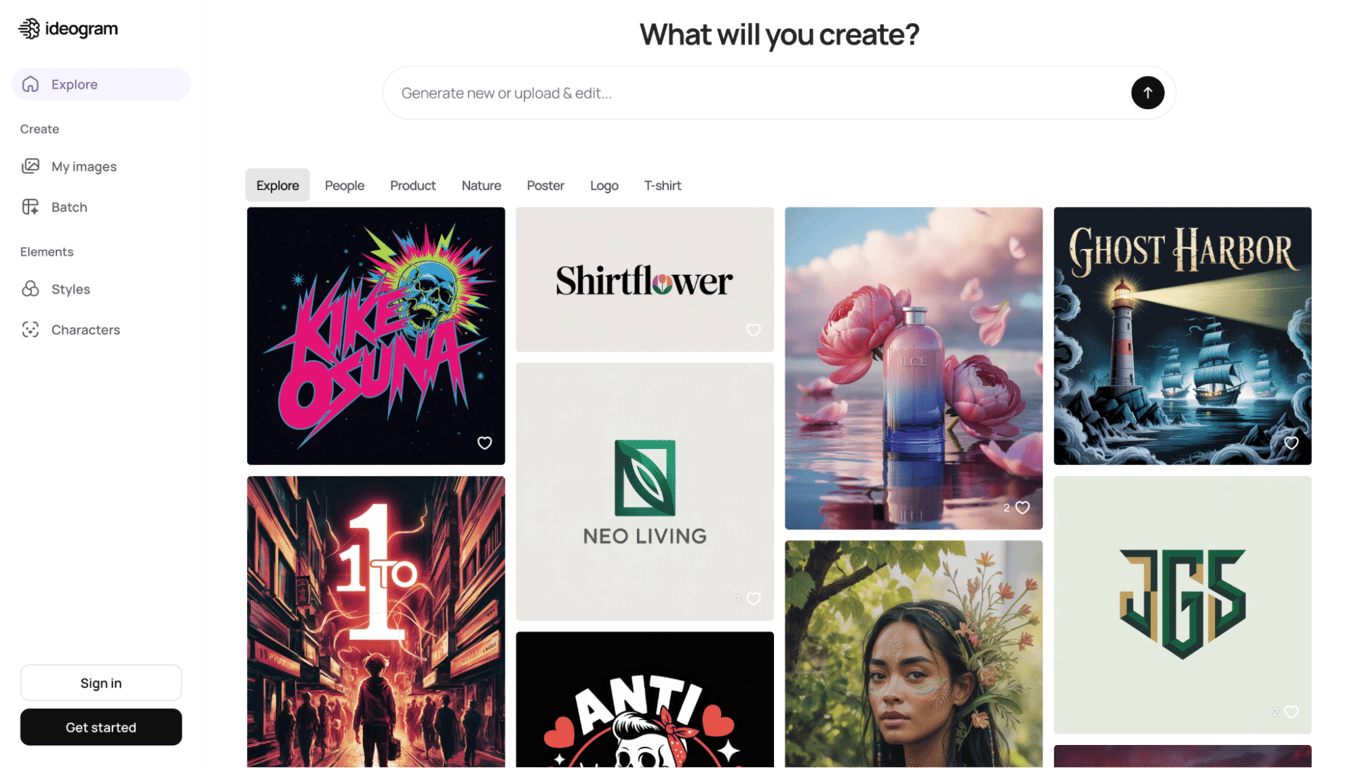
Ideogram
Leads in text-in-image generation. It stands out in producing readable, well-designed typography inside images, which many other generators still struggle with. That makes it ideal for social media graphics, posters, banners, and any design that includes text.
The Free plan offers limited public generation. The Plus plan costs $15/month when billed annually and includes 1,000 priority credits per month, along with unlimited slow credits.
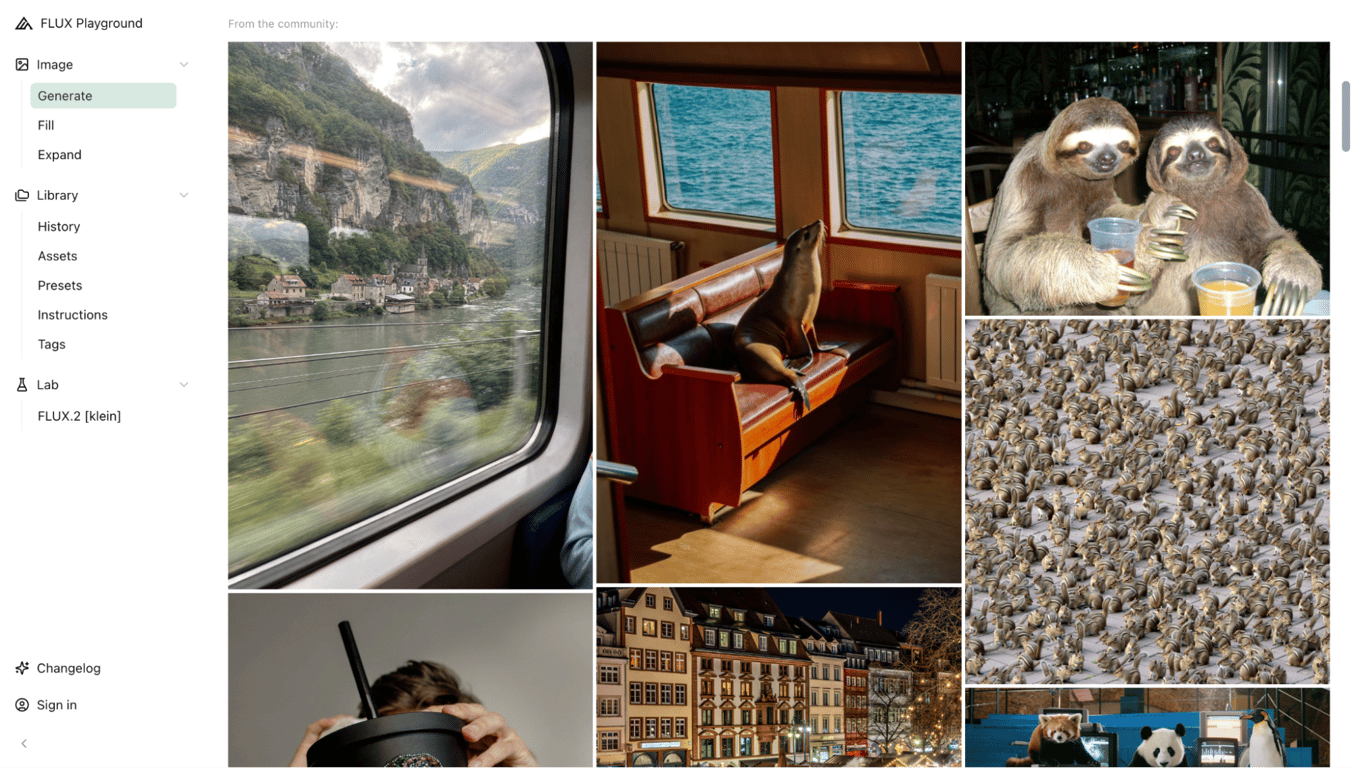
FLUX
A strong choice for photorealistic image generation. It produces highly realistic lighting, textures, and fine details, making it well-suited for product photography and lifestyle visuals. FLUX models are open-weight, giving developers and advanced users greater flexibility to self-host or customize them.
Pricing starts at $0.025/image for FLUX.1 [dev] and $0.04/image for FLUX 1.1 [pro].
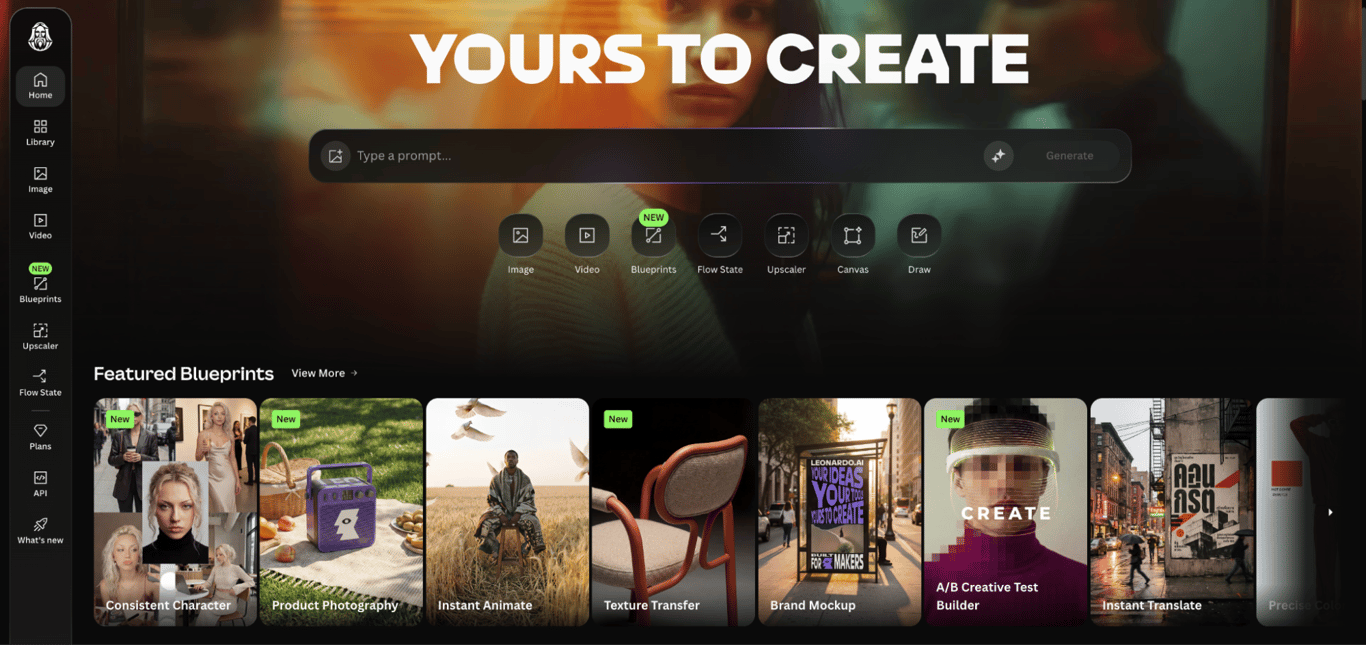
Leonardo AI
Focuses on game art, character design, and consistent visual series. Its fine-tuning tools and preset library help maintain character consistency across multiple images, which is a common challenge with other generators.
The free tier provides 150 fast tokens per day, enough for roughly 20-30 images, depending on your settings. The Essential plan starts at $10/month and includes 8,500 fast tokens, private image generation, unlimited personal collections, and up to 10 personal AI models.
How to generate images with Hostinger Website Builder
If you’re building a website with Hostinger Website Builder, you can benefit from its built-in AI Image Generator. This tool is available on all plans, with the pricing that starts at $2.99/month.
Each plan also includes web hosting, a free domain name, unlimited free SSL certificates, and multiple additional AI tools, such as AI Logo Maker and AI Product Details Generator.
Here’s how you can generate images in Hostinger Website Builder:
- Open the site editor and locate the AI tools icon on the left sidebar.
- Select AI Image Generator.
- Enter a descriptive prompt in the text field, then click Create images.

Each account starts with five free image generation credits. Click the Buy more option to create more images.
The AI Image Generator works directly within the editor, meaning your generated images are immediately ready to place on your website pages – no separate download or upload step needed.
Top tips for generating AI images
The top tips for generating AI images include maintaining visual consistency, understanding licensing terms, refreshing your site visuals regularly, combining AI images with original content, and writing specific prompts.
1. Maintain image quality and consistency
High-resolution, visually consistent images make your website look professional and intentional.
Before using any AI-generated image, compare it against your original idea – check that colors look right, details are sharp, and the composition works at the size you need.
Each AI image generator has its own visual “personality,” so switching between platforms often results in subtle style mismatches. When possible, stick to one AI tool for all your images.
To keep your site’s visual elements cohesive, create a simple style guide for your brand. This can be as lightweight as noting your core color palette, preferred lighting, and overall visual mood. Use these details consistently in your prompts.
Choose a small set of stylistic keywords and reuse them across images. For example, phrases like “minimalist, pastel blue and white, soft shadows” help reinforce a clean, modern look.
Repetition gives the AI a clear direction and improves consistency. When you get a result that works, save the prompt as a template.
For future images, adjust only the descriptive elements while keeping the same stylistic structure. Over time, this library of tested prompts becomes one of your most valuable brand assets.
2. Understand copyright and usage rights
AI-generated images have different copyright terms depending on the platform and pricing tier. Before using any AI-created visual for your website or marketing materials, verify three things:
- Commercial use rights. Confirm the platform’s terms of service explicitly allow commercial use. Most paid plans on major platforms like Midjourney, ChatGPT, or Adobe Firefly include commercial rights. Free tiers often restrict usage to personal projects only.
- Training data transparency. Some platforms train exclusively on licensed and public-domain images. Others use broader datasets that have faced legal scrutiny. This distinction matters for businesses in industries with strict compliance requirements.
- Ownership and exclusivity. AI-generated images are generally not exclusive – other users with similar prompts could generate similar results. For truly unique brand assets, combine AI generation with human editing and refinement.
3. Enhance user experience with AI images
Fresh, relevant visuals improve engagement and keep your website looking current. AI image generators make it practical to update website images regularly, which can be cost-effective and time-saving.
You can use AI-generated images for:
- Refreshing seasonal banners and promotional graphics without commissioning new designs.
- Creating custom illustrations for blog posts and tutorials instead of relying on overused stock photos.
- Generating product mockups and lifestyle images for new offerings before professional photography is ready.
4. Combine AI-generated content with original content
AI-generated visuals work best as part of a broader visual strategy, not as a complete replacement for original content.
Your website’s visual identity benefits from a mix of AI-generated images, original photography, custom graphics, and branded design elements.
Use AI generation for volume tasks like blog post illustrations, background images, and social media graphics.
Reserve human-designed assets for high-visibility placements like your logo, hero images, and key brand materials.
5. Use custom image prompts for specific results
Generic prompts produce generic images. Instead of describing a broad concept, include specific details about the scene, objects, emotions, lighting, and colors you want.
For example, rather than prompting “a sunset,” write “a vibrant sunset over a calm ocean with silhouettes of palm trees in the foreground, warm orange and pink tones, photorealistic style, 16:9 landscape.”
The added detail produces results closer to what you actually need.
Next steps for your website visuals
AI-generated images solve one of the biggest visual content bottlenecks by providing high-quality graphics without the cost or long turnaround time of professional design.
However, images are only one part of how visitors experience your site. Layout, spacing, typography, and visual flow between sections all influence whether someone stays or leaves.
A page full of strong AI visuals can still fall flat if the images don’t align with the general website design best practices. Mismatched styles, inconsistent sizing, or poor placement break the visual rhythm and make the site feel unfinished.
Treat AI-generated images as a single layer within a larger design system. Pair them with clean layouts, consistent spacing, and intentional color choices.
As a practical next step, review your current pages. Look for outdated stock photos or missing visuals that create gaps.
Then apply what you’ve learned: save your best-performing prompts as templates, stick with one AI generator to maintain consistency, and always optimize images before uploading them.
The goal is a site where every image feels intentional and cohesive, not like it was added at the last minute.
All of the tutorial content on this website is subject to Hostinger's rigorous editorial standards and values.

Larassatti Dharma is a content writer with 4+ years of experience in the web hosting industry. She has populated the internet with over 100 YouTube scripts and articles around web hosting, digital marketing, and email marketing. When she's not writing, Laras enjoys solo traveling around the globe or trying new recipes in her kitchen. Follow her on LinkedIn

Ariffud is a Technical Content Writer with an educational background in Informatics. He has extensive expertise in Linux and VPS, authoring over 200 articles on server management and web development. Follow him on LinkedIn.