How to build websites for clients and make money
Jan 28, 2026
/
Aris S.
/
9 min Read
Websites are essential for businesses to establish their online presence. However, not all business owners have the skills and time to build one.
Businesses usually hire web development companies or freelancers for this task. Given the large market demand, now is a great time to become a freelance web developer.
If you have already learned a programming language or web design skills, you can make money building websites for others. Keep reading as we explain the steps to build websites for clients and the best practices to kickstart your freelancing career.
How to Build a Website for a Client in 8 Steps
In this section, we will go over the eight steps to building a successful client website. These steps will cover all web development stages, from pitching to deployment.
1. Learn About the Client and Their Website Goals
Before taking on a project, gather information about your client and their website goals. Such knowledge helps you understand how your service can fit into the project.
To learn about the project, ask various questions based on the details you seek, including:
- What are your business goals?
- What are your brand, identity, values, and voice?
- How are you going to use the website?
- What features do you want?
- Are there any special requirements?
We recommend writing the questions down before a discussion. In addition, ask follow-up questions for clarification.
If the potential clients are unsure about the details, offer your help to define the project’s direction.
Note that you may conduct multiple discussions until you gather sufficient information. Only after you have a clear picture of the project should you proceed to pitch your services.
2. Write a Proposal and Determine the Project’s Scope
Write a web development proposal based on the information you have gathered. It is a document detailing the project and agreement between you and the potential client.
A well-written proposal helps convince prospective clients about your service for their projects. While there are no exact requirements for it, a successful proposal typically includes the following information:
- Executive summary – an overview of the project. This section must explain the project’s problems and your proposed solutions.
- Scope of work – a rundown of the services or products the clients will receive from you. This agreement ensures you only deliver what has been agreed upon.
- Timeline – a chronological breakdown of the project’s stages and its deadlines. When planning a website, consider potential issues that may prolong the development time.
- Expenditure – the details of the project’s cost, including the payment term and method. Aside from your service fee, specify additional costs, such as a hosting subscription.
- Contact details – the contact information about you or your project manager. This section usually contains your business hours to avoid clients contacting you at the wrong time.
Accompany the proposal with your web developer resume to help convince potential clients. In addition, include your portfolio and web developer certifications to establish credibility.
Suggested Readings
3. Select a Platform for Building the Website
Depending on the project requirements, you may use a different platform to build clients’ sites. For instance, your client may choose a platform they are familiar with for future use or maintenance.
Popular platforms to build a website include a content management system (CMS) or a site builder. If you are looking for features, scalability, and flexibility, we recommend using WordPress to make your client’s website.

To help you decide, check out the following comparisons between the CMS and other popular platforms:
- Drupal vs WordPress – Drupal’s content and user management features are more advanced than WordPress. However, it has a steeper learning curve and lacks third-party add-ons.
- Joomla vs WordPress – Joomla has more functionality but requires more technical knowledge to use. It also falls short on the plugin options and community support.
- Wix vs WordPress – WordPress offers more extensive features and customizability than Wix. It is also cheaper and has a wider range of extensions.
4. Choose a Hosting Type
A hosting provider stores the website’s data on a server, making it accessible to users worldwide. Since some platforms like WordPress don’t include a hosting plan, you must purchase one separately.
In some cases, your client may take care of the hosting. However, many freelancers prefer to host clients’ websites themselves, especially when the client lacks technical knowledge.
Handling your client’s hosting enables you to have full control over the back-end development, improving workflow. In addition, it is an opportunity to charge extra for maintenance and support.
Choose a professional web hosting provider with sufficient hardware and bandwidth, 24/7 customer support, and security features. This is because choosing the wrong plan can harm the website’s performance and uptime.
In addition, remember to consider your client’s budget and use case when picking the right hosting model.
At Hostinger, we offer a user-friendly control panel called hPanel, which enables you to manage multiple clients and websites with ease.
Here, you can:
- Select hosting plans for your customers.
- Create websites for clients using WordPress or Hostinger Website Builder.
- Migrate existing clients’ sites to Hostinger.
- Manage multiple websites, domains, and email accounts.
- Track website performance and security.
- Get your clients a 20% discount for their first purchase.
Not sure which hosting services to choose based on your clients’ needs? Follow this guide:
- Shared hosting. Multiple users host their websites on the same server and share the resources. It is the cheapest hosting type for low-to-medium traffic websites. Also, it’s an ideal solution for those who only start learning web development and need a cheap web hosting platform to practice.
- WordPress web hosting. Similar to shared hosting, but it’s fully optimized for WordPress websites. Most suitable for site owners who exclusively use the CMS.
- Virtual Private Server (VPS) hosting. Every user gets full access to a dedicated server’s virtual partition. It is best for high-traffic websites demanding a high-performance host and in-depth customization.
- Cloud hosting. Each user has resources from a network of servers. This plan offers high performance without requiring technical knowledge to maintain, unlike VPS.
After choosing the right service, decide on the website’s domain name. Some less-known top-level domains (TLD) might be more affordable, but popular ones like .com will cost you extra.
5. Create a Sitemap and a Visual Layout
A website’s sitemap and visual layout define its usability. A well thought out sitemap and layout allow visitors to use the website easily, resulting in a pleasant user experience.
Carefully plan what pages to include on the website. Start from the most important pages and work your way around them.
Then, use a tool such as FlowMapp to visualize the hierarchy and relation between the pages. Visual sitemap helps make the website design process more efficient and user-oriented.
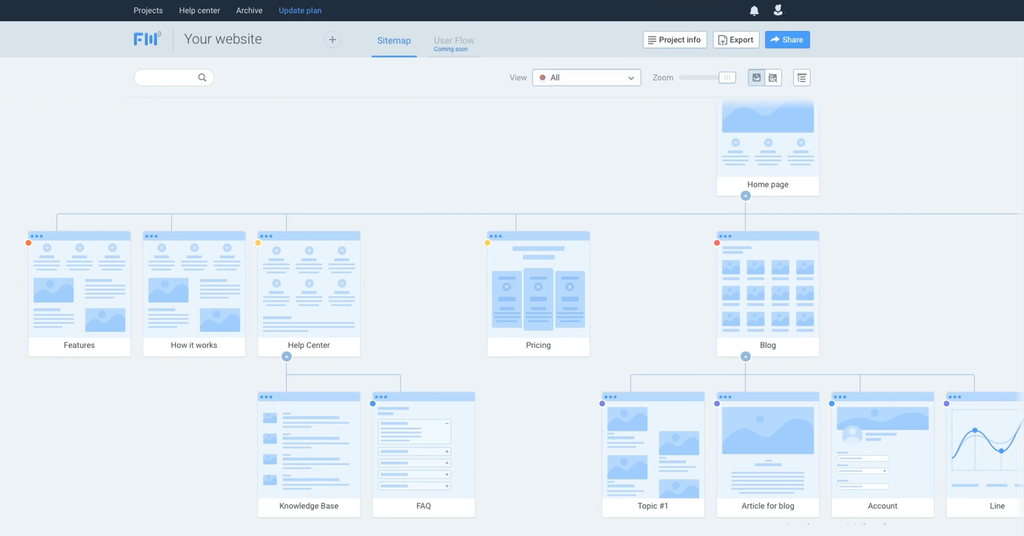
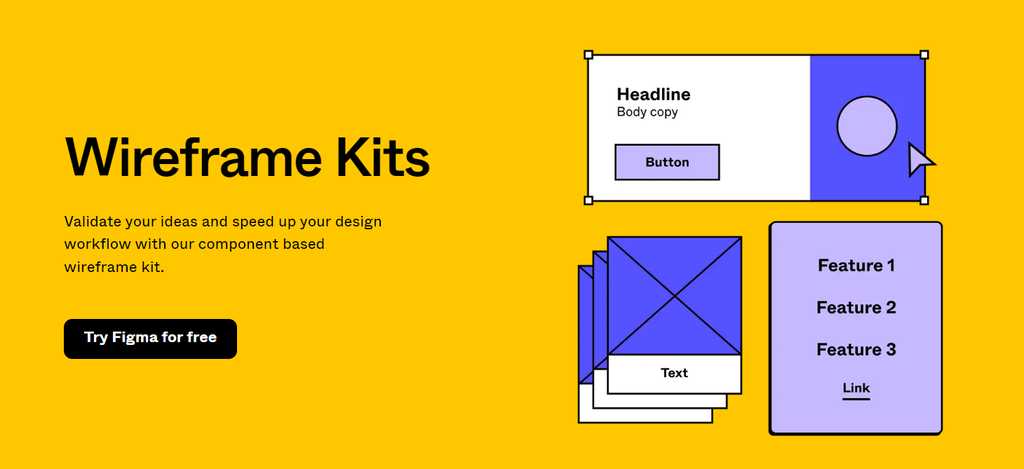
After creating the sitemap, make the page’s visual layout wireframe. A wireframe is a blueprint of the website’s page structure. To make it easier, consider using tools like Figma.
In addition, pay attention to the following visual elements when designing a website layout:
- Color. Use a contrasting color for important elements to make them stand out. Avoid overly-complicated color combinations to make your website look balanced and less distracting.
- Typography. Make the website’s text easy to read. Pay attention to the font, size, spacing, alignment, and consistency.
- Images. Utilize high-quality images to effectively capture visitors’ attention and deliver information. Avoid using too many images, as they may slow the website down.
- Visual Hierarchy. Visually separate website elements based on their importance to make them more noticeable. This ensures visitors view the most important element first.
- Elements. Avoid overcrowding the website. Too many elements will distract visitors’ attention and may harm the website’s usability.
Note that creating a sitemap and visual layout requires web design skills. If you only handle the development side, suggest the client hire web designers to help with the task.
6. Create Pages Based on Client’s Needs
Based on the sitemap and layout plan, create the page according to the client’s request. During this step, focus on the page’s elements and content.
Gather necessary elements such as call-to-action (CTA) buttons, images, videos, and links. You may write a checklist and refer to your wireframe to ensure you don’t miss any of them.
For the content, your client may make it themselves or source it from a third-party service. In this case, agree on a deadline to ensure the project progresses according to the schedule.
Check the content and suggest changes if you think it doesn’t align with the page’s goal. In addition, apply search engine optimization (SEO) practices to improve its visibility.
To accomplish this, pay attention to the content’s keywords, structure, and meta description. Use SEO tools or plugins like Yoast SEO to maximize your SEO effort.
7. Design the Website
Once you have the plan laid out and the assets ready, start designing the website. This stage determines the website’s final look.
During the design process, consider the following aspects of each page:
- The page’s main purpose
- The action visitors should take when landing on the page.
- Elements that compel visitors to take action, such as a call-to-action (CTA) button.
In addition, closely communicate with your client to verify if the website aligns with their requirements. Ask for feedback before designing another page to minimize future revisions.
You may also make page templates based on the design your client agreed to. Use it to keep the website design process efficient and consistent.
At the end of the design process, ask the client to perform a thorough check.
Pro Tip
Before taking on a project, make an agreement with the client regarding the revision policy. We recommend offering limited free revision and charging for the website after.
8. Test the Website
Before deploying the website, make sure it works properly. This step allows you to catch problems that may affect user experience.
Common issues may be related to the website’s usability and performance. If the site is difficult to use or slow, visitors are less likely to return.
Try to use the new website to gain insights into how visitors may interact with it. In addition, take care of the following aspects:
- Performance. Use Google PageSpeed Insights for a more accurate result.
- Images. Make sure they are optimized and load properly.
- Text. Check for typos and spelling errors. To make this process faster, consider using Grammarly.
- Interactive elements. Ensure all of the elements, such as anchor texts, buttons, navigations, or forms, are working properly.
- Responsiveness. Inspect the performance on different devices.
- Functionality. Check whether everything works as intended. For instance, simulate a checkout to test an eCommerce website.
- Errors. Ensure there are no dead links or HTTP errors like 404.
- Back end. Make sure there are no issues with the host server and other services.
Remember that even after a thorough test, some minor errors may still be present on the website. New issues may also arise after the website goes live.
For that reason, always launch client sites at the preferred time – Monday, Tuesday, or Wednesday. Avoid Friday if you take the weekend off.
Launching the website on workdays allows you to continuously monitor its performance and catch potential issues quickly. In case errors occur, you can immediately fix them without disturbing your working hours.
Best Practices for Building Websites for Clients
To maximize your website development project, consider the following best practices.
Make Yourself Available to Clients
Offer support for your client during and after the project. In case your client encounters a problem with their website, they can reach out to you for a solution.
Making yourself available to the client indicates your commitment to your responsibility. It is a great way to establish trust and convince the client to become a recurring customer.
Practice Client Communication
Communicating with your client is key to a successful project. Consult with your client during the development process to ensure the project aligns with their expectations.
Getting in touch with your client lets you regularly update the project’s status and get feedback, minimizing the need for revision after the project is finished.
Communication also improves transparency and trustworthiness. These behaviors build a strong client-worker relationship that may be beneficial in the future.
Use Pre-Built Themes
Your client may request a non-default theme that suits their website goal better. In this case, you need to customize the theme or hire a web designer if it is beyond the project’s scope.
Since they require additional money and effort, consider using pre-built themes instead, as they are typically more affordable.
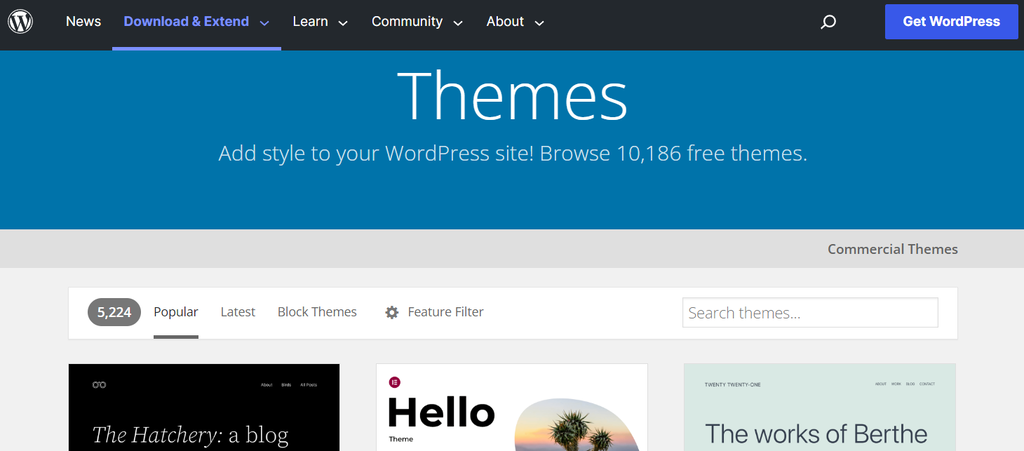
The WordPress library has over 10,000 free themes to cater to different website styles and purposes. For more premium options, explore a theme marketplace such as Themeforest.
Create a Pricing System
Having a clear pricing system allows prospective clients to quickly determine whether your service is suitable for their needs. This pricing system concerns not only your rate but also the payment term and method.
Study other web developers’ salaries to keep your price competitive. You may also increase your rate based on the project’s difficulty and your experience.
For better clarity, provide details about your payment policy. For instance, specify that the client pays 50% upfront and the rest after the project finishes.
Ask for Referrals
At the end of the project, ask your client to refer your service to other businesses. Personal recommendations can help you attract more clients.
Also, ask for their testimonials and put them on your portfolio website. You may also ask the existing clients for other businesses needing a similar service.
Looking for more ways to get clients?
Check out our Guide to Getting Clients as a Freelance Web Developer.
Conclusion
As websites are becoming more and more important for any business, there is a great demand for freelance web developers. If you have relevant skills, you can build websites for others to generate extra income.
In this article, we have explained eight steps to creating a website for your client:
- Study the project. Gather as much information about your potential clients and their website goals.
- Write a proposal. Propose your service to the client by explaining your scope of work and how you fit the project requirement.
- Select the platform. Pick the right platform to build the website based on the client’s preference. It can be a CMS or a website builder.
- Determine the hosting model. Decide who will handle the website hosting. Then, pick the hosting provider and plan that suit your client’s budget and needs.
- Plan the sitemap and layout. Create a wireframe detailing the website’s user flow and visual layout. Use it as a blueprint when developing the website.
- Create the pages. Gather the necessary elements and content for each page.
- Design the website. Create the final website design using the plan and assets. Ensure it fulfills the website’s goal and your client’s expectations.
- Test the website. Try using the website and look for any issues before deploying it live. After release, monitor its performance and check for any potential issues.
When creating a website for a client, make yourself available and actively communicate with them. Also, create a clear pricing system and ask for referrals after the project completes.
We hope this article helps you to get started in becoming a freelance web developer. If you have any questions, leave a comment below. Good luck.
Suggested Reading
Unlock new income streams with these 20+ online money-making ideas.
All of the tutorial content on this website is subject to Hostinger's rigorous editorial standards and values.

Aris is a Content Writer specializing in Linux and WordPress development. He has a passion for networking, front-end web development, and server administration. By combining his IT and writing experience, Aris creates content that helps people easily understand complex technical topics to start their online journey. Follow him on LinkedIn.