How to fix Error 404 not found
Nov 19, 2025
/
Ariffud M. & Simon L.
/
5 min Read
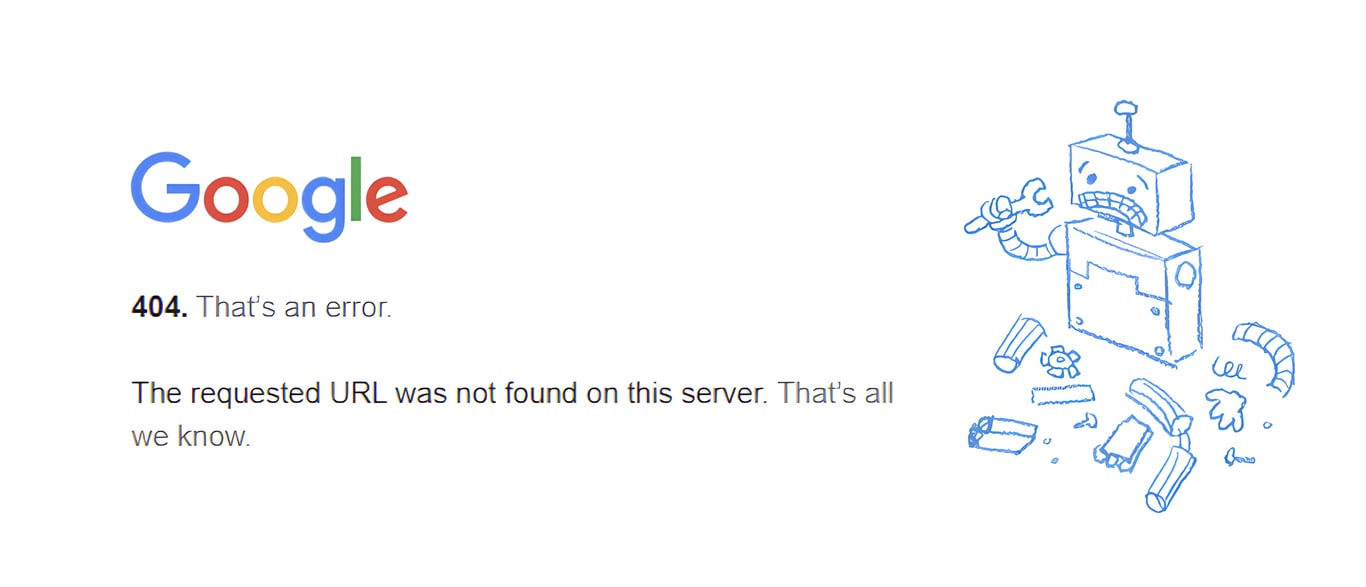
Error 404 is an HTTP status code indicating that the server can’t find a web page. This usually occurs when the URL is incorrect, the page has been deleted, or it has been moved.
To resolve 404 errors, you first need to identify the broken links, understand their cause (such as a typo or a deleted page), and then either correct the incorrect link or set up a redirect to a relevant, active page.
For website owners, frequent 404 errors can discourage visitors, resulting in a poor user experience. Additionally, these issues can negatively impact your site’s search engine optimization (SEO) by affecting crawling and indexing.
What causes the 404 error?
Here are the leading causes of a 404 error:
- Mistyped URL. Simple spelling mistakes in the URL prevent the server from finding the intended page.
- Moved or deleted page. When a website owner deletes or moves a page without setting up a proper redirect, visitors will encounter a 404 error.
- DNS issues. If the domain name isn’t correctly pointed to the server, the system will fail to locate the requested resource.
- Broken or dead links. Whether internal or external, linked content that points to a non-existent page can trigger a 404 error.
- File permissions. Incorrect file permissions can block access to specific web pages, resulting in an error.
- Corrupted .htaccess file. A misconfigured or corrupted .htaccess file can also cause 404 errors.
How to fix Error 404 not found
To resolve Error 404, start with basic troubleshooting steps, such as clearing your cache and checking the URL for typos. If you are the site owner, you may need to verify your domain’s DNS settings, adjust file permissions, or restore backup files.
1. Perform basic troubleshooting
Sometimes, a quick fix is all it takes to resolve Error 404. For visitors, we suggest trying these simple troubleshooting steps to identify whether the issue lies with your browser or device:
- Restart your browser: Close and reopen the browser to reload the page, as this can refresh the connection and resolve the problem.
- Clear cache and cookies: Clear your browser cache, cookies, and history to ensure outdated or corrupted data isn’t causing the error page to appear.
- Check for typos: Double-check the URL for spelling mistakes or missing characters that could prevent the server from locating the specific page.
- Use another device: Access the website from a different device – maybe the 404 page not found error affects only one device or session.
- Switch to incognito: Use an incognito or private browsing window, which doesn’t store cache or cookies, to see if a fresh session resolves the issue.
If the issue persists, inform the website owner or the person responsible for the site you’re trying to visit. Look for contact information on the site’s Contact Us page or footer area and let them know about the issue.
If you have a WordPress site with Hostinger, you can use our AI Troubleshooter in hPanel to automatically detect and help fix 404 errors.
2. Check domain DNS settings
When your domain isn’t correctly pointed to the hosting server, it can result in a 404 response code. DNS settings control how your domain connects to the server, and even a minor misconfiguration can make the requested domain name inaccessible.
To resolve this issue, verify that the DNS configurations are correct. If your domain and hosting are with Hostinger, the domain will automatically point to the correct hosting server.
However, if you have a hosting plan from Hostinger but your domain is from another provider, you need to make sure your DNS settings are correct.
You can find your required nameservers and IP address in hPanel and then update them at your domain provider. For detailed steps, see where to find Hostinger nameservers.
After updating, remember to wait for DNS propagation, which can take up to 24 hours.

3. Fix file permissions
File and folder permissions control who can access, edit, or run the data on your hosting account. When these settings are incorrect, the server may block access to certain pages, resulting in an error 404.
For Hostinger customers, you can easily reset your permissions to the default settings using our Fix File Ownership tool in hPanel. For detailed instructions, follow these steps on how to fix file permissions.
Important! Hostinger’s default permissions are set to 644 for files, meaning the owner can read and write, while others can only read. For folders, it’s 755, which allows the owner to read, write, and execute and others to only read and execute.
4. Disable and recreate the .htaccess file
A corrupted or misconfigured .htaccess file can cause a 404 error. This file manages URL redirections and access control, so when it breaks, it can lead to “page not found” issues.
To fix this, you can try disabling your current file. Navigate to your public_html directory via your hosting’s file manager and rename the existing file to something like .htaccess_old.
Once that’s done, you’ll need to create a new one and add the default code. You can find the correct steps and code snippets in our guide on how to locate and create a new .htaccess file.
5. Restore backup files
If some of your website pages were accidentally deleted or corrupted, restoring a backup can help recover the lost content and resolve 404 errors. This is especially helpful when external links redirect visitors to missing pages.
Hostinger users can manage this process directly from the Backups section in hPanel, where you can follow the steps to download and restore your website backup.
How to check for 404 errors on your website
It’s essential to regularly check for 404 errors to ensure your website runs smoothly and avoid frustrating visitors. Below are several methods to help identify and address these issues appropriately.
Google Search Console
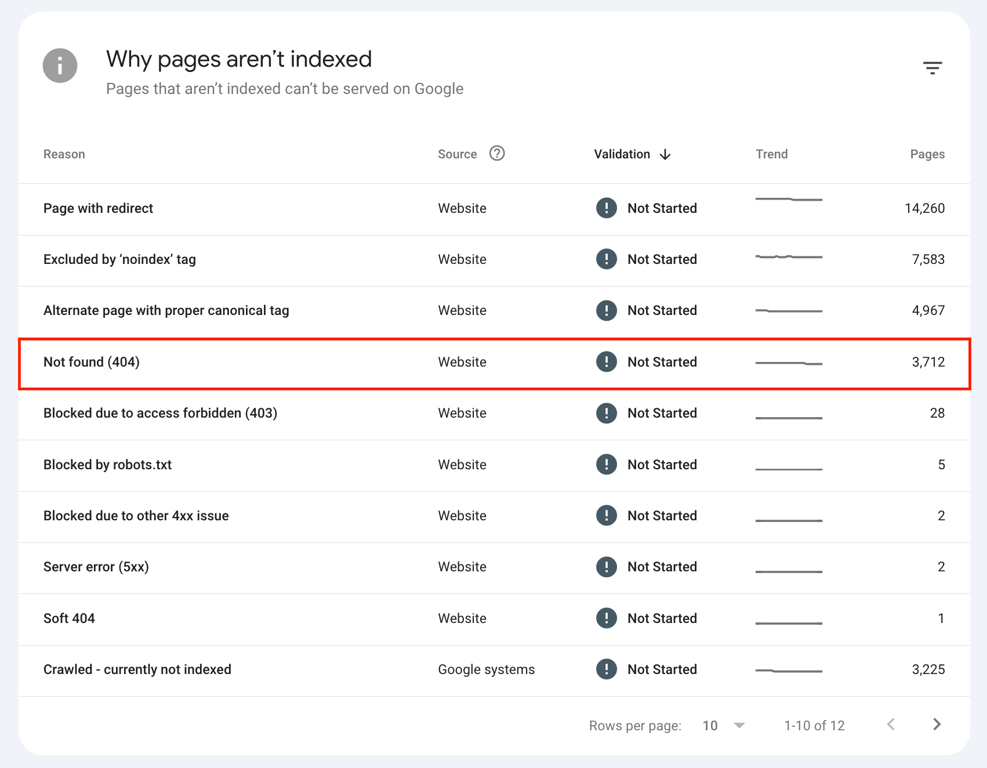
Google Search Console offers valuable features to help you monitor and maintain the health of your website. You can go to Indexing → Pages and select Not found (404) under the Why pages aren’t indexed section to see a list of pages that trigger 404 errors.
Alternatively, enter the URL you want to check into the search bar at the top. The tool will show whether the URL is indexed or returns a 404 error. After resolving the issue on your website, you can request that Google reindex the page.
Link checker tools
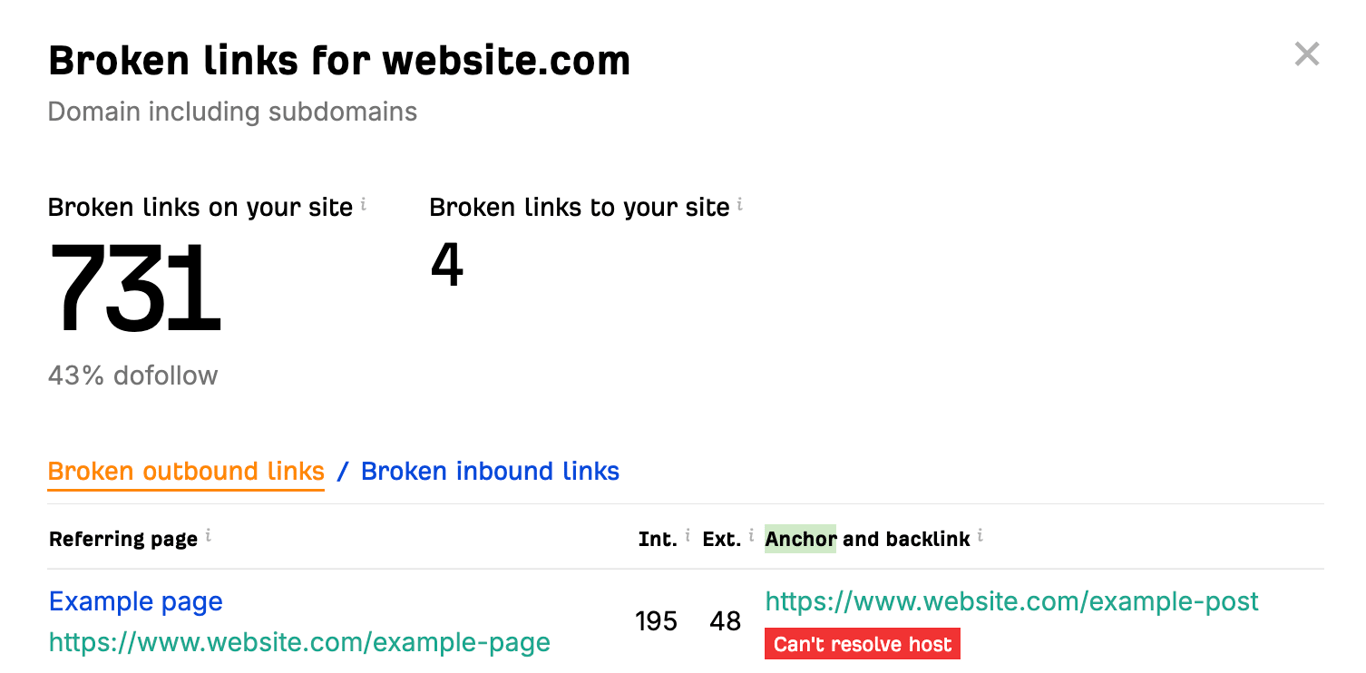
Tools like Screaming Frog and Ahrefs’ Broken Link Checker are excellent for finding 404 errors. These tools scan your domain to detect errors or broken links, allowing you to correct them before they impact user experience or search engine performance.
Manual checks
While automated tools are helpful, manual checks provide a more hands-on approach. Regularly review your website’s internal links to ensure they direct users to the correct pages.
Additionally, consider user-reported errors, as visitors may uncover 404 errors that automated scans missed or find pages that these tools haven’t scanned.
Why fixing 404 errors is crucial for SEO
Addressing 404 errors is necessary to maintain your website’s SEO performance. When users and search engine bots frequently encounter “not found” pages, it signals a poor user experience and can harm your site’s reputation and rankings.
Here’s why fixing these errors matters:
- User experience: 404 errors create a frustrating experience for your visitors. If someone clicks a link expecting information and hits a dead end, they will likely leave your site immediately. This high bounce rate indicates to search engines that your website is not helpful or well-maintained, which can negatively impact your rankings over time.
- Crawling and indexing: Search engines, such as Google, use bots to “crawl” your site and discover content to include in their search results. If these bots constantly encounter 404 errors, they waste their limited crawl budget on pages that don’t exist, instead of discovering your important, new content. This can slow down how quickly your good pages get indexed and shown in search results.
- Link equity: Backlinks, which are links from other websites to yours, are a vital SEO ranking factor because they pass authority, or link equity. If another website links to a page on your site that now shows a 404 error, all of that authority is lost. By fixing the broken link, usually with a redirect, you reclaim that value and help maintain your site’s ranking potential.
How can I prevent website errors in the future?
Fixing 404 errors is a vital first step in maintaining your website’s overall health. It keeps your visitors from getting frustrated and ensures search engines can crawl your site correctly.
But broken links are often just one piece of the puzzle. They are a key part of a much larger and necessary process: a full site audit.
A comprehensive audit is a regular check-up that helps you identify and resolve hidden issues related to SEO, security, and performance before they impact your traffic. To see what else you should be looking for, read about how to perform a site audit.
All of the tutorial content on this website is subject to Hostinger's rigorous editorial standards and values.

Ariffud is a Technical Content Writer with an educational background in Informatics. He has extensive expertise in Linux and VPS, authoring over 200 articles on server management and web development. Follow him on LinkedIn.

Simon is a dynamic Content Writer who loves helping people transform their creative ideas into thriving businesses. With extensive marketing experience, he constantly strives to connect the right message with the right audience. In his spare time, Simon enjoys long runs, nurturing his chilli plants, and hiking through forests. Follow him on LinkedIn.