To upload a custom world to your Minecraft server at Hostinger, compress your world folder into a .zip file, stop your instance, upload and extract the file in File Manager, and start the instance again.
Before you start, create your Minecraft server. See How to create and start a Minecraft Server at Hostinger for the steps.
Step 1 – Prepare your world file
First, locate your world file according to your operating system:
Windows 10
-
Press the Windows Key (Start)
-
Type in %appdata% and press enter
-
Open the .minecraft folder and then go to the saves folder
-
Find your save and drag the folder to your desktop
Mac OS
-
Click on the Spotlight button in the menu bar. It looks like a magnifying glass. Or, use the Command+Space keyboard shortcut
-
Paste ~/Library/Application Support/minecraft into the search bar
-
Open the saves folder and drag the world to your desktop
Once you have located your world folder and copied it to an accessible location, rename it to a name that will help you easily locate it, using only lowercase letters.
Then, archive or compress it into a .zip file so it can be uploaded in the next step.
Step 2- Upload your world
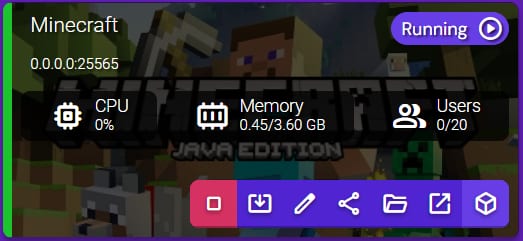
Log in to your Game Panel and stop the instance. Next, double-click the instance to Manage:
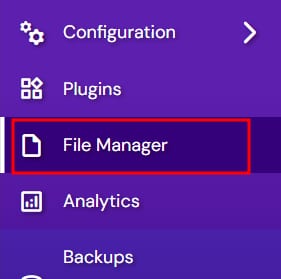
Choose File Manager from the left side menu:
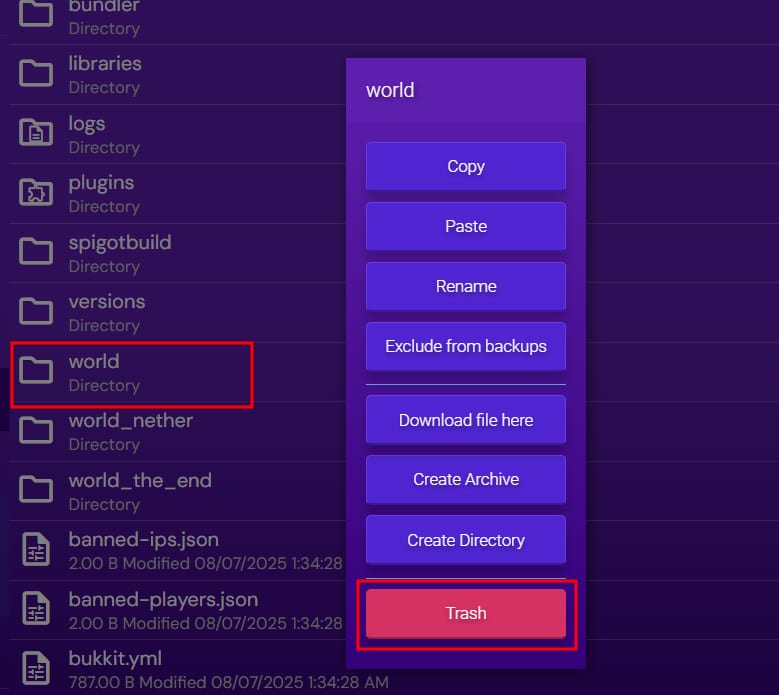
Next, right-click the current world folder and choose Trash to delete it:
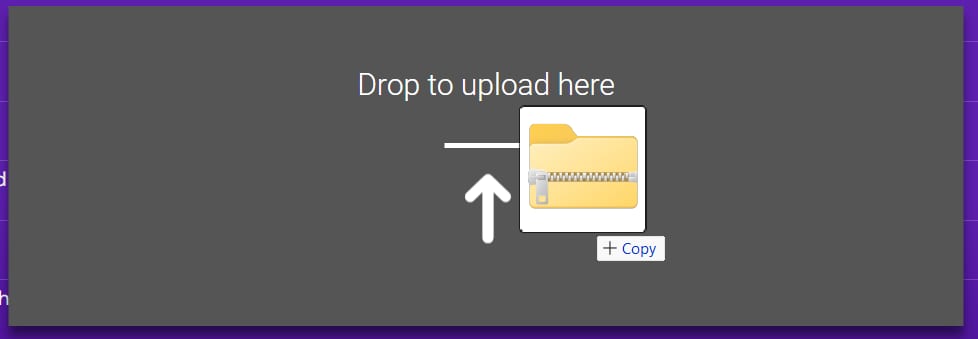
Grab your new world’s .zip file and drag it to the File Manager window:
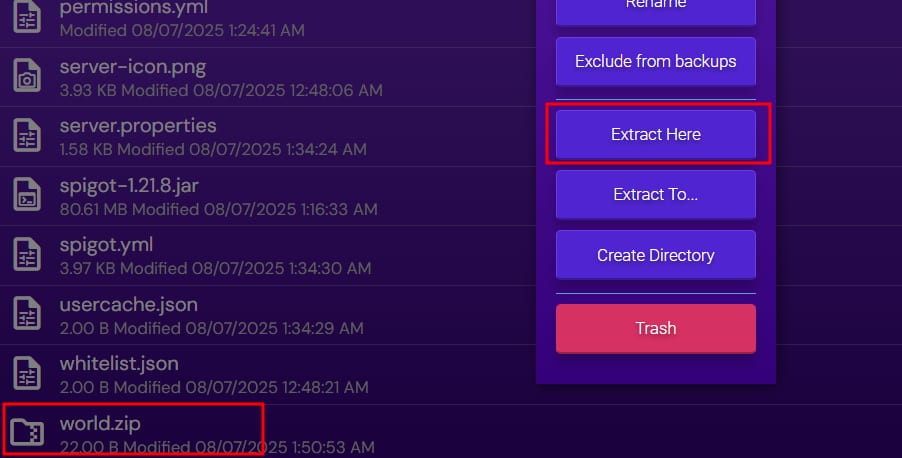
Once your world .zip file is uploaded, you’ll need to extract it by using right-click and then Extract:
Your custom world is now loaded on your Minecraft server.