To install mods on a Minecraft Java Edition server in Hostinger Game Panel, install Forge from the Server Type setting, create a mods folder in File Manager, and upload your mod files to it. You can also use Spigot, Fabric, Paper, or other loaders instead of the standard (vanilla) version.
Forge allows you to install mods and modpacks from third-party sources on your Minecraft Java Edition, such as CurseForge, 9minecraft, and others – just follow these steps.
Step 1 – Install Forge
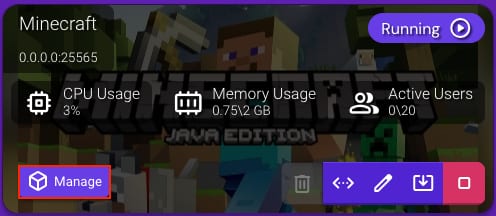
To install Forge on Game Panel, right-click on your instance and select Manage:
Choose Configuration > Minecraft, and open the Server and Startup tab. Locate the Server Type option, select the Forge version depending on the mods or modpack you want to use, and press Download / Update:
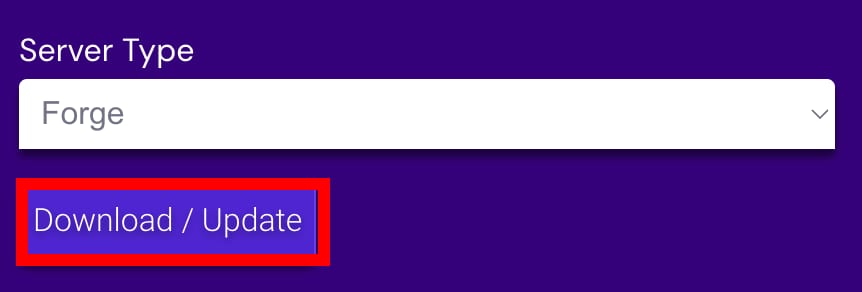
You can also use these steps to install a different mod loader for your Minecraft instance.
Step 2 – Upload the mod
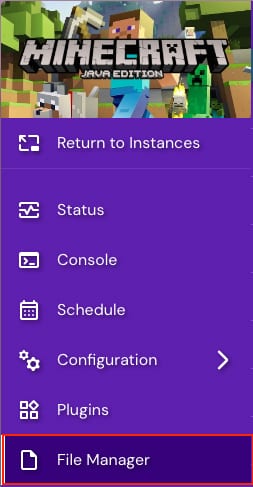
Mods in Minecraft are installed by uploading the packages in .jar or .zip format into the mods folder. As you will have Forge already installed, open File Manager:
Create a mods folder by right-clicking on any file/folder and selecting Create Directory option:
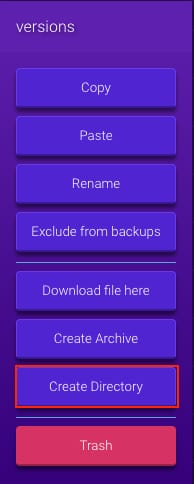
Name it mods and press OK.
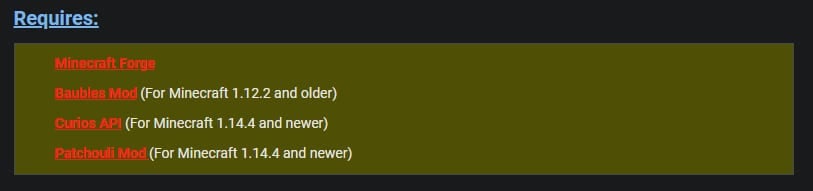
Next, download the mods/modpacks as well as all its required add-ons from the third-party source. You can refer to the mod’s source to check all the required add-ons, such as in this example from 9minecraft.net:
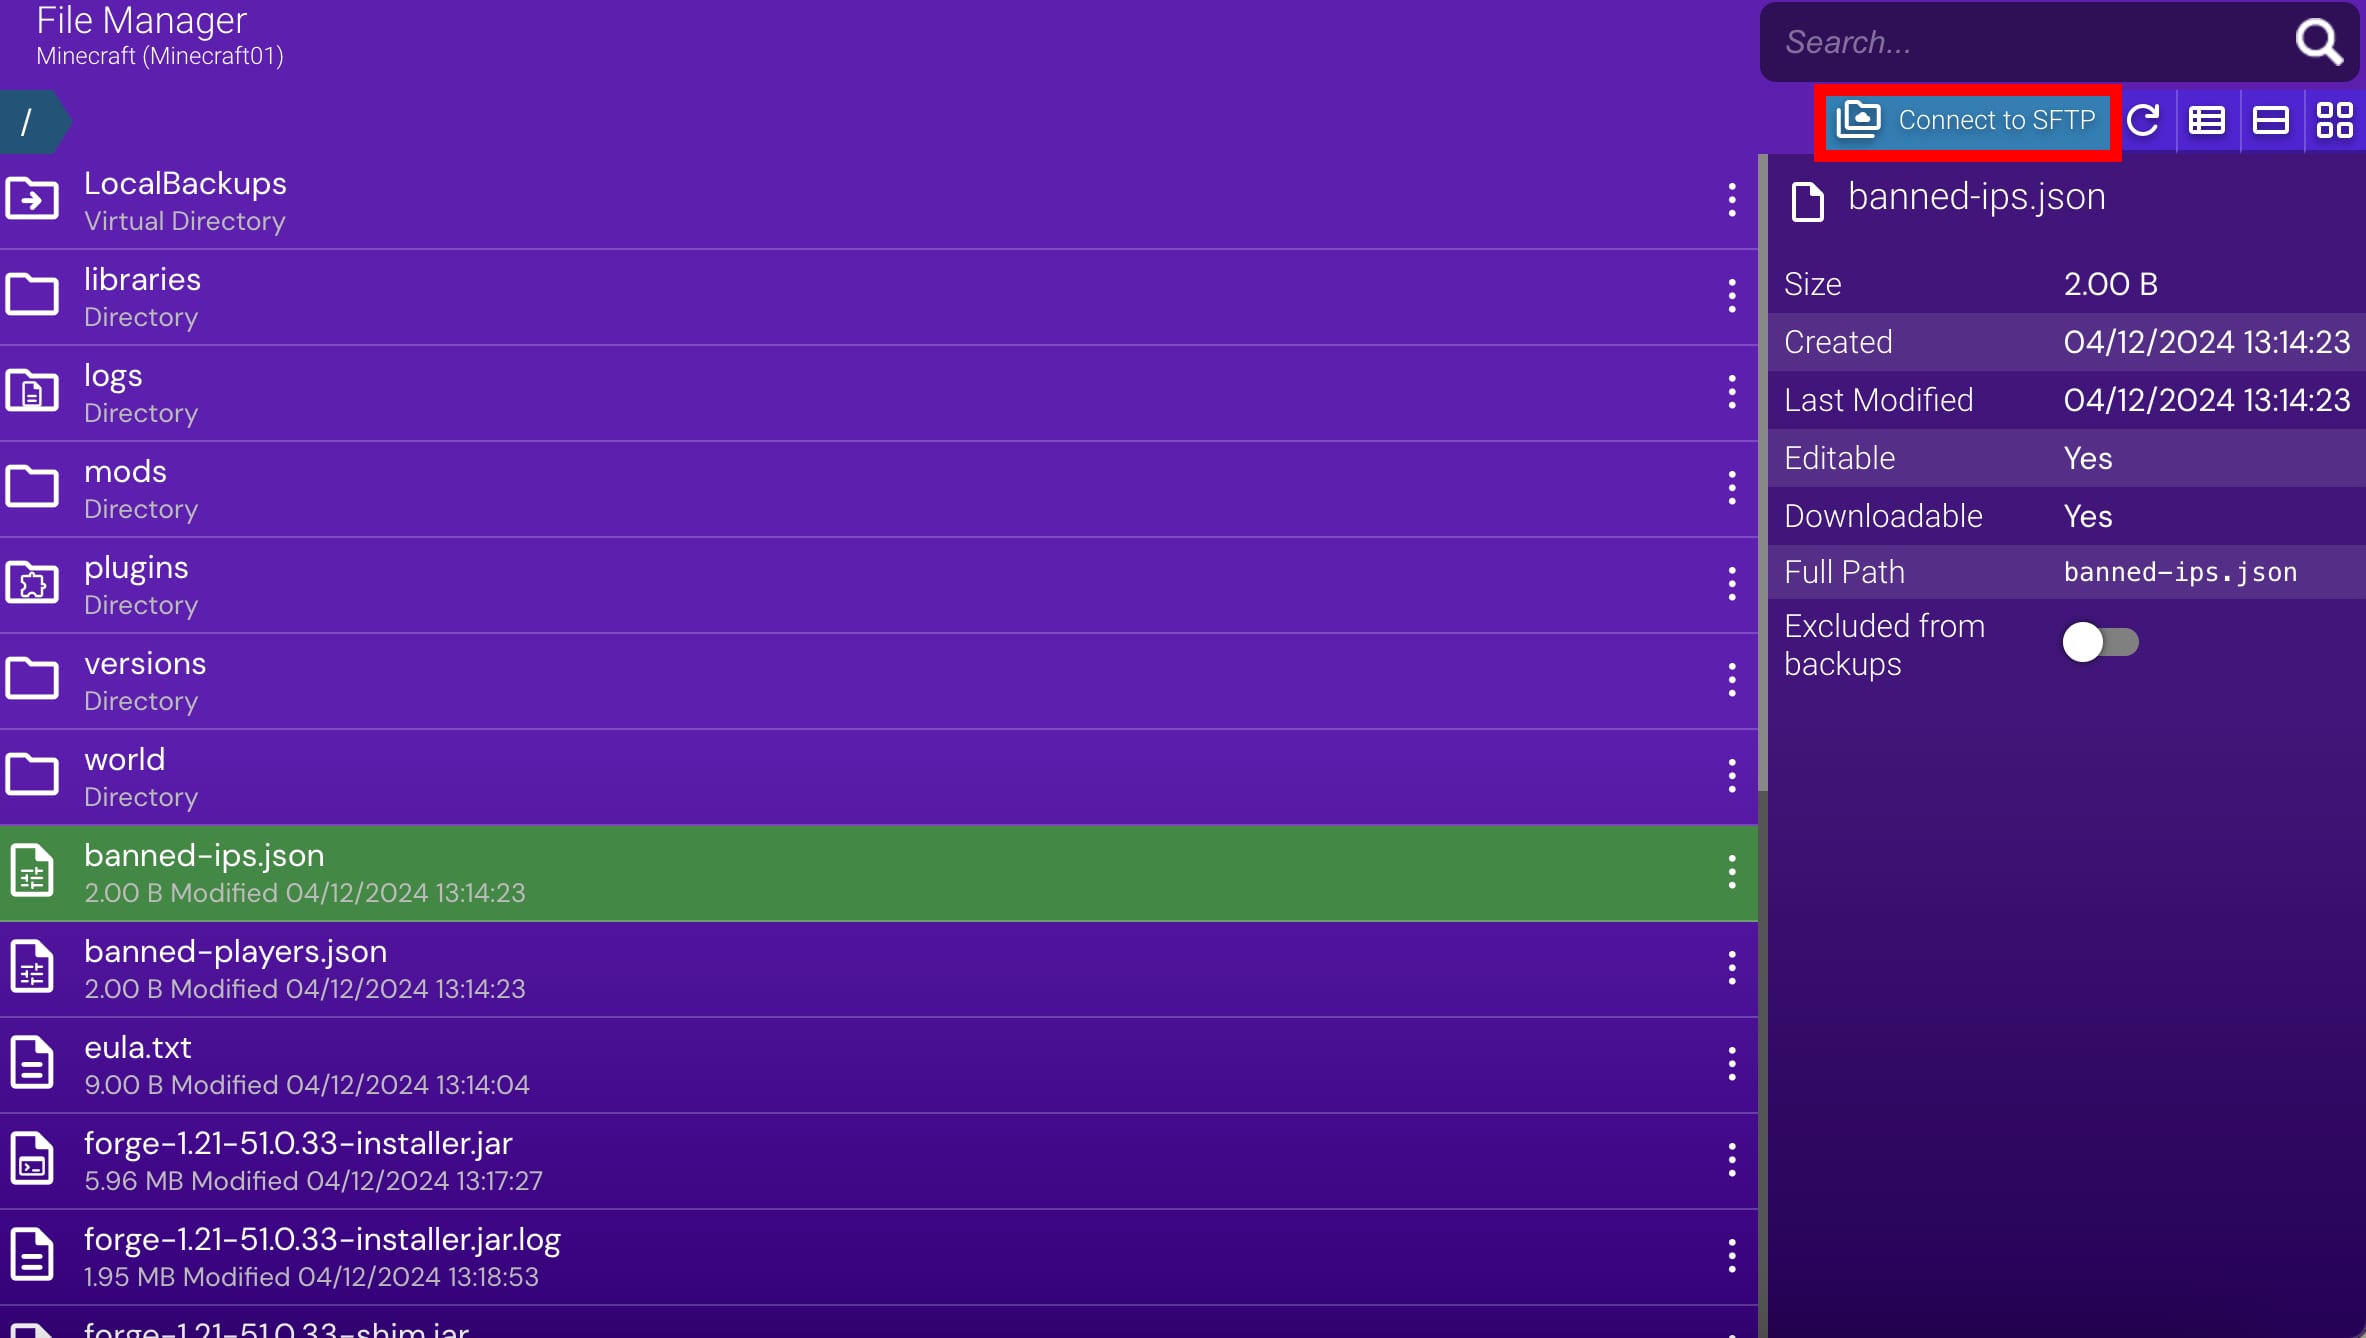
Once the mod and add-on files are downloaded to your device, upload them to your Minecraft server by dragging and dropping them into the mods folder. For faster uploads, use the SFTP option provided in the top right corner.
If there is any missing content, such as add-ons, the mod might not work
Step 3 – Install the mod
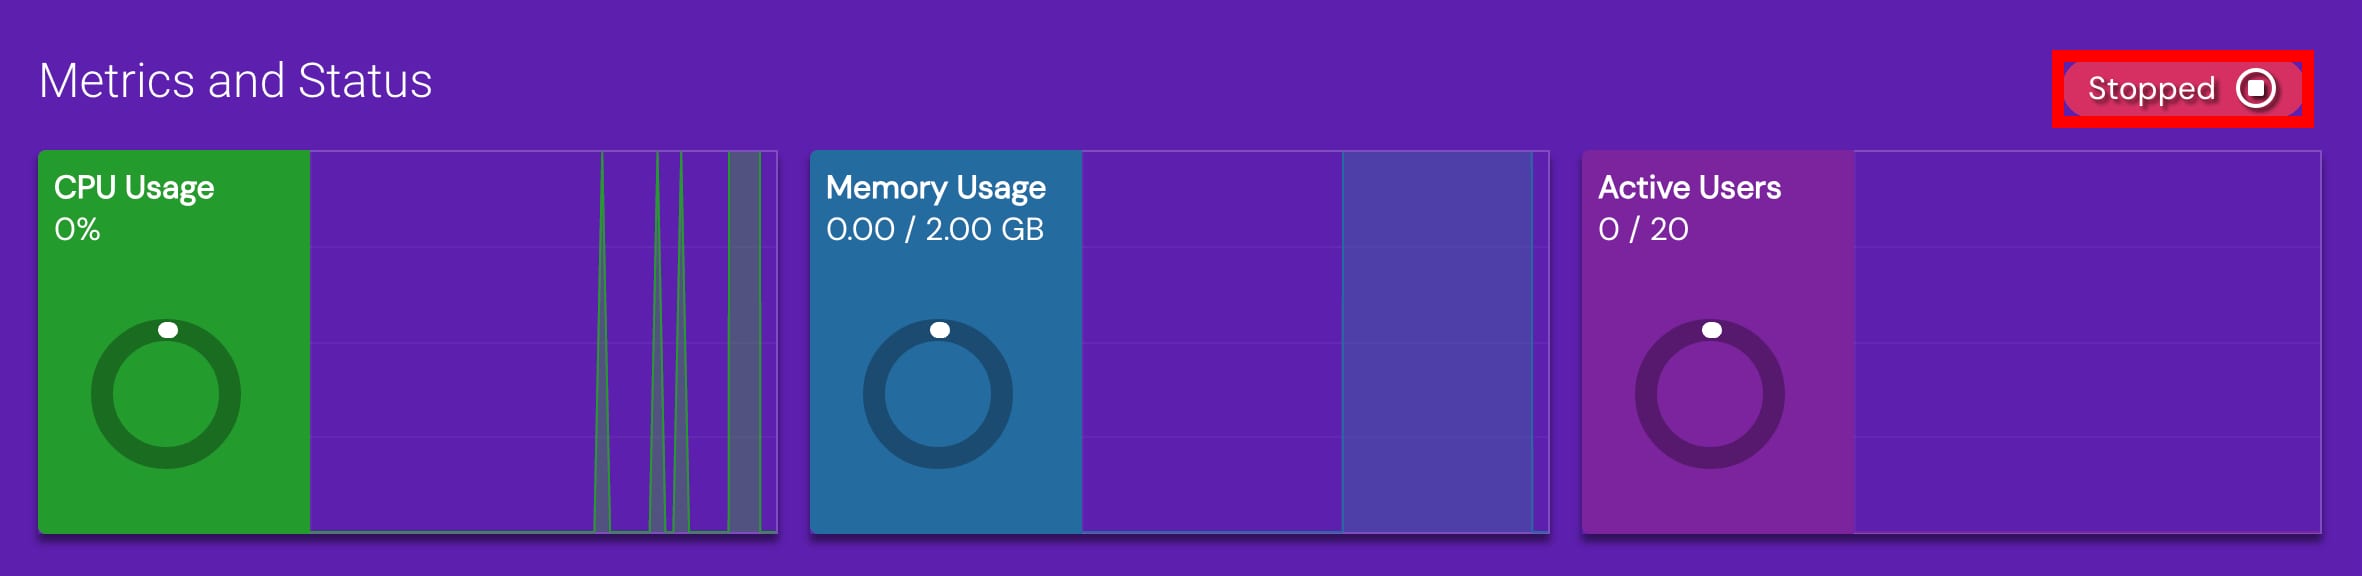
All mods need to be installed while the server is not running. To ensure this, you can open the Status section and see if the application status is shown as stopped:
If you encounter any issues when installing or using a mod, we highly recommend referring to the mod’s support forums or contacting the author.
Minecraft Bedrock Edition (Minecraft for Windows 10) does not support mods. Alternatively, you can enhance the game’s features with add-ons from the in-game Marketplace.
Your mods are now installed in the mods folder of your Minecraft server.