To upload a website to a CyberPanel VPS at Hostinger using FTP, create an FTP account in CyberPanel, connect to it with the FileZilla FTP client, and upload your files to the public_html folder using File Manager.
Step 1 – Create an FTP account
-
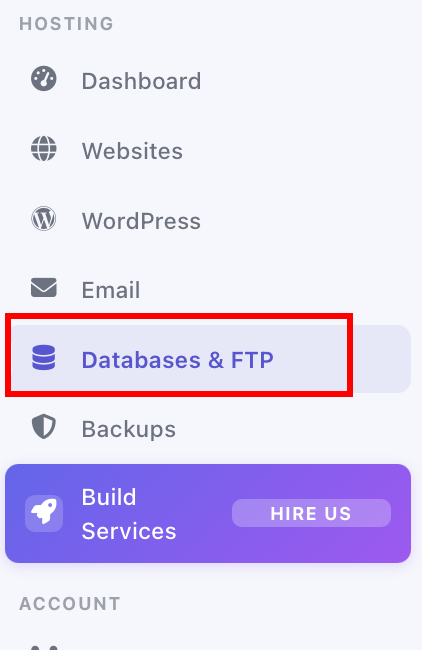
Log in to your VPS via CyberPanel, and select Databases & FTP:

-
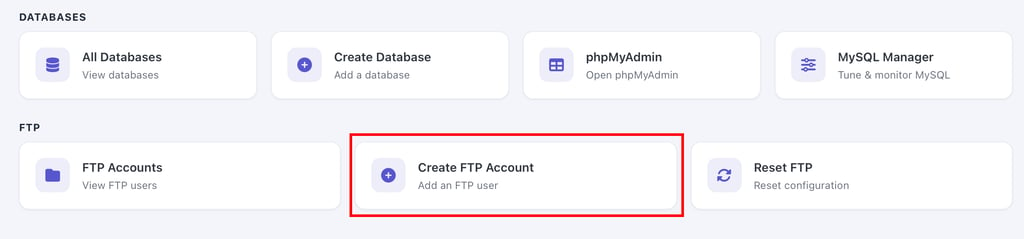
Then choose Create FTP Account:

-
Enter the account FTP details: website, username, password and path – you can leave the path empty to select the default home directory:

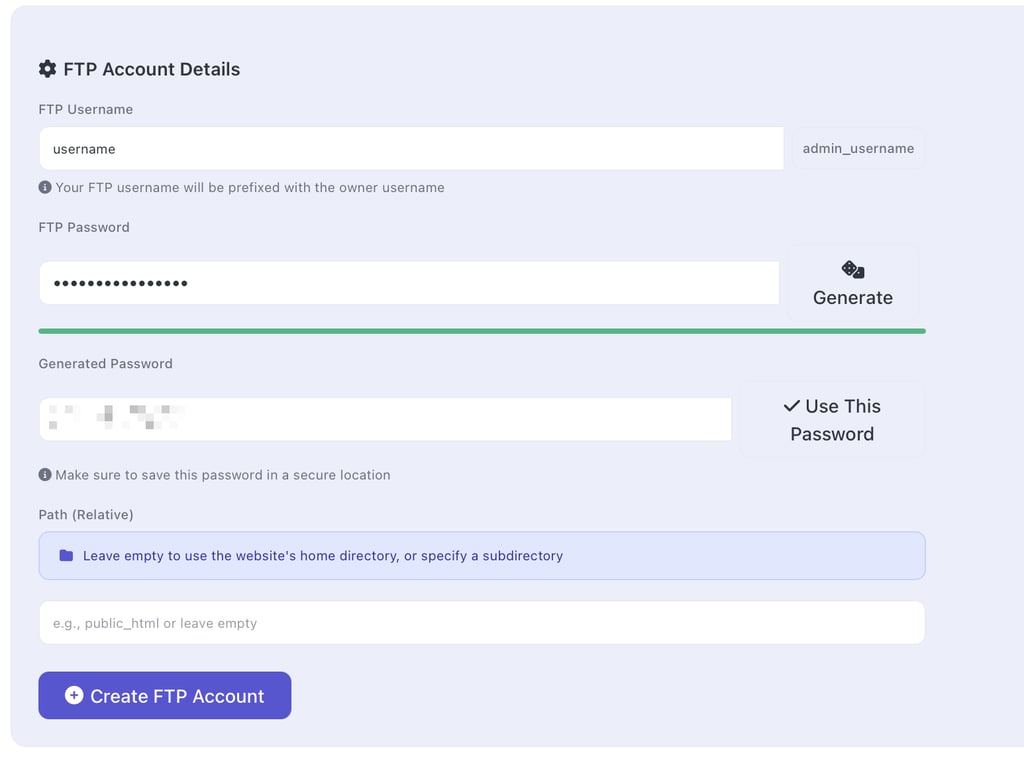
Take note of the account details, as you will need them in the next step.
Step 2 – Access your FTP account
Open FileZilla on your local device and enter your FTP account details in the top bar:

-
The username you created previously for your FTP account
-
The FTP account’s password
-
Port – 21
And click on Quickconnect. After establishing a successful connection, at the right section of the FileZilla window, open the public_html folder (or the folder where you want to upload files to):

On the left side, select the directory or files you want to upload, right-click, and select Upload:

Alternatively, you can simply drag the files from your computer straight to the public_html folder on FileZilla. The uploading process will start and you will be able to check it in real time on the FileZilla status bar:

Depending on the size of your files, it may take some time to complete. When the upload is done, your website files will be uploaded on your CyberPanel VPS.