Both PHP Composer version 1 and 2 are pre-installed in Premium Web or above plans. If you upload a project from your local or remote repository and want to run the command composer update or composer self-update, you will need to install Composer locally, that is, on your hosting. You can easily do so by following the steps below 👇
While Composer 1 is discontinued, see how to use Composer at Hostinger for how each version is used.
Install Composer locally
1. Connect to your hosting plan via SSH.
2. In your command console, be sure to go to the root folder where you are going to deploy your project. In most cases, this folder follows the path:
domains/u123456789/domain.tld/public_html/To check the path of your current location, run this command:
pwdFor more information, refer to this guide: Common SSH Commands
3. Once you are in your project folder, go here: Download Composer and find this section:
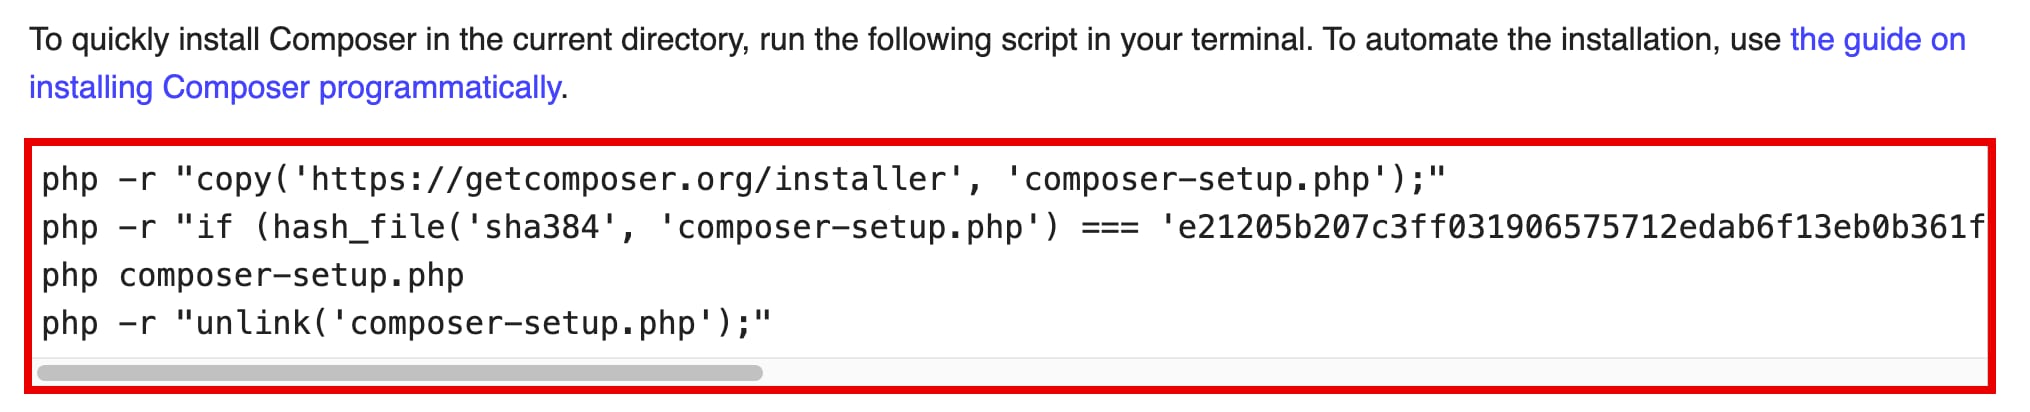
Run each command one by one to install Composer locally. Remember to run each command one by one and press enter each time. It should look something like this:
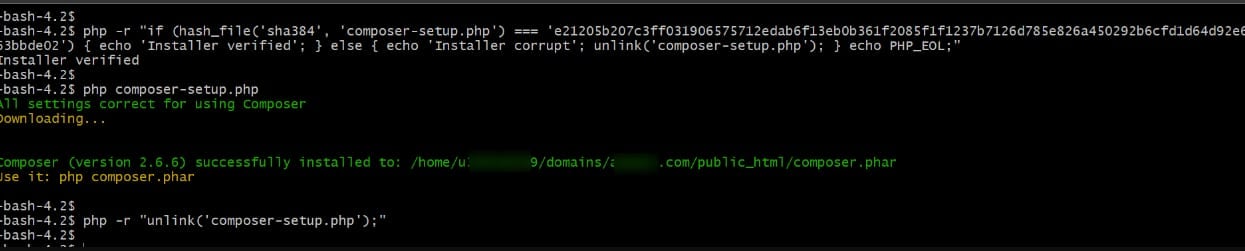
4. Run composer update for the local composer file that you have previously downloaded, that is, the composer.phar file
Make sure you are located in the folder where composer.phar and composer.json are stored (you can see the listing with the ls command), and run any of the following commands:
php ./composer.phar updateor
php ./composer.phar self-update
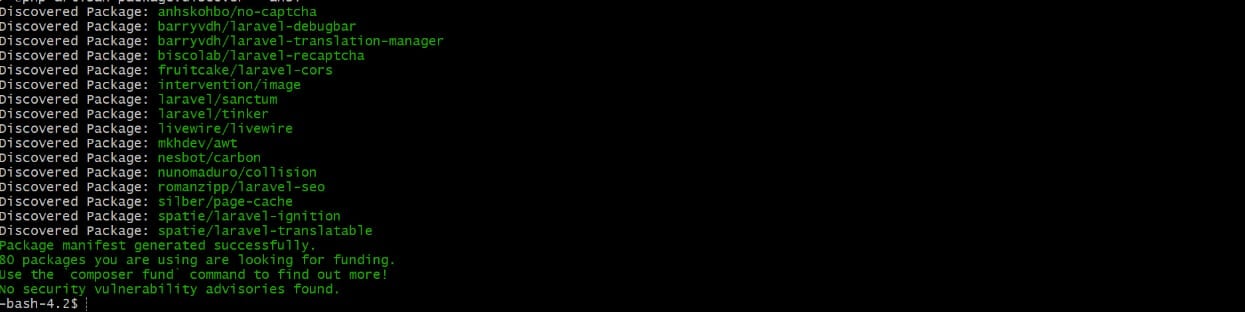
This will start the package updating process. After a few moments, if everything is correct, you will receive a result similar to this:
And that’s it! By following the above steps, you can install Composer locally and execute the installation of your project packages successfully!