What’s Coming in WordPress 6.5 – Beta Testing
Exciting news – WordPress 6.5 is just around the corner! This upcoming WordPress version is currently in beta testing and is set for release on March 26.
This update will merge Gutenberg versions 16.8 to 17.7 and hundreds of Core Trac tickets. More importantly, some of the new features will pave the way for the Gutenberg phase three project, which will allow users to collaborate in real-time within the WordPress editor.
Curious about what’s new? Keep on reading to learn more about the upcoming features of WordPress 6.5 and how to test it out before the official release.
New Features in WordPress 6.5
With the 10 versions of Gutenberg merged, there will be a lot of changes and improvements – not to mention the under-the-hood updates brought from the Core Trac tickets.
Let’s focus on the new features we can test in the WordPress 6.5 beta version.
Font Library
The font library is a long-awaited feature of the WordPress block theme ecosystem. It’s accessible in the Site Editor’s global style panel, allowing users to upload fonts or import ones from Google Fonts.
The idea of a font management interface has been around since 2022. It was kicked off with the introduction of the Web Fonts API in WordPress 6.0 – a system that lets users register new fonts via theme.json.
Its development went on until it was scheduled for release with WordPress 6.4 last year. However, the feature was delayed due to code quality concerns.
Thankfully, we’ll finally see the font library in action with WordPress 6.5.
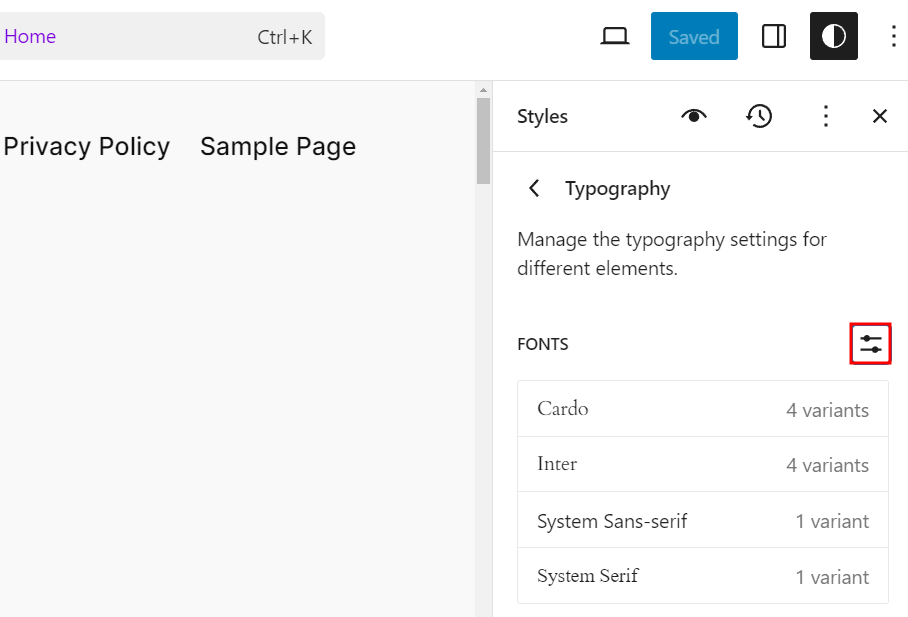
The font library interface is available on the site editor when you’re using a block theme. Navigate to Appearance → Editor and open the global styles panel by clicking its icon at the top-right corner. Then, open the Typography section and click the Manage Fonts icon.
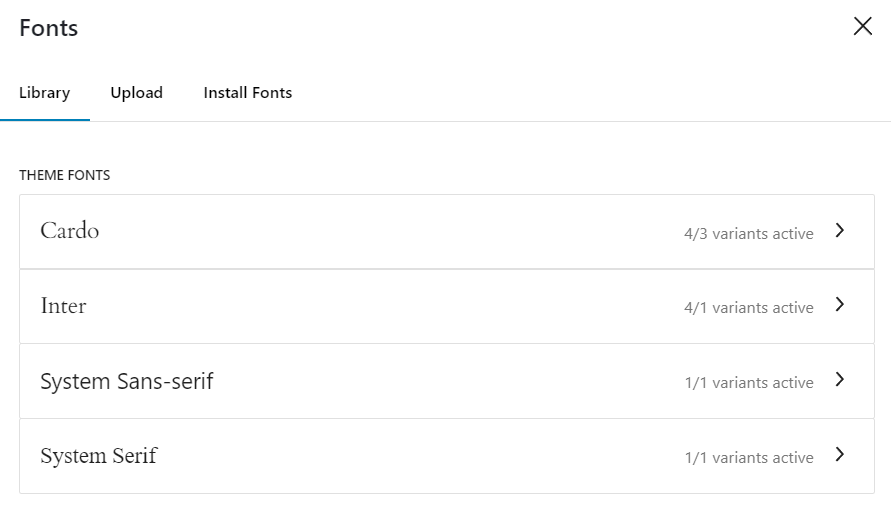
I’ll demonstrate how we can use the font library by uploading my favorite font for tech blogging – Roboto.
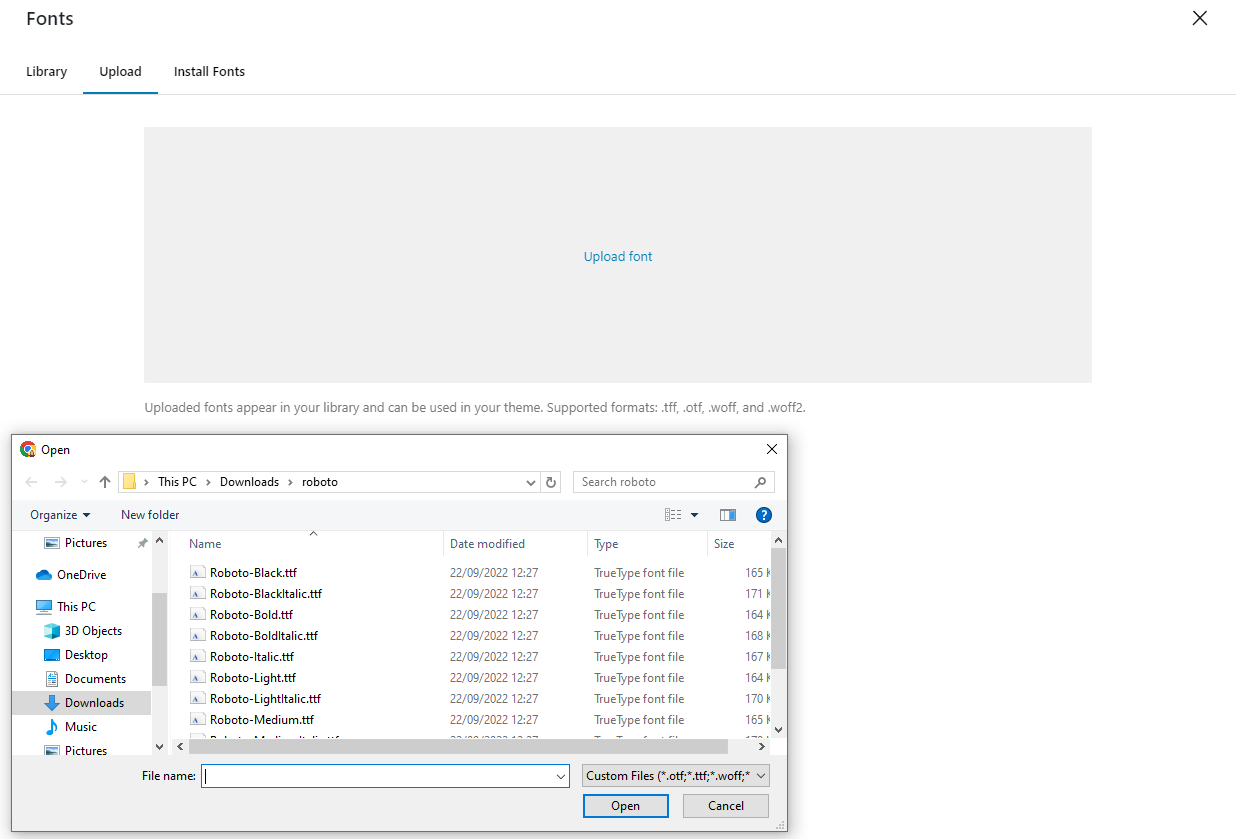
In the Upload tab, simply click the Upload font box, and the pop-up to select the file will appear. You can choose between TFF, OTF, WOFF, and WOFF2 formats.
In this case, I already have the Roboto font family in TFF format. So, I went ahead and uploaded all of them.
The new font will then appear on the Library tab. If you click it, you can select the font variants that you want for your site. You will also find the Delete button at the bottom of the interface in case you want to delete a font.

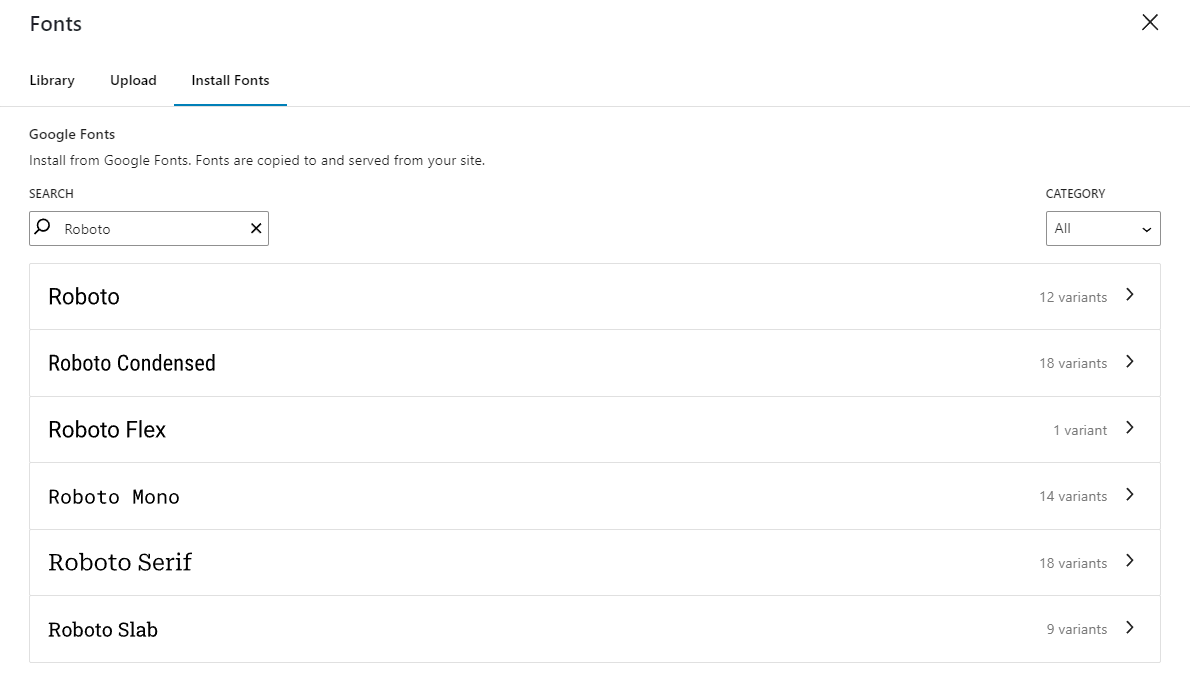
Since Roboto is a part of Google Fonts, an easier way to add it is via the Install Fonts tab. It integrates the font library with Google Fonts, so you can easily search for the font you want to install or browse a specific category to find it.
In this case, we can search for Roboto and select the variants we want to install.
Pattern Override
Important! As per March 7, 2024, the Pattern Override feature is removed from WordPress 6.5 and planned for WordPress 6.6. Read the official announcement in the Make WordPress blog post.
In WordPress 6.3, reusable blocks and patterns were merged, introducing a new way of working with patterns.
Users can create a pattern using the block editor and then choose to make it synced or unsyced. Synced patterns work the same way as reusable blocks – any changes made to a synced pattern in one place will apply globally on the website.
It’s a great feature if you have a uniform element in every post, such as a subscription form. But what if you want to edit a synced pattern without affecting the entire site? Let’s say you only want to edit the text of the subscription form for one specific post.
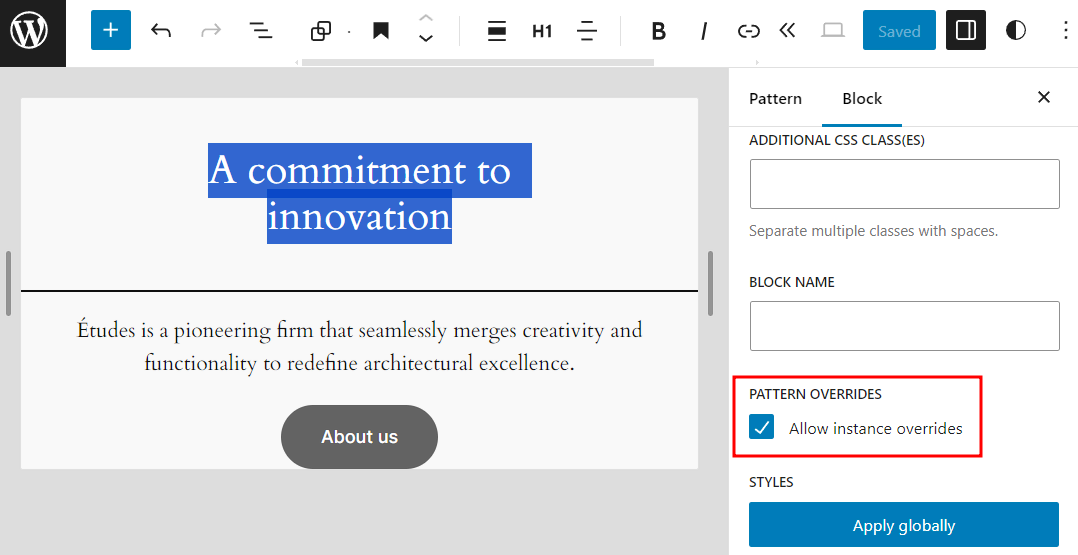
In WordPress 6.5, you’ll be able to set any block inside a pattern for override via the Allow instance overrides option. It’s available on the block settings when editing the pattern.
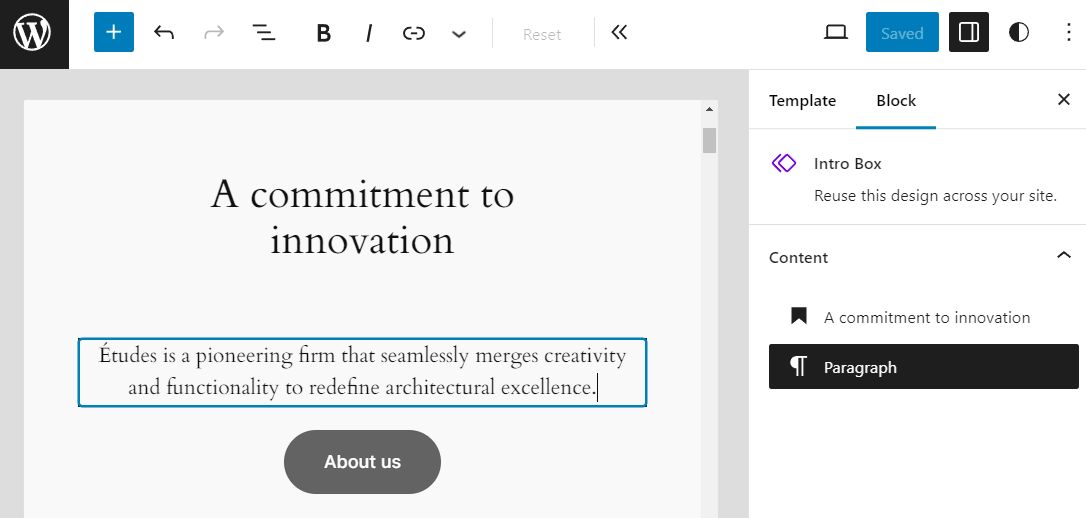
Then, when you add the pattern in the editor, the block will be available for editing. For example, This CTA pattern has a paragraph block that can be overridden. So, when we add this block in a post editor, we can change the text to suit the content of the post.
You might wonder, isn’t this similar to the “detach pattern” option?
Yes, detaching a pattern allows you to edit the content too. However, when you update the styling in the future, such as background color or typography, that detached pattern won’t be updated – you have to do it manually. The pattern override feature solves this problem.
Enhanced View for the Site Editor Library
The Site Editor also gets a major upgrade with powerful new view modes for managing pages, patterns, templates, and template parts. They offer greater flexibility and ease of use, allowing you to explore, filter, and work with your site’s components more efficiently.
Customizable Presentation
The new library presentation lets you choose from different layouts and personalize the displayed information by hiding or showing specific fields. The settings are accessible via the View options button on the top-right side of the panel.
For example, for the templates management panel, you can configure it to display the template preview, description, and author.

You can also choose between a table and a grid view.

Filtering and Sorting Items
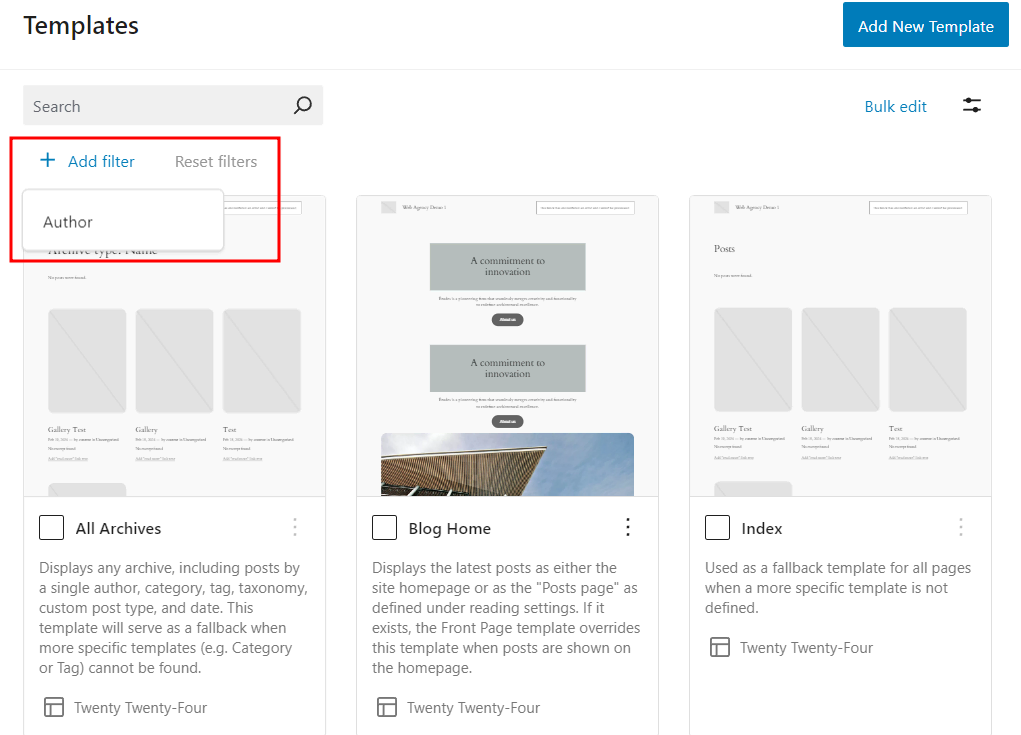
If you have multiple users, you can filter the items displayed based on the author. The Add filter setting is located under the search bar.
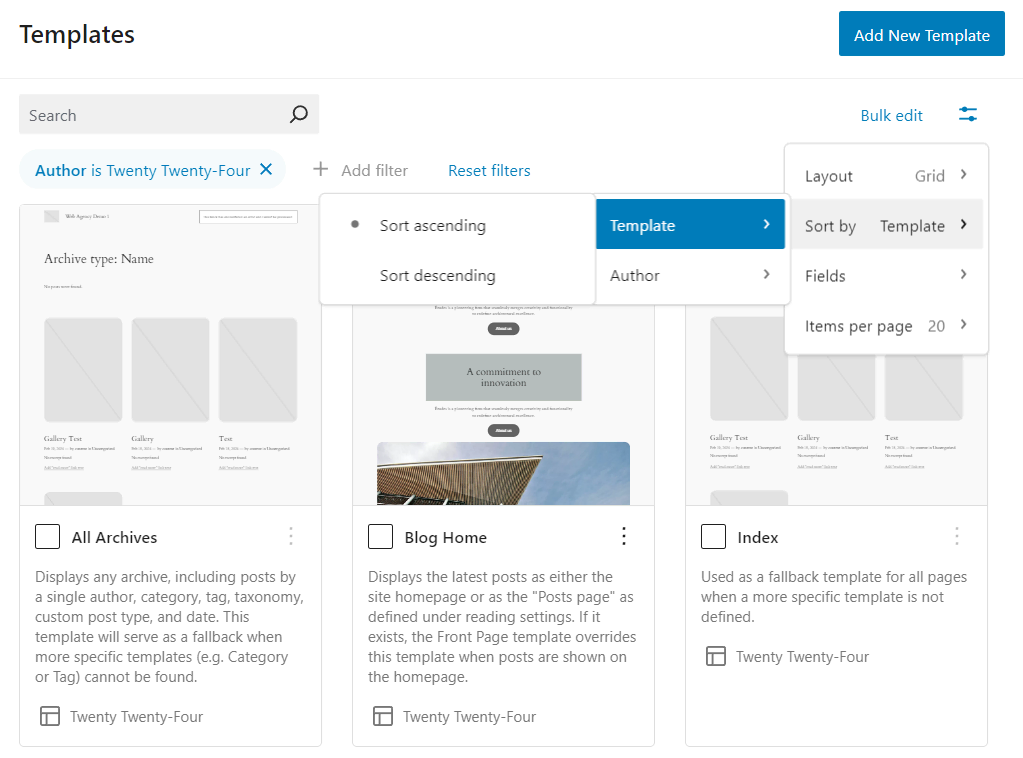
Another way of organizing the items is by sorting. In the View options settings, you’ll see the Sort by menu, in which you can sort by template names or authors.
Bulk Actions
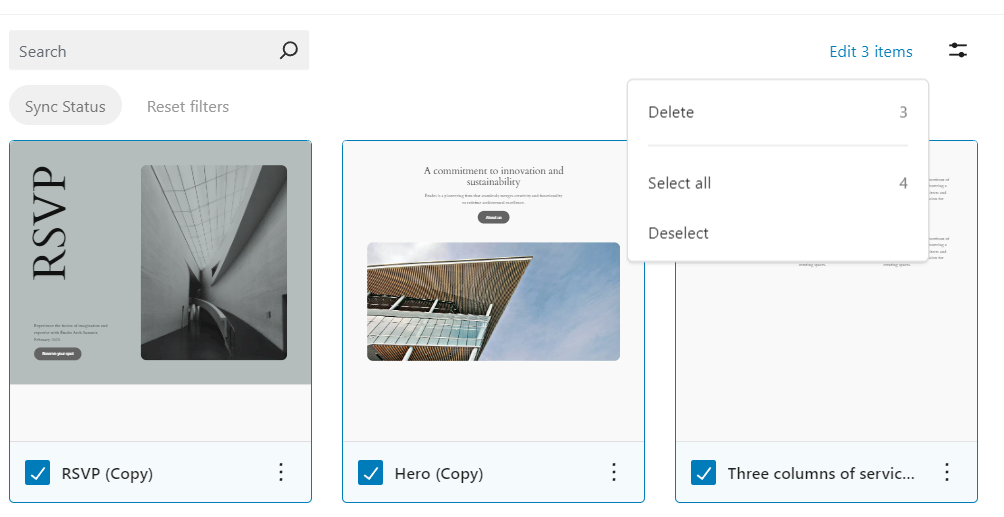
The new library also lets you select multiple items for quicker workflow. For example, in the patterns library, you can select some patterns and delete them in one go. If you’re managing template parts, you can also perform a bulk reset to revert all changes quickly.
Note that you can’t delete any locked patterns and template parts that are native to the theme.
The implementation of this feature is different depending on which library you’re in. Here are some of the details:
- Manage all templates – table and grid view modes
- Manage all template parts – table and grid view modes with bulk actions available
- Patterns – only grid layout
- Pages – table and grid view modes with bulk actions available
Appearance Tools for Classic Themes
Ever since the site editor and block themes were introduced in WordPress 5.9, the developers have been continuously working on bringing block design customization for classic theme users.
For example, we can now see similar capabilities to change a font color or modify the appearance of an image.
WordPress 6.5 will introduce appearance tools support to classic themes. If you’re not familiar with appearance tools, they include border, margin, and block spacing settings. They can come in handy when you’re editing a page and want more customization for a group of blocks.
Let’s take a look at the example below. I can add a border to a group block, which will be useful if I want to make it stand out or look separated from other content. We can also adjust the border settings to change the color, thickness, and radius.

Currently, you have to enable the support yourself by adding the following code snippet to the functions.php file:
add_theme_support( 'appearance-tools' );
Pro Tip
I highly recommend testing this feature using a child theme. If you add the code snippet directly to a theme’s functions.php file, it will be deleted after the next theme update, removing the appearance tools from the editor.
Link to the Pattern Interface for Classic Themes
Another improvement for classic theme users is the navigation link to the pattern management interface. Users can now manage the patterns by going to Appearance → Patterns.
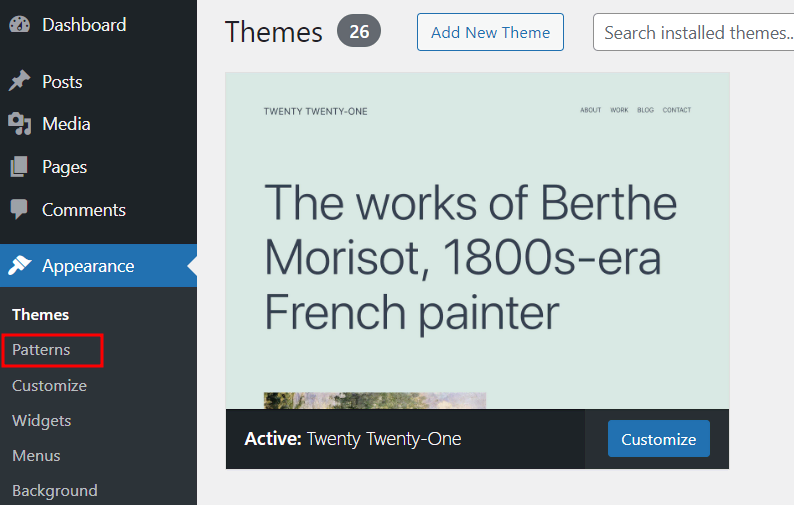
Previously, classic theme users didn’t have any front-end navigation to this panel. The only way they can open this panel is by manually entering the slug wp-admin/edit.php?post_type=wp_block into the address bar. Although this may seem like a minor addition, it can actually improve many users’ workflows.
Change the Site Icon in the General Settings
Changing the WordPress site icon is a relatively simple task to do. Nonetheless, it’s still one of the most asked questions by WordPress beginners. Block theme users can do it by using the site icon block, while classic theme users can use the WordPress customizer tool.
WordPress 6.5 will ship with an easier way to add the site icon by going to Settings → General.
Gallery Randomization
Do you want to add some fun to your WordPress site? You can now add a randomized gallery by using a shortcode. This means every time a visitor reloads the page, the images will appear in a different order.
To do this, upload the images to the media library and take note of each image’s media ID. Then, add the media IDs to the following shortcode:
gallery ids="1,2,3,4" orderby="rand"
Once the shortcode is ready with the correct media IDs, paste it into the block editor. It should automatically transform into a gallery block with the random order setting enabled.
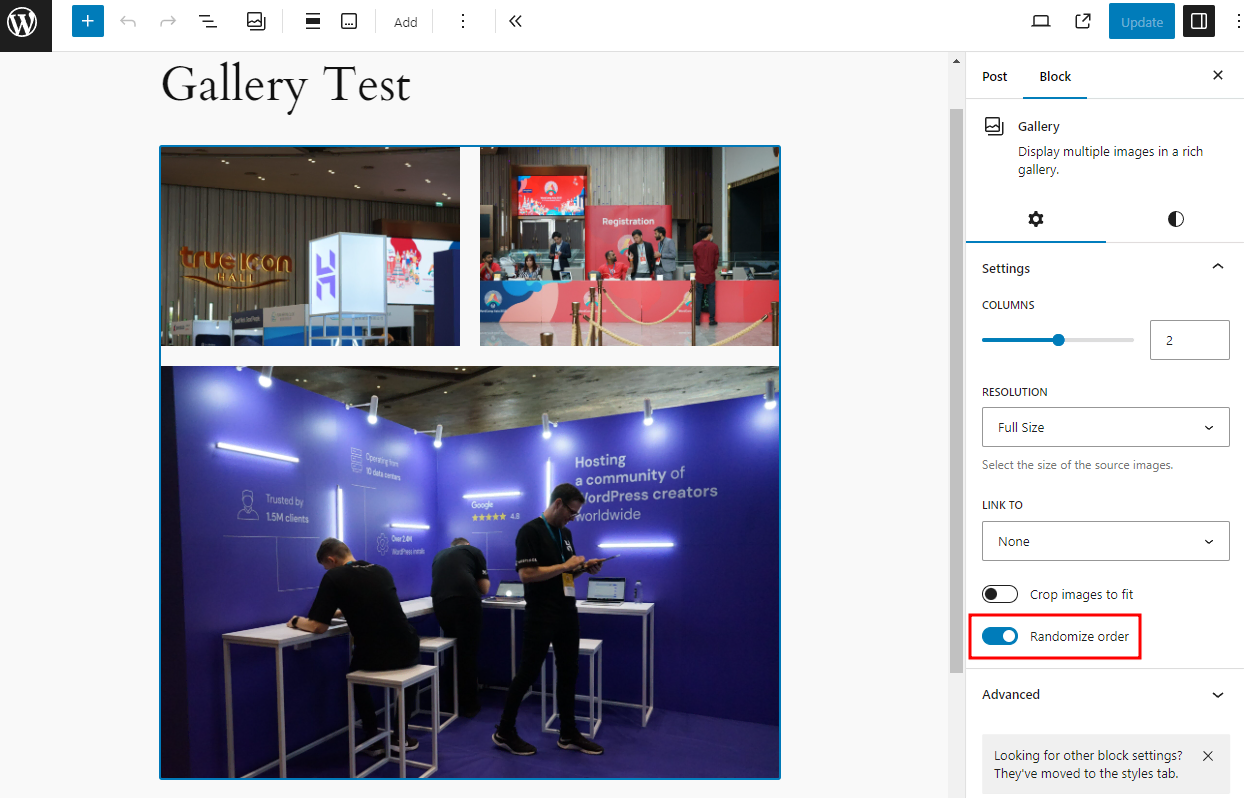
Save the changes and open the post on the website to check whether the image order changes every time you refresh the page.
Pro Tip
When pasting the shortcode to the editor, be sure to use “Paste as plain text”. Otherwise, the shortcode won’t be parsed and transformed into a gallery block.
Interactivity API
The WordPress Interactivity API is a new way to add interactions between blocks on the front end. For example, users can now add items to a shopping cart and favorite a post without reloading, making the experience more responsive.
This API has been developed for quite a while, and some of its features can be felt in the loadless query loop pagination introduced in WordPress 6.4. However, the API was still in the developmental and experimental phase at that point.
WordPress 6.5 will bring the API to the public, allowing developers and enterprises to incorporate it into their themes, blocks, and websites.
There are two main components of the Interactivity API. The first is directives – special attributes added to HTML elements within your block’s markup. They define specific behaviors for those elements, allowing them to respond to user interactions or other events.
Here are some common directives:
- wp-interactive. Activates the interactivity for the element and its children.
- wp-context. Provides a local state for the element and its children.
- wp-bind. Sets HTML attributes based on the state or context values.
- wp-class and wp-style. Dynamically adds classes or styles.
- wp-text. Sets the text content of an element.
- wp-on. Attaches event listeners like click or keyup.
- wp-watch, wp-init, and wp-run. Execute callbacks in response to various triggers.
The second component is store – the central hub that manages everything happening within the block. It acts like a control center, keeping track of three key aspects:
- State. This is the data that dictates how the block behaves and looks. Think of it as the block’s brain, holding all the information it needs to function.
- Actions. These can modify the state of the block or perform other tasks whenever a user interacts with it.
- Side effects. Whenever the state changes, these functions spring into action, updating the block’s appearance on the screen or making API calls.
To read more about markups for the Interactivity API, refer to the API reference in the Gutenberg repository.
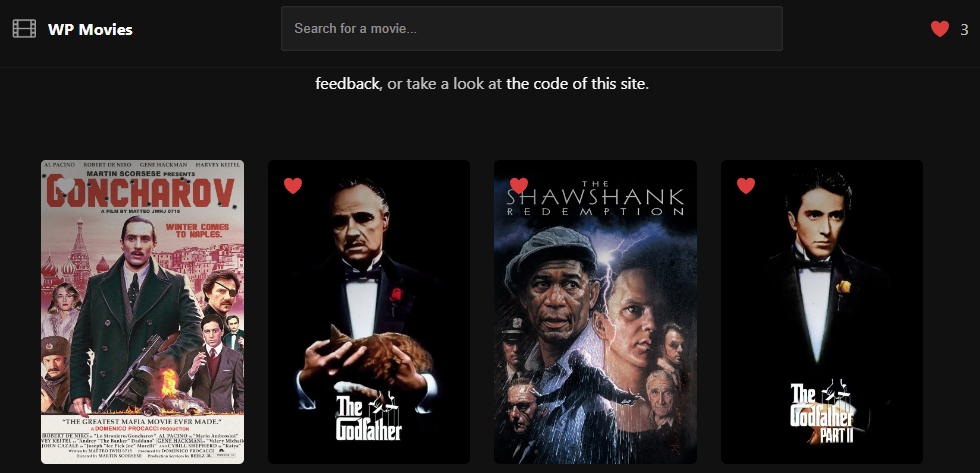
The developers have created a demo site to demonstrate one of the interactive block features. The website lists a number of movies with a clickable heart icon on each item. If you click it, the counter at the top-right corner of the site will increase without having to reload the page.
How to Test the WordPress 6.5 Beta Version
It’s important to do the testing in a safe environment, so I recommend setting up a test site or staging site.
Once your staging site is ready, install the WordPress Beta Tester plugin and configure it to use the Bleeding Edge channel and Beta/RC Only stream. Then, update your test site to the WordPress 6.5 beta version and start exploring.
During testing, make sure to try the new features and see if they work properly. For example, check whether the pattern override works seamlessly with your custom theme or if the appearance tools work with your classic theme.
If you find any bugs or have suggestions, submit a ticket in the WordPress Core Trac for a core-related issue or the Gutenberg GitHub repository if it relates to the block editor.

Leo is a Content SEO Specialist and WordPress contributor. Armed with his experience as a WordPress Release Co-Lead and Documentation Team Representative, he loves sharing his knowledge to help people build successful websites. Follow him on LinkedIn.