Most Popular Tutorials
New to Hostinger Tutorials? Start with our most-viewed guides and resources.

19 best website design examples for inspiration in 2026
A well-designed website can captivate visitors, convey your brand’s message, and establish credibility. It also improves the user journey,...

What is VPS (virtual private server) hosting?
VPS (virtual private server) hosting is a service that provides users with virtual machines running on a physical server, each ...

How to fix the DNS_PROBE_FINISHED_NXDOMAIN error
The DNS_PROBE_FINISHED_NXDOMAIN error appears when your browser can’t find a website’s IP address. In simple terms, the domain name...
WordPress
Whether you’re an expert or beginner, we have the latest updates, tutorials, and tips for your WordPress projects.

How to speed up a WordPress website: 12 performance optimization methods
Search engines like Google consider page speed a ranking factor as it affects the overall user experience. WordPress offers various ...

What is a WordPress plugin: A comprehensive guide for beginners
WordPress plugins are a crucial aspect of building WordPress websites as they allow users to add additional features without touching ...

How to improve WordPress security: 22 methods to protect your website
WordPress is the most popular content management system (CMS), with 43.2% of all websites running on its software. Unfortunately, its ...
Weekly Editor's Pick
Every week, our editors curate the best content for you to build success online.

Hytale server requirements: Minimum and recommended specs for 2026
Hytale server requirements are relatively modest for small player counts, but scale quickly as more players join and worlds grow. ...
8 best Hytale server hosting providers: Top features and pricing
The best Hytale server hosting providers deliver low latency and high-performance hardware to handle the game’s procedurally generated...
What is vibe coding? How does it work?
Vibe coding is a growing trend where developers use large language models (LLMs) to generate functional code by simply describing ...
Websites
Need a hand with a website? Our guides can walk you through all the processes, from choosing a hosting plan to optimizing site performance.

Website maintenance cost: Hiring a professional vs self-maintenance
Website maintenance costs typically range from $5 to $5,000 per month.This wide range depends heavily on your site’s complexity, size, ...

How to buy a domain name in 5 steps
Buying a domain means registering the rights to use a web address, such as yourname.com, for a set period. The ...
All Hostinger Tutorials
Learn more about web hosting, VPS, domain names, SSL, and more with our newest releases.

200+ Print on demand business name ideas
A strong print-on-demand business name helps attract the right customers, reflects what your store sells, and makes the brand easier ...

Hermes Agent vs. OpenClaw: Key differences compared
Hermes Agent and OpenClaw are both self-hosted AI agents. That means they can run tasks on your own server instead ...
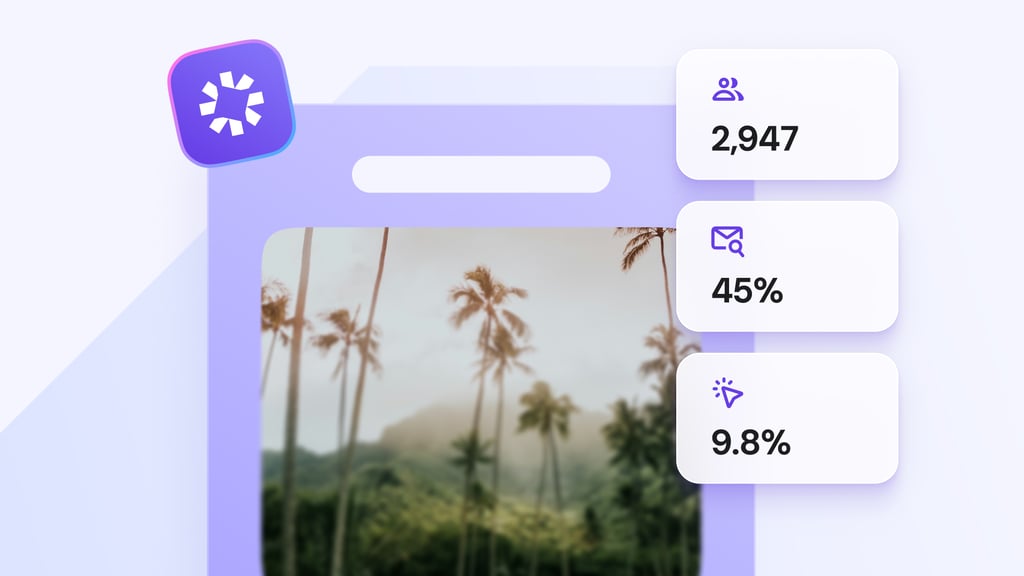
8 ways to use AI for email marketing
AI for email marketing uses machine learning and behavioral data to automate decisions that marketers previously had to make manually ...

Hermes Agent cost: Real monthly pricing and breakdown 2026
Hermes Agent costs $5 to $80 per month to run, depending on the language model you use for reasoning.The software ...

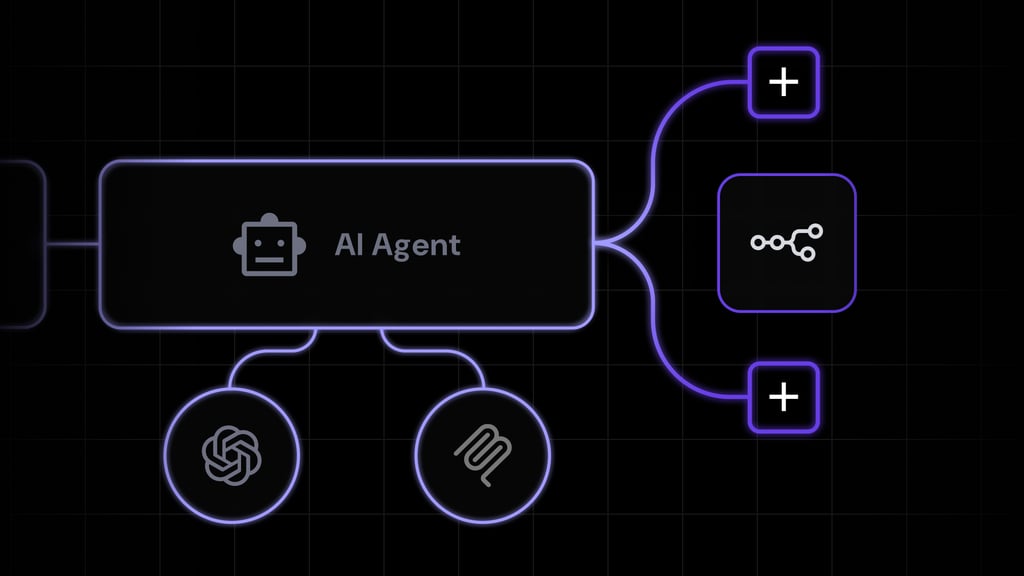
8 best OpenClaw alternatives to run your personal AI agent
The best OpenClaw alternatives include NanoClaw, Hermes Agent, ZeroClaw, Nanobot, TrustClaw, Sai by Simular, Manus AI, and Kimi Claw. Each ...
What are Hermes Agent skills and their key components
Hermes Agent skills are reusable capability packages that teach the agent how to perform specific tasks across coding, research, productivity, ...
What is Hermes Agent security? How to configure Hermes Agent security?
Hermes Agent security is a defense-in-depth security model that combines authorization controls, command approval workflows, sandboxing, credential...

Best hosting for Codex-generated apps: Top platforms compared
OpenAI Codex relaunched in May 2025 as an autonomous coding agent available through ChatGPT subscriptions. It’s a task-based AI that ...
How to set up Hermes Workspace
Hermes Workspace is an open-source web UI for Hermes Agent, a self-improving AI agent from Nous Research.It brings the agent’s ...
Email automation for small business: Tools, examples, and benefits
Email automation lets small businesses send, sort, respond to, and manage emails with less manual work. In simple terms, it ...
12 Codex app use cases
The Codex app helps you plan, write, review, debug, refactor, and ship code with AI agents. It gives you one ...

What is a business email? Definition, examples, and benefits
A business email address refers to an account set up with your company’s domain, such as jamie@yourcompany.com. It’s run centrally ...

How to monitor VPS performance
To monitor VPS performance, regularly check CPU usage, RAM consumption, disk space, disk inodes, network traffic, running processes, and uptime.If ...
20 internal newsletter examples for employee communication
An internal newsletter is a recurring company email that gives employees updates, priorities, people news, and required actions. The right ...
What is Preact and how it works
Preact is a lightweight alternative to React that delivers the same modern development features, including JSX and hooks, while using ...
16 real estate newsletter examples for agents and brokers
A real estate newsletter is a recurring email sent by agents and brokers to share property updates, local market insights, ...
Business email examples: Templates and formats for professional communication
A good business email usually follows the same structure: a specific subject line, a short message, a clear next step, ...

15 email automation examples for better engagement and conversions
Email automation lets you send the right email at the right time without writing every message by hand.You create the ...
Yoga studio website: examples, pages, and setup tips
A yoga studio website template helps studios present classes, instructors, schedules, pricing, and booking options in one calm, professional website. ...
10 best Laravel alternatives for web app development
Developers compare Laravel alternatives when choosing a framework for web apps, APIs, migrations, or enterprise platforms. Programming language,...

What is email deliverability
Email deliverability measures how reliably your emails reach subscribers’ inboxes instead of spam folders. It directly affects open rates,...

How to create a landing page with ChatGPT
ChatGPT can help you build a landing page in several ways: generating code from scratch, writing conversion-focused copy, or powering ...