How to use Node.js with Docker
Sep 08, 2025
/
Dominykas J. & Ariffud M.
/
7 min Read
Using Node.js with Docker lets you build fast, scalable applications and deploy them in secure, lightweight containers.
This combination provides significant benefits, such as portability – so your app runs the same way everywhere – and consistency across development and production environments.
Containerizing your app also optimizes resource usage and streamlines your deployment process.
Scroll down, and we’ll guide you through setting up a Node.js application in Docker from scratch. You’ll also learn how to containerize an existing project, test your containerized app, and follow best practices for a production-ready setup.
Download free docker cheat sheet
Prerequisites for using Node.js with Docker
Before you begin, make sure you have the following:
- Virtual private server (VPS). While you can follow this guide on your personal machine, you’ll need a VPS to host your app in production. Hostinger’s KVM 2 plan is a great starting point for small-to-medium projects, offering 2 vCPU cores, 8 GB of RAM, and 100 GB of NVMe storage for $8.99/month.
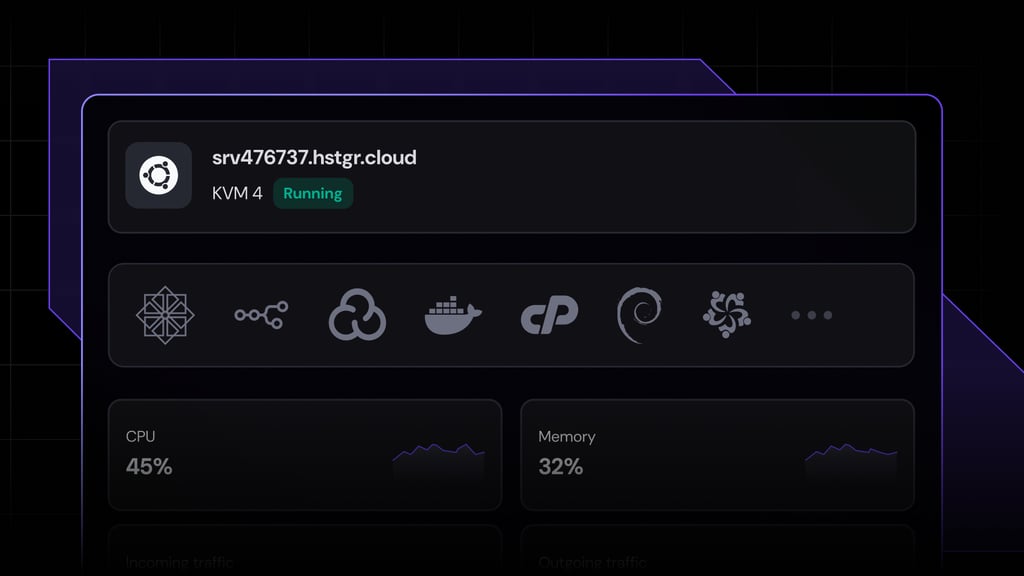
- Docker running on your system. Hostinger customers can install Docker on their VPS with just a few clicks using our preconfigured template.
- Node.js installed and configured. If you haven’t done so already, follow our guide to install Node.js and NPM on your Ubuntu server.
- Basic knowledge of Docker commands. Familiarity with commands like docker build and docker run will be helpful, as you’ll frequently execute them in the terminal.
💡 Pro tip
Hostinger offers premade templates for both Docker and Node.js, but you can only install one template at a time. We suggest setting up Docker first using the template, then manually installing Node.js with commands, as the latter has a simpler setup process.

Setting up a Node.js app in Docker
To create a simple Node.js Docker container, follow these steps. You’ll start by selecting a base image and finish by running your first containerized app.
1. Choosing the right Node.js Docker image
First, select a base image for your container. The official Node.js Docker image provides several prebuilt options optimized for different needs.
The main types include:
- Full images. Larger images that include many tools and libraries, making them useful for development and debugging. Example: node:24.
- Slim images. Lighter than full images, containing only the essential components needed to run Node.js. Example: node:24-slim.
- Alpine images. Extremely lightweight images based on Alpine Linux. Their small size reduces the attack surface, making them the best Docker image for Node.js in production. Example: node:24-alpine.
For production, we recommend using Alpine images to keep your containers small, fast, and secure.
2. Creating a basic Node.js application
Next, create a basic Node.js app. Open your terminal and connect to your VPS using SSH:
ssh root@your_vps_ip
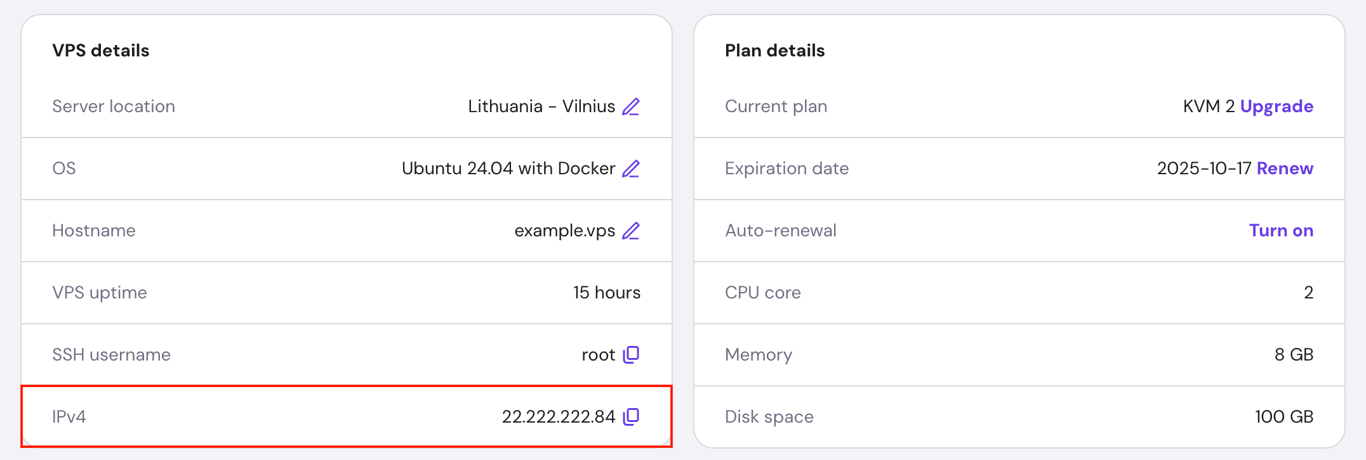
Hostinger VPS users can find their server’s IP address in hPanel → VPS → Manage → Overview → VPS details.
After logging in, create a new project directory and navigate into it:
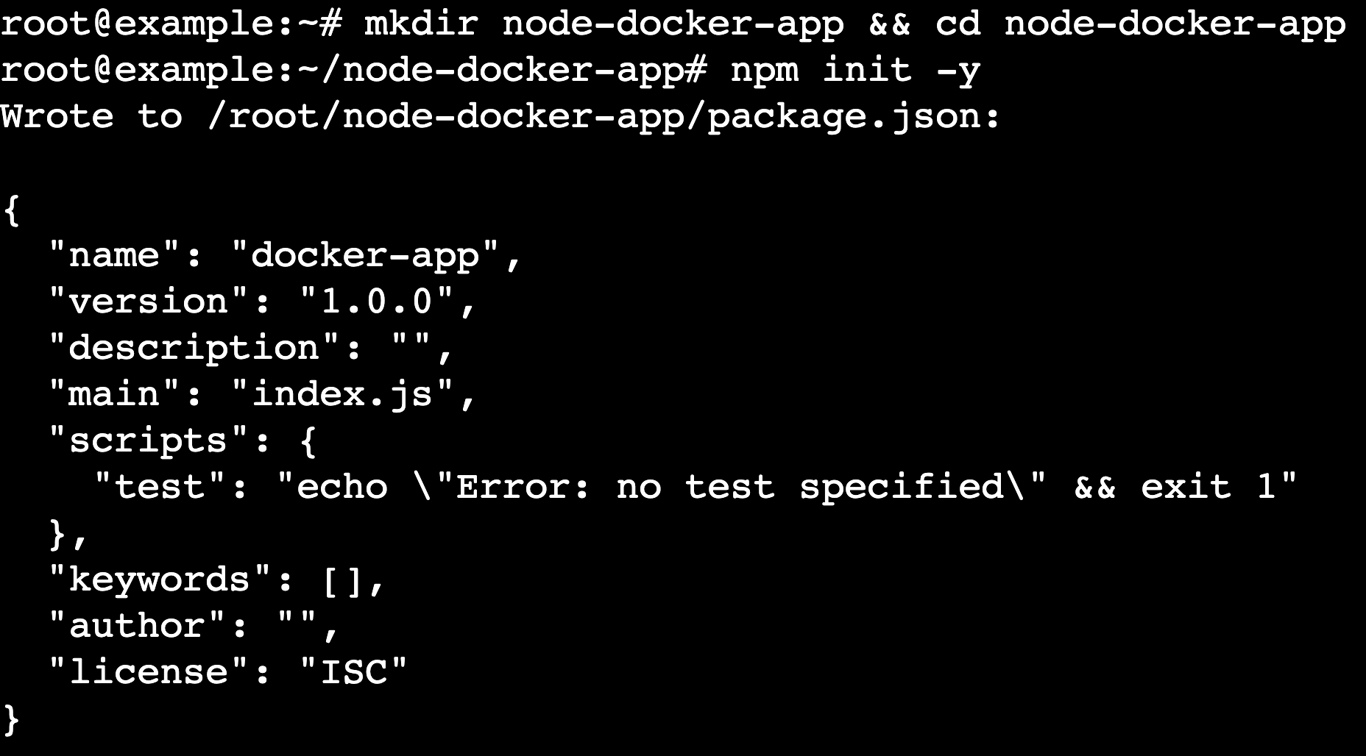
mkdir node-docker-app && cd node-docker-app
Initialize the project with npm, which generates a package.json file to manage your app’s metadata and dependencies:
npm init -y
Now, create a file named app.js with a text editor like nano:
nano app.js
Paste the following code inside the file. This script sets up a simple HTTP server that responds with “Hello, Docker!”:
const http = require("http");

const port = 3000;

const server = http.createServer((req, res) => {
  res.writeHead(200, { "Content-Type": "text/plain" });
  res.end("Hello, Docker!");
});

server.listen(port, () => {
  console.log(`Server running at http://localhost:${port}`);
});
Save the file and exit nano by pressing Ctrl + X → Y → Enter.
3. Writing a simple Dockerfile
A Dockerfile is a text file with step-by-step instructions for building a Docker image. Create a file named Dockerfile without an extension in your project’s root directory:
nano Dockerfile
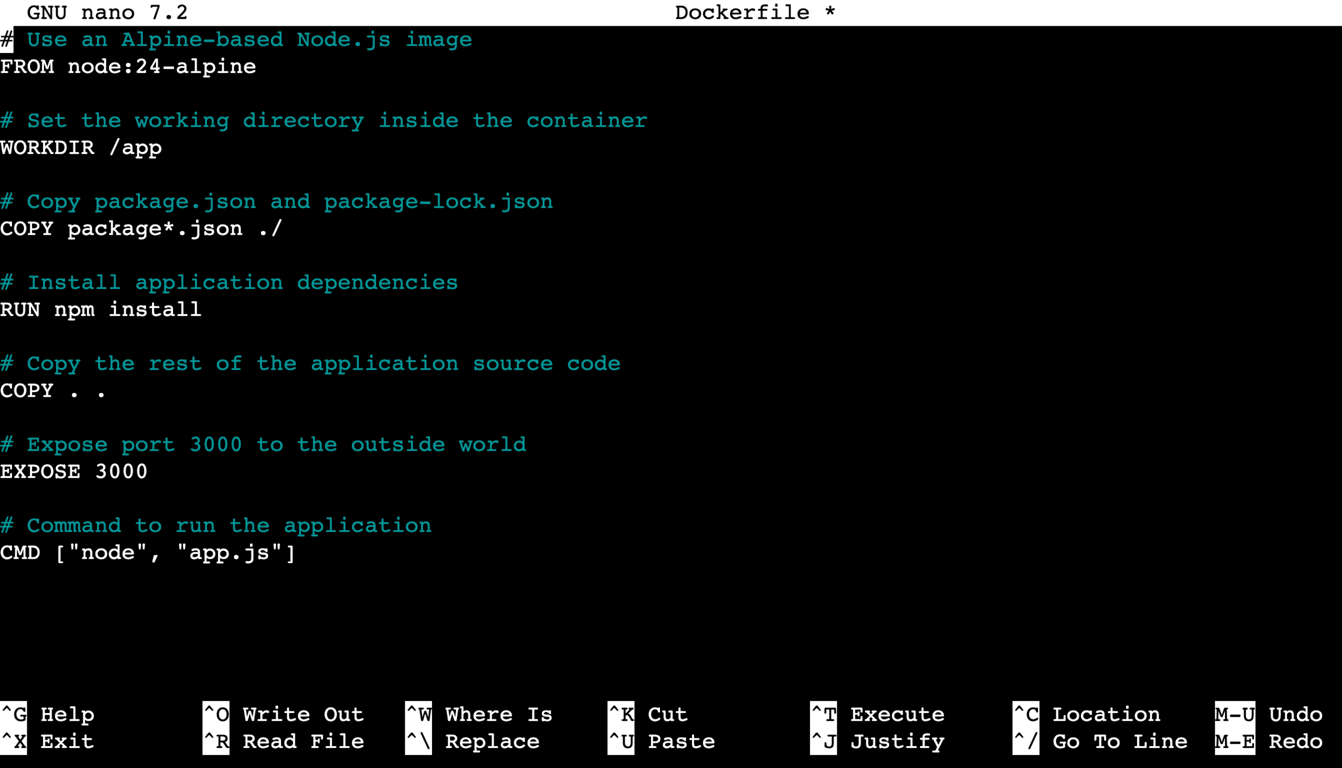
Add the following content. This is a basic Node.js Dockerfile example:
# Use an Alpine-based Node.js image
FROM node:24-alpine

# Set the working directory inside the container
WORKDIR /app

# Copy package.json and package-lock.json
COPY package*.json ./

# Install application dependencies
RUN npm install

# Copy the rest of the application source code
COPY . .

# Expose port 3000 to the outside world
EXPOSE 3000

# Command to run the application
CMD ["node", "app.js"]
Save and close the file when finished.
4. Building the image
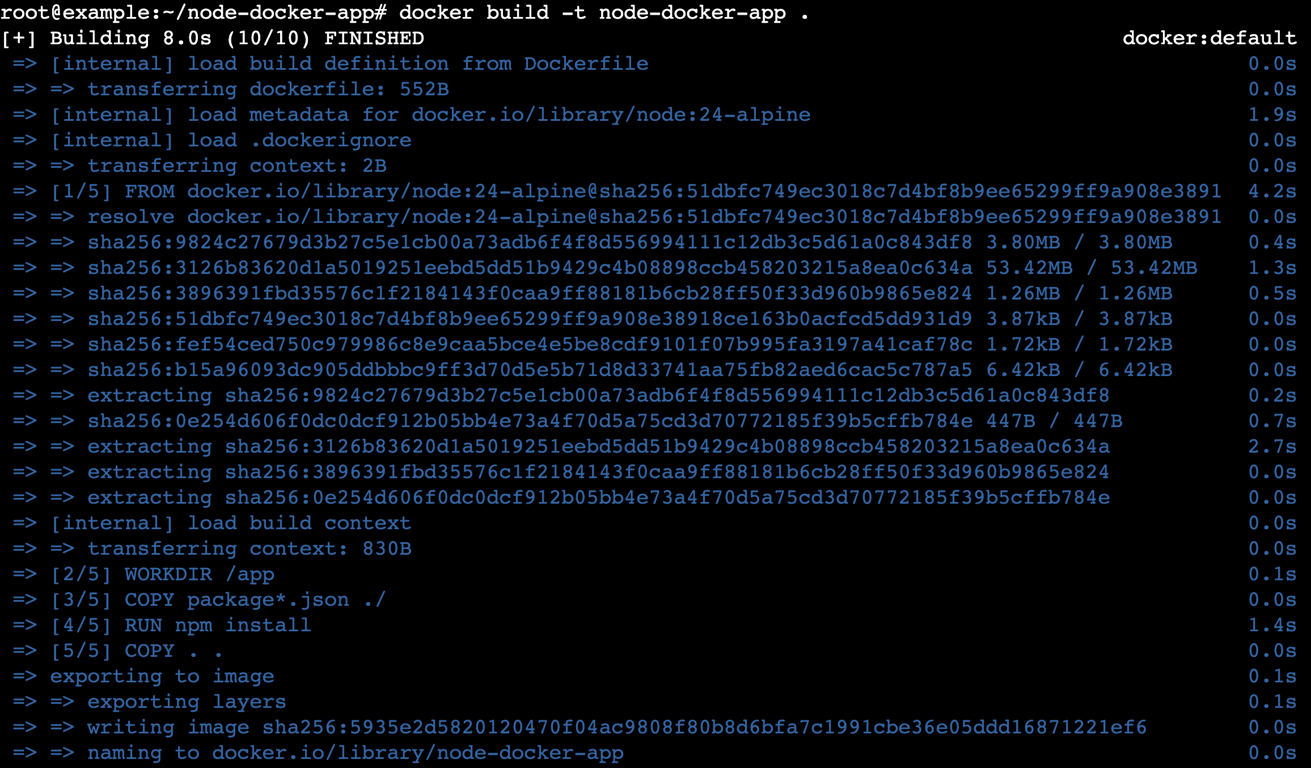
After creating the Dockerfile, build your Docker image by running this command in the project directory:
docker build -t node-docker-app .
The -t flag tags the image with the name node-docker-app. When the build completes successfully, Docker displays a confirmation message.
5. Running the container
Once the image is built, run Node.js in a Docker container with this command:
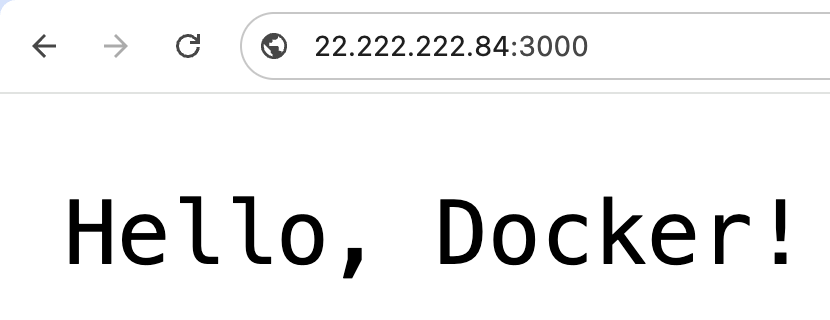
docker run -d -p 3000:3000 node-docker-app
The -p 3000:3000 flag maps port 3000 on your server to port 3000 inside the container, while the -d flag runs the container in detached mode (in the background).
Open your browser and go to http://your_vps_ip:3000 to check if it works. You should see the message “Hello, Docker!”.
Now that you’ve built and run a basic application, let’s explore how to dockerize a more complex Node.js app.
Containerizing an existing Node.js application
To containerize an existing Node.js project, prepare your app, create an ignore file to keep the image lean, and write an optimized Dockerfile.
1. Preparing the application for Docker
Before you start, make sure your existing project is ready for containerization.
- Verify package.json. Confirm it lists all dependencies accurately and includes a start script to launch the app.
- Lock dependencies. Run npm install to create or update the package-lock.json file. This guarantees consistent dependency versions across environments.
- Test locally. Run npm start on your machine to confirm everything works as expected before moving forward.
2. Creating a .dockerignore file
A .dockerignore file prevents certain files and directories from being copied into your Docker image. This keeps the image small and secure.
Create a file named .dockerignore in your project root with nano and add the following content:
node_modules
npm-debug.log
.env
.DS_Store
logs/
tmp/
dist/
coverage/
This file excludes:
- node_modules. The container installs dependencies, so you don’t need the local folder.
- npm-debug.log, logs/, tmp/. Logs and temporary files not required in production.
- .env. Contains sensitive keys and should never go into an image.
- dist/, coverage/. Build artifacts and test reports not needed to run the app.
💡 Pro tip
Review your .dockerignore file regularly to keep it aligned with your project. Always exclude sensitive information like API keys and credentials.
3. Writing a production-ready Dockerfile
A production-ready Dockerfile optimizes your app for security and performance. It uses a minimal base image, installs only production dependencies, and sets the correct environment variables.
Here’s an example:
# Use a lightweight Node.js base image
FROM node:24-alpine

# Set the working directory
WORKDIR /usr/src/app

# Copy package files and install only production dependencies
COPY package*.json ./
RUN npm ci --omit=dev

# Copy application files
COPY . .

# Set environment variables for production
ENV NODE_ENV=production

# Expose the application port
EXPOSE 3000

# Command to start the application
CMD ["node", "app.js"]
Each instruction in the Dockerfile has a specific purpose:
| Command | Purpose |
| FROM node:24-alpine | Uses a minimal Node.js base image. |
| WORKDIR /usr/src/app | Sets the working directory for subsequent commands. |
| COPY package*.json ./ | Copies dependency management files into the container. |
| RUN npm ci –omit=dev | Installs only production dependencies to reduce image size. |
| COPY . . | Copies the rest of the app source code. |
| ENV NODE_ENV=production | Configures the app to run in production mode for better performance. |
| EXPOSE 3000 | Documents that the container listens on port 3000. |
| CMD [“node”, “app.js”] | Defines the default command to run when the container starts. |
4. Optimizing with multi-stage builds
For apps that require a build step, such as transpiling TypeScript or bundling with Webpack, a multi-stage Dockerfile for Node.js works best.
This technique separates the build environment from the final runtime environment, resulting in a much smaller production image.
A multi-stage build uses multiple FROM instructions. The first stage builds the app and its assets, and the second stage copies only the necessary built files into a clean image.
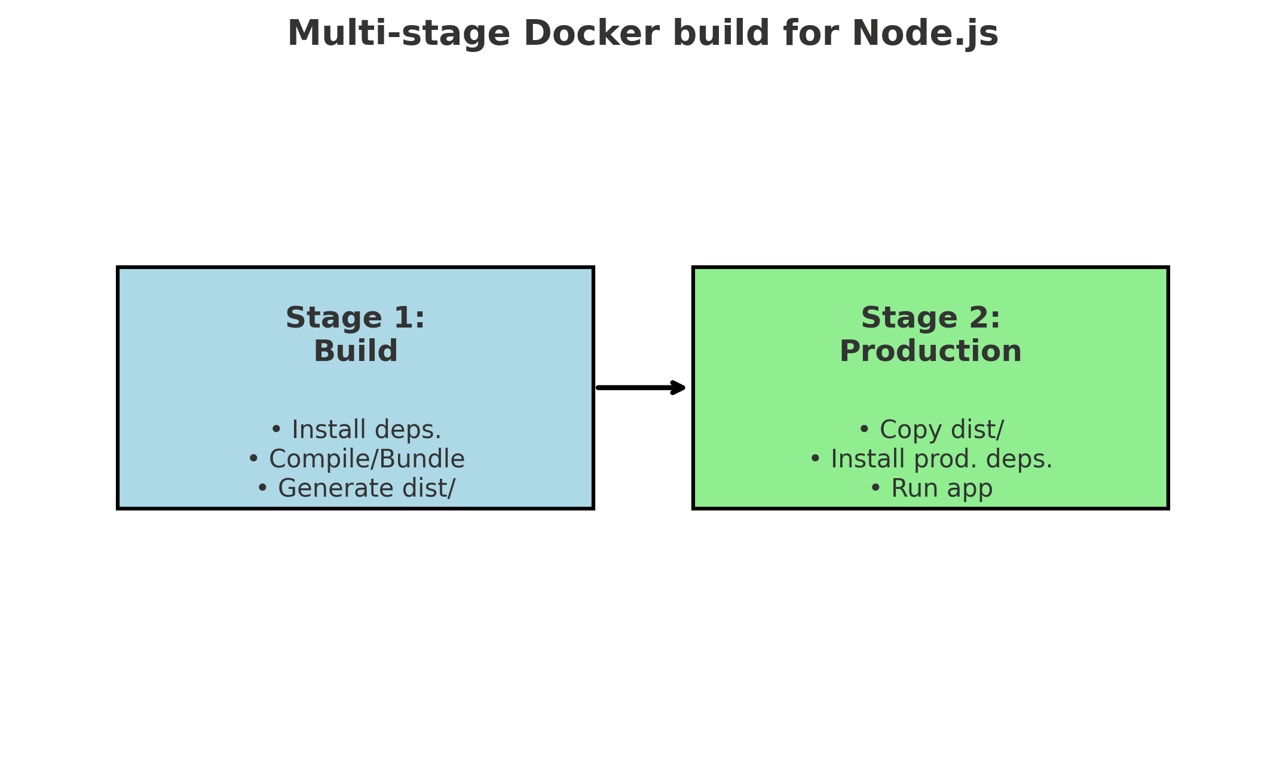
Below is an example of a multi-stage Dockerfile:
# Stage 1: Build the app
FROM node:24-alpine AS builder
WORKDIR /usr/src/app
COPY package*.json ./
RUN npm install
COPY . .
RUN npm run build

# Stage 2: Create the production image
FROM node:24-alpine
WORKDIR /usr/src/app

# Copy built files and production dependencies
COPY --from=builder /usr/src/app/dist ./dist
COPY package*.json ./
RUN npm ci --omit=dev

# Set environment variables
ENV NODE_ENV=production

# Expose the app port
EXPOSE 3000

# Start the app
CMD ["node", "dist/app.js"]
This approach produces a final image that contains only what’s needed to run the app, making it smaller, faster, and more secure.
After creating your optimized Dockerfile, build and run the image with the same docker build and docker run commands as before. Now you’re ready to test your container.
Testing your Node.js Docker container
Once your Node.js app runs inside a container, you need to test it to confirm it behaves as expected in a production-like environment.
Start by making a request with curl or a web browser. In your terminal, run:
curl http://your_vps_ip:3000
This command should return the message “Hello, Docker!”.

Next, check the container logs to monitor its behavior and diagnose issues:
docker logs container_id_or_name

If you don’t know the container ID, list active containers with:
docker ps
For interactive debugging, open a shell inside the running container with docker exec:
docker exec -it container_id_or_name sh
It lets you explore the container’s file system and troubleshoot problems directly.
If you run into permission issues while executing Docker commands, follow our guide on how to fix the Docker permission denied error.
Finally, add a health check. It’s a lightweight endpoint (for example, /health) that reports your app’s status. Configure Docker to ping this endpoint periodically to confirm the container is running correctly and restart it automatically if it fails.
With your container fully tested, you’re ready to apply best practices to keep it efficient and production-ready.
What are some best practices for using Node.js with Docker?
Following best practices helps you create secure, efficient, and maintainable Docker images for your Node.js apps. Here are some key tips to apply:
- Use lightweight base images. Use Alpine or Slim images instead of full ones in production. Smaller images build faster and expose a smaller attack surface.
- Install only production dependencies. Use npm ci –omit=dev in your Dockerfile. This avoids installing development dependencies such as testing libraries, which aren’t needed in the final image and help keep it smaller.
- Set NODE_ENV=production. This environment variable signals libraries like Express to enable optimizations such as caching view templates and reducing debug overhead.
- Keep images small. Use multi-stage builds to separate build tools from the runtime environment. Add a .dockerignore file to exclude logs, local modules, and other unnecessary files from the build context.
- Update base images regularly. Periodically pull the latest base image and rebuild your app image to include security patches and performance improvements.
- Run as a non-root user. For better security, avoid running your app as root inside the container. Instead, create a dedicated user in your Dockerfile and switch to it before running the app.
- Scale your app. Use orchestration tools like Docker Swarm to distribute containers across multiple servers for high availability, or Docker stack to deploy multi-container apps in production.
Key takeaways for using Node.js with Docker
By combining Node.js with Docker, you create a powerful workflow for building and deploying applications that are consistent, portable, and efficient.
You’ve set up a project, written an optimized Dockerfile with multi-stage builds, and applied best practices to create a production-ready container.
The next step is to experiment further. Integrate Docker Compose to manage multi-container apps or set up a continuous integration and deployment (CI/CD) pipeline to automate your builds.
You can also use environment variables and secret files to manage sensitive data, add a reverse proxy like NGINX to enable HTTPS, or push your image to Docker Hub to share and deploy it anywhere.
All of the tutorial content on this website is subject to Hostinger's rigorous editorial standards and values.

Dominykas is a Technical Content Writer with a background in cloud engineering and technical support. He’s operated in fields like fintech and point-of-sale and is passionate about software development, DevOps, and AI. Find him on LinkedIn.

Ariffud is a Technical Content Writer with an educational background in Informatics. He has extensive expertise in Linux and VPS, authoring over 200 articles on server management and web development. Follow him on LinkedIn.