How to deploy a Docker stack with Swarm on VPS
May 22, 2025
/
Ariffud M.
/
7 min Read

As a containerization platform, Docker offers many features to simplify container management. One of them is stack, which lets you manage and run services together in a swarm cluster.
To deploy a Docker stack, you’ll need to set up Swarm and create a Compose file consisting of services. Then, you run the stack and monitor its performance.
This guide walks you through the steps to deploy a stack using Docker Swarm on virtual private servers (VPSs). By the end, you’ll be able to manage and scale your apps across multiple servers efficiently.
What is a Docker stack?
A Docker stack is a collection of services that work together to form a multi-container app. It lets you define, deploy, and manage these services as a single entity, making it easier to scale and maintain complex apps.
Stacks are typically managed using Docker Swarm, an orchestration tool that enables container clusters, ensures high availability, provides built-in load balancing, and offers fault tolerance.
The architecture of a Docker stack includes:
- Services – individual containers or groups of containers running a specific part of your app, such as web servers or databases.
- Tasks – instances of a service running on nodes within the swarm cluster.
- Nodes – manager and worker servers that are part of the swarm cluster. The manager node handles orchestration, while worker nodes run the containers.
- Networks and volumes – Docker Swarm provides internal networks and persistent storage volumes, ensuring seamless communication and data persistence across services.
📚 Suggested reading
Docker containers are runtime instances of images, while images serve as blueprints for creating containers. Check out our article to discover the differences between containers and images.
Prerequisites
To deploy a Docker stack using Swarm, you need at least one VPS instance. But we suggest using multiple servers, as Docker Swarm requires one manager and one worker node for optimal performance and scalability.
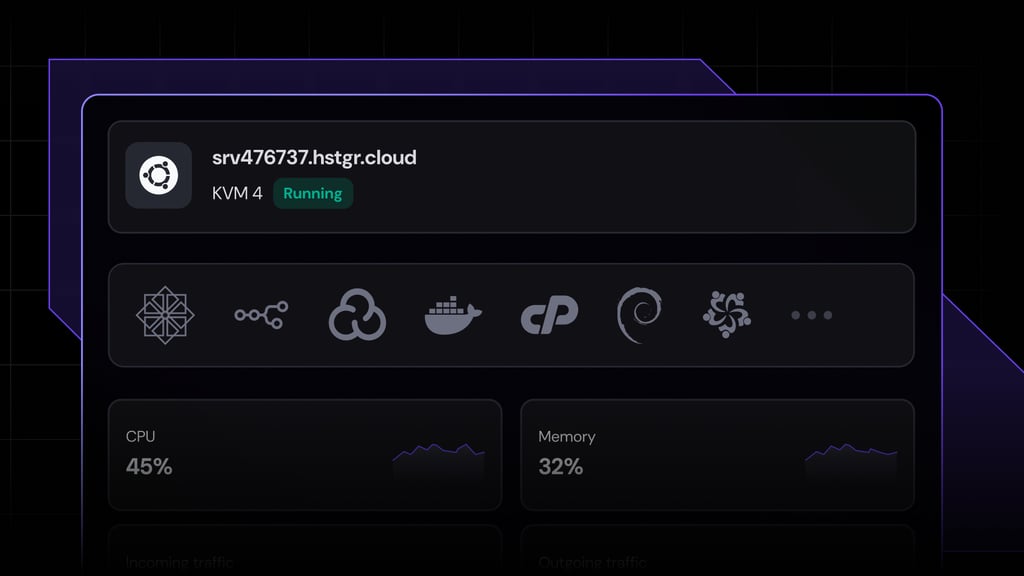
The Docker VPS service from Hostinger is a reliable choice for this setup. Docker and all of its components are preinstalled, eliminating the need for a time-consuming and error-prone manual setup.
Docker doesn’t demand a lot of resources, so our KVM 1 plan, starting at $6.49/month with a single CPU core, 4 GB of RAM, and 50 GB of NVMe disk space, should be enough for most use cases.
Don’t worry – you can easily upgrade to a higher plan if you need more power or storage.

If you already own VPS plan from Hostinger, that’s fine too. Simply install Docker on your servers via the one-click template, or manually using Linux commands. Once installed, verify Docker is running by executing:
docker --version
You can also check if the Docker daemon is active by running:
sudo systemctl status docker
It’s also helpful to be familiar with basic Docker CLI commands, as they’ll assist you in managing your services and troubleshooting issues during deployment. If you need a refresher about these commands, check out our Docker cheat sheet.
How to deploy a Docker stack
Now that all the prerequisites are in place, it’s time to deploy a Docker stack using Swarm on your VPS.
1. Set up Docker Swarm
First, set up Docker Swarm to manage a cluster of Docker nodes and deploy containers across multiple servers.
On your first server, which will act as the manager node, run the following command to create a new swarm:
docker swarm init
The command initializes Docker Swarm and designates this server as the manager.
You’ll see an output with a docker swarm join command like this:

Copy the command and run it on each worker node you want to add to the swarm.
If successful, you’ll see a “This node joined a swarm as a worker” message.

Once the worker nodes have joined, return to the manager node and verify that they’ve successfully connected to the swarm:
docker node ls

Unlike using Swarm alone, which requires you to deploy services individually, here you’ll define multiple services in a Docker Compose file – something we’ll cover in the next step.
2. Create a Docker Compose file
Docker Compose lets you define multiple services in a single docker-compose.yml file, which can then be deployed together.
On the manager node, create a Docker Compose file using the nano text editor:
sudo nano docker-compose.yml
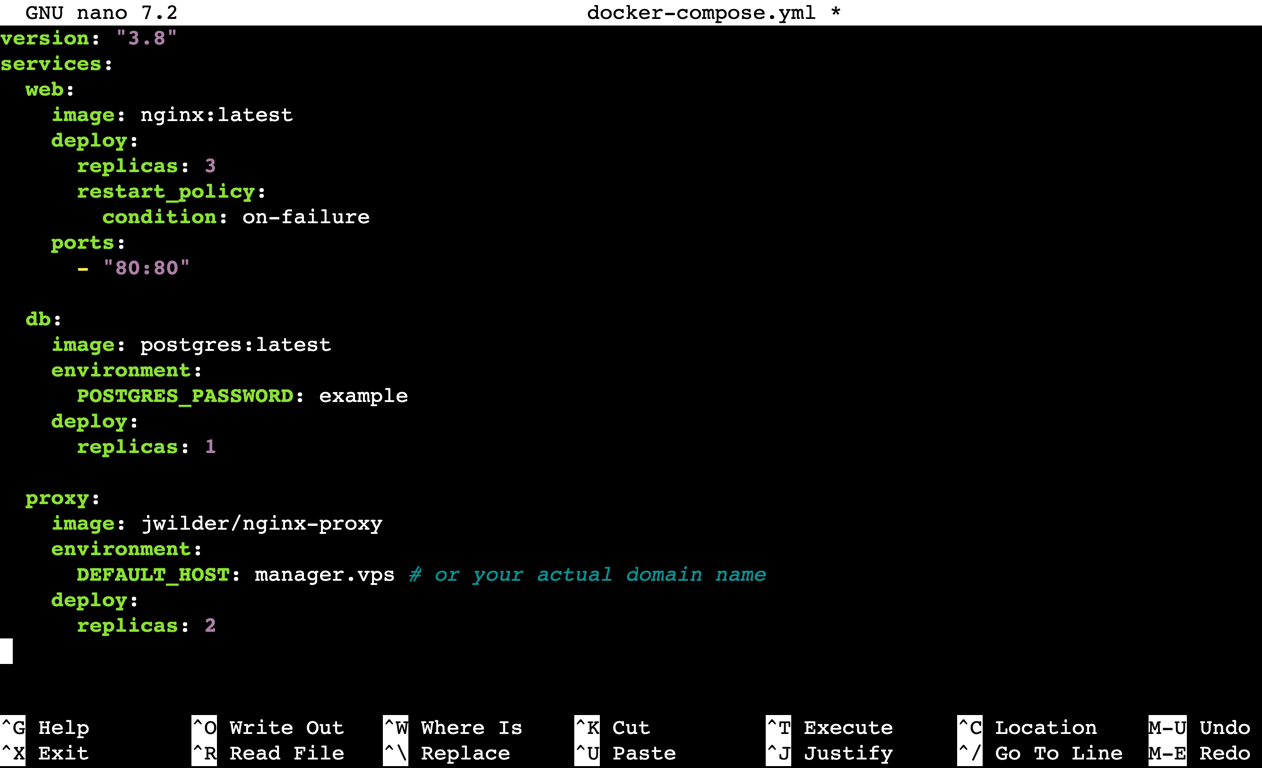
Inside the file, paste the following content to deploy three services: a web service, a database, and a reverse proxy:
version: "3.8"
services:
web:
image: nginx:latest
deploy:
replicas: 3
restart_policy:
condition: on-failure
ports:
- "80:80"

db:
image: postgres:latest
environment:
POSTGRES_PASSWORD: example
deploy:
replicas: 1
proxy:
image: jwilder/nginx-proxy
environment:
DEFAULT_HOST: manager.vps  # or your actual domain name
deploy:
replicas: 2
Here’s an explanation of each service:
- web – an NGINX service that will be scaled to three replicas.
- db – a PostgreSQL database service with one replica.
- proxy – a reverse proxy using jwilder/nginx-proxy that runs with two replicas.
Once done, save the file and exit nano by pressing Ctrl + X → Y → Enter.
3. Deploy the stack
After defining your services in the Docker Compose file, deploy the new stack using the command below. Replace my_stack with your preferred stack name:
docker stack deploy -c docker-compose.yml my_stack

You can check the status of all deployed services with:
docker stack services my_stack
This will display all the services in the stack, replica count, and current status, whether they’re running or have issues.

To get more details about each service and its tasks, run:
docker service ps my_stack_web
docker service ps my_stack_db
docker service ps my_stack_proxy
Here’s an example output when executing the command for the web service:

4. Test the deployment
You can now test if your services are running correctly. The testing process will vary depending on the service.
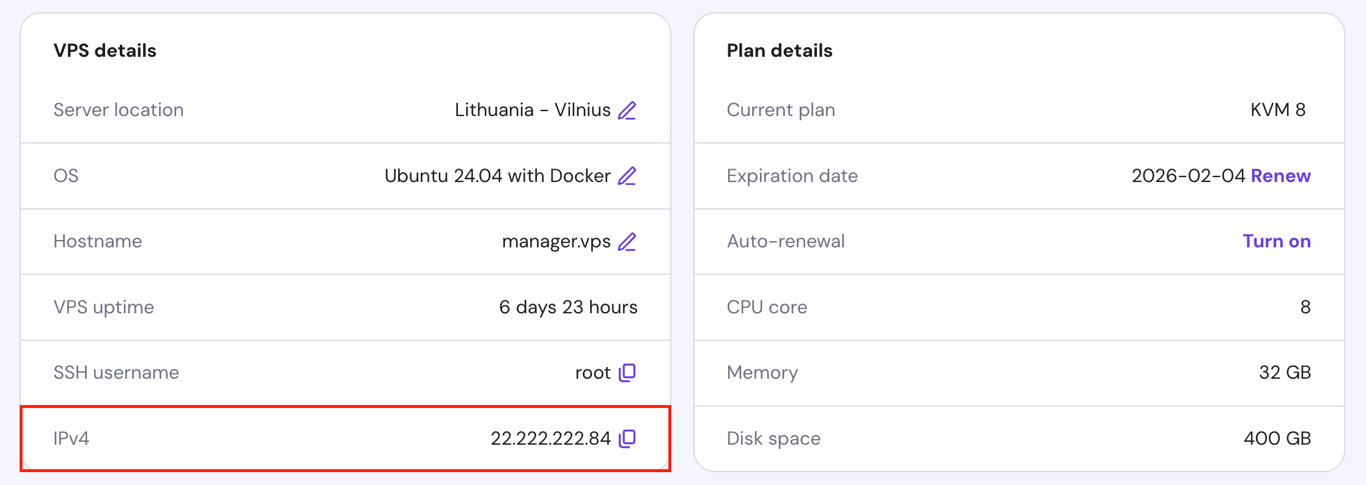
Since one of the services you deployed in this tutorial is the NGINX web service, test it by opening a browser and accessing the manager node’s IP address. For instance:
http://22.222.222.84
Hostinger VPS customers can find their server’s IP address by navigating to hPanel → VPS → Manage → Overview → VPS details:
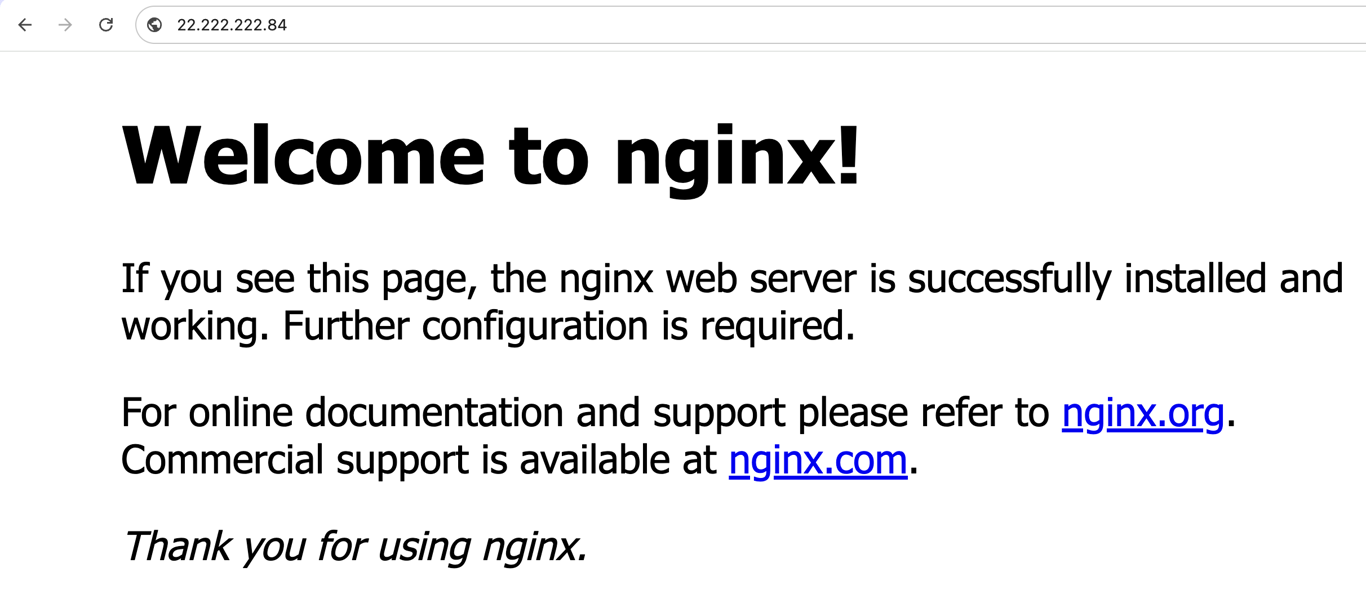
You should see the default NGINX welcome page, which confirms that the web service is running:
5. Scale the services
Scaling Docker services lets you manage resource allocation and distribute workloads evenly across multiple nodes by increasing or decreasing the number of replicas in your swarm cluster.
For instance, to scale the web service from three to five replicas, execute:
docker service scale my_stack_web=5
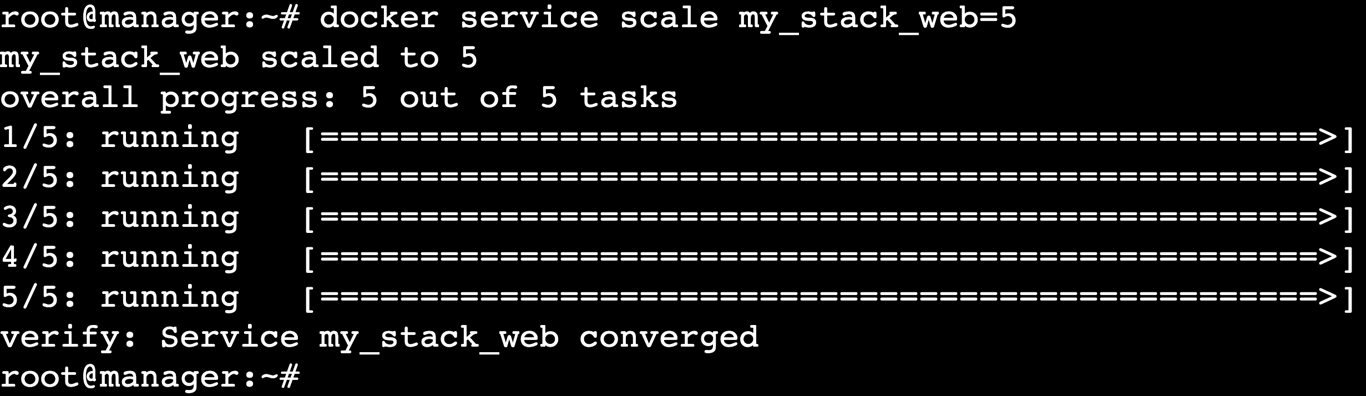
Next, verify that the scaling worked by running:
docker service ps my_stack_web

6. Update and roll back the stack
You can update your existing stack anytime, whether adding new services, updating existing ones, removing unused components, or modifying the configuration.
We’ll update the stack by:
- Adding two new services: wordpress with three replicas and mysql with one replica. WordPress typically needs MySQL for database storage.
- Removing the PostgreSQL db service, since we don’t want to deploy two different databases.
- Updating the proxy service with an actual domain name.
To do this, start by editing your docker-compose.yml file:
sudo nano docker-compose.yml
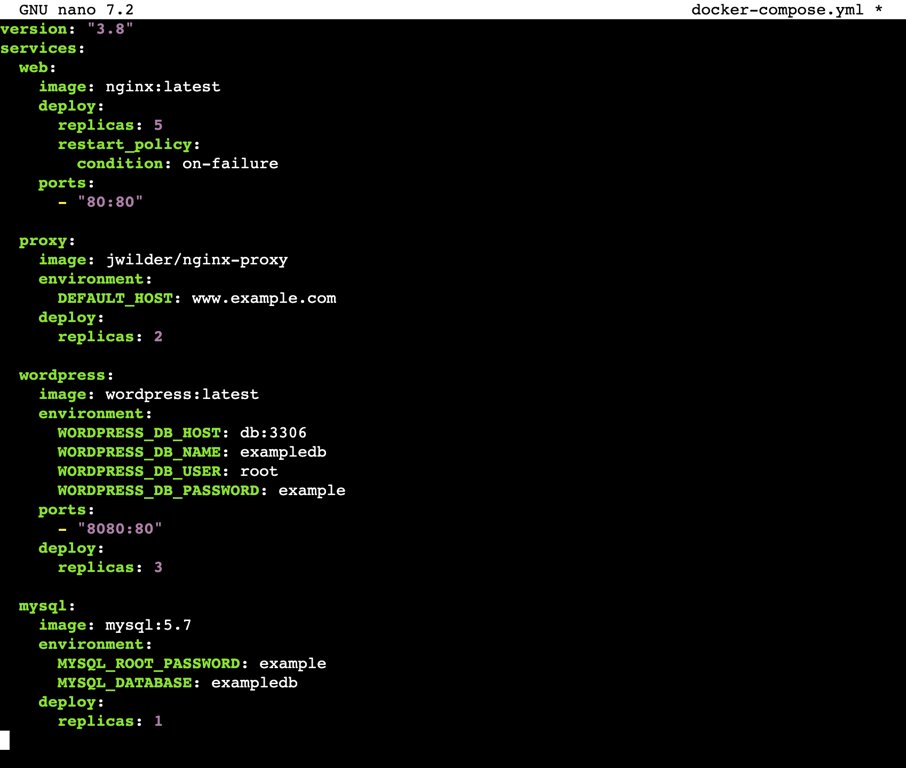
In the file, delete all existing content and replace it with the updated version below:
version: "3.8"
services:
web:
image: nginx:latest
deploy:
replicas: 5
restart_policy:
condition: on-failure
ports:
- "80:80"
proxy:
image: jwilder/nginx-proxy
environment:
DEFAULT_HOST: www.example.com
deploy:
replicas: 2
wordpress:
image: wordpress:latest
environment:
WORDPRESS_DB_HOST: db:3306
WORDPRESS_DB_NAME: exampledb
WORDPRESS_DB_USER: root
WORDPRESS_DB_PASSWORD: example
ports:
- "8080:80"
deploy:
replicas: 3
mysql:
image: mysql:5.7
environment:
MYSQL_ROOT_PASSWORD: example
MYSQL_DATABASE: exampledb
deploy:
replicas: 1
Don’t forget to update the wordpress and mysql environment variables with your credentials. Once done, save your changes and exit nano.
Next, redeploy the updated stack:
docker stack deploy -c docker-compose.yml my_stack
Verify that the new services are running with:
docker stack services my_stack
You may notice that the new wordpress and mysql services have been added, but the deleted db service still appears. That’s because removing a service from the Docker Compose file doesn’t automatically remove it from the swarm.

To manually delete the old service from your swarm, run:
docker service rm my_stack_db
Confirm the removal by running the same docker stack services my_stack command again.
If something goes wrong after the update, roll back the stack by redeploying the previous version of your Docker Compose file:
docker stack deploy -c docker-compose.yml --with-registry-auth my_stack

7. Monitor stack performance
Monitoring Docker stack performance ensures your services run smoothly and helps you troubleshoot any issues promptly.
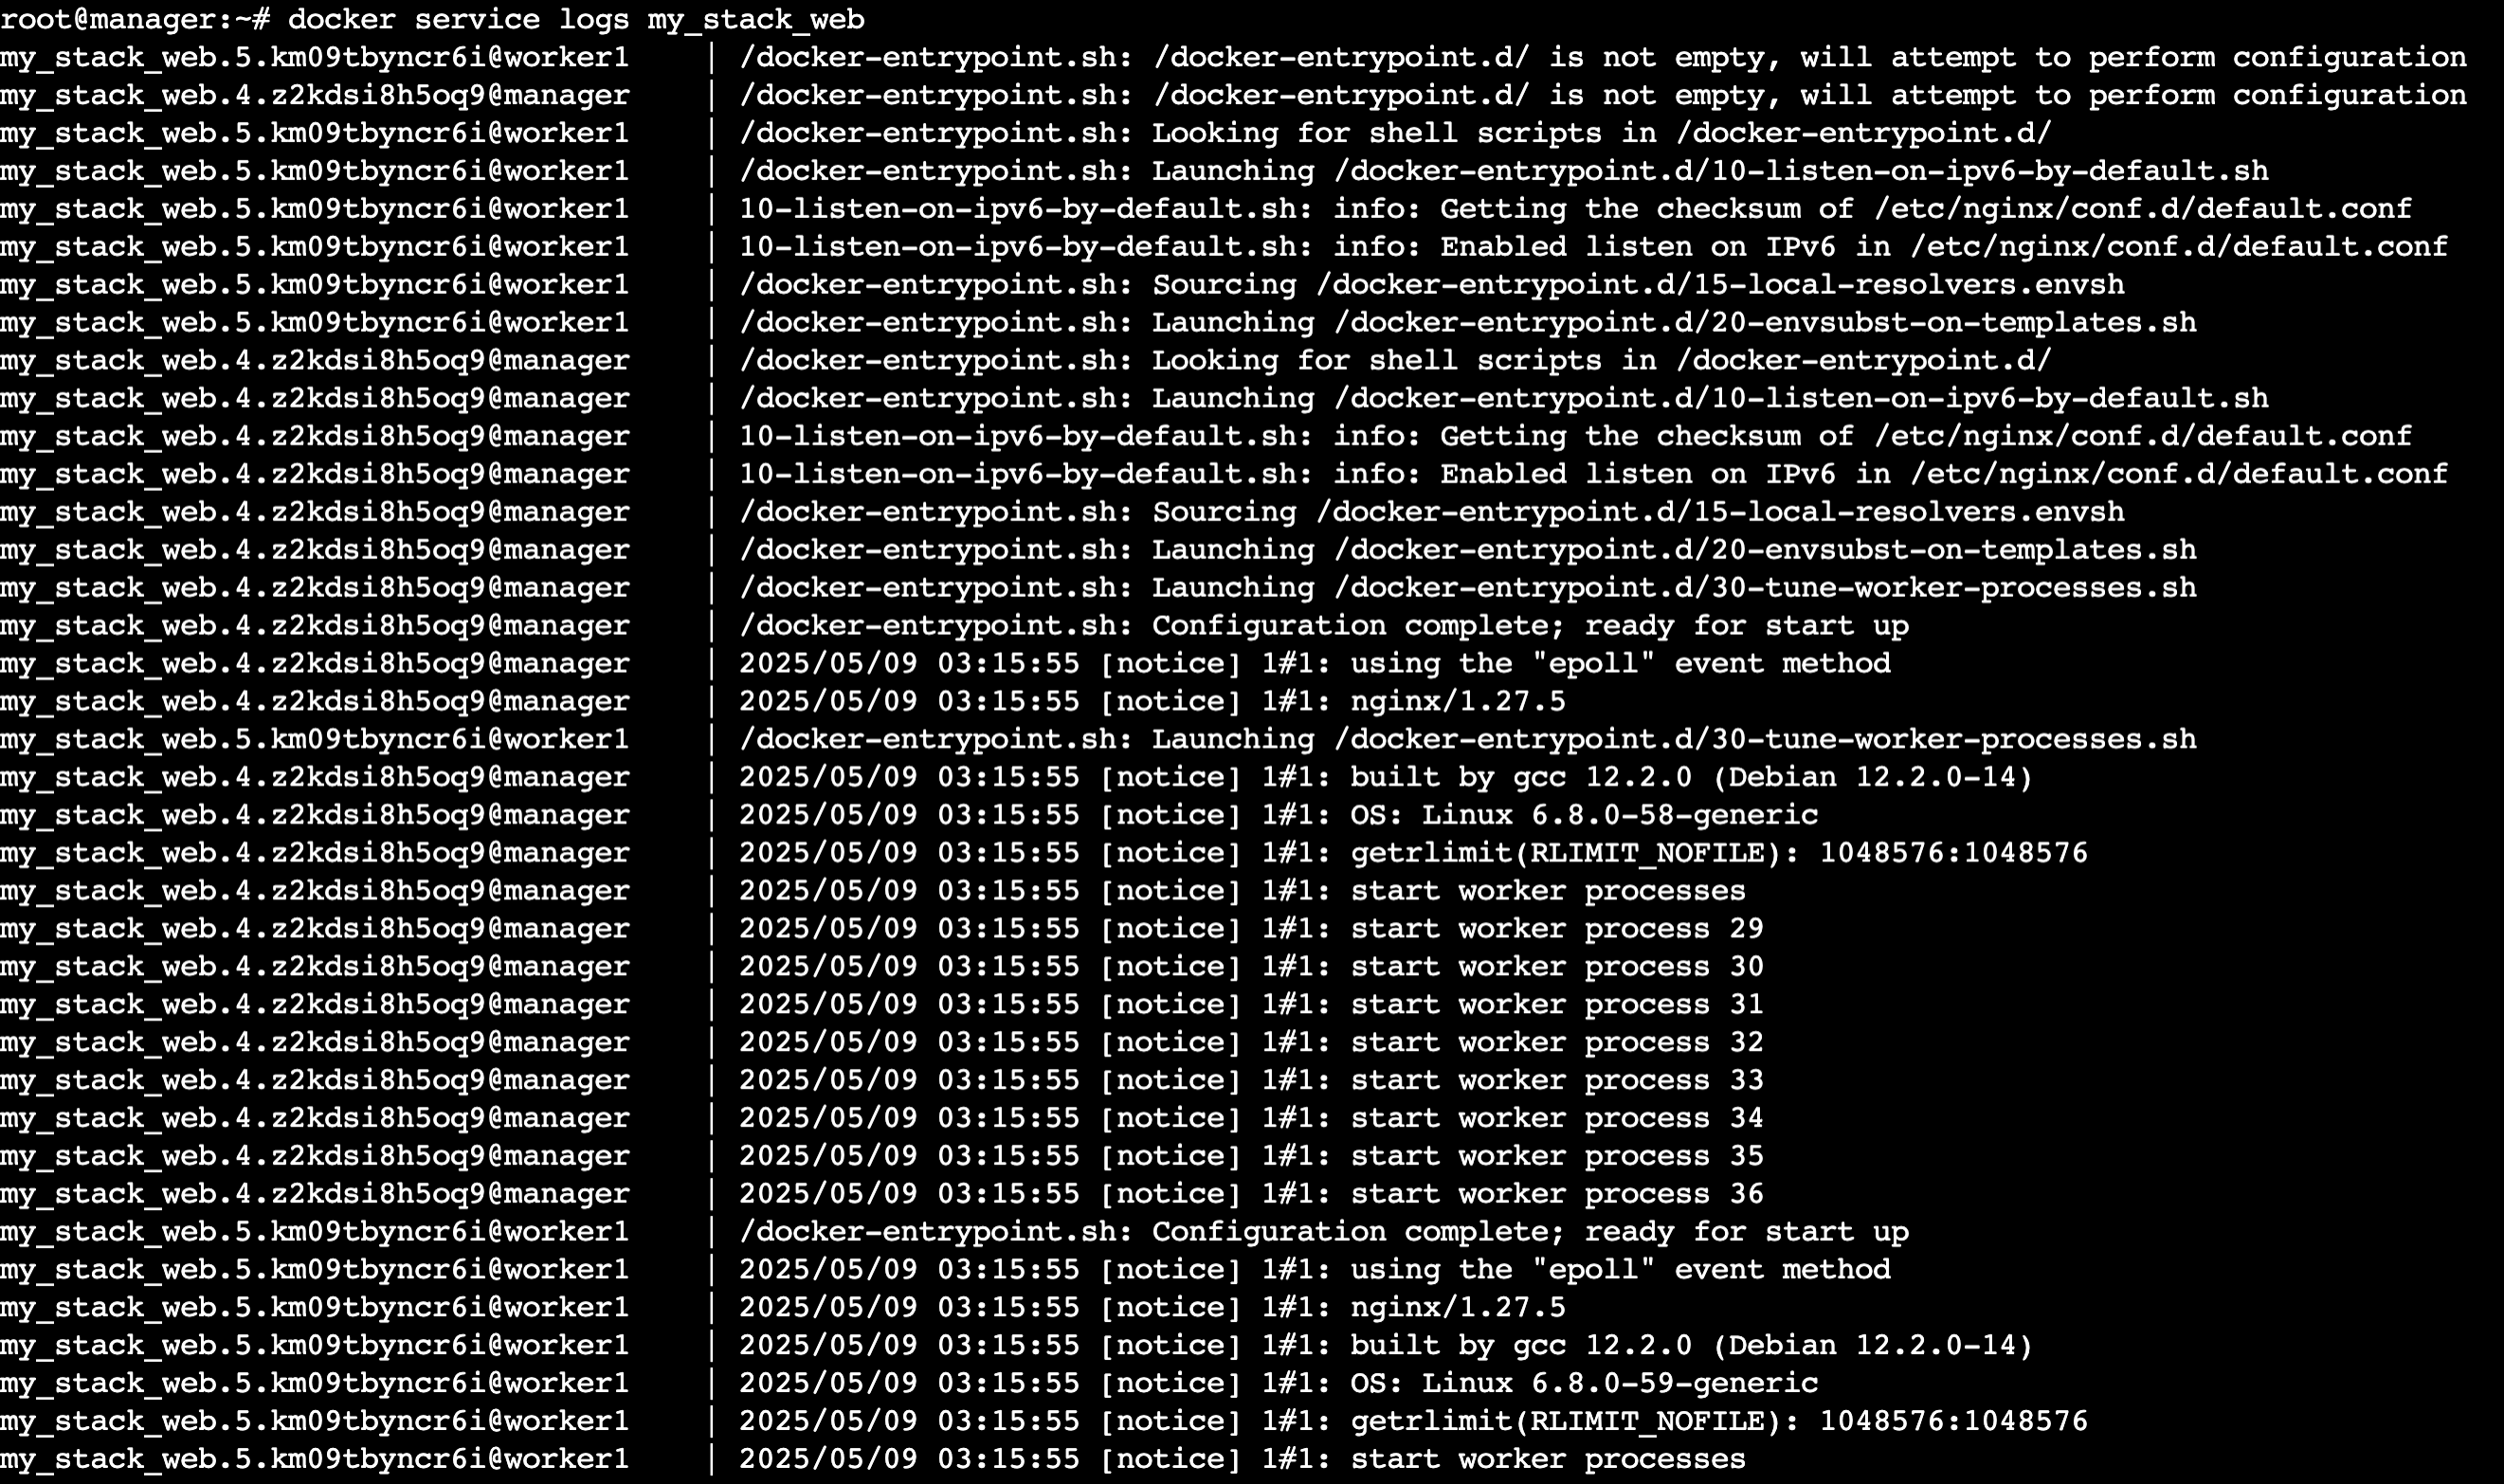
First, view service logs to understand how the services are behaving. For example, to see logs for my_stack_web, use:
docker service logs my_stack_web
To continuously tail logs for a specific service, add the -f flag to the command:
docker service logs -f my_stack_web
If you want a broader view of resource usage, use the real-time resource usage monitor. It shows CPU, memory, network, and disk usage for all containers:
docker stats

If you only want to monitor a specific container, append its name like this:
docker stats [container_name]
8. Remove the stack
Lastly, you can clean up your setup once you’re done practicing and no longer need the stack.
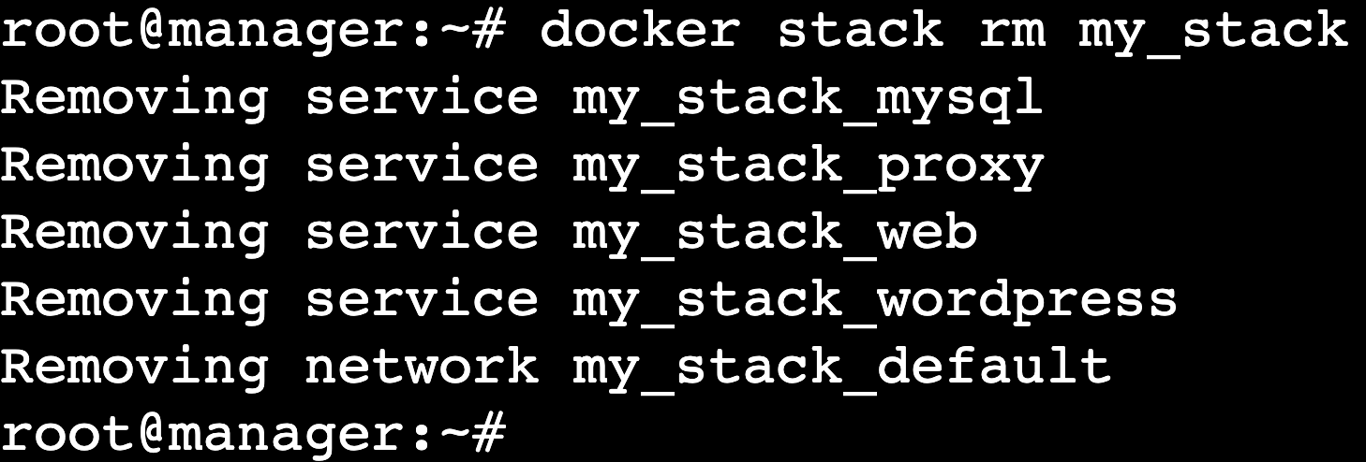
Execute the following command to remove the entire stack safely:
docker stack rm my_stack
This will stop and remove all the services in the stack.
You can confirm the stack has been removed by rechecking the services:
docker stack services my_stack
If the removal is successful, the command should return nothing.

You can also delete your swarm setup by having the nodes leave it:
docker swarm leave # on worker nodes
docker swarm leave --force # on manager node
Conclusion
Docker stack simplifies deploying and managing multi-container applications by grouping services together, making it easier to scale and monitor them.
In this tutorial, we’ve shown you how to deploy a Docker stack using Swarm on multiple servers:
- Initialize Docker Swarm and join worker nodes.
- Create a Docker Compose file to define your services.
- Deploy the stack to Swarm.
- Test the stack deployment.
- Scale service replicas as needed.
- Update the stack by adding or removing services.
- Monitor stack performance.
- Clean up the stack when finished.
As you become more familiar with Docker stack, try adding services like Redis to improve caching or RabbitMQ to enhance asynchronous processing within your stack.
You can also explore other monitoring tools, such as Prometheus and Grafana, which offer more powerful metric collection and richer insights than Docker’s built-in monitoring.
How to deploy a Docker stack FAQ
How do I create a Docker stack?
To create a Docker stack, first initialize Swarm mode on your nodes with the docker swarm init command. Then, define your services in a docker-compose.yml file. Finally, deploy the stack using docker stack deploy -c docker-compose.yml [stack_name].
What files are needed to deploy a Docker stack?
You only need one docker-compose.yml file that defines your stack’s services, networks, and volumes. This file specifies configuring and scaling the services when deploying them in Docker Swarm.
How do I use Docker Compose for stacks?
Use Docker Compose to define multiple services within a file. After defining the services, deploy them with the docker stack deploy command in Swarm. To make changes, simply edit your Compose file and redeploy the stack.
All of the tutorial content on this website is subject to Hostinger's rigorous editorial standards and values.

Ariffud is a Technical Content Writer with an educational background in Informatics. He has extensive expertise in Linux and VPS, authoring over 200 articles on server management and web development. Follow him on LinkedIn.