Prestashop vs WooCommerce: what’s the best platform for ecommerce beginners?
Apr 27, 2025
/
Will M.
/
8 min Read

If you’re new to eCommerce website hosting, setting up an online store can seem daunting. However, picking the right platform can alleviate those worries. Armed with the right features, creating and operating an online store will be a lot easier than you might imagine.
WooCommerce and PrestaShop, for example, are two of our favorite platforms for those who are new to online sales. In this article, we’ll compare PrestaShop vs WooCommerce, focusing on the following criteria:
- Ease of use
- Store management
- Customizability
- Performance
- Security
When we’re done, you’ll no longer be an eCommerce newbie, since you’ll know everything you need to understand about both platforms. Let’s talk WooCommerce vs PrestaShop!
Download website launch checklist
What's the Difference Between PrestaShop and WooCommerce?
The main difference between PrestaShop and WooCommerce is that PrestaShop is a dedicated e-commerce platform with advanced features for managing online stores, while WooCommerce is a plugin for WordPress that adds e-commerce functionality to existing websites.
Additionally, PrestaShop offers more out-of-the-box features and customization options, while WooCommerce is more flexible and can be tailored to specific needs using third-party plugins.
An Introduction to PrestaShop vs WooCommerce
Both PrestaShop and WooCommerce provide you with access to all the fundamental eCommerce features you’ll need. Those include publishing and selling products, collecting payments, keeping track of orders, and so on.
However, each platform has a lot more to offer than just the basics. Throughout the rest of this article, we’re going to dig deeper into what their unique features of PrestaShop vs WooCommerce are. Before that, let’s give each of these platforms a brief introduction.
PrestaShop is a self-hosted eCommerce platform that enables you to build and launch a modern online store. The software also happens to be open source, and there are over 1,000 volunteers who work on improving it constantly:

WooCommerce, on the other hand, is a plugin built on top of the WordPress Content Management System (CMS). However, it’s a lot more than just a simple plugin. With it, you can transform WordPress into a fully-featured eCommerce platform, while still retaining everything else that makes the CMS so attractive:

Both PrestaShop and WooCommerce are massively popular within the eCommerce space, and it’s easy to see why once you take a closer look at them. Now that the introductions are out of the way, let’s compare WooCommerce vs PrestaShop in detail.
PrestaShop vs WooCommerce: Ease of Use
Creating your first online store can be a lot of work, so you ideally want to use a platform that makes the process as painless as possible. That way, you can get right to work on adding new products and finding buyers.
With PrestaShop, you’ll need to download the software and install it on your server. However, since the platform is so popular, some web hosts will take care of the initial setup work for you. In any case, once you install PrestaShop, you’ll get access to a dashboard that looks like this:
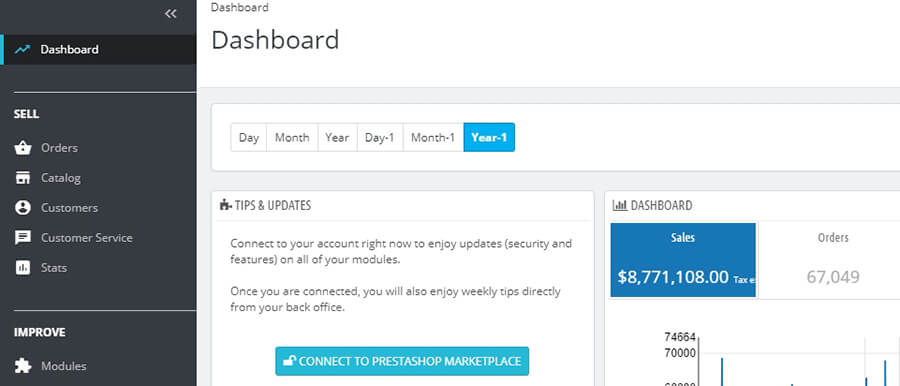
You’ll notice right away that PrestaShop looks pretty slick, which scores it a couple of points. From your dashboard’s main screen you’ll get a bird’s-eye view of your store’s performance, which is also a nice touch.
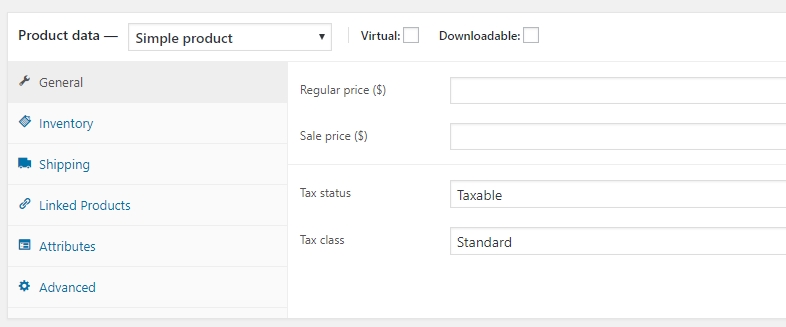
To set up your first product, you’ll need to go to the Catalog › Products › New Product page. Once there, you’ll get to play with PrestaShop’s product editor, which is rather straightforward:
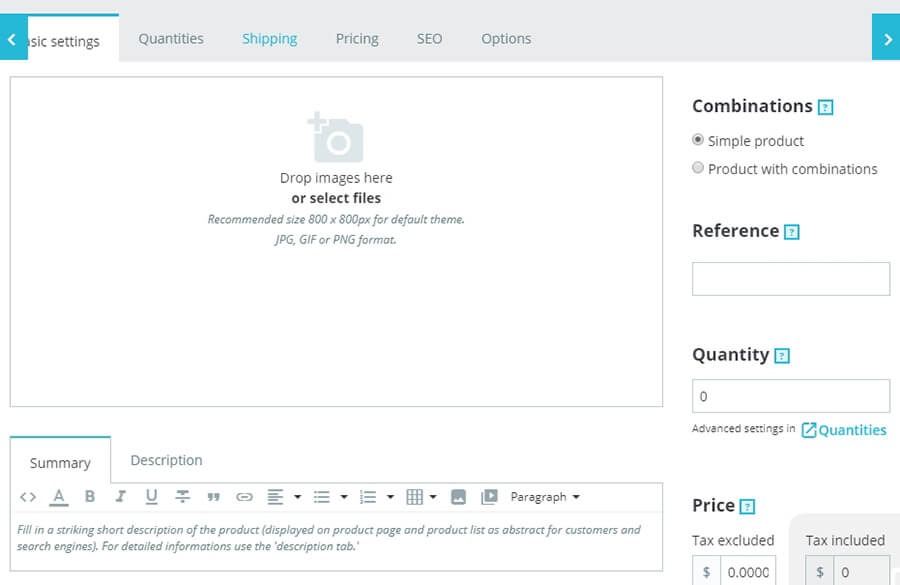
The editor includes options to add a product name, description, and images. If you look around its tabs, you’ll also find some basic Search Engine Optimization (SEO) settings, shipping options, and more.
Overall, it shouldn’t take you long to set up a new product using PrestaShop, as long as you already have images and a description ready to go. Everything else can be taken care of in minutes, thanks to its intuitive interface.
With WooCommerce, you’ll need to have a WordPress website ready to go before you can install the plugin. That’s pretty simple, however, since many web hosts will happily set up WordPress for you.
Once you install and activate WooCommerce, you’ll see a new tab show up in your WordPress dashboard:

All of your WooCommerce settings can be found there, so they’re clearly separated from your overall WordPress settings. To add a new product, you’ll just have to jump over to the Products › Add New tab. There, you’ll find yourself face to face with the classic WordPress editor, only with a few additions:
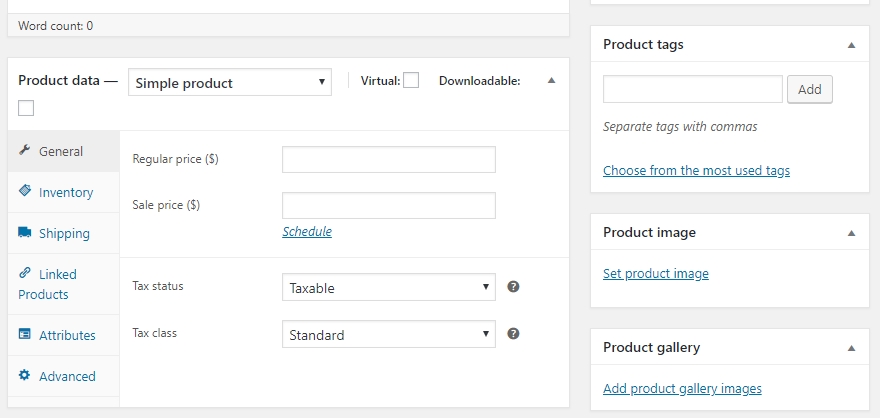
If you’ve ever created a WordPress post or page, you’ll feel right at home adding new WooCommerce products. After all, you’ll only need to get acquainted with a few new options, most of which are clearly explained:
Overall, both WooCommerce and PrestaShop are very easy to use. WooCommerce gets a slight edge if you’re already familiar with WordPress, but aside from that, we’re declaring this first round of WooCommerce vs PrestaShop a tie.

PrestaShop vs WooCommerce: Store Management
Ideally, whichever eCommerce platform you choose will provide you with a wealth of features to manage your store. That means you should get access to multiple payment options, order management settings, and much more. This way, you’ll have full control over the way your store operates.
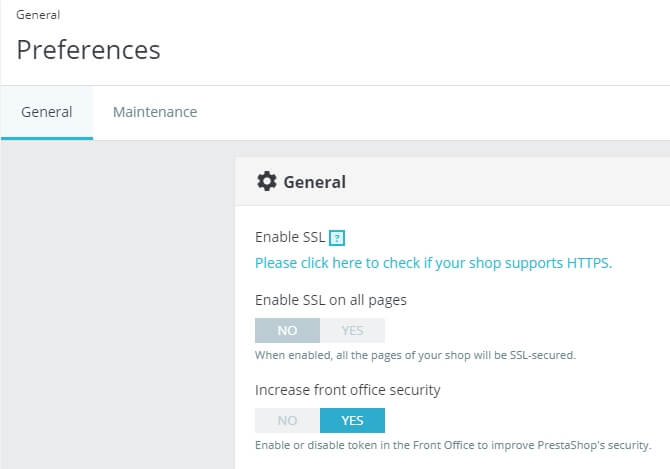
PrestaShop doesn’t disappoint in this respect. The platform offers a lot of settings you can configure if you check out the Shop Parameters tab in your dashboard. From there, you can take care of everything from enabling an SSL certificate for your store to customizing advanced security settings:
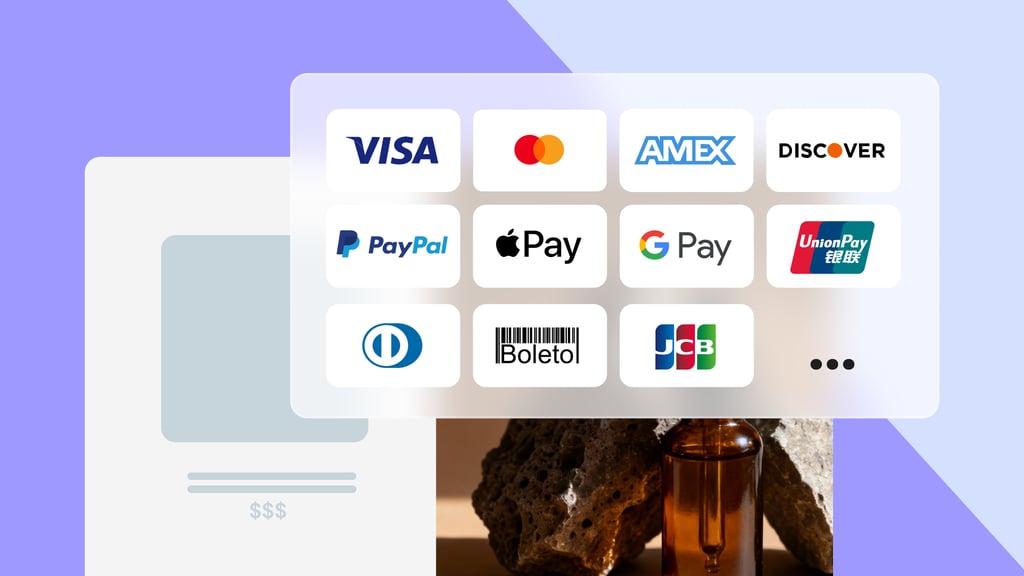
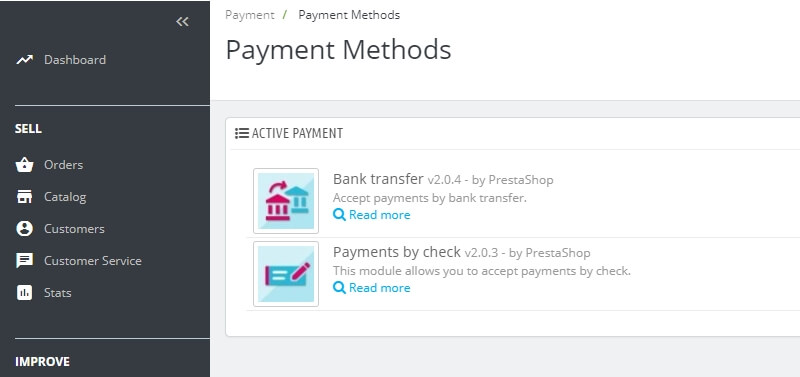
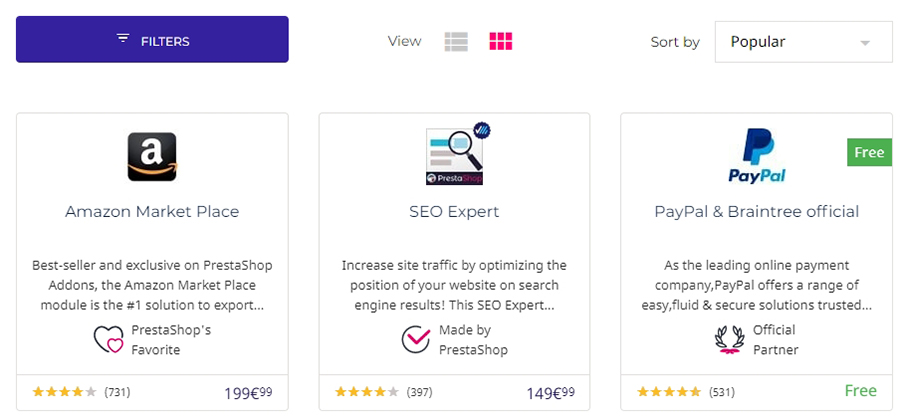
As for payment options, PrestaShop supports both bank transfers and checks out of the box. However, chances are you’ll want to use something more modern, such as PayPal. It’s easy enough to integrate additional payment gateways with PrestaShop, although you’ll need to use modules to do it:
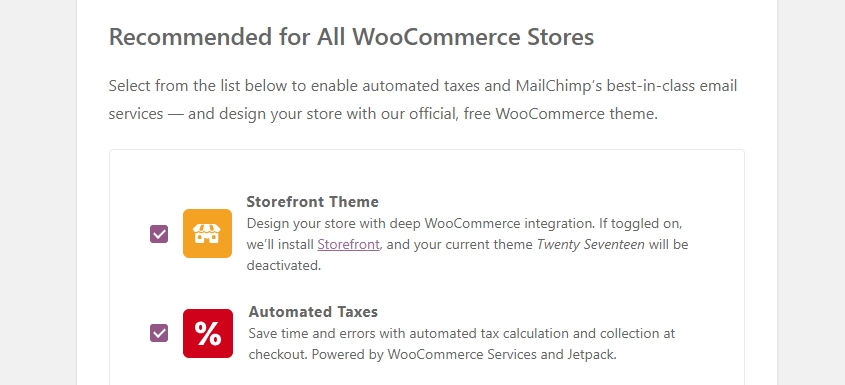
Now, let’s move on to WooCommerce. When you first set up your store, the plugin will guide you through a wizard that will enable you to configure its main settings:
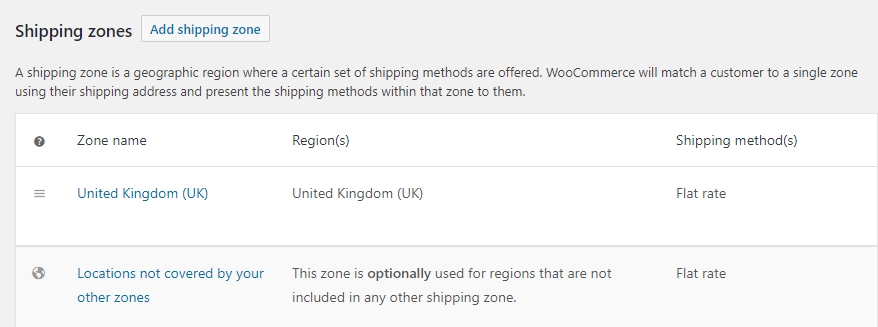
However, you can also return and change your store’s configuration at any time, by going to the WooCommerce › Settings tab. There, you’ll find all the options you might want to tinker with, such as WooCommerce shipping settings:
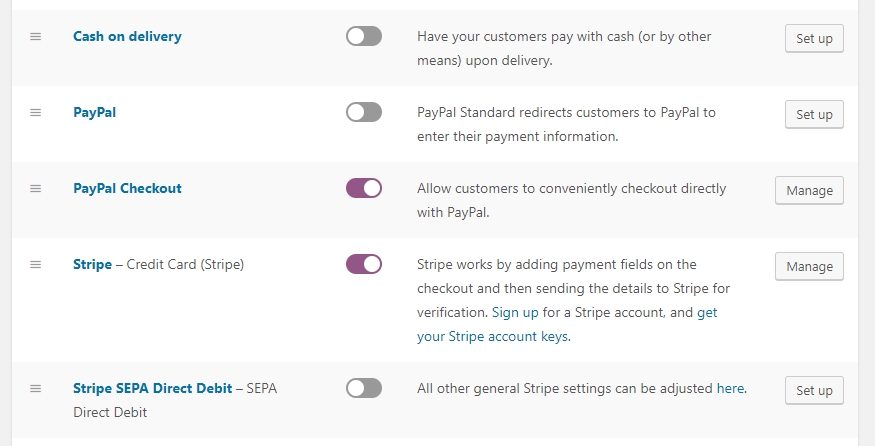
Out of the box, WooCommerce supports both PayPal and Stripe payments. However, there are a lot more integration options you can enable right away in your WooCommerce › Settings › Payments tab:
Check out our guide on the best WooCommerce payment gateways if you can’t decide which one to use.
Managing a store using either PrestaShop or WooCommerce is pretty straightforward. Both platforms make it easy to find the options you want to tinker with, and figuring out what everything does is simple.
Plus, you can always check out either platform’s comprehensive documentation if you need a little extra help. With that in mind, this round of WooCommerce vs PrestaShop is also a tie.
PrestaShop vs WooCommerce: Customizability
As far as we’re concerned, customizability is the most crucial aspect of any eCommerce platform. In other words, your chosen tool should give you the ability to alter your store’s appearance and functionality until it’s just right.
Fortunately, neither PrestaShop nor WooCommerce disappoints in this area. With PrestaShop, you get access to over 3,000 modules, which you can use to add almost any feature you can imagine to your store:
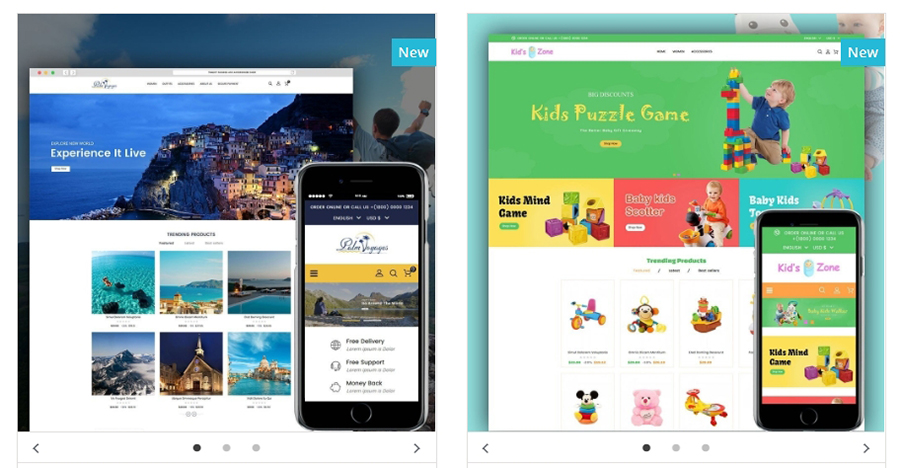
The platform also boasts a healthy collection of themes, which are templates you can use to alter your store’s look with a few clicks. Finding the right theme for your store can make it stand out and improve the user experience, so having plenty of options to choose from is fantastic news:
When it comes to offering a lot of possibilities, however, WooCommerce blows PrestaShop out of the water. With WooCommerce, you get access to thousands of WordPress plugins, which you can use to customize the way your store works:
Likewise, WordPress boasts a collection of thousands of themes you can choose from. That means there’s likely a theme for almost any style of website you can imagine, so you’ll never be lacking for options.
However, it’s important to note that not all WordPress themes and plugins play nicely with WooCommerce. In our experience, it’s pretty rare to run into those that don’t, thanks to the popularity of WooCommerce. Since WooCommerce alters the core platform’s functionality so radically, though, compatibility issues can sometimes occur. You can find a list of the best WooCommerce themes on our blog.
Although both eCommerce platforms provide a lot of customizability, WooCommerce takes the cake thanks to its WordPress integration. Therefore, this round of WooCommerce vs PrestaShop goes to the former platform.
PrestaShop vs WooCommerce: Performance
In most cases, when you compare one eCommerce platform to another, you’ll notice that one comes out ahead in terms of performance. However, that isn’t always the case when you’re talking about self-hosted platforms.
With a self-hosted platform, performance usually depends on where you’re hosting your website. Some web hosts offer better optimization by default, which can give your store an edge. It also helps to opt for a provider that supports the platform you’re using, whether that means finding WooCommerce hosting or PrestaShop hosting.
Ultimately, however, there are a lot of factors that can affect your store’s performance beyond how your store is built and what your hosting provider is. For example, uploading too many large product images or using too many scripts on your pages can slow down your loading times.
If you feel like your store is loading too slowly (as a rule of thumb, anything over two seconds is cause for concern), you’ll need to look into ways you can optimize it. However, if none of your efforts fix the problem, then it’s probably time to upgrade to a better hosting plan.
In our experience, PrestaShop and WooCommerce are on the same page when it comes to their inherent performance. Supported by the right plan and optimization efforts, either one can offer you a fast and reliable online store. That’s why we’re ruling this round of WooCommerce vs PrestaShop a tie.
PrestaShop vs WooCommerce: Security
When it comes to security, the same considerations apply that we discussed in the performance section. Some eCommerce platforms offer more advanced security features and higher standards. However, both WooCommerce and PrestaShop do well in this regard.
To be fair, WooCommerce stores are usually a bit more at risk, since the platform runs on top of WordPress. Although the CMS can be very secure, a lot of its users forget to update their sites, plugins, and themes. That tends to result in a lot of security vulnerabilities, which can lead people to assume that WooCommerce is not as safe as it could be.
PrestaShop, however, has also had its share of vulnerabilities. That’s not to say that it’s a poor option from a security standpoint, though. It just goes to show that any popular eCommerce platform is going to be a ripe target for attackers.
In the end, your store’s security will depend largely on two factors, aside from which platform you’re using:
- How seriously your web host takes security.
- What additional measures you take to protect your website.
Some web hosting providers will go to great lengths to protect your website, so it’s important you that choose an option with a good track record.
On top of that, both WooCommerce and PrestaShop enable you to tighten your store’s security using add-ons and plugins, which we talked about earlier. With a little tinkering, you can have a store that’s as secure as a bank vault. With that in mind, we’re going to go ahead and call this round of PrestaShop vs WooCommerce a tie as well.
PrestaShop Advantages
As far as eCommerce platforms go, PrestaShop is one of the sleekest options you can use. We’re big fans of its user-friendly dashboard, for example. Of course, there are plenty of other reasons why you should consider using PrestaShop:
- It’s easy to set up and to manage.
- Creating new products is a walk in the park.
- It offers a lot of customization options.
In our experience, there are very few downsides to using PrestaShop. It can take a little more work to get started with than WooCommerce, but if you like the platform’s features, that shouldn’t stop you from using it.
WooCommerce Advantages
Both PrestaShop and WooCommerce stand out among eCommerce platforms, thanks to how user-friendly they are. However, there are a few aspects where WooCommerce has an edge over its competitors, since:
- You get access to WordPress’ massive collection of themes and plugins.
- The community built around WordPress and WooCommerce is huge and eager to help new users.
- It can be easier to find WordPress-friendly hosting plans.
Ultimately, WooCommerce’s main selling point is its WordPress integration. With WordPress and WooCommerce, you get all the tools you need to run a successful online store and manage it alongside a blog or any other type of website.

Suggested Reading
Check out our article on Best WooCommerce Hosting Providers to get the perfect hosting solution for your WordPress store.
Conclusion
Both PrestaShop and WooCommerce are excellent platforms for eCommerce newbies. However, that doesn’t mean they can’t also handle large online stores with a lot of traffic. Overall, WooCommerce shines when it comes to ease of use, due to its WordPress integration. PrestaShop, on the other hand, offers more features out of the box.
Who do you think is the winner when it comes to PrestaShop vs WooCommerce? Share your opinions with us in the comments section below!
All of the tutorial content on this website is subject to Hostinger's rigorous editorial standards and values.

Will Morris is a staff writer at WordCandy. When he's not writing about WordPress, he likes to gig his stand-up comedy routine on the local circuit.