How to Upload a Document to a Website Using File Manager and WordPress
Dec 22, 2025
/
Noviantika G.
/
3 min Read
Learning how to upload a document to a website is important, especially when you want to offer exclusive content and downloadable files.
In this article, we will explain how to upload documents to a web page using Hostinger’s File Manager or WordPress.
Download all-in-one WordPress cheat sheet
How to Upload a Document Using Hostinger File Manager
When building your site, you may need to upload files to share with your audience, such as exclusive eBooks, forms, and cheat sheets.
If the files are smaller than 100 GB, you can add them to the site using the file manager in hPanel. This feature accepts several file types, including Microsoft Word documents, Microsoft Excel sheets, and JPEG images. Additionally, it supports compressed archives, such as .zip, .tar, and .tar.gz.
Here’s how to upload files using it:
- Log in to your hPanel. Go to Websites and click Manage.
- On the hosting dashboard, select File manager.

- Go to the directory where you want to store the file – in this example, we’ll use public_html. Click the Upload button in the upper-right corner.
- On the Upload pop-up window, click File.
- Choose a document and select Open. For this example, we’ll upload Microsoft Word documents.
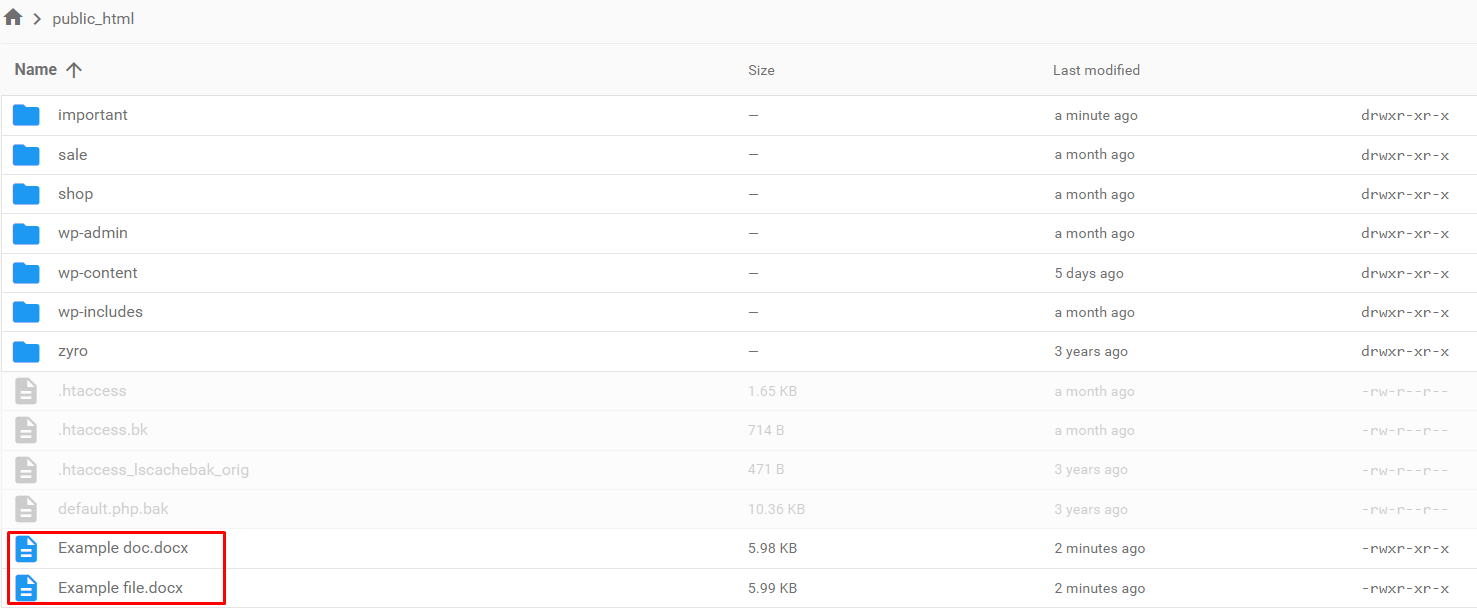
- That’s it. The Microsoft Word files you uploaded will be listed in the public_html directory.
How to Upload a Document in WordPress
While WordPress accepts several file types, the preferred file format is PDF. That’s because users can view the content without having to download the document.
There are two different methods to add files in WordPress – by editing a page or post or transferring it directly to the Media Library. Depending on your WordPress hosting provider, the maximum file size ranges from 5 MB to 500 MB.

Uploading a Document to a WordPress Page or Post
Follow these instructions to upload a PDF file from your computer to a WordPress page or post:
- On your WordPress dashboard, create a new page or post. Alternatively, open an existing one.
- Click the Block Inserter + icon to open the menu.
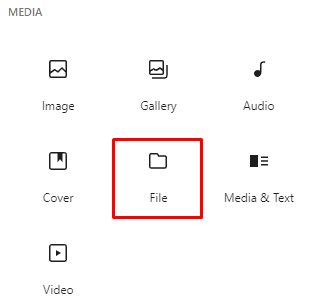
- Under the Media section, choose File.
- Click the Upload button, choose the desired document, and click Open. In this example, we’re adding a PDF file.

- A preview of the uploaded document will appear.
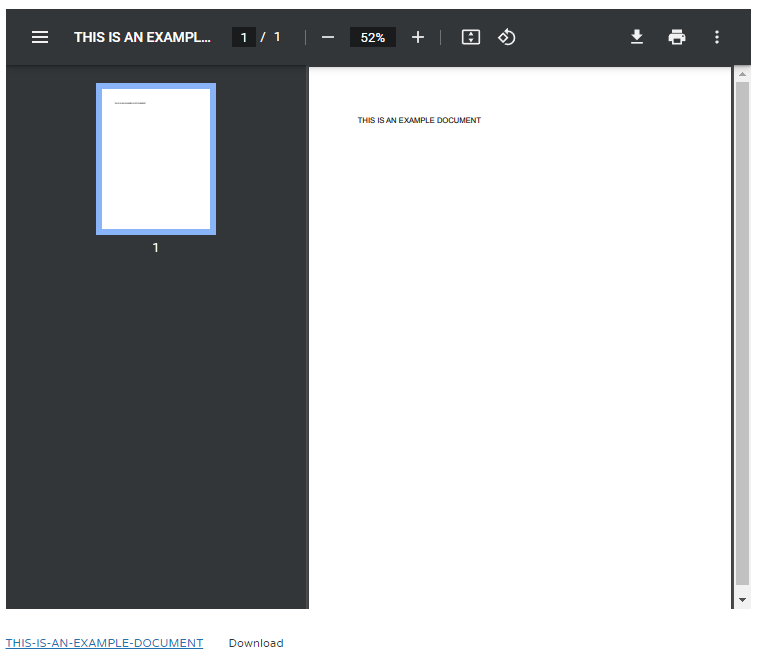
- To change the file’s anchor text, click the hyperlink next to the download button.
Uploading a Document to the WordPress Media Library
Here are the steps to add documents to your WordPress Media Library:
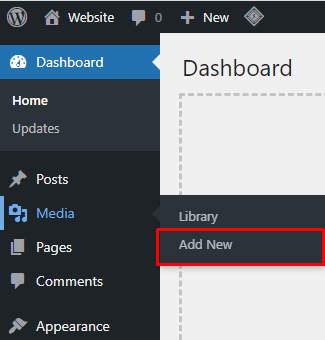
- Open the WordPress Dashboard, go to Media, and click Add New.
- Choose Select Files, select the documents to add, and click Open.

- Go back to the WordPress Dashboard, and create a new post or page. Or open an existing one.
- Click the Block Inserter + icon.
- Under Media, click the File → Media Library.

- Select the documents to insert and click Open. For this example, we’re uploading a PDF document to a WordPress post.
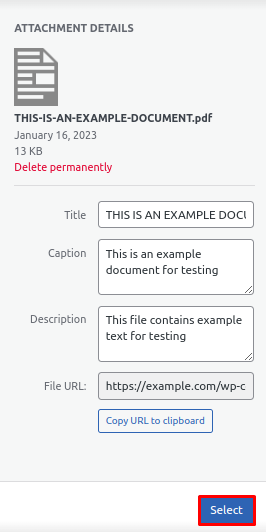
- On the Attachment Details section, fill in the Title, Caption, and Description and click Select.
- The hyperlinks containing the uploaded files will appear. Click them to modify the anchor text.
Conclusion
There are two common ways to upload documents to a post or page – using Hostinger’s File Manager or WordPress options.
With the first method, you can upload files directly from your web hosting account. The second requires you to open the WordPress dashboard and use the File block or the Media Library.
We hope this article has helped you learn all about uploading documents to a website. If you have any questions or suggestions, leave them in the comments section below.
Suggested Reading
How to Make a Website
How to Upload Your Website
How to Make a Small Business Website
How to Build a Website With ChatGPT
All of the tutorial content on this website is subject to Hostinger's rigorous editorial standards and values.

Noviantika is a web development enthusiast with customer obsession at heart. Linux commands and web hosting are like music to her ears. When she's not writing, Noviantika likes to snuggle with her cats and brew some coffee.