With the automated WordPress migration tool, you can move a WordPress website to another hosting plan within your own account. This automated process migrates your website files and databases, helping you reorganize your services. Domain configuration and emails are unchanged.
Availability by hosting plan
The availability of this feature depends on your hosting plan.
- Web and cloud hosting: Available as a paid feature.
- Agency hosting: Automated migrations to or from Agency plans are currently unavailable. To move WordPress sites from a web or cloud to an Agency hosting plan, use the Clone website feature.
Before you start
Ensure the following requirements are met before initiating a transfer:
- The website is built with WordPress.
- The website status is active (not suspended).
- No other migration requests are currently in progress for this website.
- The original hosting plan must have at least 7 days remaining before expiration.
- The destination hosting plan is active. If it’s pending setup, complete that first.
- Do not delete the original website while the migration is in progress.
Step 1 – Initiate the website move
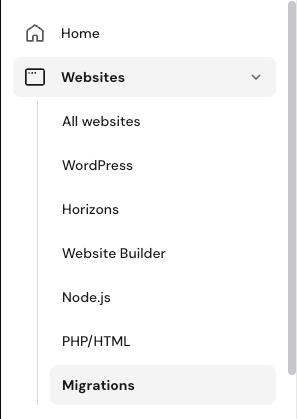
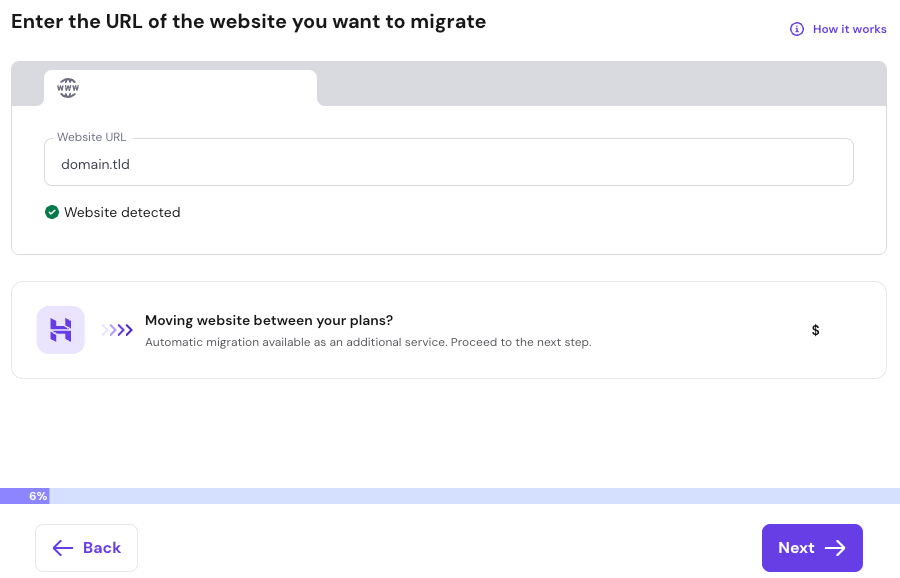
- Go to hPanel and select Websites → Migrations on the left menu.

- Click Migrate website.
- Choose the destination hosting plan from the dropdown list.
- Select Use login details and click Next.
- Enter the website name and click Next to proceed with the payment.

The process typically completes within 4 hours. The website is first moved to a temporary domain; verify the new site works correctly before proceeding.
Step 2 – Connect the domain
A domain can only be linked to one website at a time. Follow these steps to connect it to the new hosting plan:
- Delete the website from the original hosting plan to release the domain name.
- If the domain has associated mailboxes, ensure the option to delete them is unmarked during the website deletion.
- Connect the domain to the new plan.
- If using external nameservers, update your DNS records to match the IP address of the new hosting plan
DNS changes may require up to 24 hours for propagation.
Step 3 (Optional) – Move email content
Email data is not transferred automatically. To migrate your messages:
- Export the mailbox data from the original hosting plan.
- Create the same mailboxes in the new plan.
- Import the email content per mailbox.
Once these steps are finished, your WordPress website will be fully active and manageable on your new Hostinger hosting plan.
Additional resources
- To move a WordPress website to a different Hostinger user account, follow the guide for Transfer WordPress website ownership.
- You can also move the website manually using file and database backups as a free alternative to this automated tool.