This article guides you through the process of uploading a backup via an FTP client. This method is ideal for websites built with WordPress, PHP, or custom HTML.
Before you start
- For a faster and easy to use alternative, consider uploading your files of less than 100GB using the File Manager.
- These steps only apply to web and cloud hosting plans. FTP access is not supported in Agency hosting.
- FTP access is not available for websites created with Hostinger Website Builder or Hostinger Horizons.
- Ensure you have an FTP client installed on your computer; we recommend using FileZilla, select the client version.
Step 1 – Connect to the Hostinger server
You can connect to your hosting account using standard FTP or the more secure SFTP method.
Option 1 – Connect using FTP
- Go to hPanel → Websites.
- Click on Dashboard next to the domain name.
- In the sidebar, select Files → FTP Accounts.
- Locate your FTP details.
- FTP Host: The IP address shown in the FTP Accounts section.
- FTP Username: Your unique user ID.
- FTP Password: If you are using FTP for the first time or forgot your password, click on Change FTP password. For security reasons, the FTP password cannot be displayed.
- Port: 21.
- Open FileZilla and enter these details to establish a connection.
Option 2 – Connect using SFTP
SFTP provides an additional layer of security by encrypting your data during transmission. This is available for Premium or higher hosting plans. You can find specific connection details in our guide on How to connect with SFTP.
Step 2 – Upload the backup files
Once the connection is established, your local computer files will be displayed on the left, and your Hostinger server files on the right.
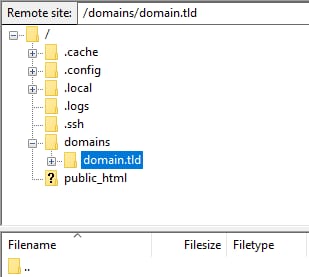
- On the right-side panel (remote site), open the
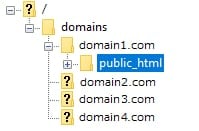
public_htmlfolder.- If you host multiple websites, ensure you navigate to the specific domain folder where you want to upload the files.

- If you host multiple websites, ensure you navigate to the specific domain folder where you want to upload the files.
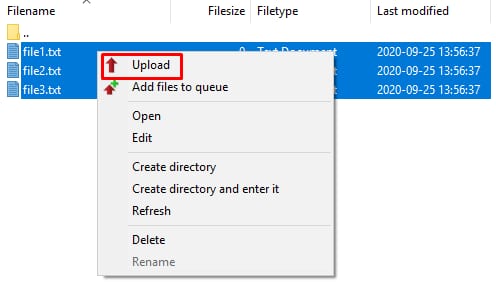
- On the left-side panel (local site), select the backup files or directories you wish to upload.

- Right-click the selected items and click Upload, or drag and drop them directly into the desired folder.


- Monitor the transfer progress at the bottom of the FileZilla interface.
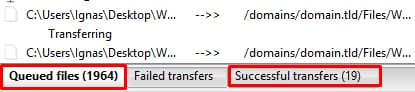
After the transfer status shows as successful, your files are fully uploaded to the server. Your website content should now be visible or ready for further configuration.
NOTE
- Do not share your FTP password with unauthorized users to maintain account security.