What is WordPress MCP integration?
Oct 14, 2026
/
By Aris S.
/
9 min Read
The Model Context Protocol (MCP) is a unified interface that enables AI-powered systems to interact and exchange data with other platforms, tools, and applications.
The WordPress-MCP integration sets up the interface to allow AI platforms to access data on the content management system (CMS). This enables you to connect and use an AI agent for WordPress management.
This integration is possible with an MCP server, which converts natural language in your prompt to application programming interface (API) calls that perform specific actions in your website. This makes working with WordPress more efficient, beginner-friendly, and automated.
If you have a website running on a Hostinger WordPress hosting plan, it’ll already have MCP integrated. This means Hostinger Agent, our AI assistant, publishes posts, moderates comments, updates site settings, and edits WooCommerce products for you, either from the chat in Hostinger dashboard or from the WordPress admin area.
Otherwise, you can integrate MCP with WordPress by setting up an MCP server on a personal machine. To do this, get an application password from WordPress, install an MCP server package, and connect an AI agent by connecting its configuration file.
Let’s explore the WordPress-MCP integration in detail, including its example use cases and how to set up your own server on a personal computer.
What is a WordPress MCP server?
A WordPress MCP server is a tool that facilitates the connection between WordPress sites and AI-powered platforms. It exposes data and functionality of your WordPress instance to AI tools like Claude through the REST API.
This integration enables the AI tool to access, use, and manipulate data on your WordPress sites, which include posts, pages, users, media, themes, and more. As users, you can then use the AI platform to manage WordPress data using natural language.
The MCP server for WordPress takes the natural language instructions from the AI tool, converts them into API calls, and forwards them to the CMS. Like traditional API, this communication requires authentication to maintain security.
Benefits of the WordPress MCP integration
The benefits of integrating WordPress and MCP mainly relate to improved management efficiency. Here are several reasons why you should consider this integration:
- Streamlining site administration. The WordPress MCP server enables you to use natural language to manage various aspects of your websites, minimizing the need for code or commands. This makes administration tasks more beginner-friendly and less technical.
- Saving time and effort. Traditionally, you need to access multiple menus to modify specific settings of your site. The MCP lets you directly manage various aspects of WordPress via an AI agent like Claude, making the process more efficient.
- Multi-site management. Connecting multiple sites to an AI tool using the MCP server enables you to manage them easily from a centralized platform.
- Automating tasks. AI tools connected via the WordPress MCP server can automatically complete a series of tasks based on simple instructions.
Given its benefits, using the MCP server can take your site administration tasks to the next level. Now, let’s learn how to set it up for your website so you can try this tool yourself.
Want to see this tool in action? This video demonstrates using MCP to automate WordPress tasks.


How to use the WordPress MCP integration in Hostinger
Hostinger Agent connects to your WordPress site through MCP in two places: the Agent chat in Hostinger dashboard and the Agent sidebar in the WordPress admin area. Both routes work out of the box, with no MCP server to install.
By default, Hostinger’s managed WordPress hosting solution comes integrated with our AI assistant, Hostinger Agent, through MCP.

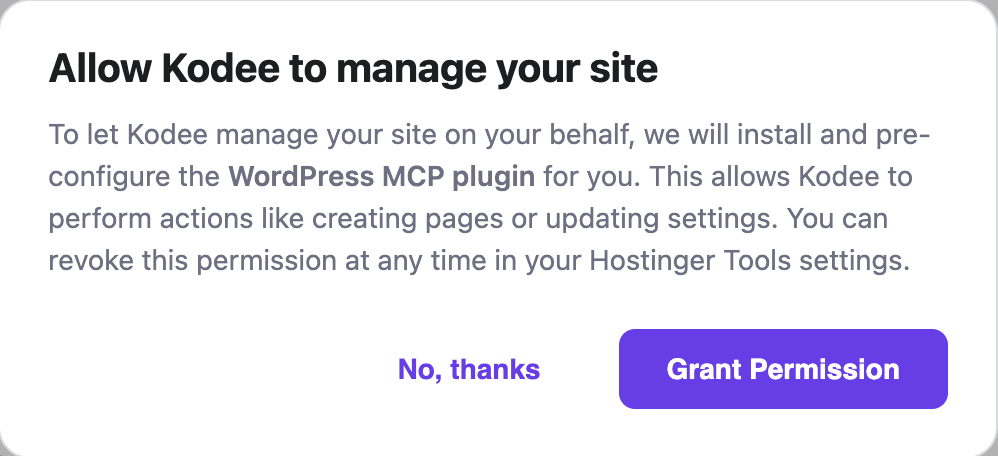
If you are already using our hosting plan, you need to update the Hostinger WordPress plugin and grant permission to enable the integration.
How to use Hostinger Agent in Hostinger dashboard
To manage WordPress from Hostinger dashboard, open the Agent chat, name your website, and describe the task. Here’s how:
- Log in to Hostinger dashboard and click Agent in the sidebar or Ask AI in the top-right corner.
- Enter a prompt that names your WordPress website and the task, like in this example:
List the published posts on domain.tld, newest first.- Hostinger Agent checks your WordPress installation and completes the request in the same conversation.

One conversation covers a full workflow, such as finding a draft, editing it, and publishing it. For irreversible or high-impact actions, Hostinger Agent shows a confirmation card before it proceeds.
How to use Hostinger Agent in WordPress admin
To use Hostinger Agent inside WordPress, open WP Admin from Hostinger dashboard and click the Hostinger Agent button. Here’s how:
- Log in to Hostinger dashboard and go to the sidebar → Websites → Websites list.
- Click the WP Admin button for the WordPress website you want to manage.

- Click the Agent button in the bottom-right corner. The chat opens as a sidebar panel on the right side of the screen.
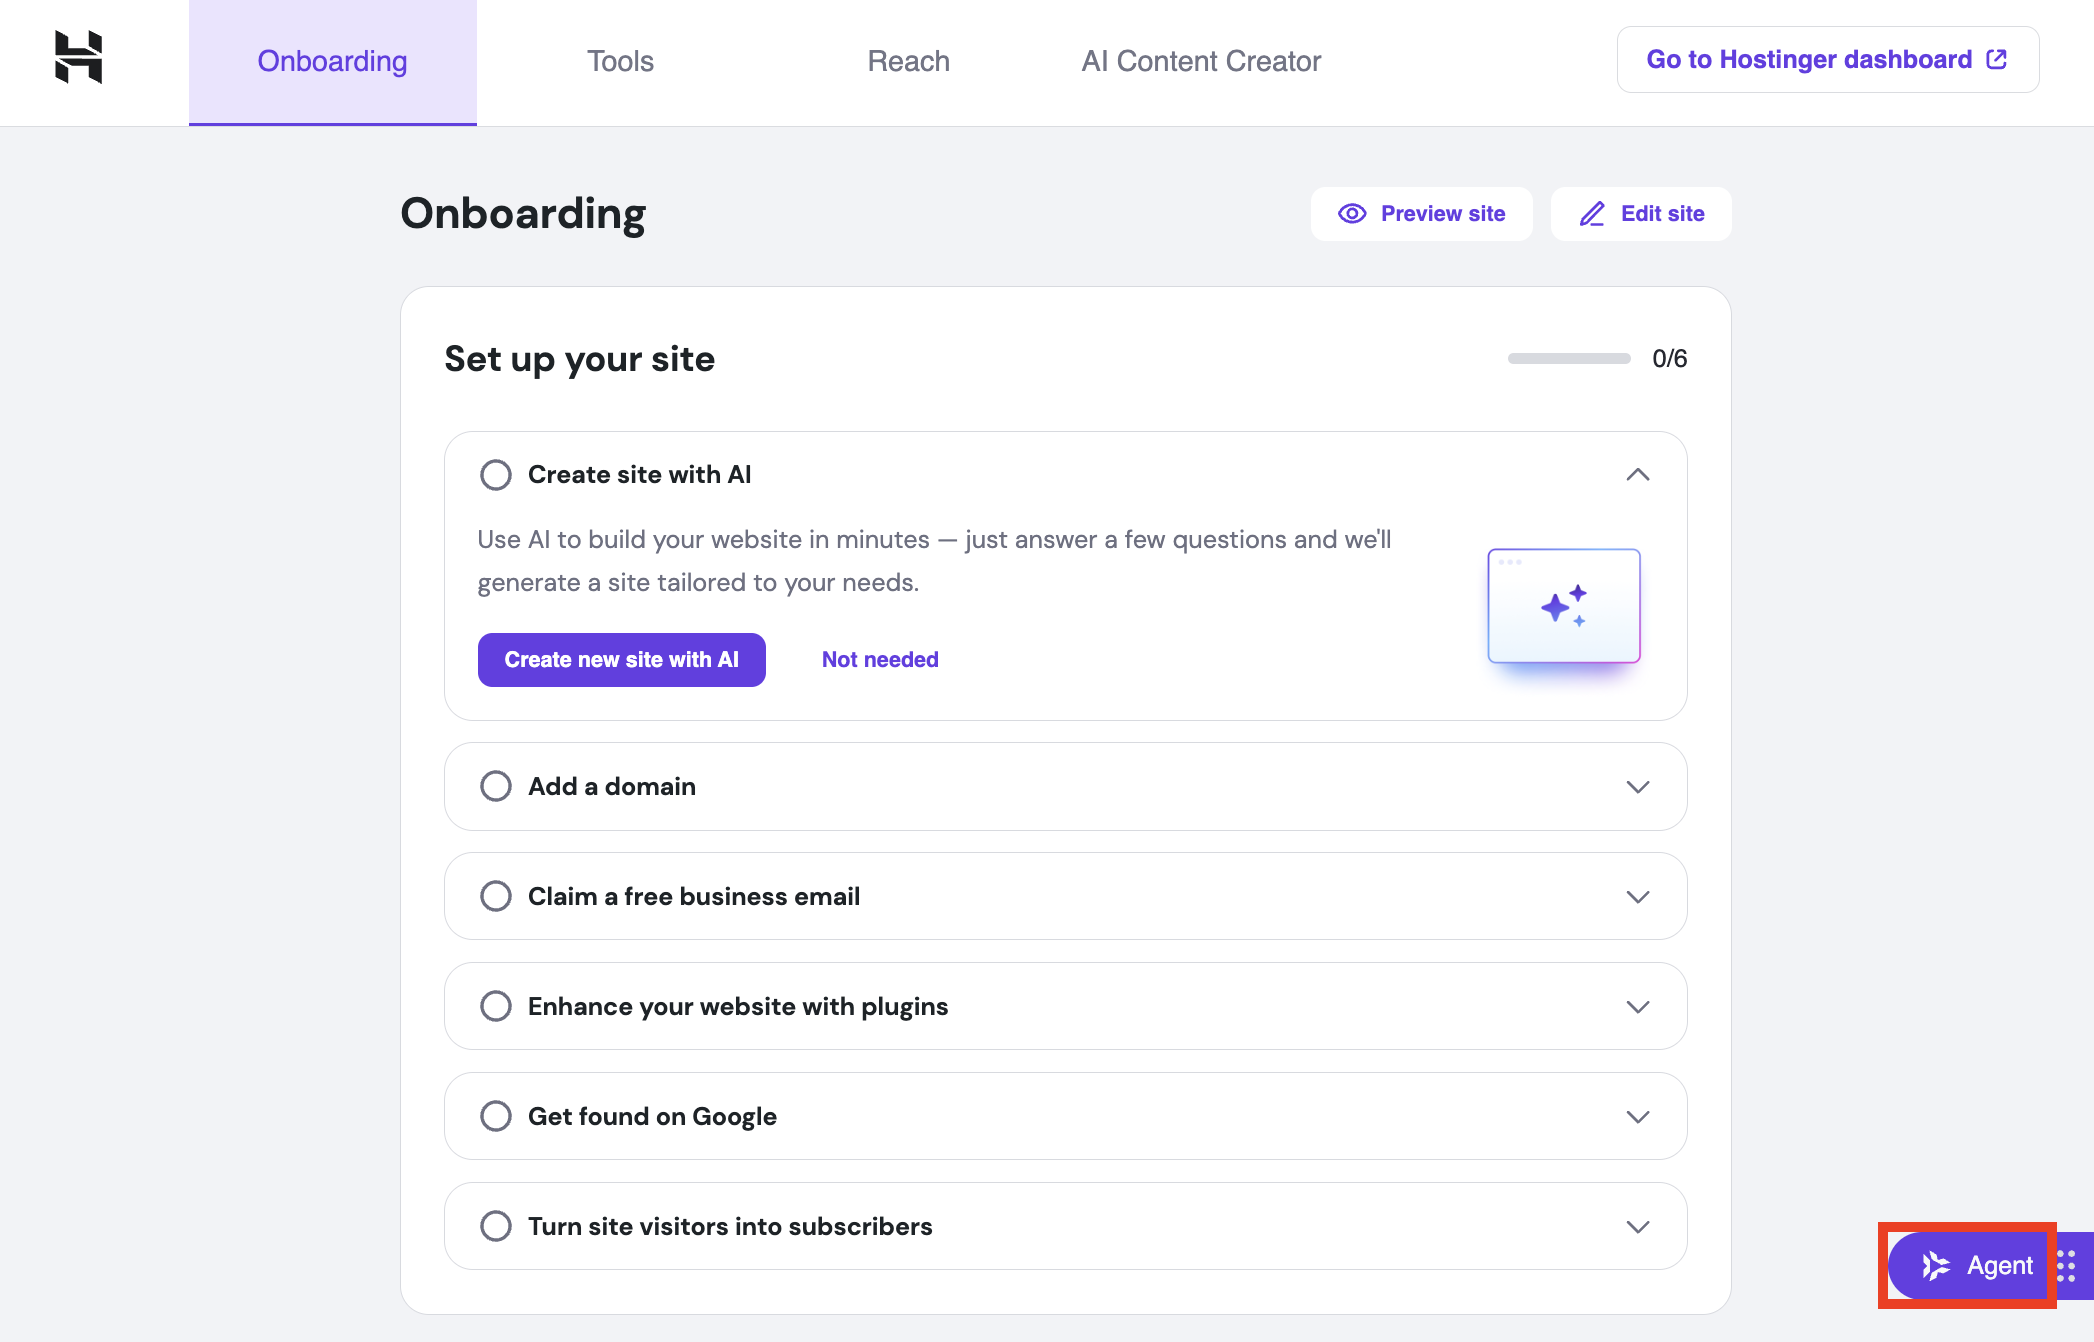
- Enter your prompt to ask Hostinger Agent to modify your website, like in this example:
Create a new contributor user in my WordPress instance with John Doe as the username.The Hostinger Agent button also appears on your site’s front end when you’re logged in as an admin, and inside the Gutenberg and Elementor editors. Drag it to any position if it overlaps other page elements.
Use case examples of the WordPress MCP automation
Here are some use case examples of the WordPress MCP automation, as well as their prompts and outputs.
Hostinger Agent covers four groups of WordPress tasks through MCP: finding content, creating and editing content, moderating comments and organizing categories and tags, and adjusting site settings. It also searches and updates WooCommerce products. When you use the Hostinger dashboard chat, include your domain in the prompt so Hostinger Agent targets the right website.
1. Administering WordPress general settings and users
The most basic use case for the WordPress MCP integration is to check detailed information about your site, such as the site name, URL, admin email address, and more. To do this, specify what type of information you want to check in your prompt, like so:
Check the admin email address associated with my WordPress site.
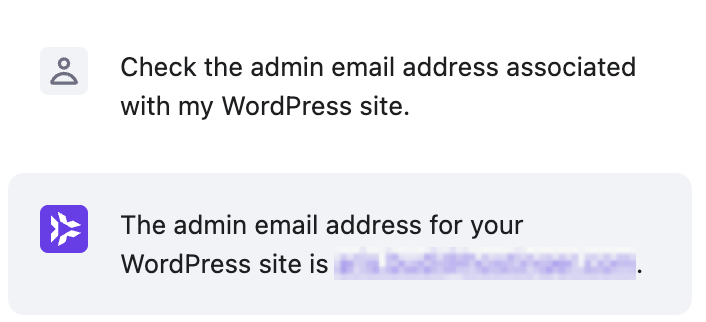
You can also update your site’s general settings by asking Hostinger Agent, for example:
Update the admin email address associated with my WordPress site from oldemail@mail.com to newemail@mail.com.
Moreover, you can ask the AI assistant to manage user settings in your WordPress instance. Here are some tasks you can do:
- Search and filter WordPress users, listing them with pagination.
- Retrieve a username based on the account’s ID.
- Create a new user account in your WordPress site.
- Check the currently logged-in user.
- Update information about a user or the currently logged-in one.
For example, you can check all admin users in your WordPress instance by entering this prompt:
List all users with the administrator role in my WordPress website.
2. Managing posts and pages
Managing posts and pages using the WordPress-MCP integration is a huge time saver, mainly since most of your site’s content is composed of them. Here are the operations you can ask Hostinger Agent to perform via MCP:
- Search and filter all posts and pages in your WordPress website.
- Fetch the content of a specific post or page using its ID.
- Draft a new post or page.
- Update an existing post or page with new content.
- Publish a draft or unpublish a live post or page.
For example, this prompt drafts a new post without making it public:
Draft a new post on domain.tld about choosing luxury sunglasses, written in a friendly tone for fashion-conscious shoppers.
Hostinger Agent publishes the draft when you ask, and unpublishes live posts that need changes, like in this example:
Unpublish the post titled "Summer sale announcement" and keep it as a draft.Hostinger Agent also adds new categories and tags, renames existing ones, and assigns them to posts. This keeps the taxonomy of a large WordPress website consistent without editing each post manually.
For example, the following prompt will create a new category for blog posts and assign a couple of existing articles to it:
Create a new post category called "Sponsored." Then, assign existing posts with the IDs of 28 and 30 to this new category.
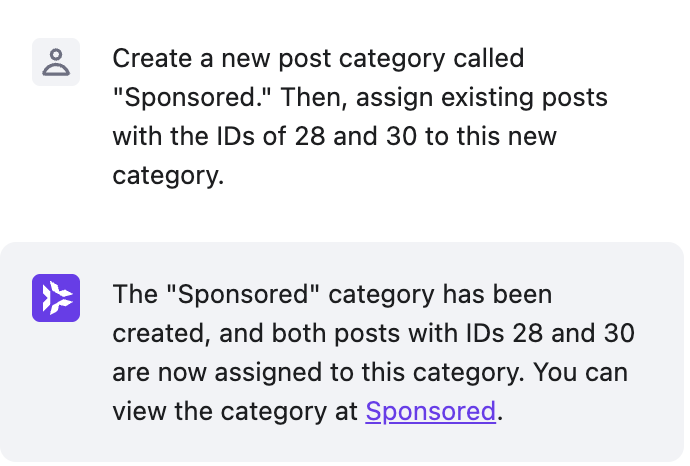
To rename an existing tag, specify the old and new names:
Rename the tag "AI tools" to "AI software."3. Moderating comments
Moderating comments through the WordPress MCP integration means approving legitimate comments and removing spam without opening the Comments screen in WP Admin. Hostinger Agent finds comments on your site, then approves or removes them in the same conversation.
For example, this prompt lists comments waiting for review:
List all pending comments on my WordPress site.After reviewing the list, approve or remove specific comments:
Approve the pending comments on the post with ID 28 and remove the rest.4. Managing media files
You can use the WordPress-MCP integration to manage files in your website’s media library, which might include images, videos, audio, and other documents. This makes the process efficient since finding a specific file among hundreds of items can be time-consuming.
The most basic operation when managing media files with AI is to list all of them and get detailed information about a specific item using its ID. You can do this using these prompts:
List all files in my media library.
Provide detailed information about the media file with the ID number 12345.
You can also look up a specific media file using its title, caption, or description. Here’s an example prompt:
Find the image file with the description of “The main home page of Hostinger’s website.”
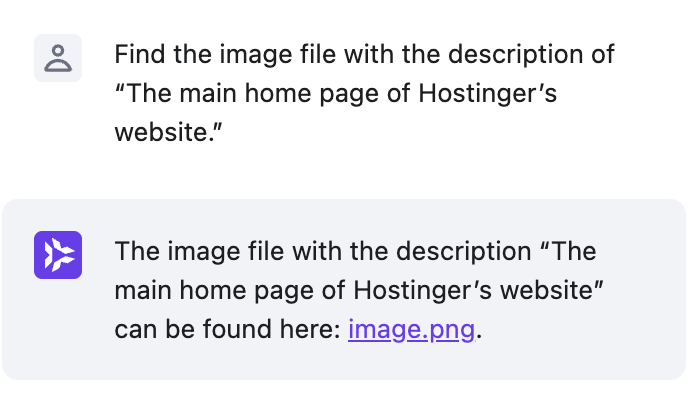
After finding a specific media file, you can ask AI to update its information, such as its name, title, or description. Hostinger Agent doesn’t upload new files to the media library or delete existing ones, so handle those tasks in the Media library in WP Admin.
More features coming soon
We are continuously refining and expanding Hostinger Agent capabilities with MCP. You can soon expect it to be able to upload media to your WordPress website or delete existing content.
5. Handling products in WooCommerce
Handling products in WooCommerce becomes very efficient with MCP, as you can use AI to adjust various aspects of items on your online store. Here are several operations you can perform:
- Change an item’s price, description, title, brand, category, label, or stock.
- Add a new product and create a new brand to categorize it.
- Create a new product tag, list the existing ones, and assign them to products in your online store.
For example, you can create a new brand and add a product to it using this prompt:
Create a new brand called “Lunara.” Then, make new products called “Classic Gold Bracelet,” “Elegant Silver Bangle,” and “Minimalist Chain Bracelet” in this brand.
Let’s say you want to create a new product. Here’s how the prompt might look:
Add a new product in my store called “Jade bracelet” and set the stock for this item to 30.
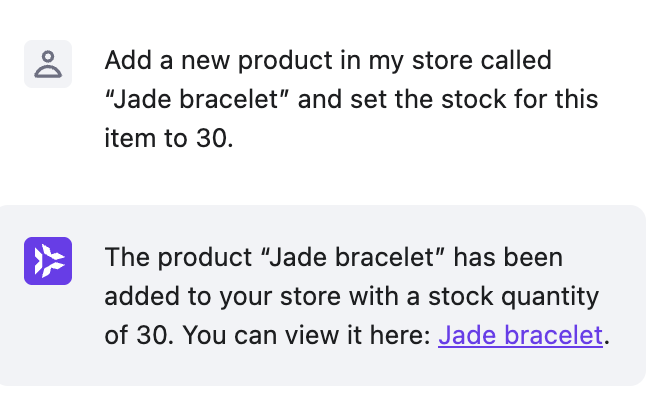
You can also set a discounted sale for a specific period of time:
Set the default price for “Jade bracelet” to US$20. From today until the end of this month, set a promotional discounted price of US$18.
If your product requires copies for the name or description, you can also ask the AI assistant to create one. The prompt is as follows:
Create a description for “Jade bracelet” and add it to the product page.
6. Reporting WooCommerce store data
Beyond the product, the WordPress-MCP integration enables you to summarize various types of WooCommerce store data using AI. You can check your ecommerce site’s total products, coupons, registered users, sales, and more.
For example, you can create a sales report by asking the following:
Check the total number of sales in my store from the 12th of July to the 12th of August.
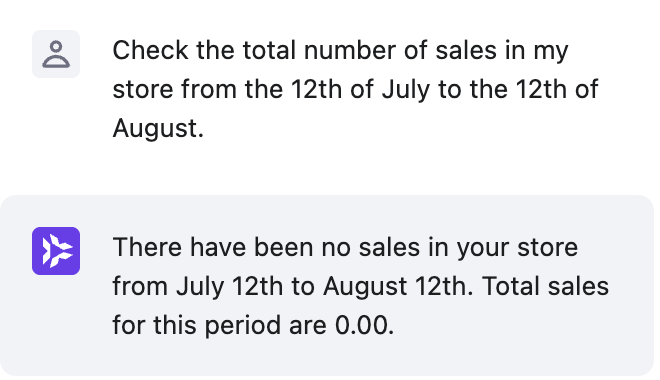
You can also ask AI to list orders in your WooCommerce store, which streamlines fulfillment, customer inquiries, and inventory management. Here’s how the prompt might look:
List all orders in my WooCommerce store for this past week.
How to set up your own WordPress MCP server
Setting up your own WordPress MCP server gives you more flexibility in integrating your sites with AI. For example, you can connect any compatible AI platform with your website based on your needs and preferences.
There are various WordPress MCP server versions with different functionalities and setup processes. In this tutorial, we’ll show you how to install an MCP server from Automattic, which, based on our testing, is the most reliable and easiest to install manually.
To set up your own MCP server, you need an authentication key to allow an AI agent to connect to your website securely. Automattic’s MCP server supports a token or a WordPress application password.
Tokens are more secure as you can set an expiration time that prevents the credential from being compromised in the long term. In this tutorial, however, we’ll use an application password as it’s easier to set up. Here’s how to create one:
- Open your website’s WordPress admin dashboard and navigate to the sidebar → Users → Profile.
- Scroll down to the Application Passwords section.
- Enter a name for your application password, preferably something descriptive like MCP integration.
- Hit Add Application Password.

- Copy the application password and store it in a safe location.
Important! For security reasons, you won’t be able to see your application password again after closing the configuration menu. If you lost it, you must create a new one.
Now, let’s get into the steps of installing and configuring the WordPress MCP server. Note that other MCP servers might require installation using commands, but the one we use in this tutorial comes as a plugin. Here’s how to install it:
- Download the latest version of the MCP server from the Automattic GitHub repository’s release page.
- On your WordPress admin dashboard, go to the sidebar → Plugin → Add Plugin.
- Click the Upload Plugin button at the top of the page.
- Hit Choose file and select the ZIP plugin file you downloaded earlier.
- Click Install Now.
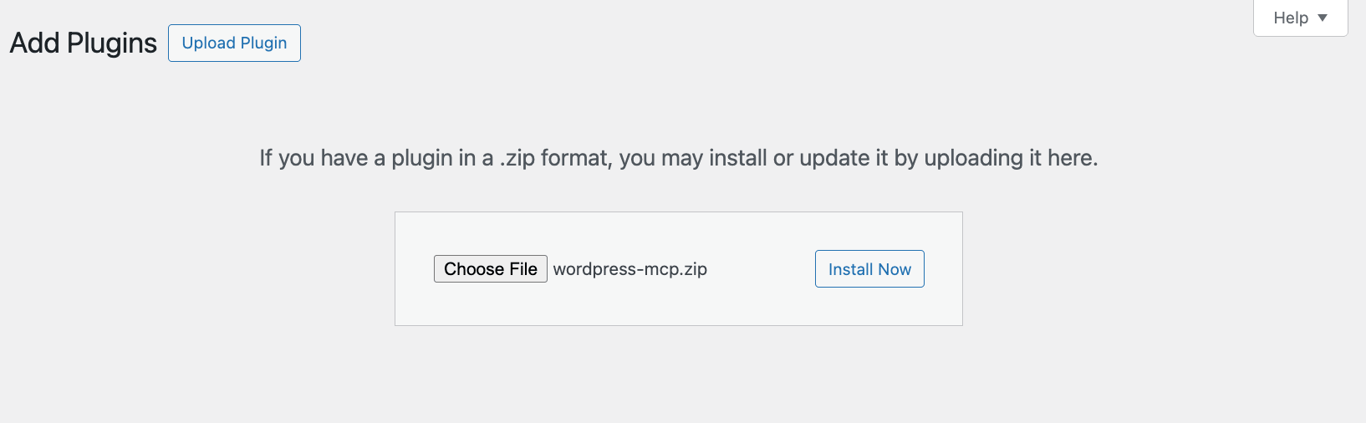
- Once installed, click Activate Plugin.
- Navigate to the sidebar → Settings → MCP.
Now, let’s integrate an AI tool into your WordPress by adding the MCP server configuration. In this tutorial, we’ll demonstrate how to connect Claude Desktop, but the steps might be different if you use another tool:
- Open Claude Desktop.
- Navigate to the menu bar → Claude → Settings. If you’re on Windows, go to the burger icon at the top left menu → File → Settings.
- Click the Developer tab and click Edit Config.
- Open the claude_desktop_config.json file using a text editor.
- Paste the following configuration:
{
	"mcpServers": {
		"wordpress-mcp": {
			"command": "npx",
			"args": [ "-y", "@automattic/mcp-wordpress-remote@latest" ],
			"env": {
				"WP_API_URL": "https://your-site.com/",
				"WP_API_USERNAME": "your-username",
				"WP_API_PASSWORD": "your-application-password",
				"LOG_FILE": "optional-path-to-log-file"
			}
		}
	}
}- Replace the following placeholders with the actual values:
- Your-site.com. The address of your WordPress website.
- Your-username. Your WordPress website’s admin account username.
- Your-application-password. The application password associated with the admin account.
- Optional-path-to-log-file. The optional file location for your WordPress MCP server event logs. Leave it as is to use the default log file.
- Save the file and restart Claude.
That’s it! Now, ask Claude to create a new user account on your WordPress website. If the integration works, it should ask for permission to modify your site.
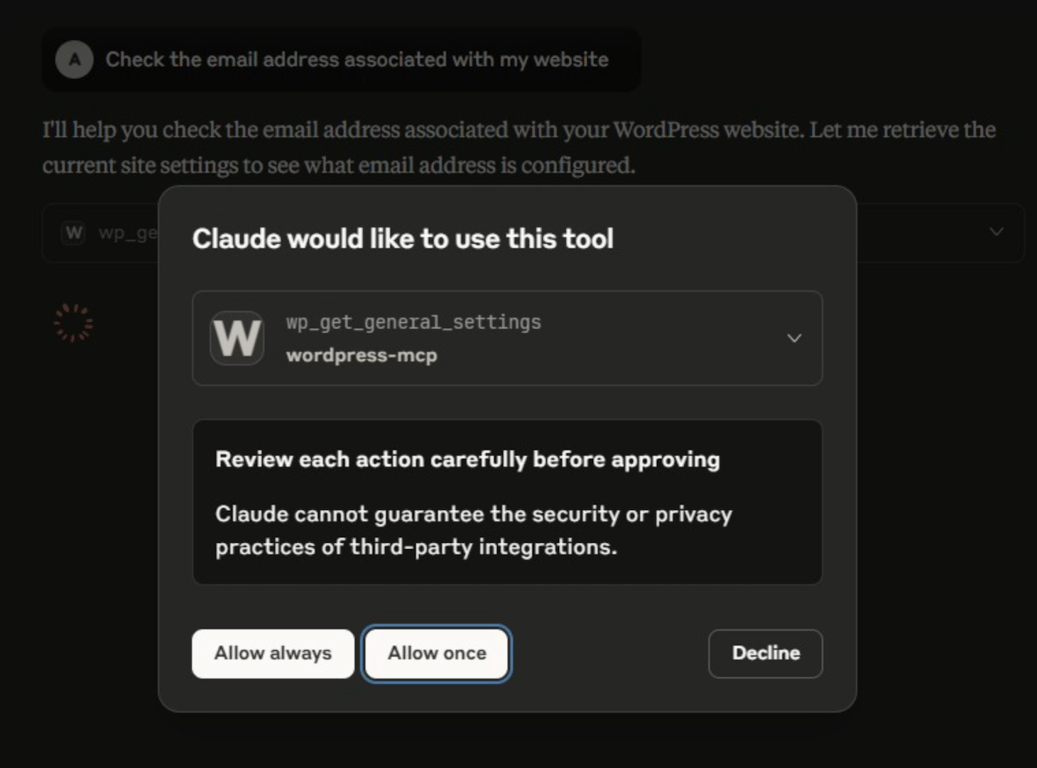
Final thoughts
The WordPress-MCP integration lets you complete various tasks, like checking your website’s general settings and handling inventory, by simply chatting with an AI agent. Whether you are a seasoned developer or a beginner, it can make your site administration more efficient.
Given its benefits, integrating an AI tool into your WordPress website via MCP might be the next step in your online journey. You can do it by installing the MCP server package or purchasing a WordPress hosting plan from Hostinger, which has it set up by default.
This integration is powerful by itself, but you can go even further in fully automating your WordPress website management tasks by connecting other tools. For example, combining MCP with n8n creates a fully autonomous system for various purposes. If you are interested in further streamlining your website management tasks, we have a catalog of automation tutorials that will help you get started.
Artikel ini merupakan versi setempat bagi What is WordPress MCP integration?, asalnya diterbitkan dalam bahasa Inggeris.
All of the tutorial content on this website is subject to Hostinger's rigorous editorial standards and values.

Aris is a Content Writer specializing in Linux and WordPress development. He has a passion for networking, front-end web development, and server administration. By combining his IT and writing experience, Aris creates content that helps people easily understand complex technical topics to start their online journey. Follow him on LinkedIn.