How to create a file-based team wiki with DokuWiki and Docker
May 24, 2026
/
Domantas P.
/
6 min Read
To create a file-based team wiki with DokuWiki and Docker, deploy DokuWiki on a VPS, store its data in a persistent Docker volume, complete the web installer, and configure namespaces, users, permissions, and backups. This setup gives teams a self-hosted documentation wiki without requiring a separate database.
There are two practical ways to deploy it. Hostinger’s Docker template launches DokuWiki with a preconfigured setup, which speeds deployment. The manual Docker method uses the official DokuWiki image, which gives you more control over storage paths, ports, container permissions, and reverse proxy configuration.
After deployment, the wiki needs a clear structure to support team documentation. Persistent storage keeps pages and media files available after container updates, access rules protect private content, namespaces organize documentation by team or project, and backups make the file-based wiki easier to restore.
What do you need to run DokuWiki with Docker?
To run DokuWiki with Docker, you need a server with Docker installed, access to the command line, and a persistent storage directory for wiki data. You also need a browser to complete the first-time DokuWiki installer after the container starts.
For a basic setup, prepare the following:
- A VPS or server with Docker support – DokuWiki runs inside a Docker container, so the server must support Docker Engine or a Docker-based app deployment tool.
- SSH or terminal access – Manual installation requires command-line access to create storage folders, run the container, and check logs.
- A persistent storage directory – DokuWiki stores pages, media files, settings, and revisions as files, so the storage directory must stay outside the container.
- An available port – The official DokuWiki Docker image exposes port 8080, so make sure this port is available or map it to another host port.
- A domain or server IP address – You need an IP address for initial access. For production use, connect a domain or subdomain such as wiki.example.com.
- HTTPS configuration – Use HTTPS before inviting team members, especially if the wiki stores private documentation or user credentials.
- A backup location – Since DokuWiki is file-based, you can back up the mapped storage directory to protect wiki pages, uploads, settings, and revision history.
For testing, a server IP address and an open port 8080 are enough. For a production team wiki, use a domain, HTTPS, a restricted access policy, and scheduled backups before adding users.
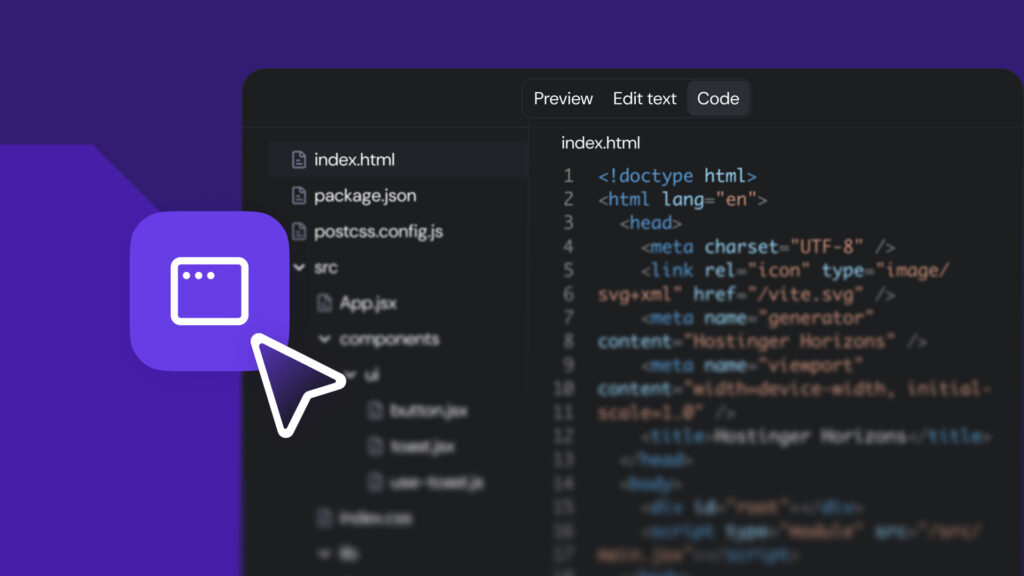
How to install DokuWiki with Docker
You can install DokuWiki manually with Docker by running the official dokuwiki/dokuwiki image, mapping a persistent storage directory, and completing the browser-based installer. The official image exposes port 8080, uses /storage for persistent data, and supports running the container as a non-root user.
1. Create a storage directory for DokuWiki
DokuWiki stores wiki pages, media files, configuration files, and revisions as files. Create a dedicated directory on your server so this data stays available after the container restarts or updates.
mkdir -p ~/dokuwiki/storage
Set the directory owner to match the user ID that will run the container. The mapped storage directory must be writable by that user.
sudo chown -R 1000:1000 ~/dokuwiki/storage
This setup keeps the DokuWiki application inside the container and the wiki content on the host server.
2. Run the DokuWiki Docker container
Run the following command to start DokuWiki:
docker run -d
--name dokuwiki
-p 8080:8080
--user 1000:1000
-v ~/dokuwiki/storage:/storage
dokuwiki/dokuwiki:stable
This command creates a container named dokuwiki and runs it in the background. The -p 8080:8080 option exposes DokuWiki on port 8080, while –user 1000:1000 runs the container as a non-root user. The -v ~/dokuwiki/storage:/storage option saves DokuWiki data outside the container, and dokuwiki/dokuwiki:stable pulls the official stable DokuWiki image.
3. Check whether the container is running
Check the container status with:
docker ps
You should see the dokuwiki container in the output. If the container is not running, inspect its logs:
docker logs dokuwiki
Use the logs to identify permission errors, port conflicts, or missing storage access. Storage permission issues usually mean the host directory is not writable by the container user.
4. Open the DokuWiki installer
Open DokuWiki in your browser using your server IP address and port 8080:
http://SERVER_IP:8080
Replace SERVER_IP with your VPS IP address. On the first run, DokuWiki opens its web installer so you can configure the wiki name, administrator account, and initial access policy.
During the installation, enter the wiki name, admin username, admin display name, email address, admin password, and default access policy. For a team documentation wiki, choose a restricted-access policy if it contains private company notes, runbooks, standard operating procedures, or technical documentation.
5. Restart and manage the DokuWiki container
After installation, manage the DokuWiki container with standard Docker commands.
To stop DokuWiki:
docker stop dokuwiki
To start it again:
docker start dokuwiki
To restart it after configuration changes:
docker restart dokuwiki
To remove the container without deleting the stored wiki files:
docker rm -f dokuwiki
This command removes only the container. Your wiki data remains in the mapped ~/dokuwiki/storage directory.
6. Add HTTPS before using DokuWiki in production
For production use, place DokuWiki behind a reverse proxy such as NGINX, Caddy, or Traefik. The official Docker image is designed to work behind a reverse proxy that handles SSL termination and authentication.
A reverse proxy serves DokuWiki from a domain name instead of an IP address and port. It also enables HTTPS with an SSL certificate, routes traffic from ports 80 and 443 to the DokuWiki container, and lets you add another authentication layer if needed.
After HTTPS is configured, your team can access the wiki through a clean URL, such as:
https://wiki.example.com
At this point, DokuWiki is installed with Docker and ready for team documentation. The next step is to organize the wiki with namespaces, user groups, permissions, and backup rules.
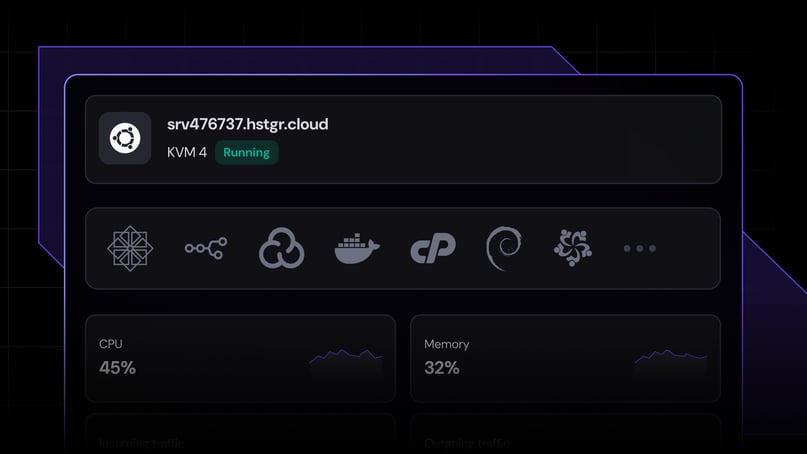
How to deploy DokuWiki with Hostinger’s Docker template
You can deploy DokuWiki faster with Hostinger’s Docker template instead of setting up the container manually. The template launches DokuWiki as a ready-to-use Docker application on a VPS, so you can move directly to the browser-based installer and start configuring your team wiki.
To deploy DokuWiki with Hostinger’s Docker template:
- Go to Hostinger’s DokuWiki Docker template page and click Deploy.
- Choose a VPS plan and server location for your wiki.
- Complete the purchase or log in to your Hostinger account.
- Wait for Hostinger to provision the VPS and launch the DokuWiki container.
- Open the application using the server IP address or access URL from hPanel.
- Complete the DokuWiki installer by entering the wiki name, admin username, email address, password, and default access policy.
- Connect a domain or subdomain, such as wiki.example.com, before inviting team members.
- Enable HTTPS with an SSL certificate to protect logins, admin sessions, and page edits.
This method is best if you want a quicker deployment path without writing the initial Docker command, mapping volumes, or configuring the container from scratch. After the installer completes, use Hostinger’s Docker Manager to check the container’s status, review logs, or manage the running application.
For a private team wiki, choose a restricted access policy during setup. This keeps internal documentation, onboarding pages, standard operating procedures, and technical runbooks available only to approved users. Once DokuWiki is running, create namespaces for teams or documentation types, then add user groups and permissions based on how your team manages internal knowledge.
When should you use DokuWiki instead of a database-backed wiki?
Use DokuWiki instead of a database-backed wiki when your team needs simple documentation, easy maintenance, and file-based storage more than advanced content workflows. DokuWiki stores pages as plain text files, so you don’t need to manage a separate database for the wiki content.
This makes DokuWiki a good fit for small and medium-sized teams that want to document internal processes without adding unnecessary infrastructure. For example, you can use it to store onboarding guides, standard operating procedures, technical runbooks, troubleshooting notes, and project documentation.
A file-based wiki also makes backups easier. Since DokuWiki saves content in files, you can back up the persistent storage directory instead of exporting both application files and a database. This is useful for teams that want a lightweight documentation system they can move, restore, or version more easily.
DokuWiki is also a practical choice when documentation needs to stay private on your own VPS. Self-hosting gives you control over where the wiki runs, who can access it, and how the server is secured. With access control rules, you can keep sensitive documentation restricted to specific users or groups.
A database-backed wiki is usually better when your organization needs more complex workflows, large-scale collaboration features, structured content models, or deep integrations with enterprise tools. For a lightweight team wiki, DokuWiki keeps the setup simpler: one container, persistent file storage, and no separate database service to maintain.
Next steps for running DokuWiki with Docker
After DokuWiki is running, prepare the wiki for real team use by organizing content, securing access, and creating a backup routine. A working container is only the first part of the setup. The wiki also needs a clear structure so users can find, edit, and maintain documentation without creating duplicate or outdated pages.
Start by creating namespaces for your main documentation areas. For example, use separate namespaces for onboarding, standard operating procedures, technical runbooks, product notes, and team-specific documentation. This keeps the wiki easier to browse as the number of pages grows.
Next, configure user groups and access control rules. Give edit access only to people who maintain the documentation, and limit read access if the wiki contains private company information. For a small team, this can be as simple as separate admin, editor, and reader groups.
Then, install only the plugins your team actually needs. Useful additions may include syntax highlighting for technical notes, diagrams for system documentation, or task management features for process pages. Avoid adding too many plugins early, because each plugin increases maintenance work during updates.
Finally, create a backup process for the persistent storage directory. Since DokuWiki stores content as files, backing up the mapped storage folder protects your pages, media files, configuration, and revision history. Test the restore process before relying on the backup for production documentation.
Once these basics are in place, your Docker-based DokuWiki setup becomes a lightweight team wiki that is easier to maintain than a database-backed documentation system.
All of the tutorial content on this website is subject to Hostinger's rigorous editorial standards and values.

Domantas is a Content SEO Specialist who focuses on researching, writing, and optimizing content for organic growth. He explores content opportunities through keyword, market, and audience research to create search-driven content that matches user intent. Domantas also manages content workflows and timelines, ensuring SEO content initiatives are delivered accurately and on schedule. Follow him on LinkedIn.