How to change hostname on CentOS 9 Stream: 3 simple methods explained
Dec 22, 2025
/
Edward S. & Ignas R.
/
3 min Read
Managing multiple servers may be challenging, which is where hostnames can prove to be useful.
Hostnames enable users to name their servers and organize them more efficiently.
In this tutorial, we’ll explain what a hostname is and show you three ways to change it on a CentOS 9 Stream machine.

What Is a Hostname?
A hostname is an individual name assigned to a computer. It can be anything from myhostname to mycomputer1.domain.tld. Hostnames are used as identifiers designed to make it easier for people to separate different computers or servers on the network.
An interesting feature is that hostnames can be private or exposed to a network. For example, a user won’t be able to see a hostname like myhostname on a network. On the other hand, if a hostname gets combined with a domain, it will be seen on public networks.
Let’s say server1 is the computer’s hostname you want to access, while mydomain is the domain and .com is the top-level domain. When combined, the hostname will look like this – server1.mydomain.com.
Such identifiable names are called Fully Qualified Domain Names (FQDN), as they include the computer’s name and the domain name associated with that computer.
How to Change Hostname Using Hostinger’s Control Panel
If you are using Hostinger’s virtual machine hosting, you can easily change the server’s hostname via hPanel.
To do this, open your VPS management page on hPanel and navigate to the Settings section.

Then, find the Change Hostname section and fill in the details with your desired hostname. Don’t forget to save the changes.

That’s it – the hostname is now updated. You can check the new hostname from hPanel or by asking the Kodee AI assistant. Simply ask it, “What is the current static hostname of my VPS?”
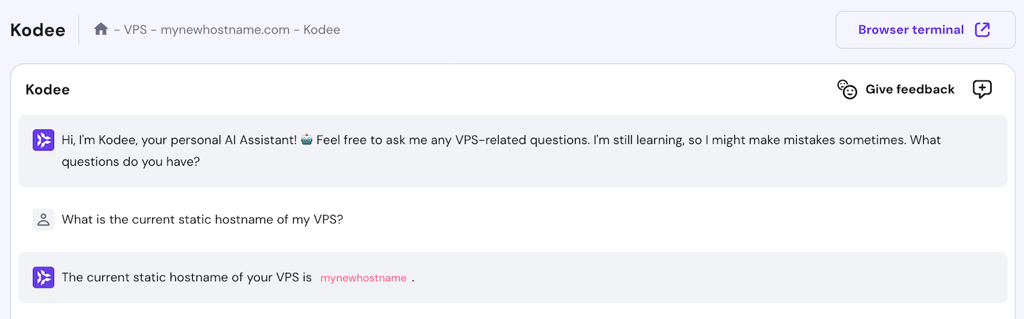
You can also change the hostname via Kodee. Simply type a prompt like “Hey, please change my hostname to mynewhostname.tld.”
If you use Hostinger’s VPS and decide to change the hostname via the command line, these changes won’t be reflected on hPanel. For this reason, we highly recommend modifying the hostname via Hostinger’s hPanel.
How to Change Hostname on CentOS 9 Stream Using Hostname and Hostnamectl Commands
Another method to change a computer’s hostname is via the terminal or an SSH client. First, connect to SSH or open the terminal window. After that, make sure that the root user is active. To gain this privilege, use the superuser command below:
su
Next, check the current hostname with the following command:
hostname
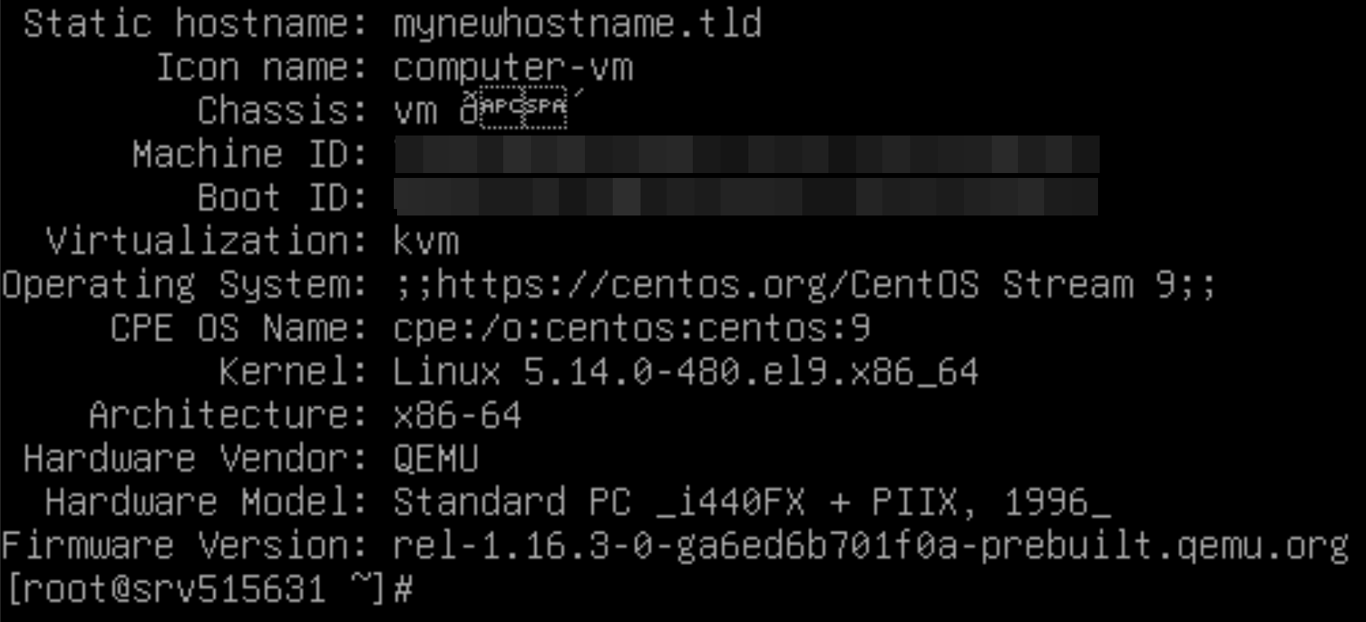
It is also possible to do it with other commands. For example, the one listed below will provide more information about the server, such as its kernel or architecture:
hostnamectl
To change the hostname, execute the following Linux command:
hostnamectl set-hostname mynewhostname.tld
After that, run the hostnamectl command again to check if the changes were successful:
hostnamectl
How to Change Hostname on CentOS 9 Stream by Editing the /etc/hostname File
It’s also possible to change the hostname by editing the /etc/hostname file with a text editor such as nano. To do this, run the command below:
sudo nano /etc/hostname
The file will contain a single line with the current hostname:

Simply replace it with a new one and save the changes. Then, verify that everything is working with the following command:
hostnamectl
Static, Transient, and Pretty Hostnames
The previous methods covered how to set a static hostname, which doesn’t change. However, it’s also possible to specify a temporary hostname, which is also called a transient hostname. It will stay active until the system reboots.
To set it, add the –transient option to the hostnamectl command like this:
sudo hostnamectl set-hostname my.temporaryhostname.tld --transient
Then, check the changes:
hostnamectl

Finally, there is an option to create a hostname with UTF-8 support to further improve its readability. This is known as a pretty hostname.
Add –pretty to the hostnamectl command to create one:
sudo hostnamectl set-hostname my.prettyhostname.tld --pretty
Then, verify that the changes are successful using the below command:
hostnamectl
Conclusion
Changing hostnames can be useful if users want to quickly differentiate multiple servers and manage them with ease.
In this tutorial, we’ve gone through the process of changing the hostname for a CentOS 9 Stream system and explained the differences between static, temporary, and pretty hostnames.
We hope you found this tutorial useful. In case you have any questions, leave them in the comments section below.
All of the tutorial content on this website is subject to Hostinger's rigorous editorial standards and values.

Edward is a content editor with years of experience in IT writing, marketing, and Linux system administration. His goal is to encourage readers to establish an impactful online presence. He also really loves dogs, guitars, and everything related to space.

Ignas takes great satisfaction in helping people tackle even the most complex technical issues. His current goal is to write easy-to-follow articles so that these issues will not happen at all. During his free time, Ignas likes to play video games and fix up things around his house.