How to install Ollama in 4 steps
May 07, 2026
/
Ritoban M.
/
5 min Read

Ollama is an open-source platform for running various large language models (LLMs) on a private server or computer. Ollama’s self-hosted capability offers more data privacy and improved control, making it suitable for deploying a personal AI assistant.
To install Ollama on a personal machine, you need a computer with at least 16 GB of RAM, 12 GB of storage, and 4 CPU cores. Log in to the system’s terminal as an admin, update its repository, and download the dependencies. Then, install the Ollama package and finish the setup wizard by adjusting the settings to your preferences.
Alternatively, you can install Ollama on a Hostinger virtual private server (VPS) with a few clicks using our OS template. This method is quicker and simpler than manual installation, making it handy for beginners unfamiliar with the command-line interface.
TL;DR
- To install Ollama on Linux, start with a VPS or computer with at least 16 GB of RAM, 12 GB of storage, 4 CPU cores, and sudo or root access.
- Then update system packages, install Python, Pip, and Git, run the official Ollama install script, and check the service status.
- For a faster setup, choose Hostinger’s Ollama VPS template, which includes Ollama, Llama 3, and Open WebUI.
Prerequisites for installing Ollama
Before you begin the installation process, you need a few things to install Ollama on your VPS. Let’s look at them now.
VPS hosting
Since Ollama is a resource-demanding application, you need a virtual private server (VPS) with at least 16GB of RAM, 12GB+ hard disk space, and 4 to 8 CPU cores. Note that you need more resources if you wish to run advanced large language models (LLMs) with more parameters, like DeepSeek r1.
If you don’t have a VPS for deploying Ollama, Hostinger’s LLM hosting solution is an excellent choice. With up to 32 GB of RAM and 8 CPU cores, it’s suitable for running various LLMs, including the resource-intensive ones.

Operating system
Ollama is designed to run on Linux systems. For the best results, your hosting environment should be running on Ubuntu 22.04 or higher, or the latest stable version of Debian.
Access and priviliges
To install and configure Ollama, you need access to the terminal or command line interface of your VPS. You also need to have root access or own an account with sudo privileges in Linux.
Installing Ollama on a VPS manually
If you want to run Ollama on your local computer or a VPS from another hosting provider, here’s how you can install it manually. It’s a more complicated process than using a pre-built template, so we’ll walk you through it step by step.
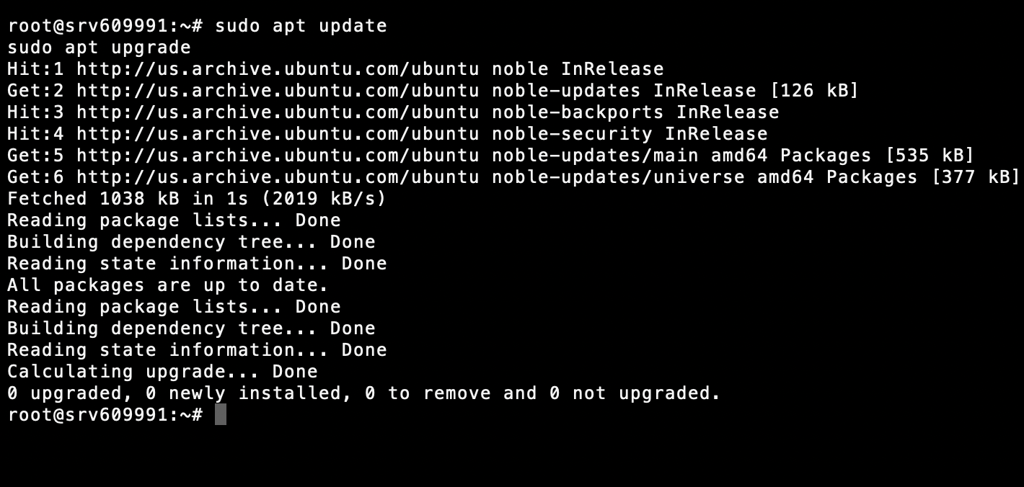
1. Update system packages
Make sure your VPS is up-to-date before you install any new software. To update your package list and upgrade the installation packages, run the commands below using your server’s command line:
sudo apt update

sudo apt upgrade
Keeping your system up to date helps avoid compatibility issues and ensures a smooth installation from beginning to end.
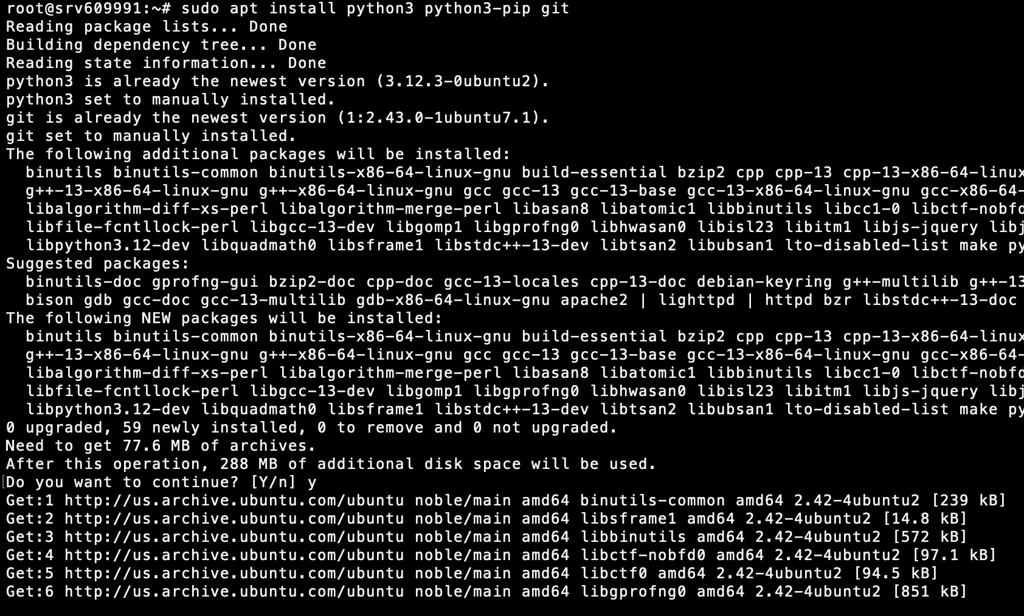
2. Install required dependencies
Ollama requires certain dependencies to run smoothly. These include the latest versions of Python, Pip, and Git. To install them, run this command:
sudo apt install python3 python3-pip git
Verify that the installation has been successfully completed by running:
python3 --version

pip3 --version

git --version
If your VPS has an NVIDIA GPU, you’ll need additional CUDA drivers to take advantage of the GPU’s enhanced performance. But these steps will vary depending on your server configuration. Follow the official NVIDIA guide on downloading the CUDA Toolkit to learn more.
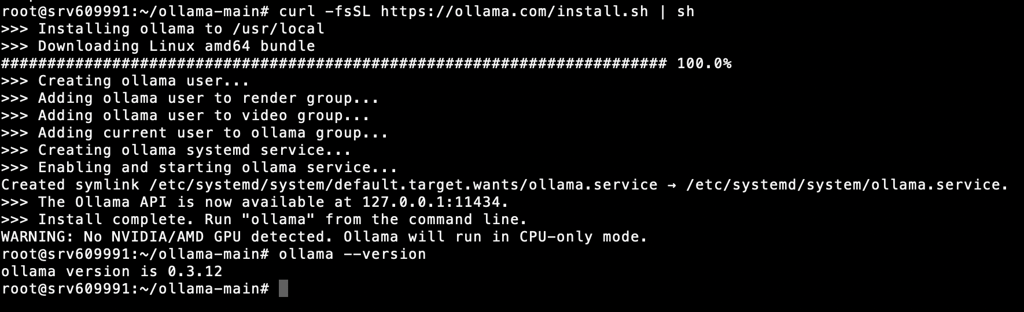
3. Download the Ollama installation package
Up next, download the Ollama installation package for Linux from its official website. You can do this by running:
curl -fsSL https://ollama.com/install.sh | sh
This will download and install Ollama on your VPS. Now, verify the installation by running:
ollama --version
4. Run and configure Ollama
Now you should be able to run Ollama anytime you want, by using the following command:
ollama serve
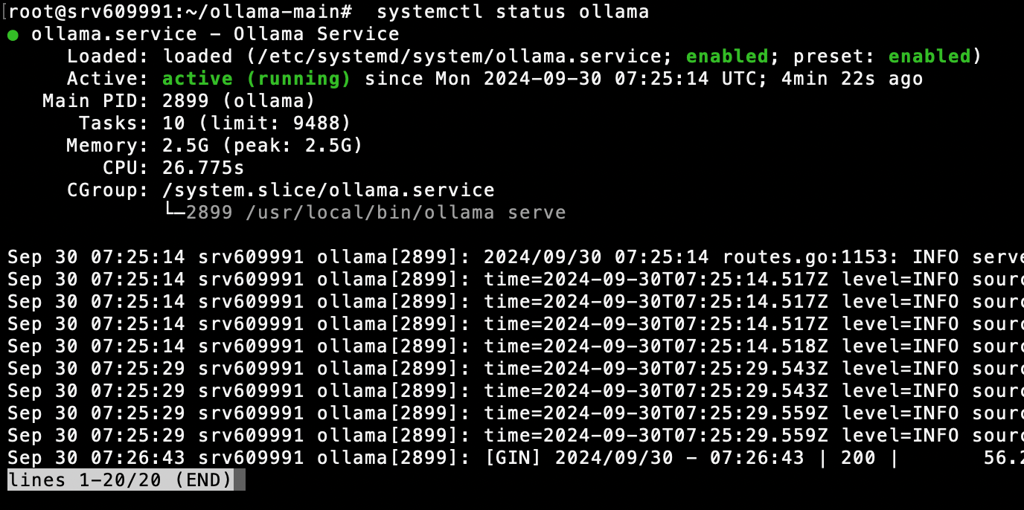
Before you proceed any further, you should check the current status of the Ollama service by running this on your CLI:
systemctl status ollama
Verifying Ollama installation
If you're a Hostinger VPS customer, you can also use Kodee AI Assistant to confirm if Ollama is already running on your server. Access it by clicking the Ask Kodee button on hPanel and ask, "Check if Ollama is running on my server. The server name is srv123.hstgr.cloud"
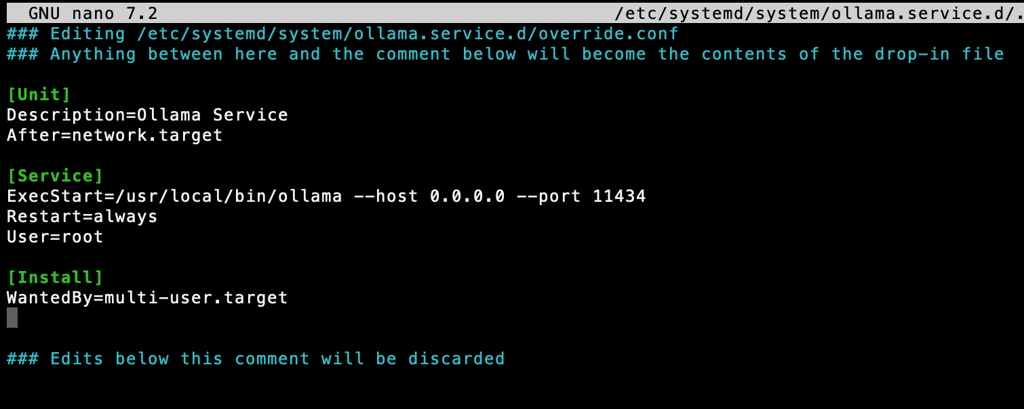
Next, create a systemd service file so Ollama runs automatically each time you boot up your VPS:
sudo nano /etc/systemd/system/ollama.service
Add the following contents to your systemd service file:
[Unit]

Description=Ollama Service

After=network.target

[Service]

ExecStart=/usr/local/bin/ollama --host 0.0.0.0 --port 11434

Restart=always

User=root

[Install]

WantedBy=multi-user.target
After that, use the following command to reload the environment:
systemctl daemon-reload

systemctl restart ollama
And you’re done! Ollama should launch automatically the next time you boot up your VPS.
Note: While it provides many configuration options to modify model behavior, tune performance, and change server settings, Ollama is designed to run out-of-the-box using its default configuration.
This configuration works well for most scenarios, so you can get started right away by fetching your necessary model files. You can do that by running “ollama pull <model_name>”.
Can I use a template to install Ollama?
Yes, you can use a template to install Ollama on Hostinger VPS. It is a pre-configured solution that lets you automatically download, install, and set up Ollama, including its dependencies, in one-click.
Since our system will handle all the configuration tasks for you, the Ollama installation process becomes more efficient and less prone to errors.
Installing Ollama using a Hostinger VPS template
Hostinger has simplified the Ollama installation process by providing a pre-configured Ubuntu 24.04 with Ollama VPS template starting at only $6.49/month.
It comes with Ollama, Llama 3, and Open WebUI already installed. All you have to do is select the template, wait for the automatic installer to finish, and log into your server to verify the installation.
The steps to install Ollama with a Hostinger template are:
- Log into your Hostinger account and access hPanel.
- Navigate to the VPS section and select your VPS instance.
- Click on the Operating System → Ubuntu 24.04 with Ollama.
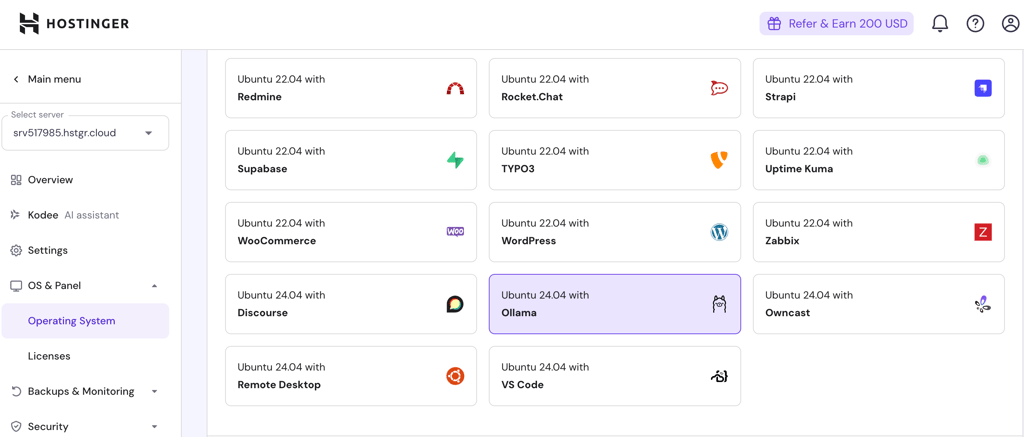
- Wait for the installation to complete.
- Log into your VPS using SSH to verify the installation.
That’s it! You should now be ready to start using Ollama on your Hostinger VPS to power your web applications.
Since the template already has all the requisite tools and software pre-installed and configured, you don’t need to do anything else before diving into the LLMs.
How can I use Ollama in the most powerful way?
After successfully installing Ollama on your VPS, you’ll have access to a host of tools to fine-tune a variety of large language models running locally on your server. You can use Ollama for various tasks, inlcuding building custom chatbots and virtual assistants to serve specific needs.
For example, you can integrate DeepSeek with Ollama to create an AI agent for technical tasks like coding assistance. You can also connect Ollama with other third-party platforms to streamline various tasks using AI.
One powerful way to use Ollama is by integrating it with n8n. This not only enables you to fully automate complex operations involving various platforms, tools, and applications, but also use powerful AI processing capabilities to manipulate data.
Given this platform’s extensive flexibility and compatibility with various LLMs, the list of Ollama use cases go on. We recommend you install and experiment with this tool yourself to discover the ways you can use it for your projects.
All of the tutorial content on this website is subject to Hostinger's rigorous editorial standards and values.

Ritoban Mukherjee is a freelance tech and innovations journalist from West Bengal, India. His work focuses on reviews, guides, and features about consumer and business software, such as website builders, hosting services, and cloud storage — among other things. He has been published on Tom's Guide, TechRadar, Creative Bloq, IT Pro Portal, Gizmodo, Medium, Quartz, and Mental Floss. Follow him on LinkedIn.