Create new print on demand products
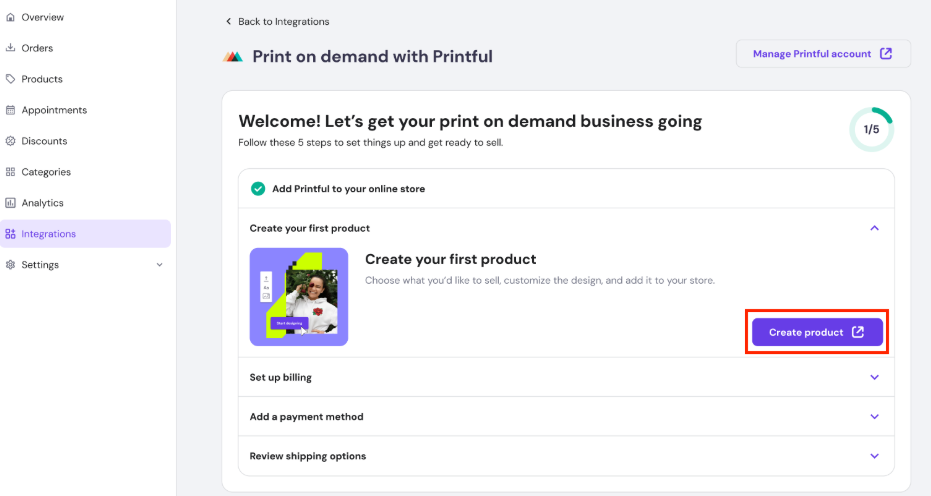
- Once your store is connected with Printful, you can start adding products right away and follow the checklist by clicking Create product
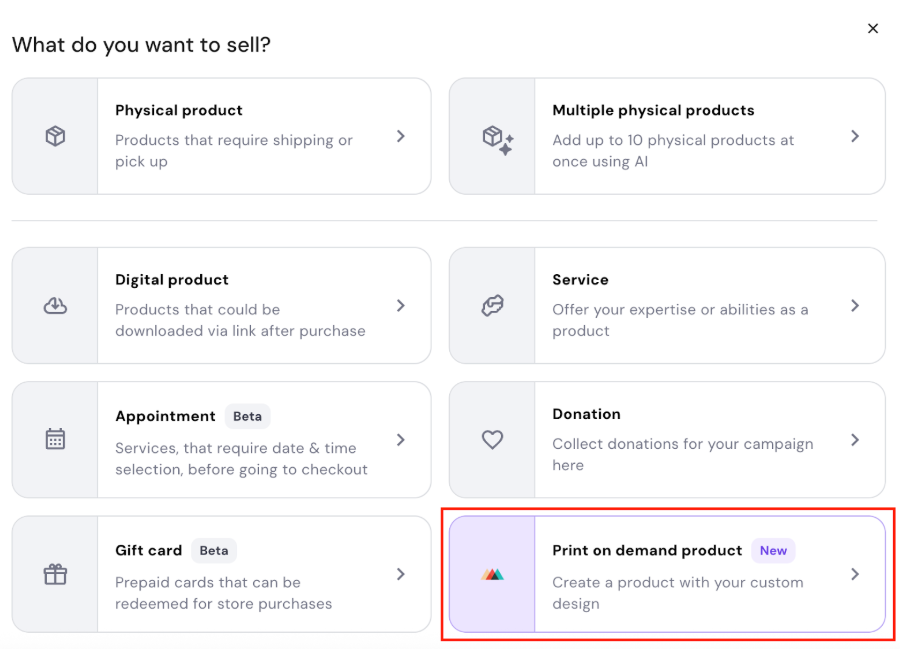
- In case you already created a print on demand product before, go to Products -> Add product and select Print on demand product option.

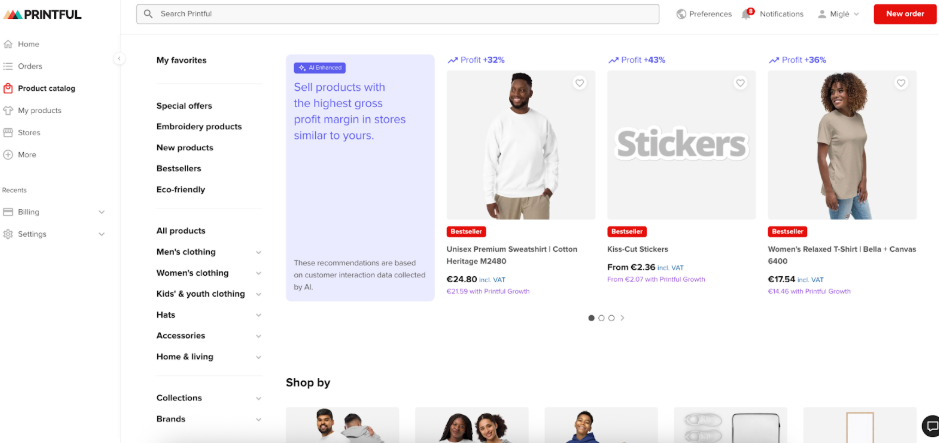
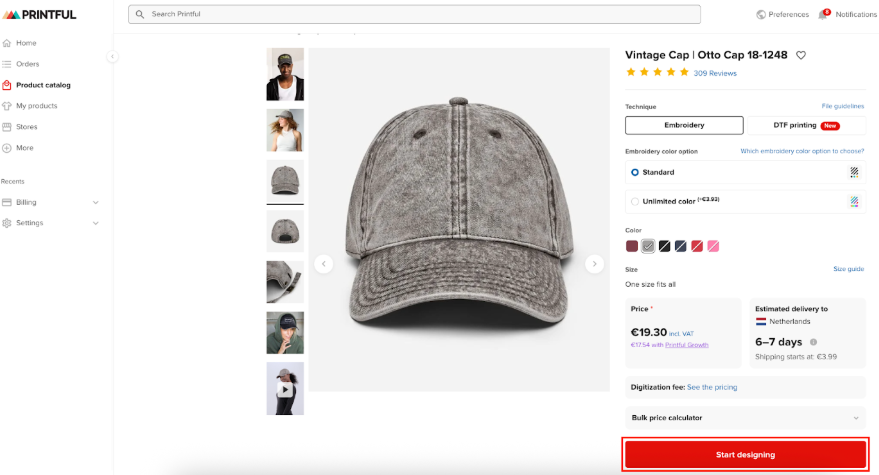
- You will be taken to Printful’s product catalog. Choose the next product you’d like to customize with your design and offer in your store.

- Once a product is selected, add colours, sizes and click Start designing.

- Add your design, write your product description, choose mockup images, and set your prices.

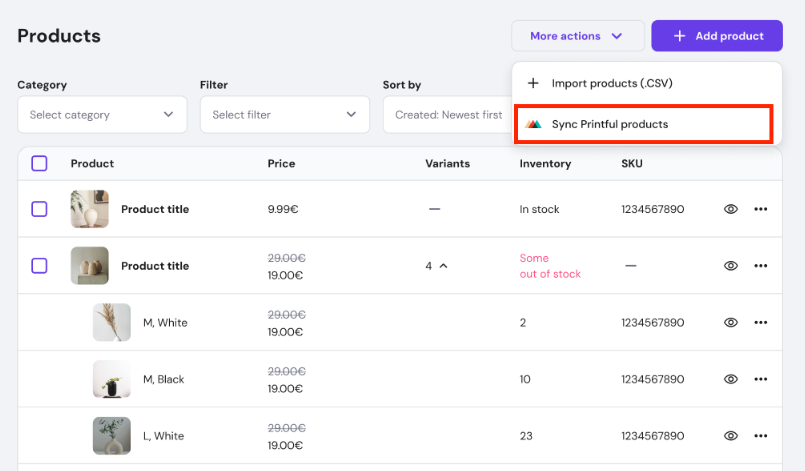
- Products are automatically published and added to your Hostinger Website Builder store. This process may take a few minutes. If newly created Printful products are not visible, manually sync your store by clicking the Sync Printful products button in your product list.

- Make sure to publish your store for the products to appear in your store!

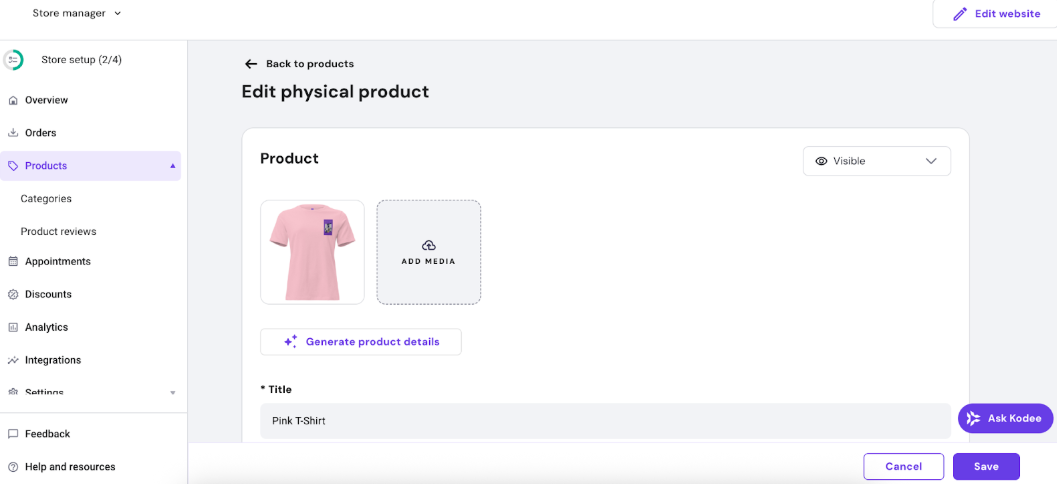
Edit print on demand products
You can edit print-on-demand products directly within your store manager, but these changes (excluding product name) will not sync with your Printful store. For example, price adjustments or discounts applied in your store manager will not be reflected on Printful.
Conversely, any edits made to product details within your Printful dashboard will synchronize with your store, with the exception of price changes.