IMPORTANT: The new Outlook app no longer supports IMAP/POP connections and cannot connect to Hostinger Email. This guide applies only to Classic Outlook, which Microsoft is phasing out by April 2026.
If you’re using the new Outlook or experiencing connection issues, see: New Outlook app not connecting to Hostinger email: What you need to know.
To set up Hostinger Email on Outlook automatically, follow this article.
To set up Hostinger Email on Outlook manually, make sure that:
-
You have created an email account with Hostinger Email
-
Your domain is pointed to Hostinger
-
The correct Hostinger Email MX records are added to your domain’s DNS zone
Then, proceed with the steps below 👇
👉 Gather the Hostinger Email Account Details
Gather the configuration details of your email account:
|
IMAP (incoming) |
POP3 (incoming) |
SMTP (outgoing) |
|
Host: imap.hostinger.com Encryption: SSL Port number: 993 |
Host: pop.hostinger.com Encryption: SSL Port number: 995 |
Host: smtp.hostinger.com Encryption: SSL Port number: 465 |
If you’re not completely sure about your email password, you can easily reset it.
👉 Set Up Hostinger Email on Outlook
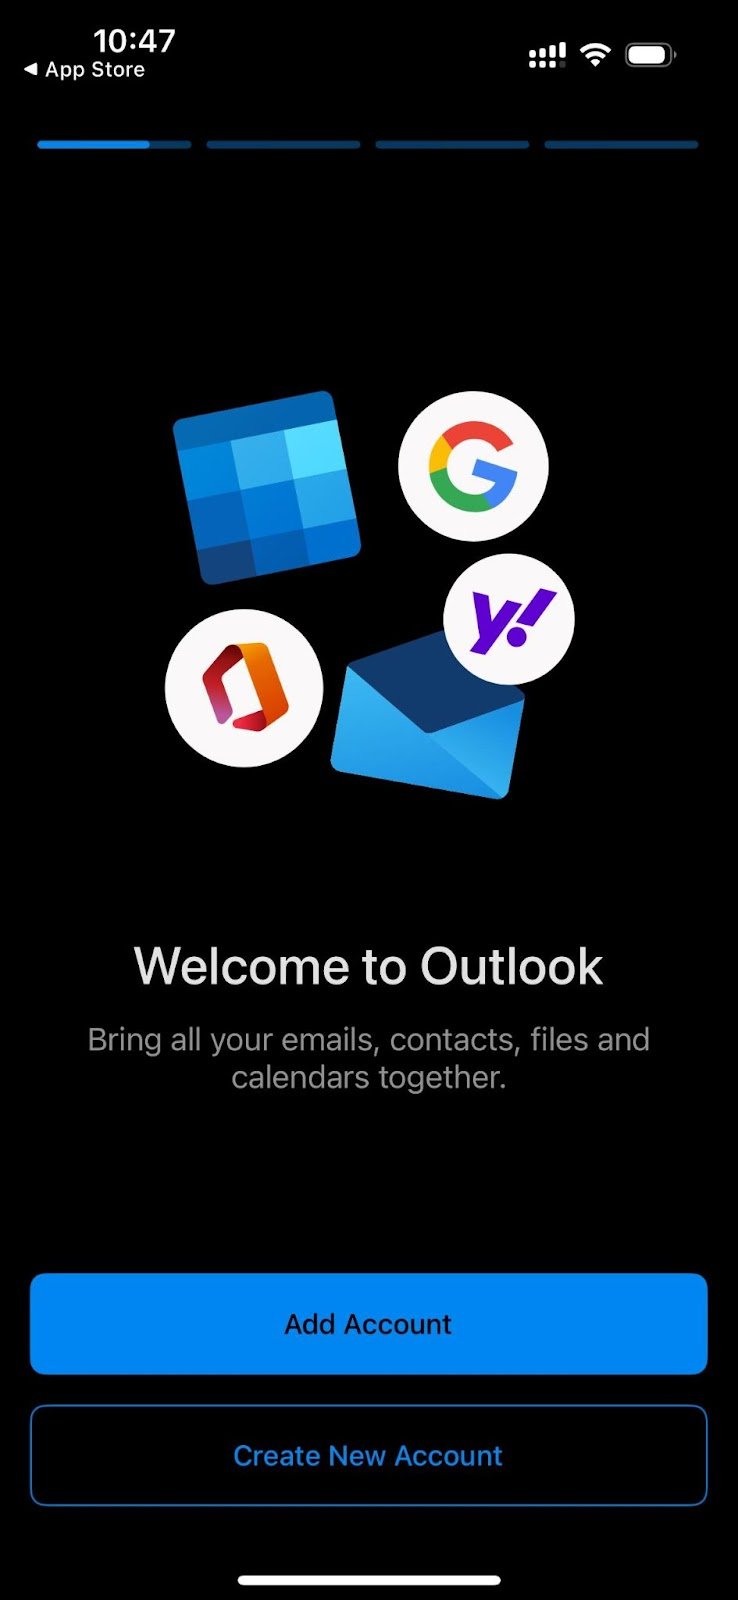
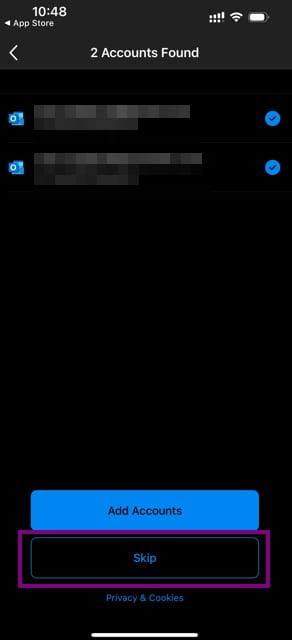
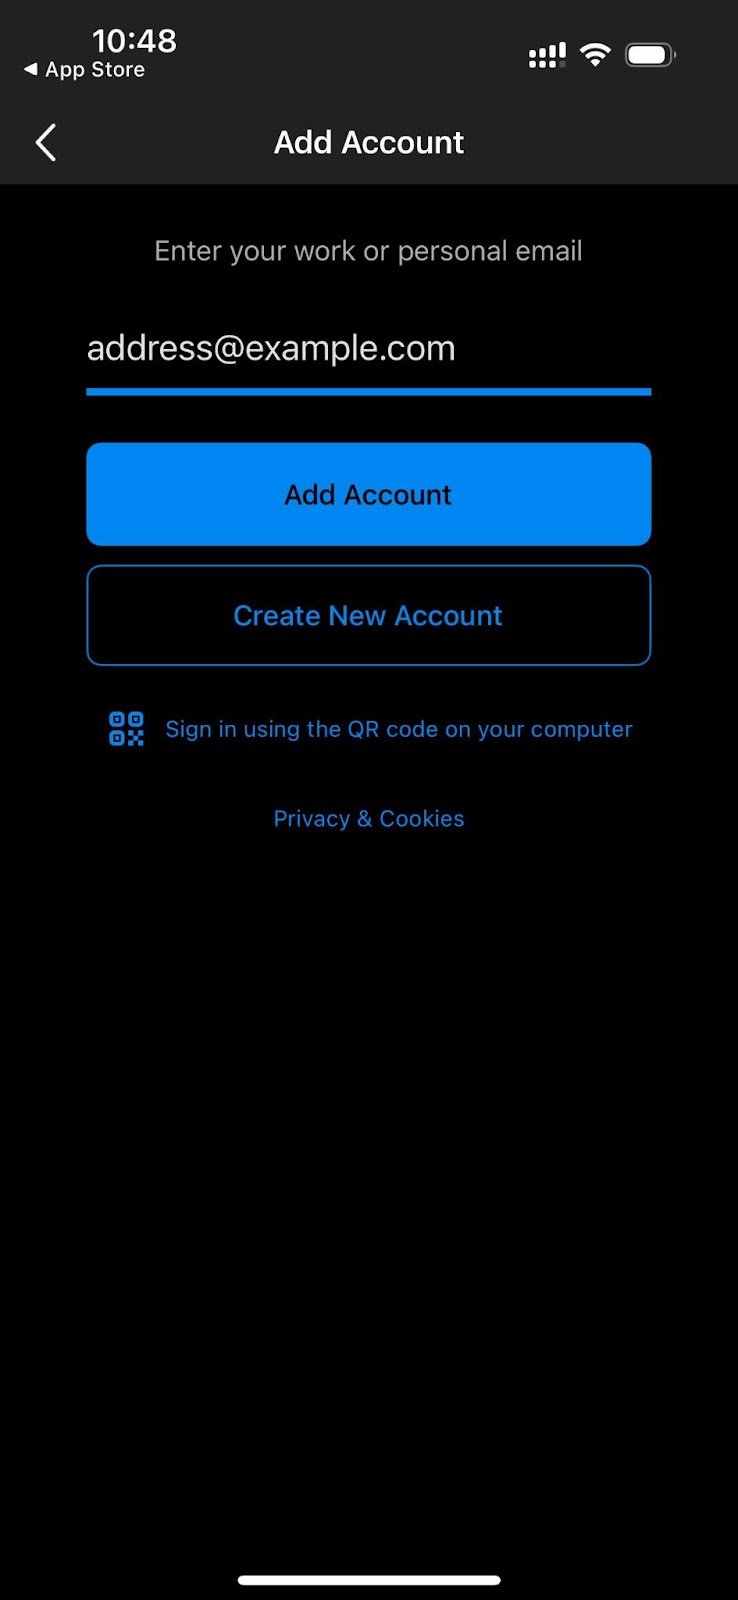
Step 1 – Open the App and Start Adding Your Email
-
Launch the Outlook app and click Add Account.
-
If you already have other accounts added, select “skip”
-
Enter your full Hostinger email address
-
Tap Add Account.
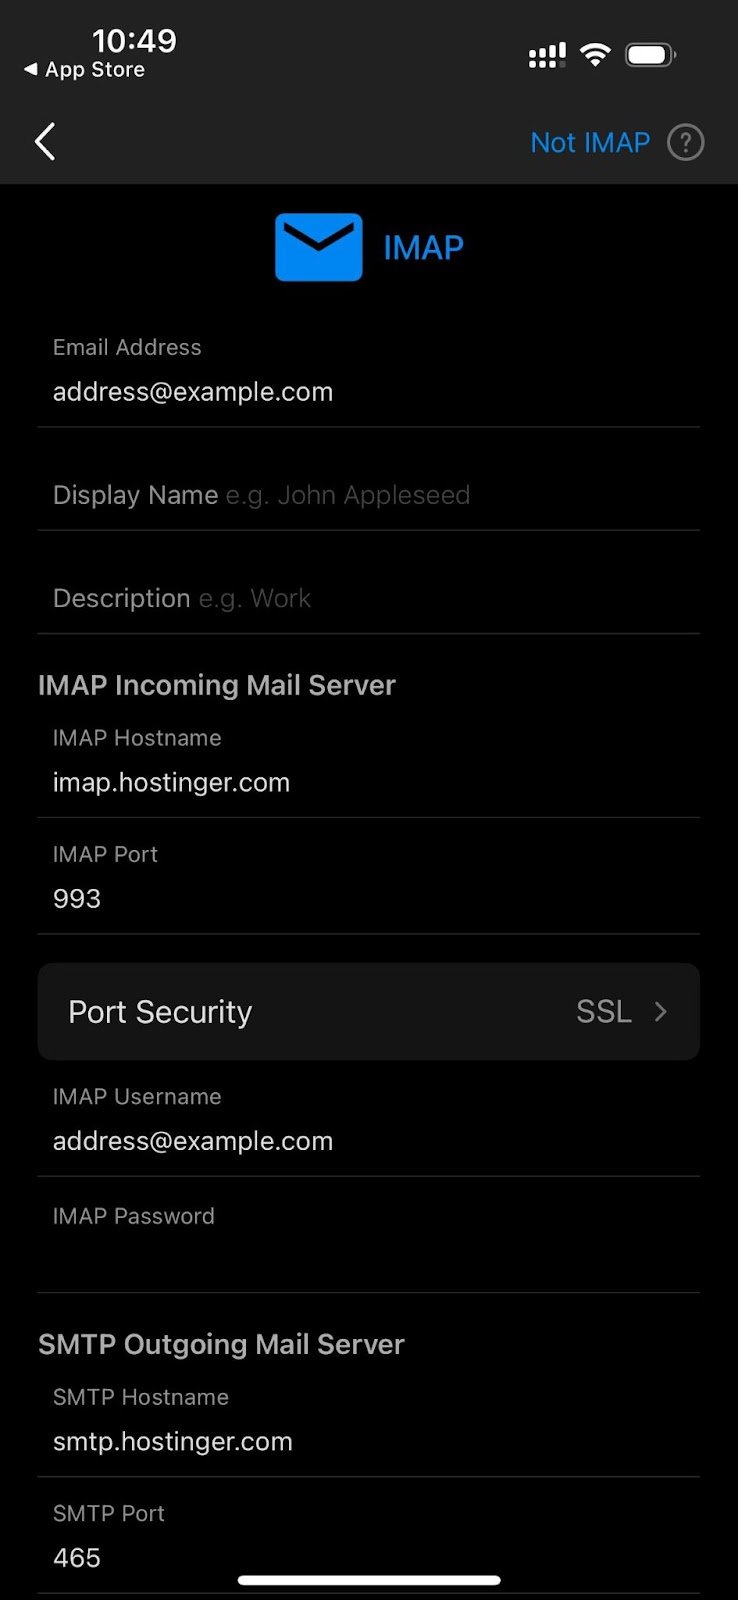
Step 2 – Select IMAP and Enter Details
Complete the following settings as in the image below.
Server settings:
-
Incoming server: imap.hostinger.com
-
Port: 993 – SSL/TLS
-
Outgoing server (SMTP): smtp.hostinger.com
-
Port: 465 – SSL/TLS
-
Use full email as username and enter the correct password for both
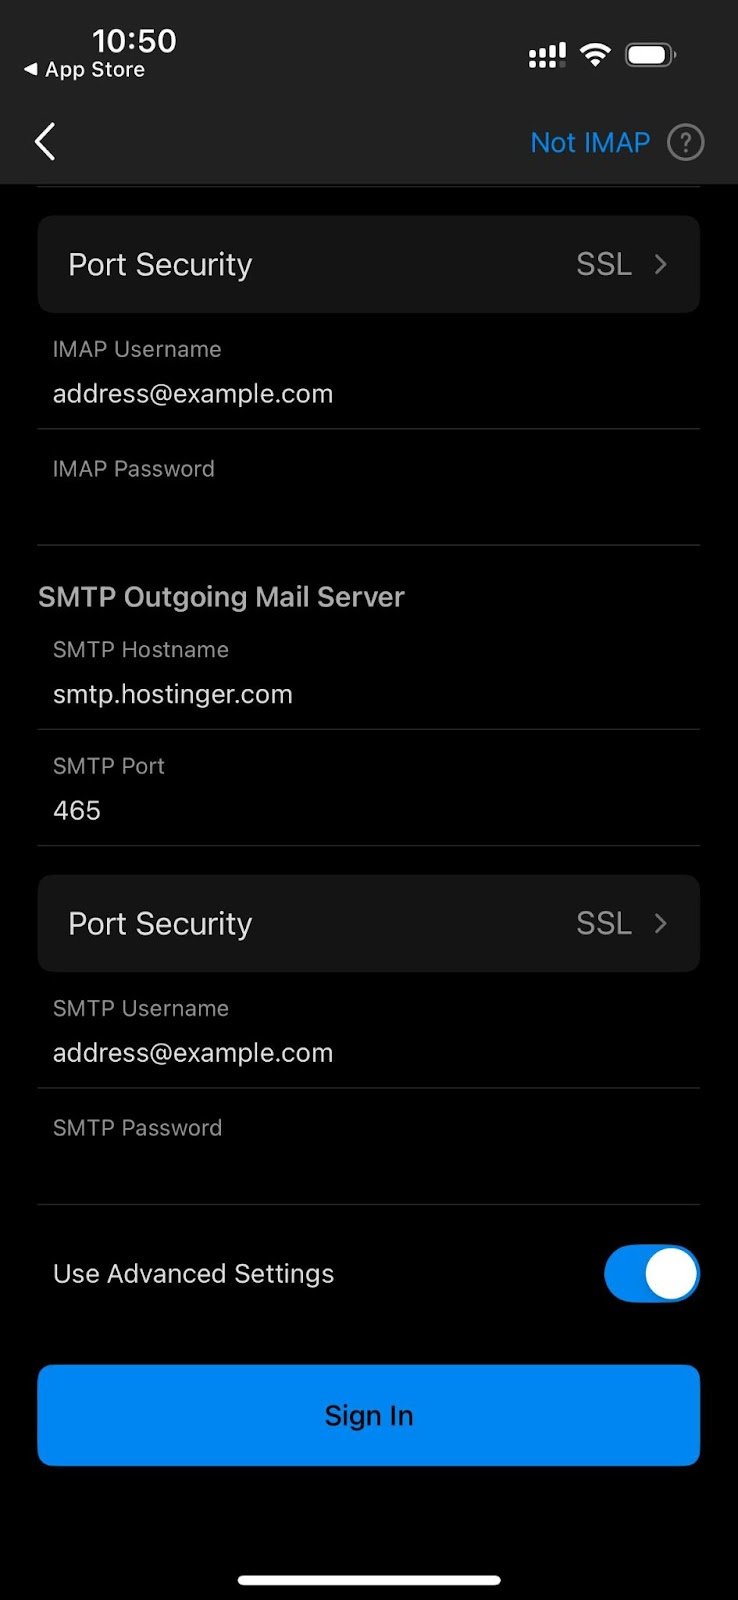
Step 3 – Finish Setup
-
Tap Sign In.
-
You should now see your inbox and be ready to go.
That’s It! ✅
Your Hostinger email is now fully connected to Outlook on your phone. You can send and receive emails on the go.
Troubleshooting
If something doesn’t work:
-
Double-check the server settings.
-
Make sure SSL/TLS is selected.
-
Confirm the email and password are correct. If you’re not sure, please try changing it How to reset a Hostinger Email mailbox password.
-
Check if your domain’s DNS (MX and SPF records) is properly set Hostinger Email MX records.