An Ubuntu 24.04 template with a graphical desktop environment allows you to manage your Hostinger Virtual Private Server (VPS) using a lightweight XFCE visual interface rather than a command-line terminal. This guide covers how to install the template and configure your connection using two different remote desktop options.
Before you start
To successfully perform this installation, ensure you meet the following requirements:
- A Hostinger KVM 2 or greater Ubuntu VPS plan. Due to the requirements for a graphical desktop environment to run smoothly, this template is not supported on KVM 1 plans.
- If you already have another OS template installed, back up any important files via SFTP before proceeding. Changing your operating system permanently deletes all data currently stored on the server.
Step 1 – Install the Ubuntu 24.04 template
- Log in to hPanel and go to the VPS section.
- Select the server you want to manage.
- On the left sidebar, navigate to OS & Panel → Operating System.
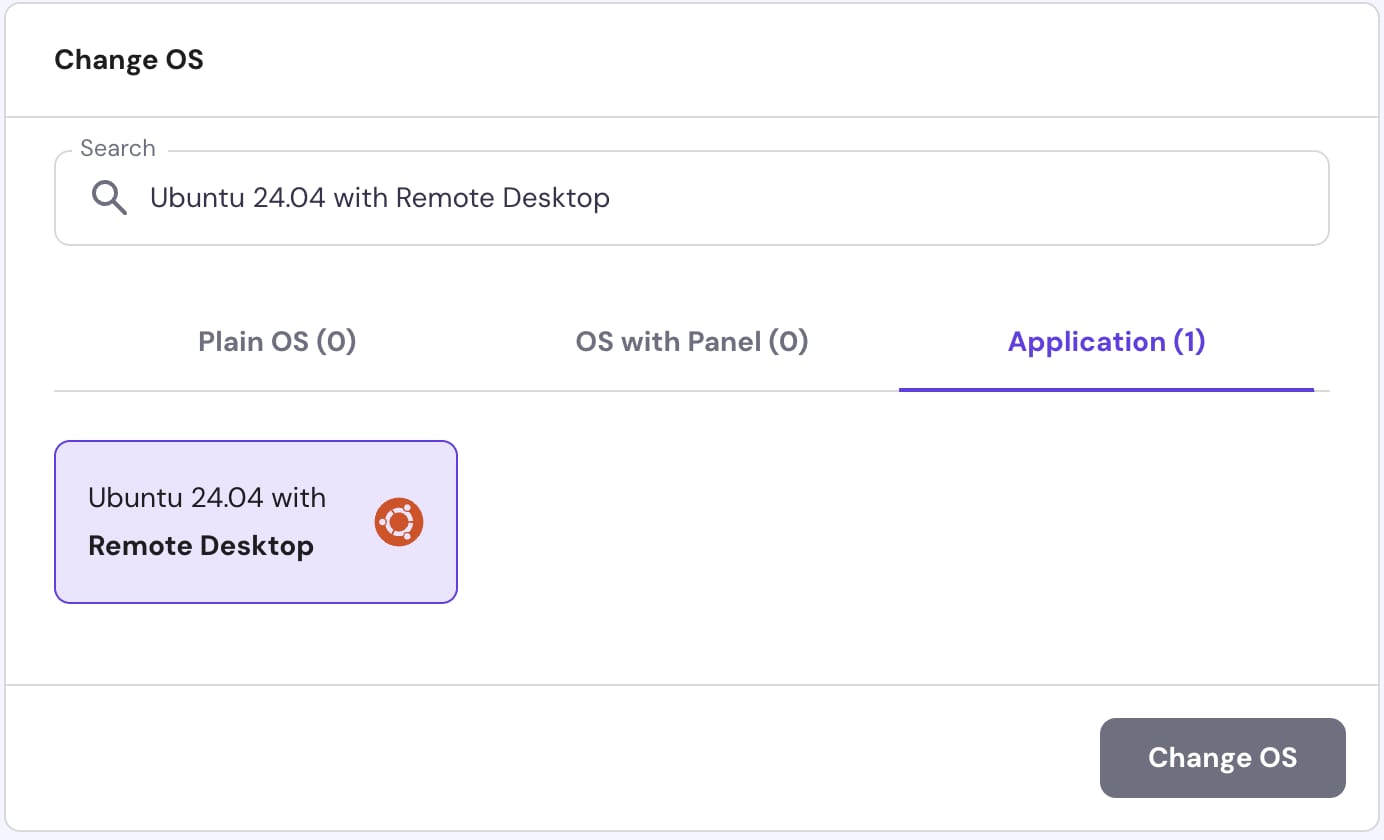
- Scroll to the Change your Operating System section and select the Application tab.
- Search for “Desktop” and select Ubuntu 24.04 with Remote Desktop.
- Click Change OS.

Step 2 – Connect to your remote desktop
Select one of the following configuration options based on your preferred remote access protocol and your device operating system.
Option 1 – Connect via VNC
The Virtual Network Computing (VNC) method provides a direct graphical connection to your VPS interface using a custom client.
Windows
- Download and install VNC Viewer from the official RealVNC website.
- Launch VNC Viewer.
- In the address bar, enter the IP address of your VPS followed by port
5900(for example,192.0.2.1:5900). - When prompted, enter your panel password as the VNC password.
- Click Connect.
Linux
- Install VNC Viewer using your distribution’s package manager or official RealVNC packages.
- Open a terminal and run the
vncviewercommand. - Enter your VPS IP address and port
5900. - Provide your panel password to authenticate.
macOS
- Open Finder, click Go in the top menu, and select Connect to Server.
- Enter your VPS IP address and port
5900.
Alternatively, install a custom client like RealVNC Viewer for macOS and follow the Windows setup steps.
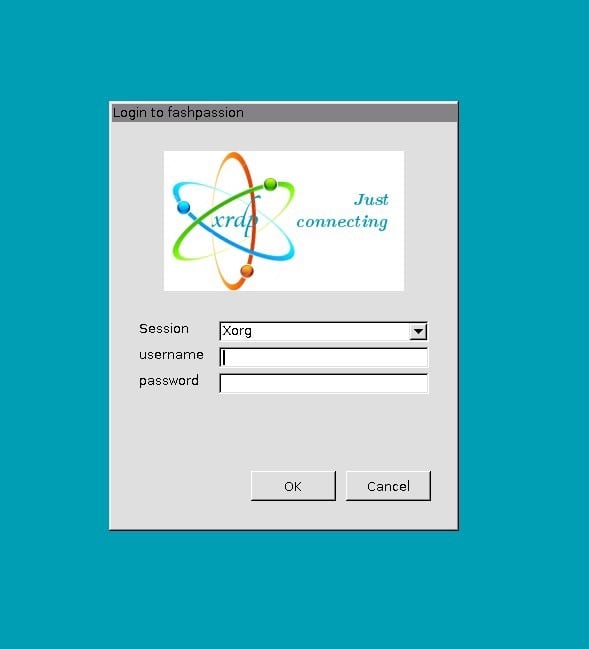
Option 2 – Connect via XRDP
The XRDP method utilizes the Remote Desktop Protocol (RDP), allowing you to log into your environment securely.
Windows
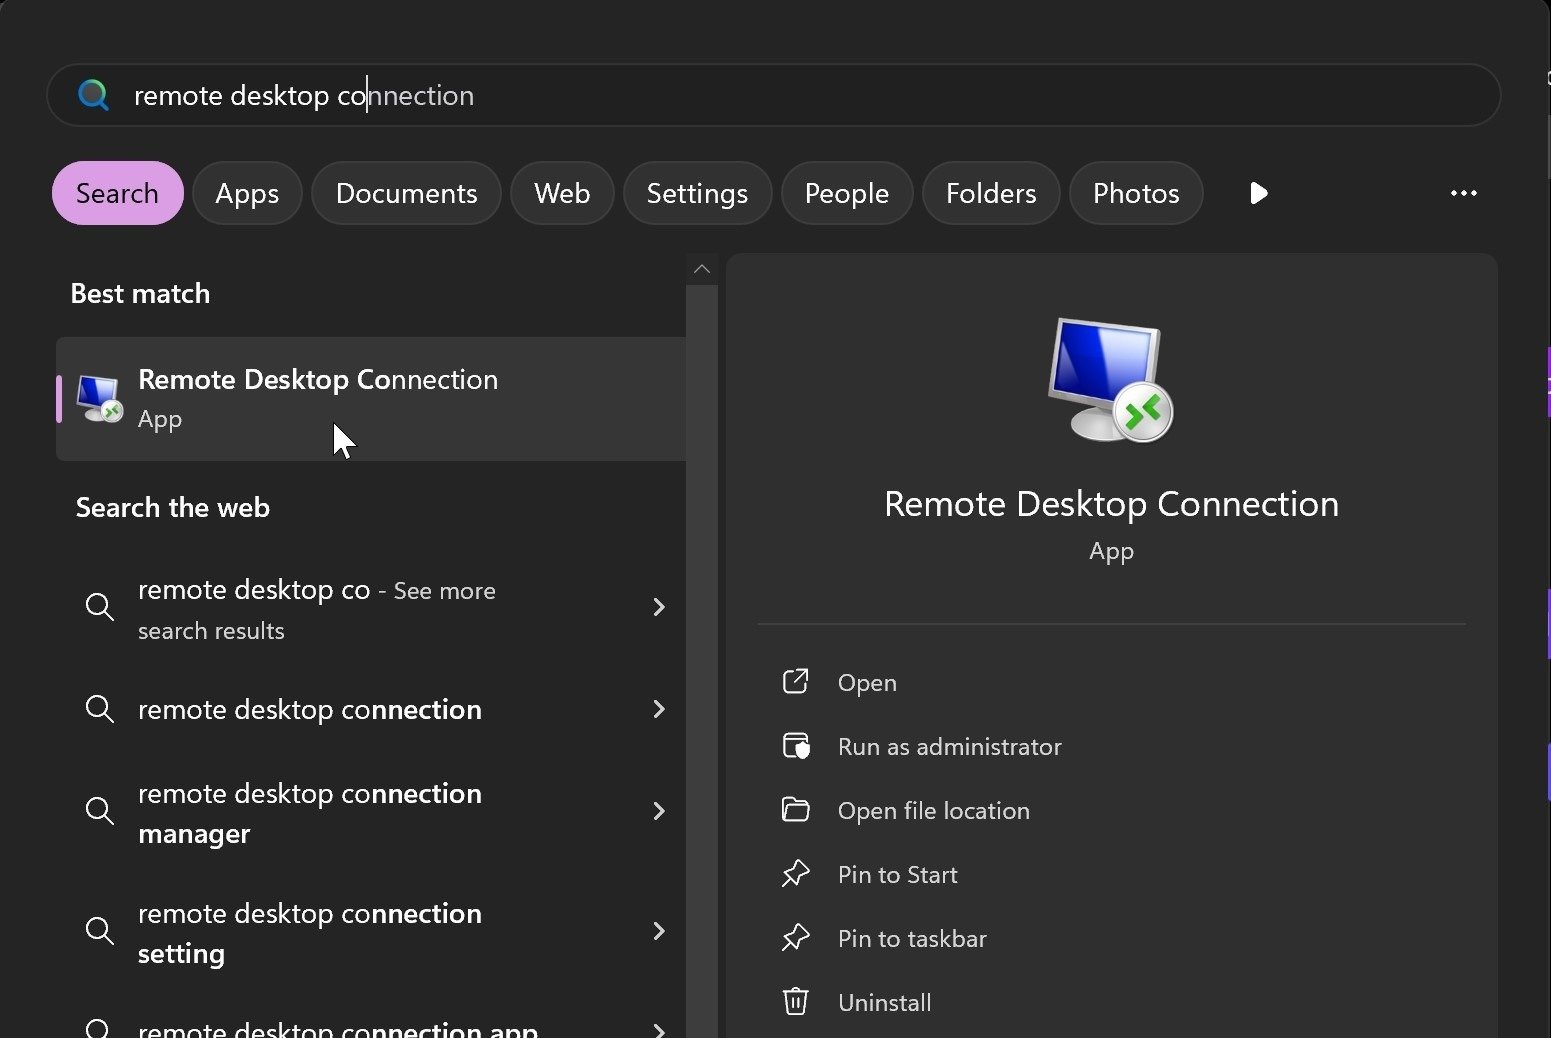
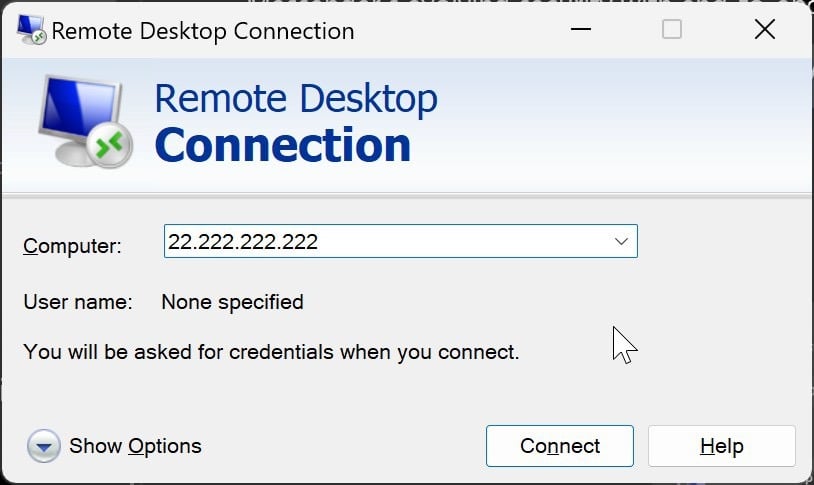
- Open the default Remote Desktop Connection application.

- In the Computer field, enter your VPS IP address and click Connect.

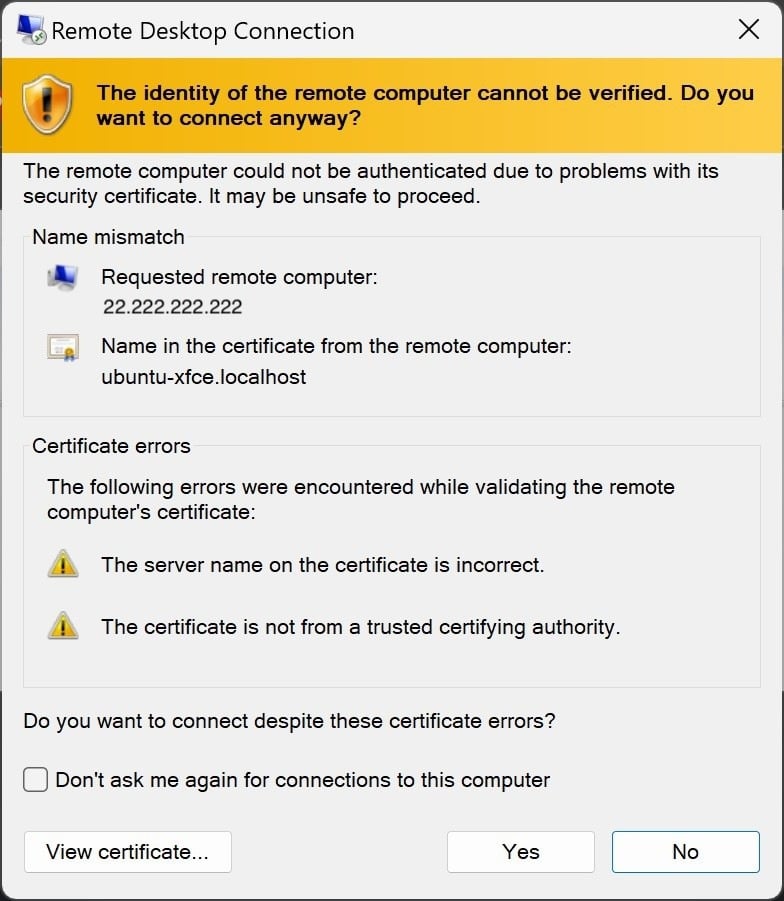
- If a certificate warning appears, click Yes to proceed.

- On the login screen, enter
rootas the username and your VPS root password.

Linux
- Install an RDP client such as FreeRDP or Remmina.
- Open the client and create a new connection profile.
- Enter your VPS IP address, set the username to
root, and input your root password. - Connect to establish the remote desktop session.
macOS
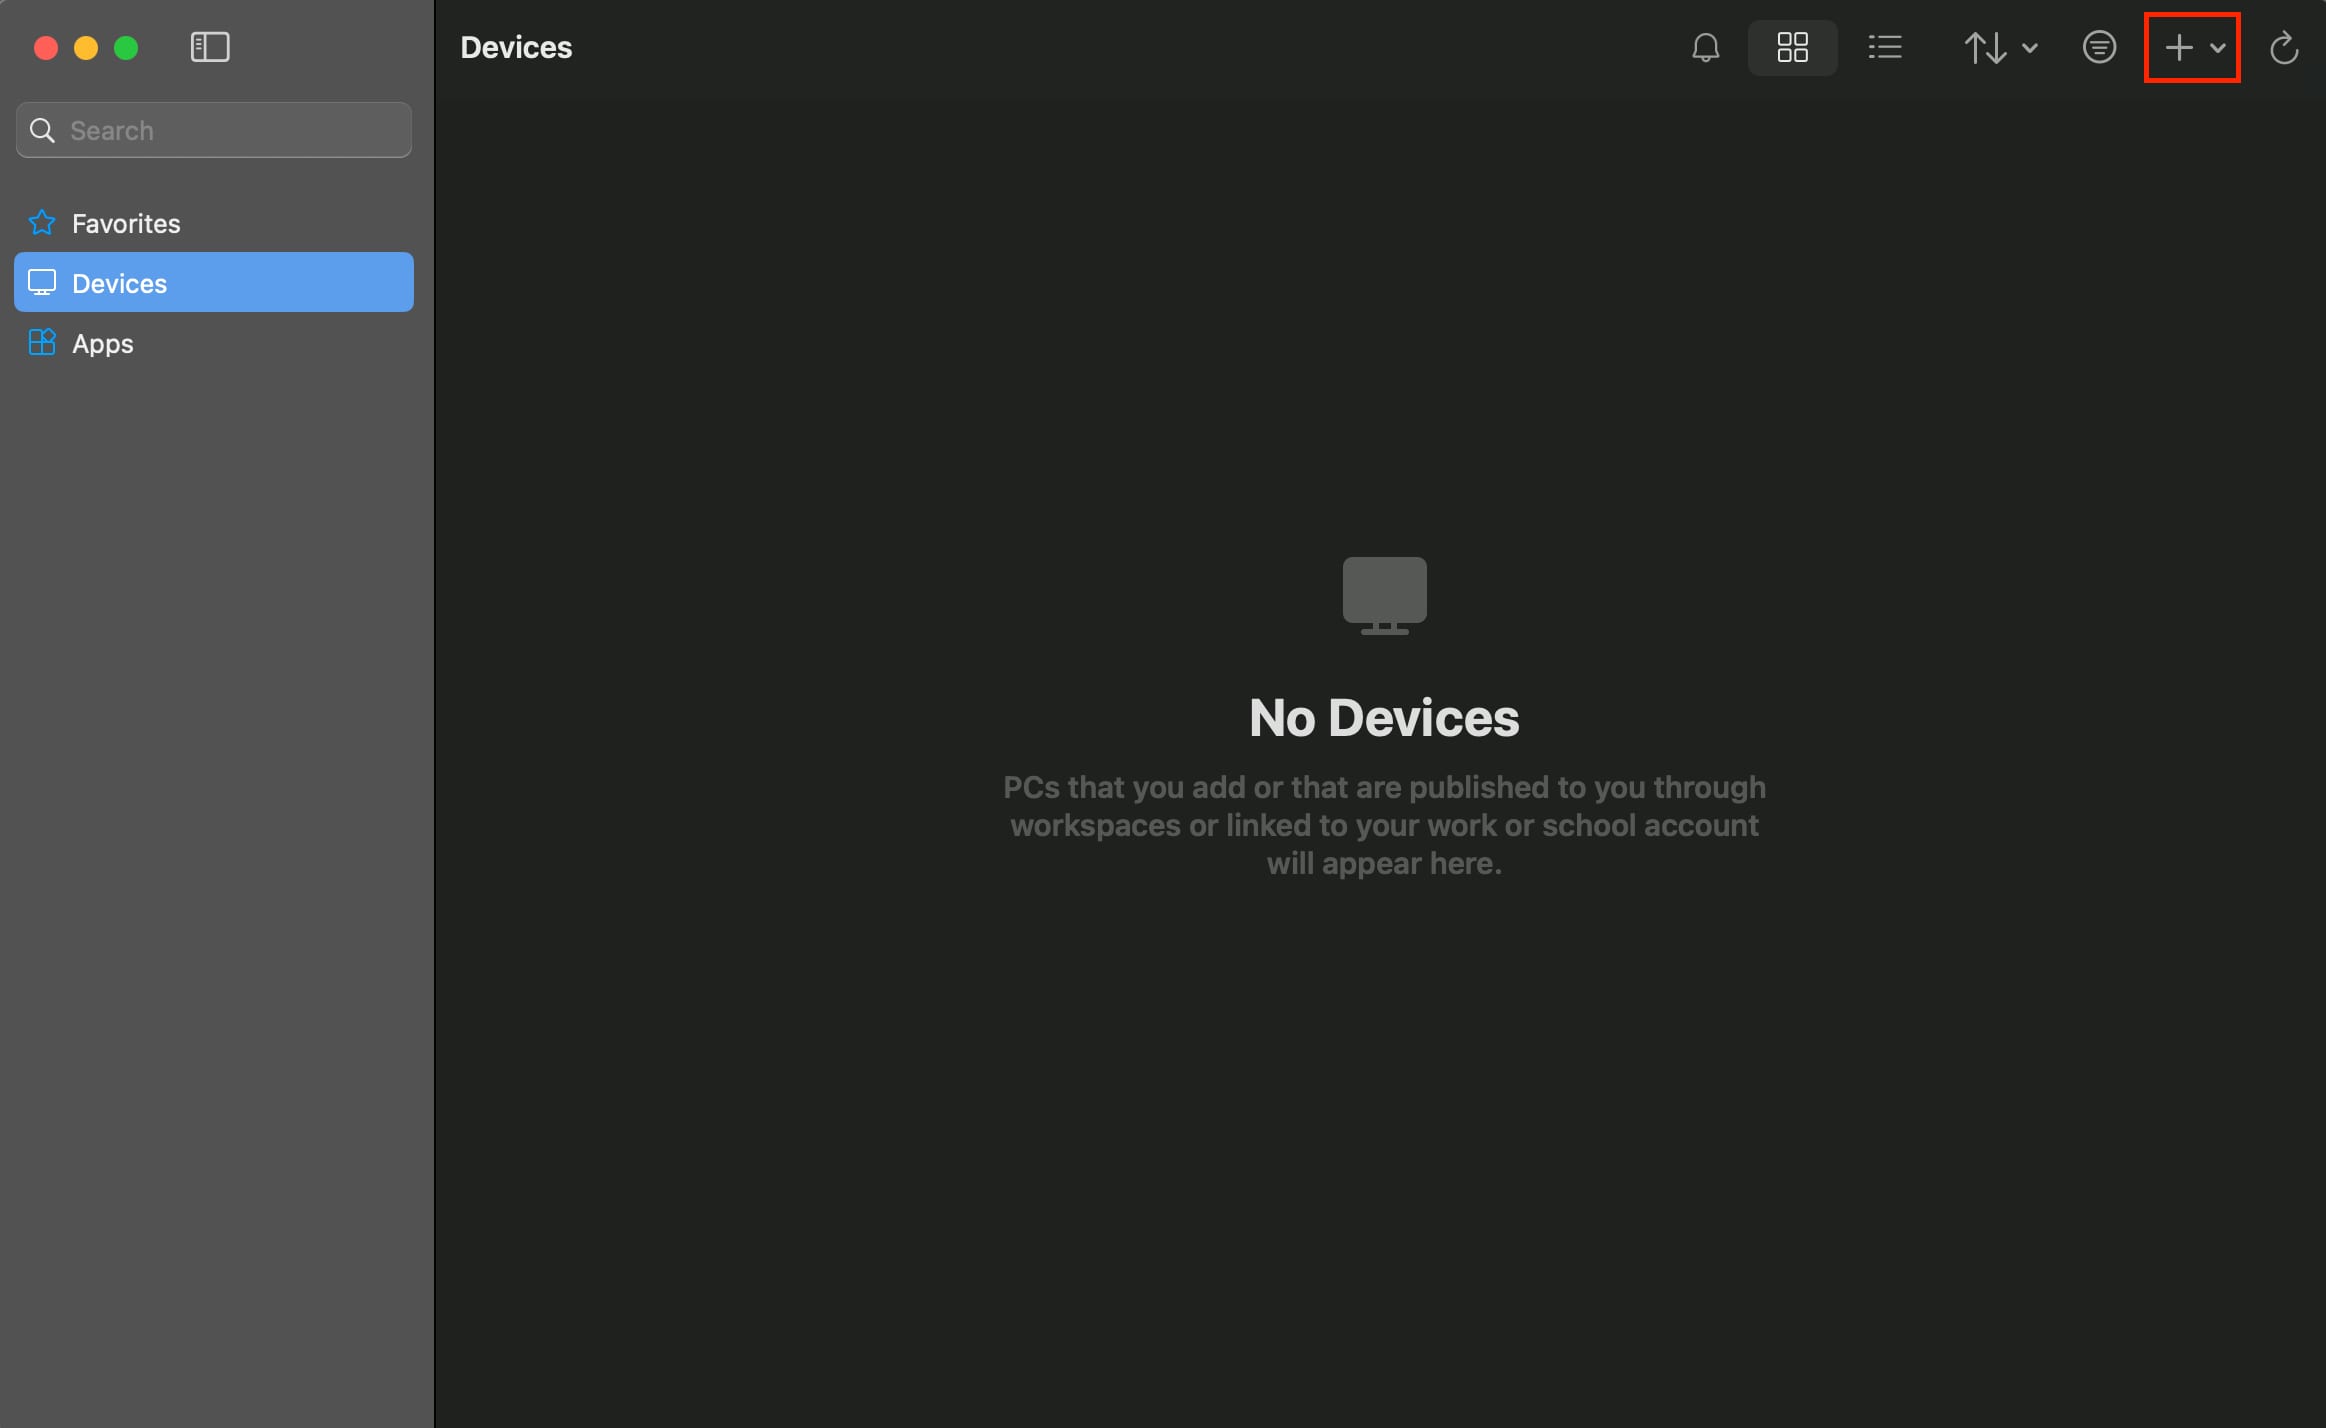
- Download and open the Windows App (formerly Microsoft Remote Desktop) from the App Store.
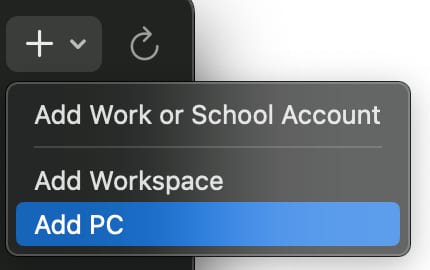
- Click Add PC or the + icon.


- In the PC name field, enter your VPS IP address and click Add.

- Double-click the newly added connection.
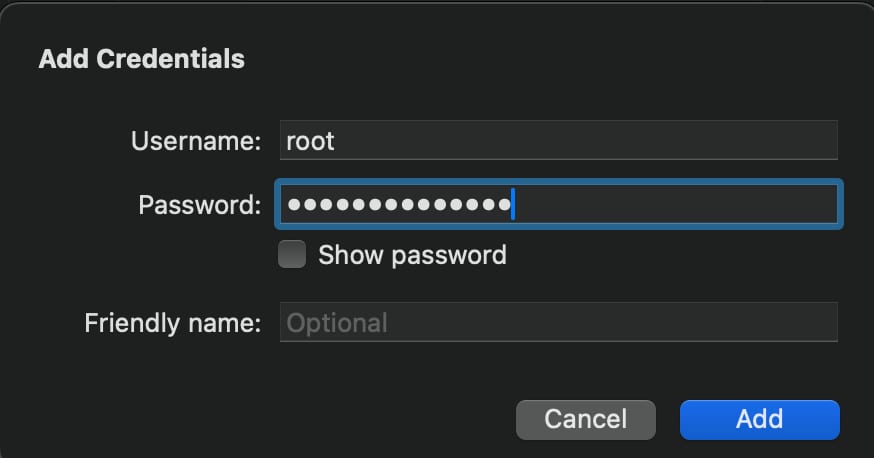
- Enter
rootas the username and your root password.

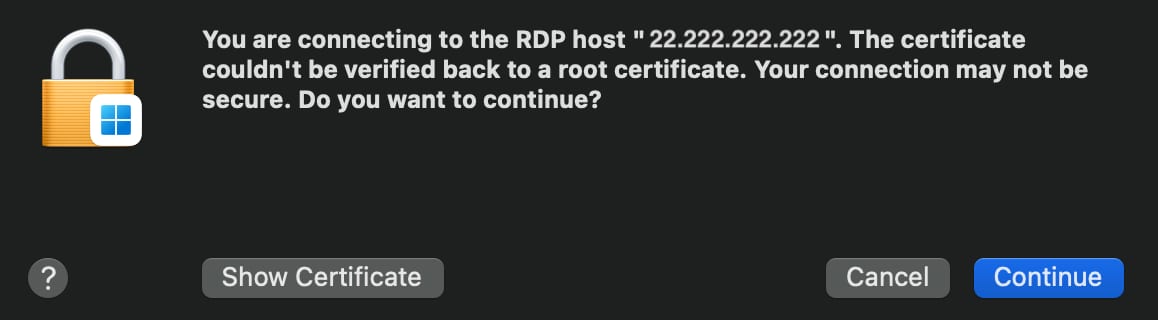
- Click Continue if prompted to bypass the certificate warning.


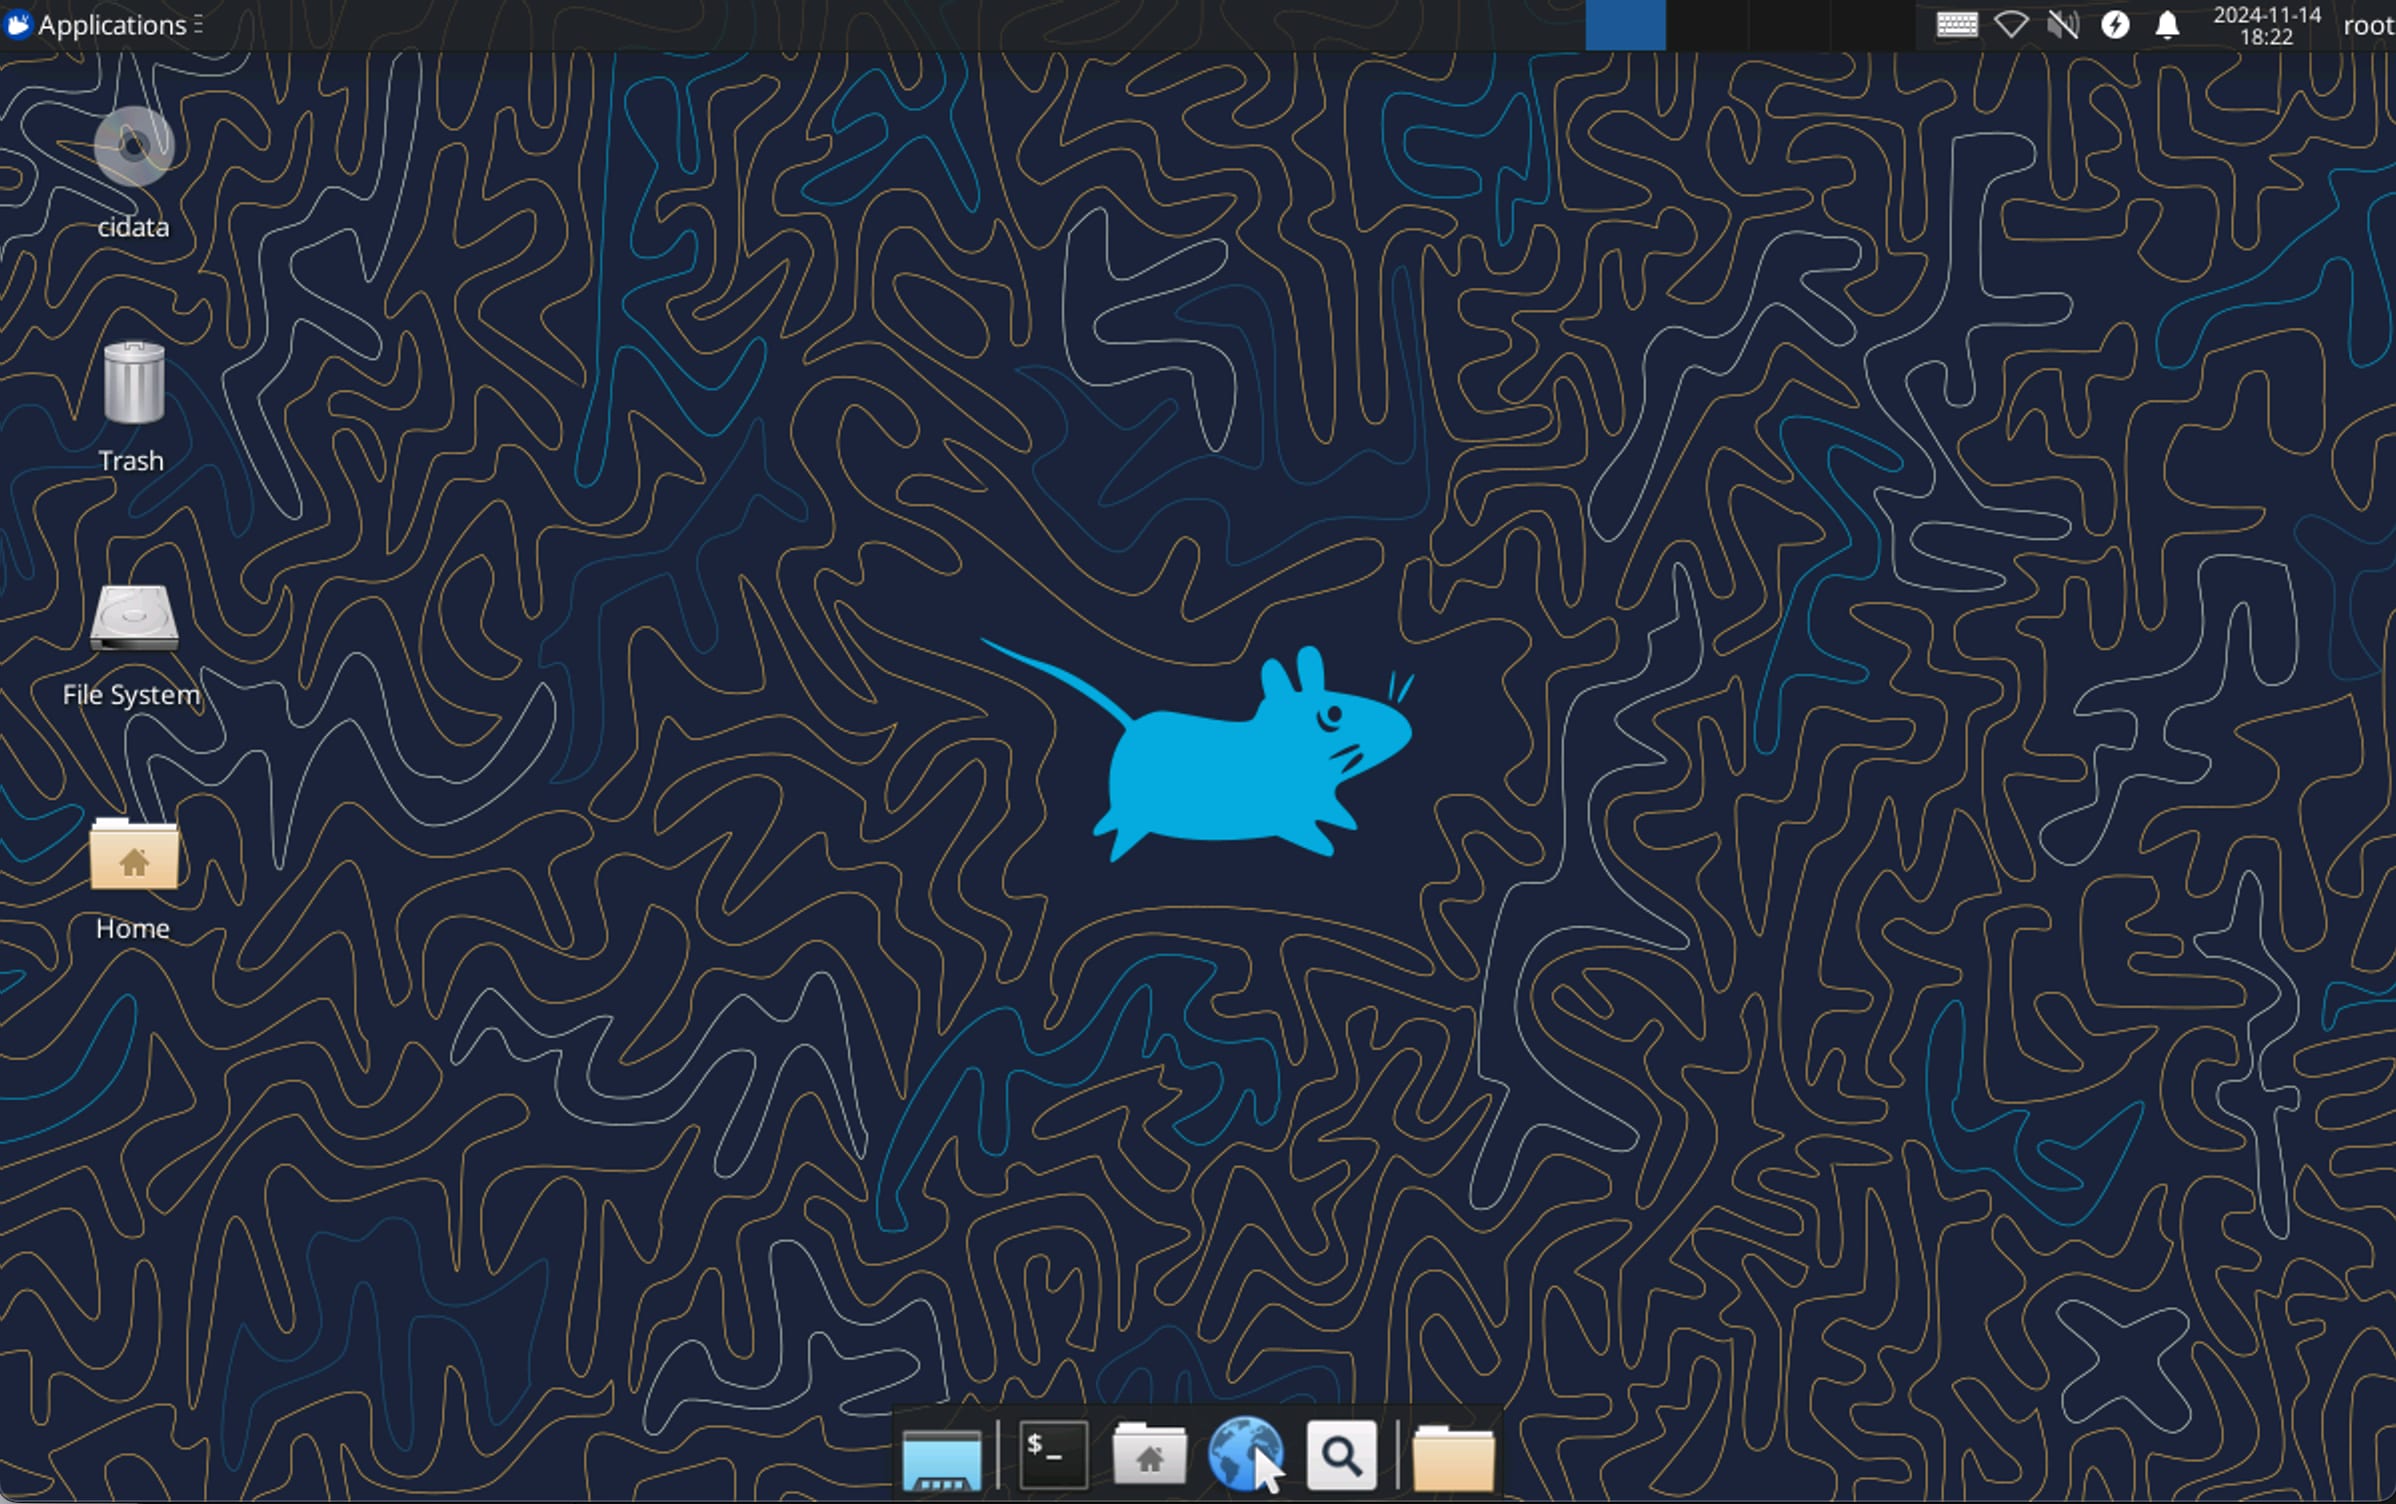
You are now ready to access and manage your graphical Ubuntu 24.04 environment on your Hostinger VPS.
NOTES
- The default login password for both VNC and XRDP connections corresponds to your VPS root password. You can reset this password at any time via hPanel.
- Graphic applications are generally designed to run under regular user accounts. Running them as the root user may lead to performance issues or permission conflicts.
- The Ubuntu 22.04 operating system template is only available for existing installations that already use it. All new remote desktop installations must use the Ubuntu 24.04 template.