If your Hostinger Email mailbox is automatically disabled or shows a Suspended status, it typically means the system has detected suspicious activity or spam originating from your email order. This suspension applies to one or more mailboxes associated with your domain to protect the deliverability of your emails. While the suspension is in place, you cannot send emails or manage your mailboxes.
Follow these steps to fix the root cause and reactivate your email.
Step 1 – Secure your Hostinger Email mailboxes
Before you can resume sending messages, you must address the factors that triggered the automated suspension. This ensures the service remains active once it is restored.
- Secure your Hostinger Email mailboxes: Update the passwords for all mailboxes under the affected domain to prevent unauthorized use. Check your website for malware and protect your contact forms.
- Perform a security scan. Check your local devices (computers or mobile phones) for malware that might be sending automated outgoing mail through your mail clients.
- Improve email deliverability. Review your sending habits to ensure they align with best practices and avoid being flagged by automated filters.
Make sure to complete all the required measures before proceeding to the next step. Otherwise, your email service will get suspended again after you reactivate it 💡
Step 2 – Reactivate the Hostinger Email service
Once you have secured your environment and addressed the cause of the suspension, you can manually reactivate the service.
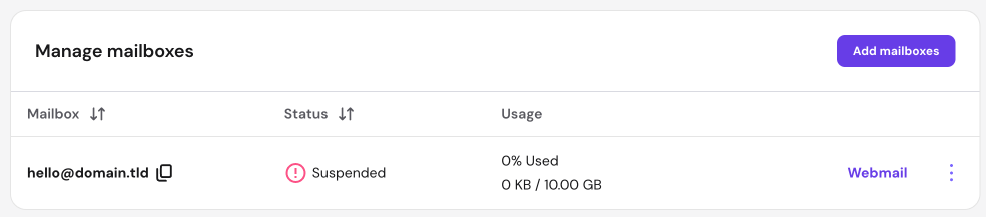
- Navigate to the Emails section on hPanel and click Mailboxes next to the domain name associated with the suspension.
- Locate the suspended mailbox, click the options button (⋮) → Settings.
- Click on the Suspend receiving toggle to disable it.
- Update to save the changes, then wait at least 2 hours before you resume sending emails. This delay allows the mail servers to synchronize account status is detected correctly.
By maintaining these security measures and allowing the system time to sync, you ensure consistent service and high deliverability for your future communications.