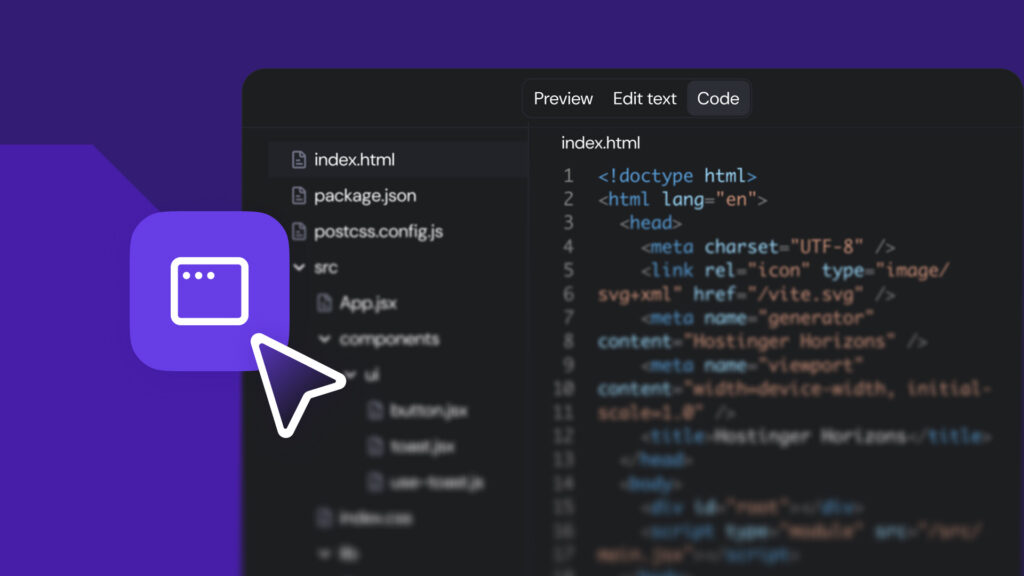
How to turn a database into a CMS and API with Directus and Docker
May 23, 2026
/
Domantas P.
/
5 min Read
Directus with Docker lets you run a self-hosted headless CMS that turns a SQL database into a content management system and an auto-generated API. You can install Directus manually with Docker Compose or deploy it faster using Hostinger’s Directus Docker template.
To set up Directus, you’ll need a server or local machine with Docker, Docker Compose, persistent storage, and a secure secret key. After installation, you can open Directus Studio, create collections, manage content visually, and expose selected data through REST or GraphQL endpoints for your website, app, or internal tool.
What do you need before installing Directus with Docker?
Before installing Directus with Docker, make sure you have:
- A server or local machine – use a VPS for a public Directus deployment or a local machine for testing.
- Docker installed – Directus runs inside a Docker container.
- Docker Compose installed – use it to define the Directus container, ports, volumes, and environment variables.
- A database option – use SQLite for testing or PostgreSQL/MySQL for production projects.
- Persistent storage – create folders for the database, uploads, and extensions so your data remains after container restarts.
- A secure secret key – Directus uses the SECRET value to sign tokens and protect authentication.
- A domain or server IP address – use this to access the Directus Studio interface in your browser.
How to install Directus with Docker
Installing Directus with Docker lets you run the headless CMS in an isolated container with its required runtime, configuration, and dependencies. The fastest setup uses the official directus/directus Docker image, while the recommended setup uses Docker Compose with persistent storage for the database, uploads, and extensions.
1. Check that Docker is installed
Directus requires Docker to be installed on your server. Check your Docker version with:
docker --version
Then check whether Docker Compose is available:
docker compose version
If both commands return version numbers, you can continue with the installation.
2. Create a Directus project directory
Create a new directory for your Directus project. This directory will store the Docker Compose file and the folders Directus needs to keep data after the container restarts.
mkdir directus
cd directus
mkdir database uploads extensions
The database folder stores the SQLite database file, uploads stores media files, and extensions stores custom Directus extensions.
3. Create a Docker Compose file
Create a docker-compose.yml file inside the directus directory:
nano docker-compose.yml
Add the following configuration:
services:
directus:
image: directus/directus:11.17.0
ports:
- 8055:8055
volumes:
- ./database:/directus/database
- ./uploads:/directus/uploads
- ./extensions:/directus/extensions
environment:
SECRET: "replace-this-with-a-long-random-value"
DB_CLIENT: "sqlite3"
DB_FILENAME: "/directus/database/data.db"
WEBSOCKETS_ENABLED: "true"
This configuration starts Directus on port 8055, stores Directus data outside the container, and uses SQLite as the database engine. SQLite is suitable for testing, small projects, and local development. For production websites or applications, use PostgreSQL or MySQL instead.
Replace replace-this-with-a-long-random-value with a secure secret. Directus uses this value to sign access tokens, so don’t reuse simple passwords or public strings.
4. Start the Directus container
Run the following command from the same directory as your docker-compose.yml file:
docker compose up -d
The -d option runs Directus in detached mode, so the container keeps running in the background.
Check whether the container is active:
docker ps
You should see a running container based on the directus/directus image.
5. Open the Directus setup screen
Open Directus in your browser using your server IP address or local machine address:
http://localhost:8055
If you installed Directus on a VPS, use:
http://your-server-ip:8055
Directus will show the onboarding screen on first launch. Create your first admin account by entering your email, password, and project details.
6. Verify that Directus is running
After creating the admin account, test the Directus server with the /server/ping endpoint:
http://your-server-ip:8055/server/ping
A working Directus instance returns:
pong
You can also check the container logs if the page doesn’t load:
docker compose logs directus
7. Stop or restart Directus
To stop the Directus container, run:
docker compose down
To start it again, run:
docker compose up -d
Because the Compose file mounts the database, uploads, and extensions folders as volumes, your Directus project data remains available after restarting the container.
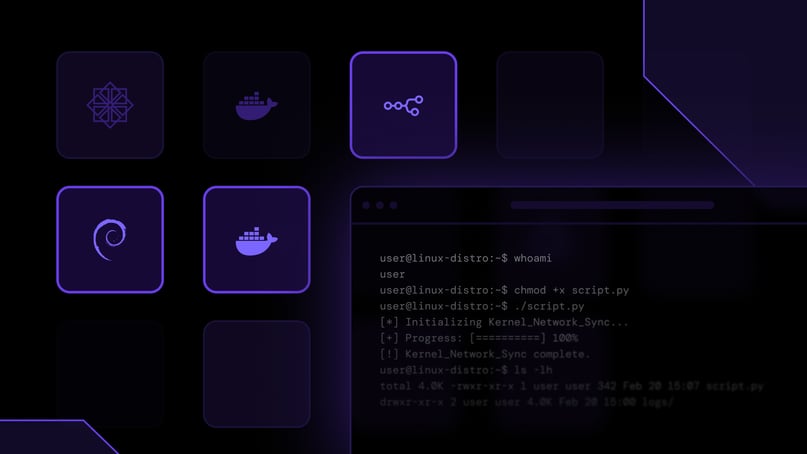
How to deploy Directus with Hostinger’s Docker template
Hostinger’s Docker catalog lets you deploy Directus on a VPS without manually pulling the Docker image, creating a Docker Compose file, or configuring the container from scratch. This option is best if you want a faster way to launch a self-hosted headless CMS and start building a database-backed API.
To deploy Directus with Hostinger’s Docker template:
- Go to Hostinger’s Directus Docker template page.
- Choose a VPS plan for your project.
- Select the Directus template from the Docker application catalog.
- Complete the VPS setup.
- Open the deployed Directus instance from hPanel or by using your server IP address.
- Create your first Directus admin account on the onboarding screen.
After deployment, Directus runs as a Docker application on your VPS. You can use Hostinger’s Docker manager to check the container status, view logs, and manage updates without setting up the container manually through the command line.
Open your Directus instance in the browser using the access URL provided in hPanel. If you’re using the server IP address directly, the URL usually follows this format:
http://your-server-ip:8055
To check whether Directus is responding, open the server ping endpoint:
http://your-server-ip:8055/server/ping
A working Directus instance returns:
pong
Once Directus is running, create your first collection in Directus Studio and configure roles and permissions before exposing the API to a website or application. For a production setup, connect a domain or subdomain, enable HTTPS, and set up backups for the database, uploaded files, and project configuration.
How to use Directus as a headless CMS and data API
After installing Directus, you can use it to manage database content through a visual CMS interface and access the same content through automatically generated APIs. This makes Directus useful for websites, mobile apps, internal tools, and frontend frameworks that need structured content from a central database.
Start by creating a collection in Directus Studio. A collection works like a database table and defines the type of content you want to manage. For example, a blog can use collections like posts, authors, and categories, while a product catalog can use products, brands, and specifications.
Next, add fields to each collection. Fields define the structure of your content, such as text inputs, images, dates, dropdowns, relationships, and status values. For a posts collection, you can add fields like:
title
slug
content
featured_image
status
published_at
author
Directus uses these collections and fields to create an admin interface for editors. Instead of updating database rows manually, team members can add and edit content from Directus Studio. This makes the database easier to manage without removing developer control over the underlying data model.
Directus also creates API endpoints for your collections. For example, a posts collection becomes available through the REST API:
http://your-server-ip:8055/items/posts
You can request one item by its ID:
http://your-server-ip:8055/items/posts/1
If your project uses GraphQL, Directus exposes a GraphQL endpoint as well:
http://your-server-ip:8055/graphql
Before connecting the API to a public website or app, configure roles and permissions. Directus keeps collection access controlled, so you need to define which users or applications can read, create, update, or delete content. For a public blog, you can allow read-only access to published posts while keeping drafts, user data, and admin-only fields private.
Once permissions are set, connect your frontend to the Directus API. A website can fetch content from Directus and render it with a frontend framework, static site generator, or custom application. For example, your frontend can request published posts from the REST API and display them as blog articles, documentation pages, portfolio entries, or product listings.
This setup turns Directus into both a headless CMS and a data API. Editors get a clean interface for managing content, while developers get structured REST and GraphQL endpoints backed by the same database.
When should you use Directus with Docker?
Use Directus with Docker when you want a self-hosted headless CMS that turns database content into an API without building a custom admin panel or backend from scratch. This setup is especially useful when your project needs structured content, editor access, and REST or GraphQL endpoints from the same database.
Directus with Docker works well for:
- Headless websites and apps – manage content in Directus Studio and deliver it to a frontend built with Next.js, Vue, React, Astro, or another framework.
- Existing database projects – connect Directus to a SQL database and give teams a visual interface for managing records.
- Internal tools – create admin panels for business data, customer records, inventory, directories, or operational workflows.
- Content APIs – expose selected collections through REST or GraphQL without manually coding each endpoint.
- Prototype projects – build a working CMS and API layer quickly before investing in a custom backend.
- Self-hosted CMS setups – keep control over hosting, database access, permissions, backups, and infrastructure.
Directus is not the best fit for every project. A traditional CMS may be simpler if you only need a basic website with built-in themes and page editing. A custom backend may be better if your application requires complex business logic, highly specific workflows, or API behavior beyond database-driven content management.
For most database-backed websites and applications, Directus with Docker gives you a practical middle ground: developers keep control over the data model and infrastructure, while editors get a clean CMS interface for managing content.

Domantas is a Content SEO Specialist who focuses on researching, writing, and optimizing content for organic growth. He explores content opportunities through keyword, market, and audience research to create search-driven content that matches user intent. Domantas also manages content workflows and timelines, ensuring SEO content initiatives are delivered accurately and on schedule. Follow him on LinkedIn.